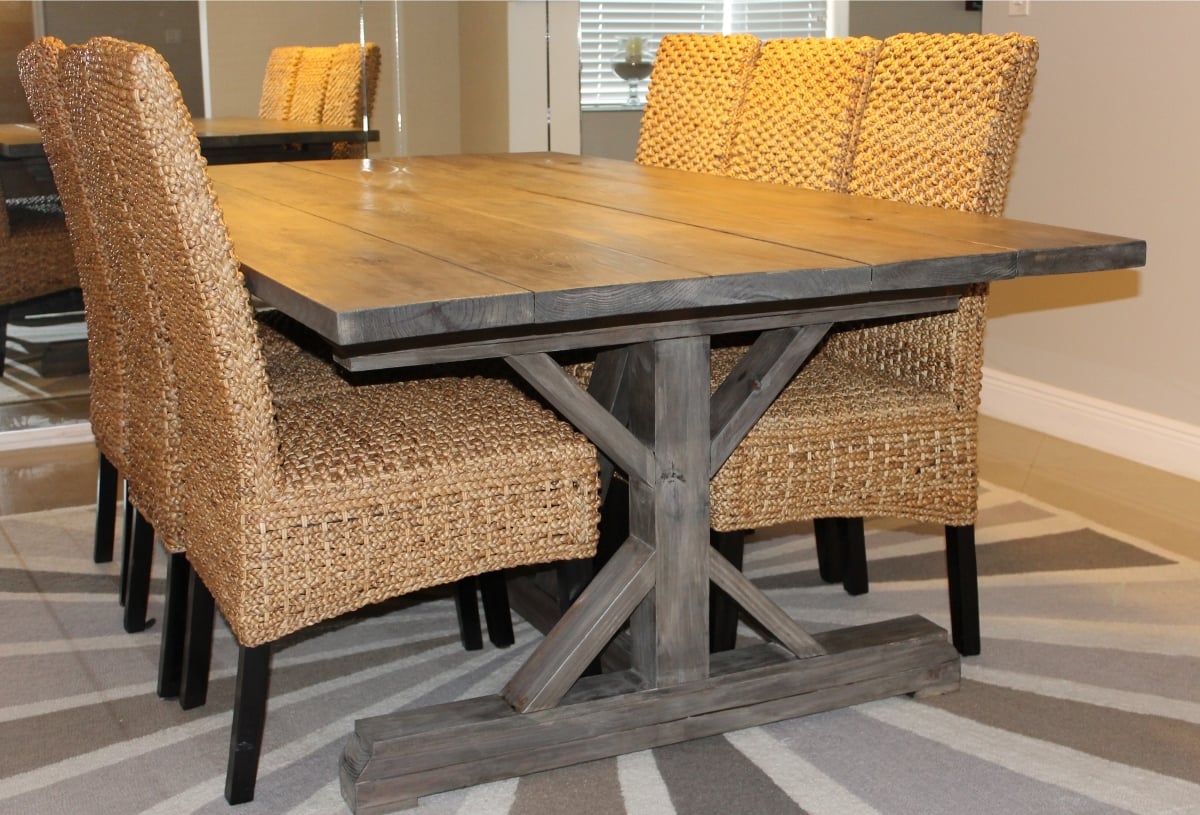
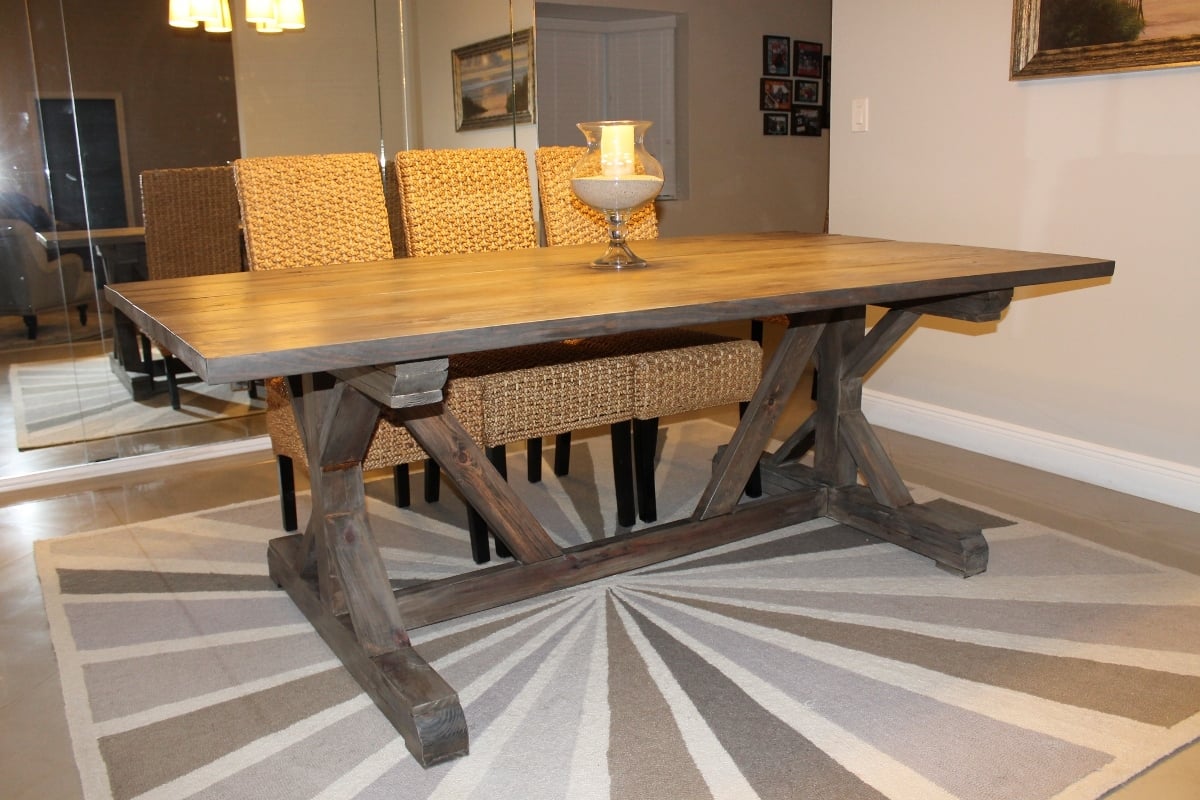
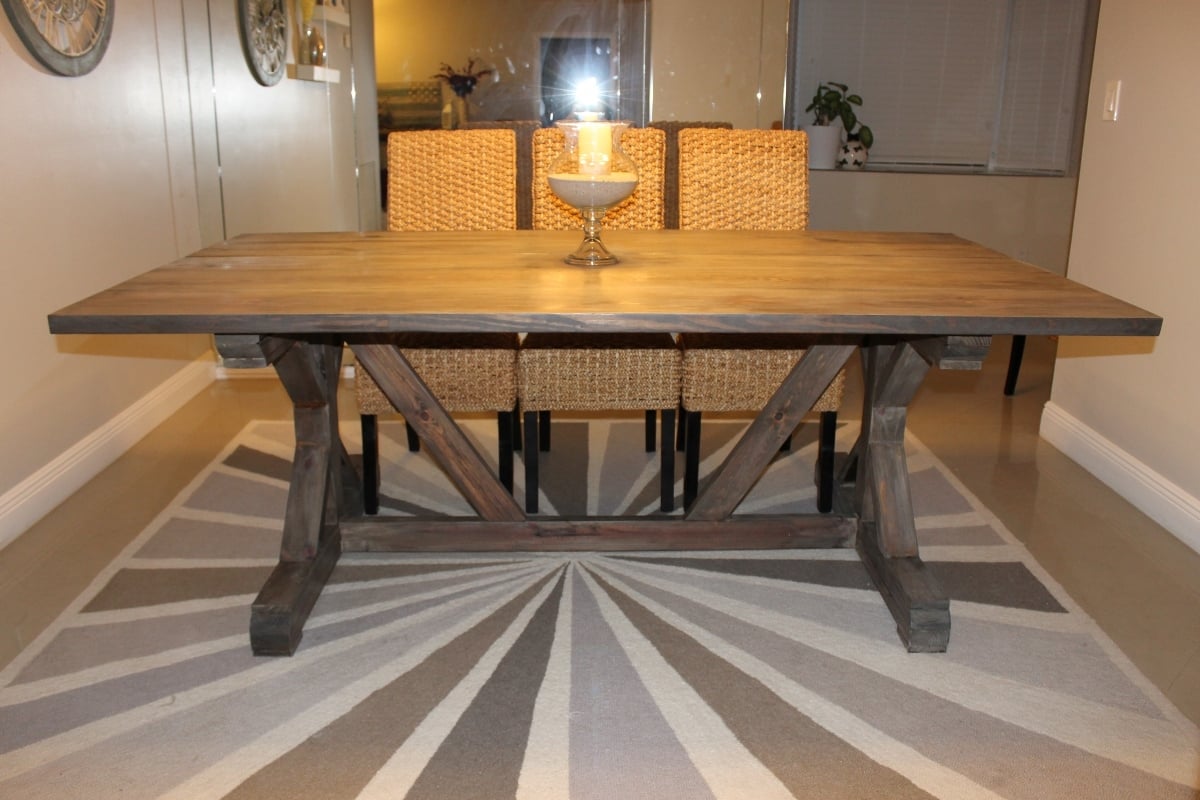
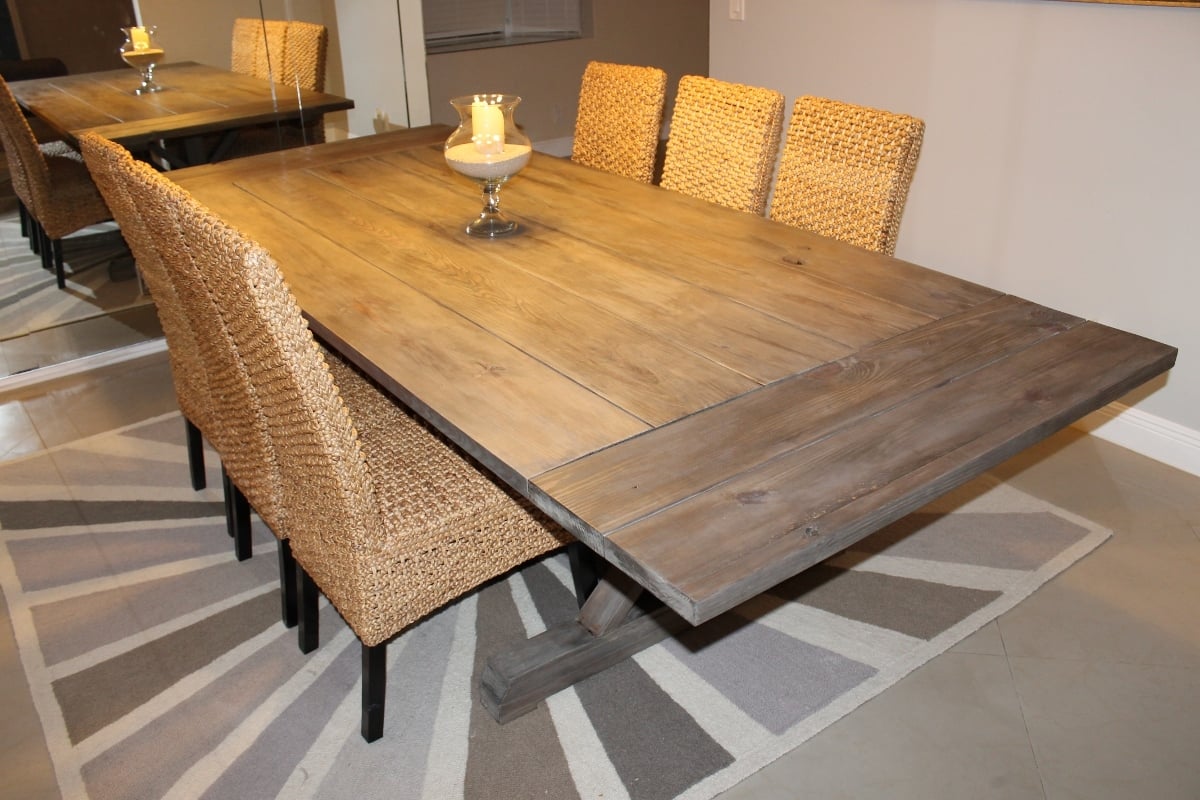
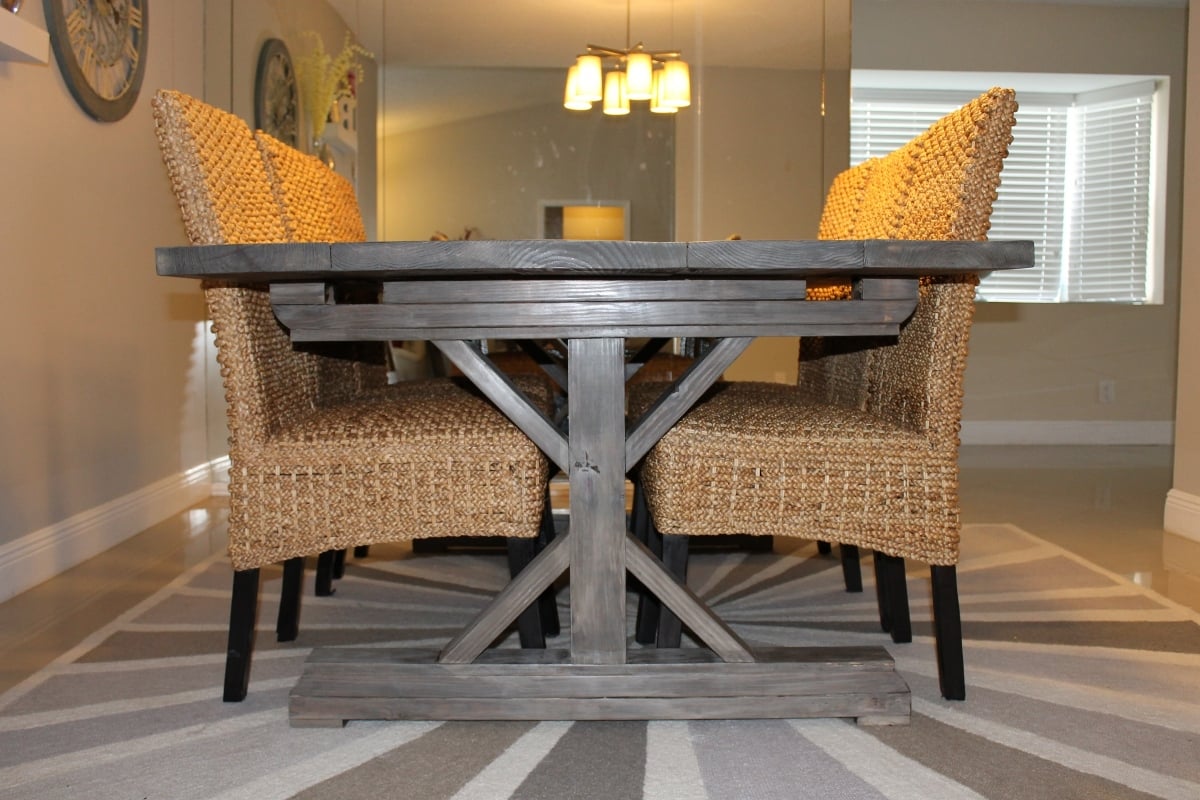
This is our attempt at the Fancy X Farmhouse Table. My husband and I built this over a weekend. We modified our table from the plans, making ours shorter and wider. We also added extensions and changed out a few boards for a bit of a different look from the exact plan. We created a custom finish with a few cheap and easy steps to get the look we wanted. Our table is 84" long by 46" wide. The original plans for the table called for it to be 96" long by 37" wide. We added a fifth board to our table top, thus making our tabletop 9.25" wider (since a 2x10 is actually 9.25" wide.) To account for this, we simply increased the width of the base boards by 9.25". As for the length, since our table was 12" shorter than the plan, we decreased the length of the two support boards running between the bases by 12" to account for that. We had to adjust the length of our decorative pieces somewhat, because of the wider base and shorter length. It was bit of trial and error but we were happy with what came out of it. For the center base post, instead of using 2x4's we used one 4x4 which was clean, square, and straight. We were happy with how things turned out for the base. Perhaps our biggest alteration was the fact that we added extensions to each end. To do this, we cut out 3.5" slots in the top of the base so a 2x4 could slide in. We then took two 2x8's and used pocket holes to bring them nice and tight. With the extensions in place, our table is nearly 10 feet long! As for the finish, we wanted a weathered gray color and were able to come up with it through a three step process. Its really beautiful in person! Thanks again for the plan
Comments
alamanda973
Sun, 07/22/2012 - 15:26
beautiful table!
Your new table is really very beautiful. The previous one was also very nice, great job!
whitney_smith
Sun, 07/22/2012 - 15:51
O M G!
LOVE this! The extensions are GREAT!!!!!!!!!! Good work!
DanaD (not verified)
Thu, 07/26/2012 - 06:37
Wow! Great addition of the
Wow! Great addition of the extensions. I'm saving this for our build.
Darcy Taylor (not verified)
Tue, 08/07/2012 - 03:10
Could you possibly give me a
Could you possibly give me a detailed explanation of how you finished this table? I love, love, love the color and want to replicate it.
Thanks!
Darcy
Jennifer Nealy (not verified)
Tue, 09/25/2012 - 09:06
Finish on table
Beautiful table, but I really want some information on the 3-step process you used to get the weathered gray look. Can you please provide that information? Thanks!
Alec Brock (not verified)
Tue, 10/23/2012 - 07:46
How did you create that Gray
How did you create that Gray Weatered finish? Also what type of wood did you use?
SawgrassHomeGirl
Sun, 04/07/2013 - 20:40
Finish
Thank you for your interest in the finish....we used regular pine from Orange and Blue. We used a mixture of steel wool and vinegar in a glass jar, let it sit for a night or two, then brushed it on evenly over each board. We then let that sit for a night or two and then proceed to whitewash the entire table (two parts water one part paint.) After that, we took Dark Walnut Stain and wiped it over each board, then quickly wiped/scrubbed it off after just a minute or two. That's how we did it!
Id suggest practicing first with some scrap , esp. with the steel wool mixture so you can see how the wood changes. :)
FLKS
Fri, 09/23/2016 - 15:24
Finish
Hi Emily!
I love your table. We are about to make one and love your stain. Would you be so kind to give me details of what you used to achieve the look? I read the above post, but could you give me brands and colors? I don't understand what is steel wash- is that the color?
Thank you so much!
FLKS
ajdriscoll08
Mon, 09/09/2013 - 11:40
We are trying to replicate this finish
but when we brushed on the steel wool/vinegar mixture, the holes on the table top and base that we had filled in with putty didn't really stain...did you run across the problem? I don't see any areas on the top of your table where you can tell where the holes were??
rmf
Wed, 04/09/2014 - 09:05
extensions
I'm curious if you made the extensions permanent or if they can be removed and added as you need? I love this table!
Thanks,
Jenni2526
Wed, 08/13/2014 - 11:50
Extensions
I am not understanding how you made the extensions from your description and then looking at the end pictures... Would you please explain this a little further and how they are stored and placed for use and how this works? Thank you!
Ren.K777
Tue, 10/07/2014 - 17:39
Whitewash process...
LOVE the finished product! I aim to get the hubby to make this one at some point! But for now, we have just a bench in our kitchen that he made and I'd like to apply the same finish you did. I've looked at a bunch of different tutorials but I like yours the best. Here's the question...how long after I apply the paint/water mixture to I apply the walnut stain? Do I apply the water/paint and wipe off right away? A few seconds later? A minute later? Do I allow the applied/wiped water/paint mixture to dry completely before adding the stain or do I want to apply the stain before it's throughly dry so that it mixes a bit for a softer look? Thanks so much!