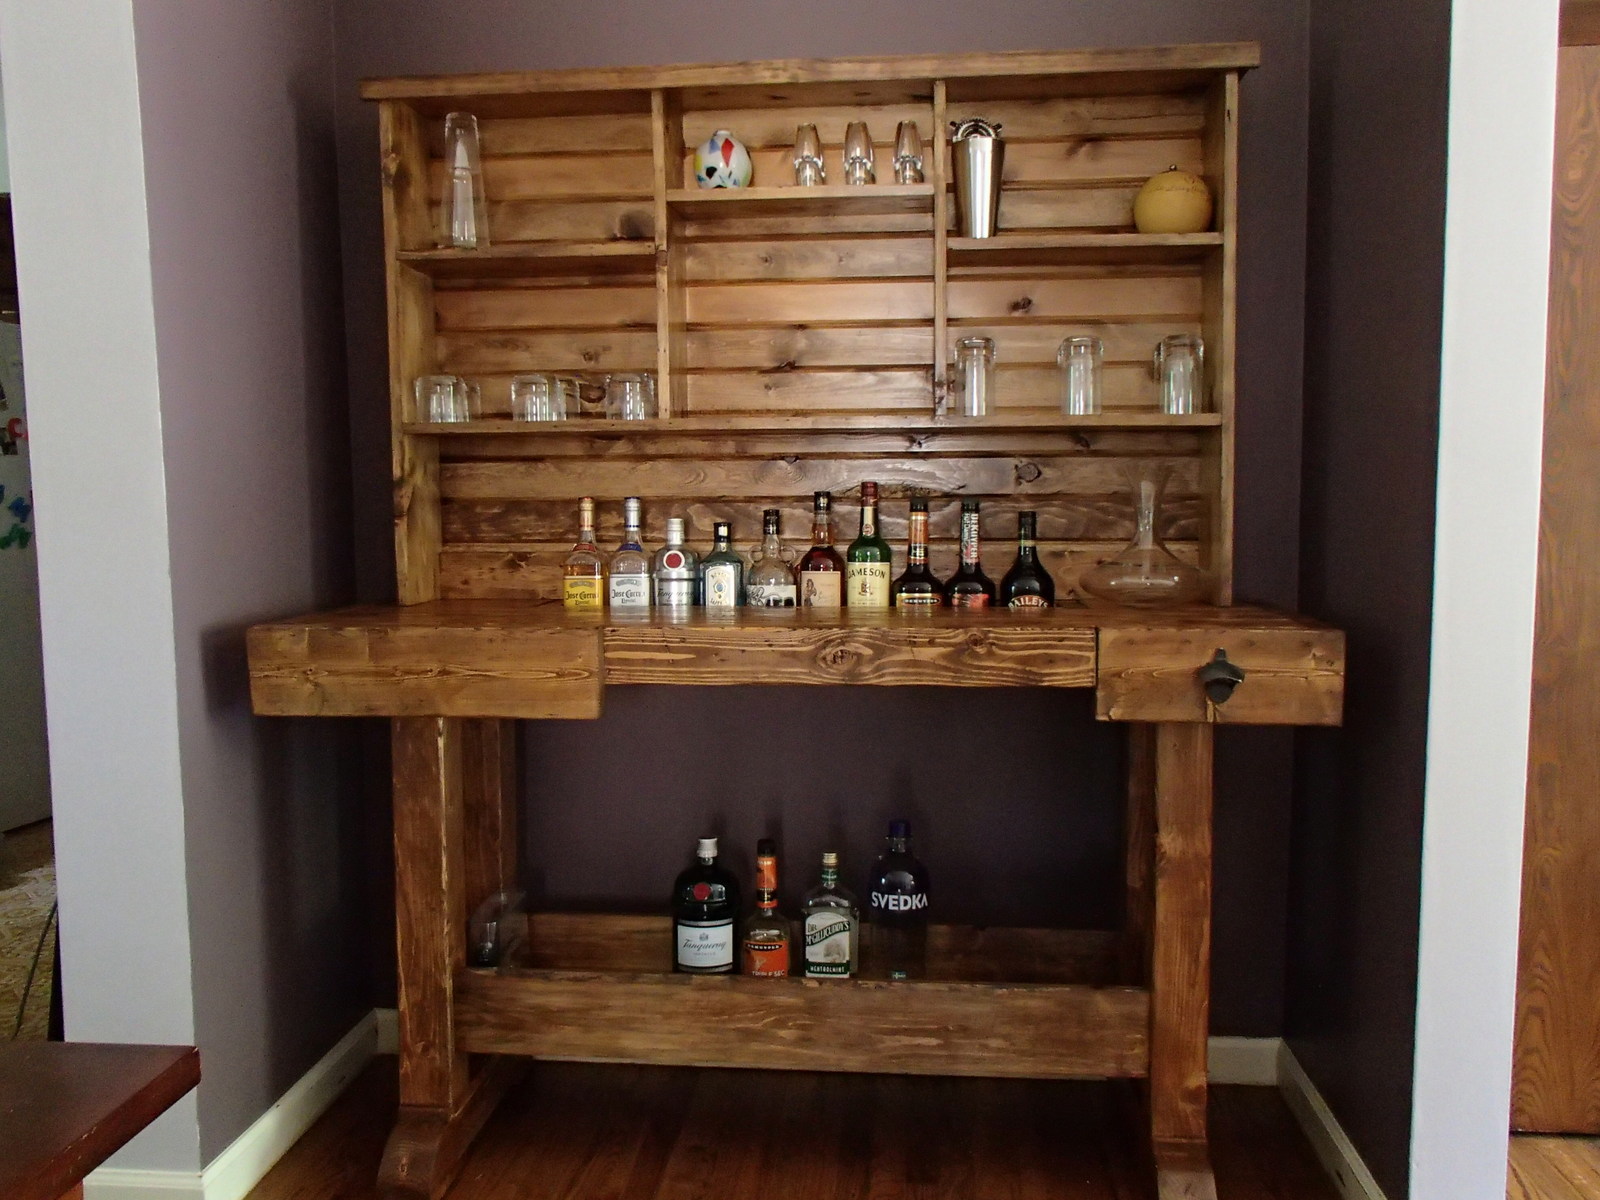
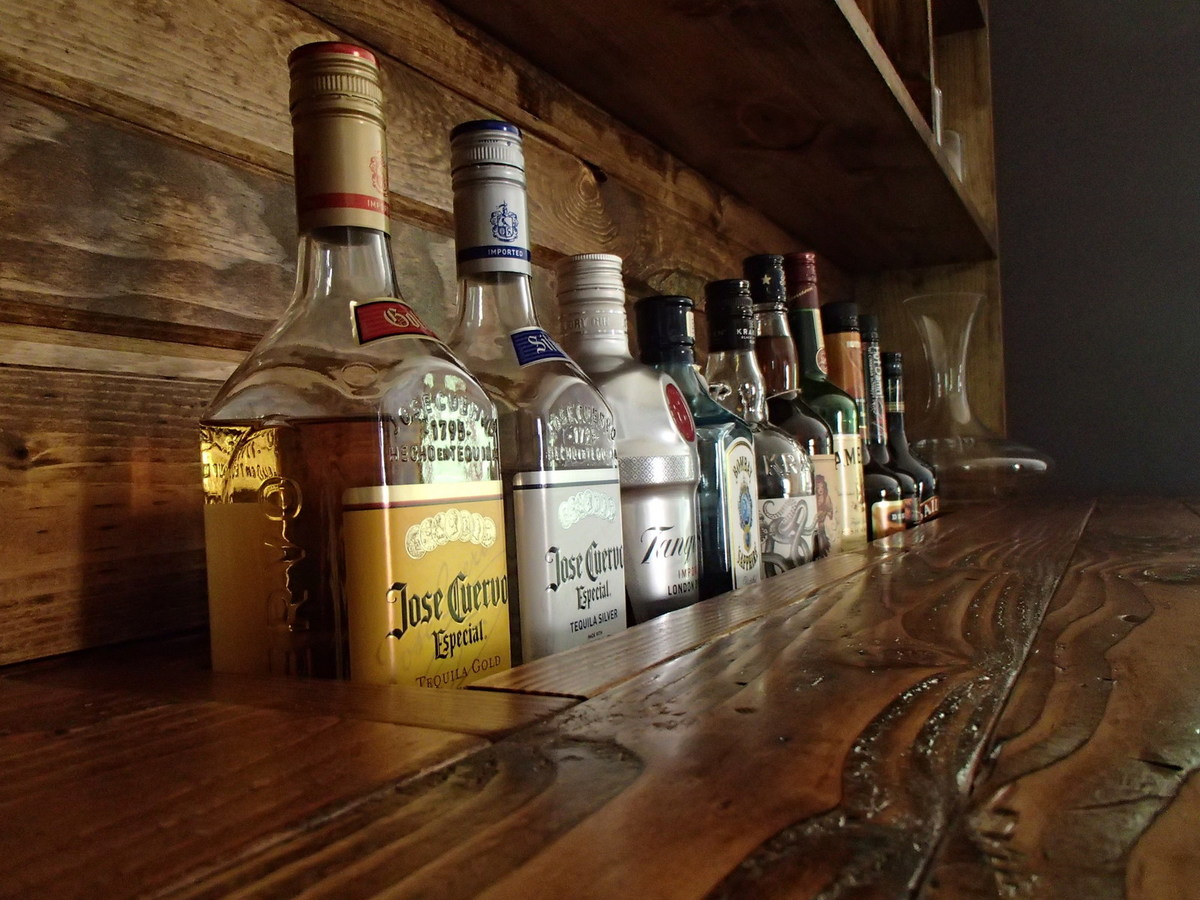
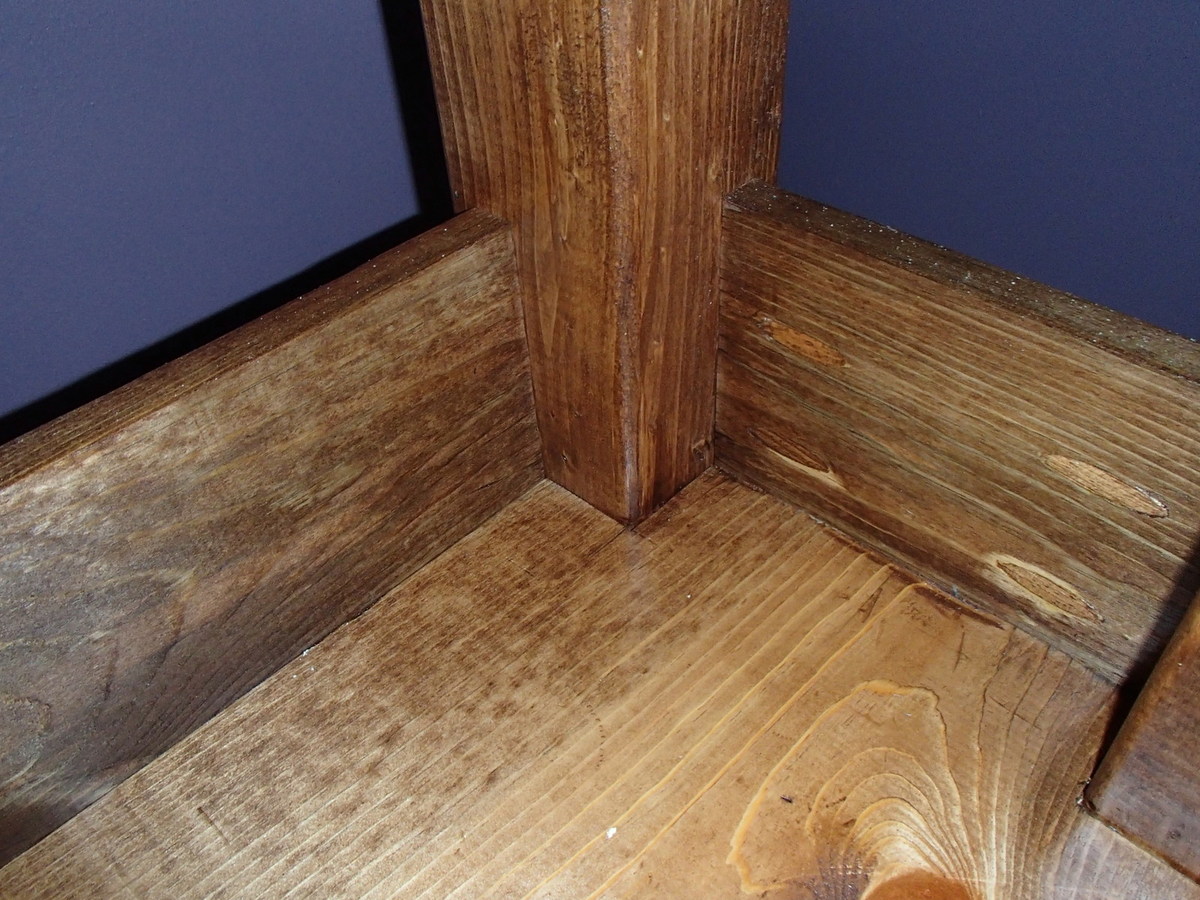
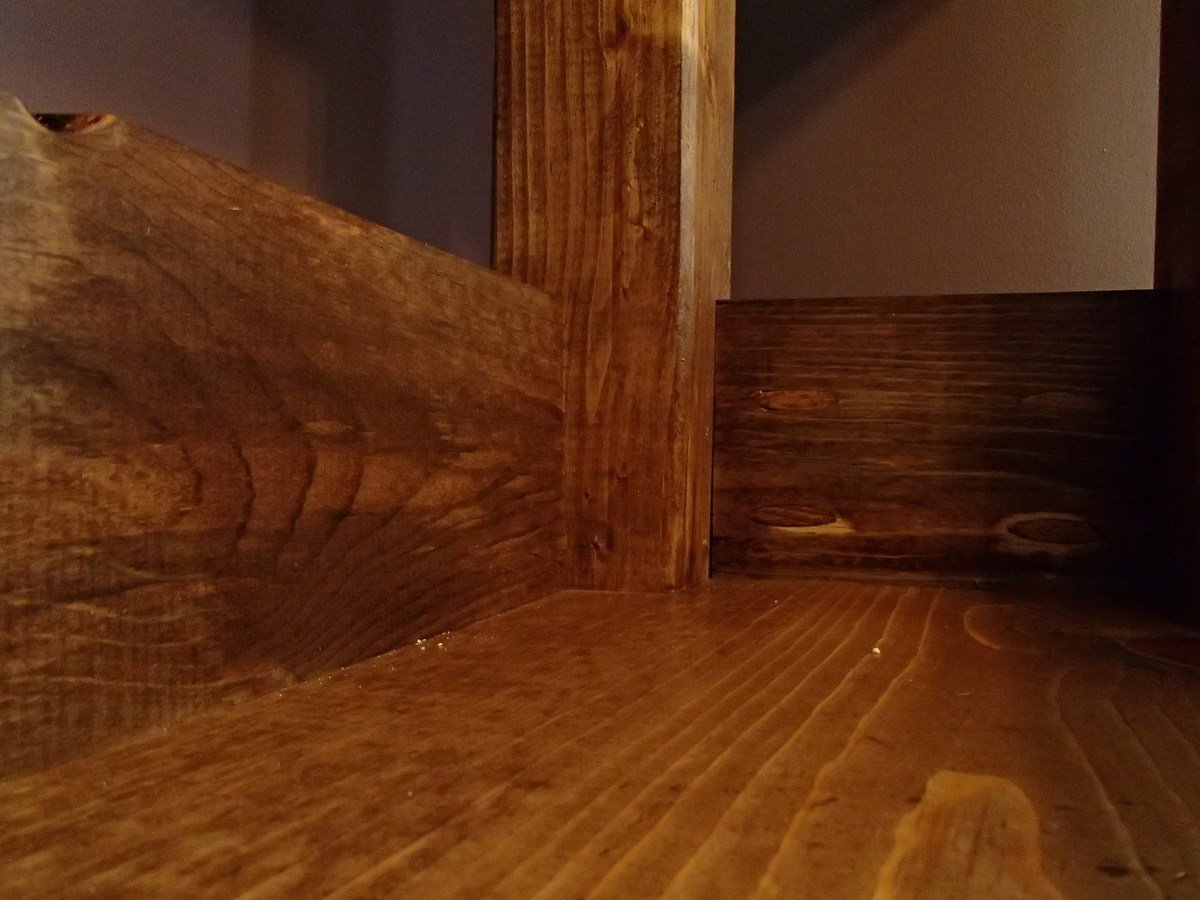
I decided to do some modifications to the original plans to make it more like the Pottery Barn original. I made the legs 4x4s like the original, as well as the horizontal bases of the legs. The major change that this entailed was in the bottom shelf. I notched the edges of the 1x12 so that it would fit flush, then connected it to the legs with pocket screws. The lowered ledge on the table top is two 2x4s on the bottom, a 2x4 on the front and back, and a 2x6 cut to size for the ends. I then attached it using pocket screws on the front, and just 2.5 inch screws from the back. The rest is pretty much the same as the plans. For the back of the hutch, I used 1x4 carsiding to give it a more finished look. It only cost a couple cents more for each 8 foot piece.

Comments
Carpenter Aunt
Sun, 07/08/2012 - 14:28
I'm thirsty now thanks
Looks great!!