This is my first attempt to make any kind of piece of furniture, and I am really happy with how it turned out! I have been searching for over a year for an affordable solution to the blank wall above my bed, but never found something I loved enough to spend money on or time on to repaint, etc. I just loved the way this one looked in the pictures so even though I have never built anything before I thought I would give it a shot! I found the instructions to be really easy to follow, but the actual process a little harder than I'd thought it would be (due to my own mistakes). I thought I'd list some of the mistakes I made in case someone else reads this and can stop themselves before they make the same ones :)
First, I put the padded part a little wider than the allotted space, so when I went to nail the boards on the edges they didn't go down as smoothly. If I had just kept it within the lines I marked, this wouldn't have been a problem.
Also, I somehow missed the part of the instructions where I was supposed to use glue when I nailed the boards, so between that and the relatively flimsiness of the 1/2 piece of plywood, my boards came undone a couple of times. I eventually decided to use screws to hold everything and that was WAY better and sturdier, even though you can see the screws.
Also, I did not square it well enough along the way and I ended up with a sliver of extra plywood hanging off the side of the board, which made the trim piece on one side have a little gap at the bottom. I don't care though, since the bottom is out of sight anyways!
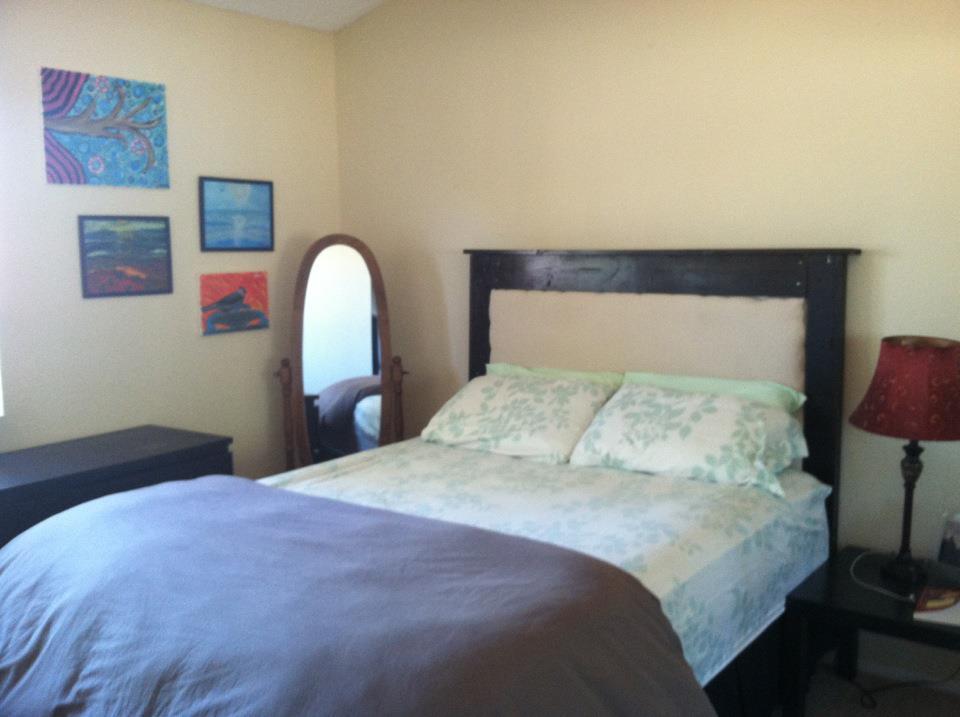
I saw other people had wondered how to attach this to a metal bed frame, but I never read a way to actually do it. I plan to figure out a way to either attach it to the bed frame or the wall, but for now, I just have it wedged between my mattress and the wall, and it seems stable enough. I hope it doesn't fall on me in the night ;)
I followed the lead of the Shanty to Chic lady and used a 5 dollar canvas drop cloth from Lowes for my fabric and I LOVE the way it looks in my room. I also took her advice and used Rust-Oleum stain (in Kona) and applied two coats of the stain to get the really dark wood.
Overall, I am super stoked to finally have a headboard, and to have made it myself! There is definitely a great feeling of accomplishment for building something like this so if you are hesitant to do it, I suggest you go for it! Next, I think I am going to make the tilt out trash can cabinet for my kitchen :)