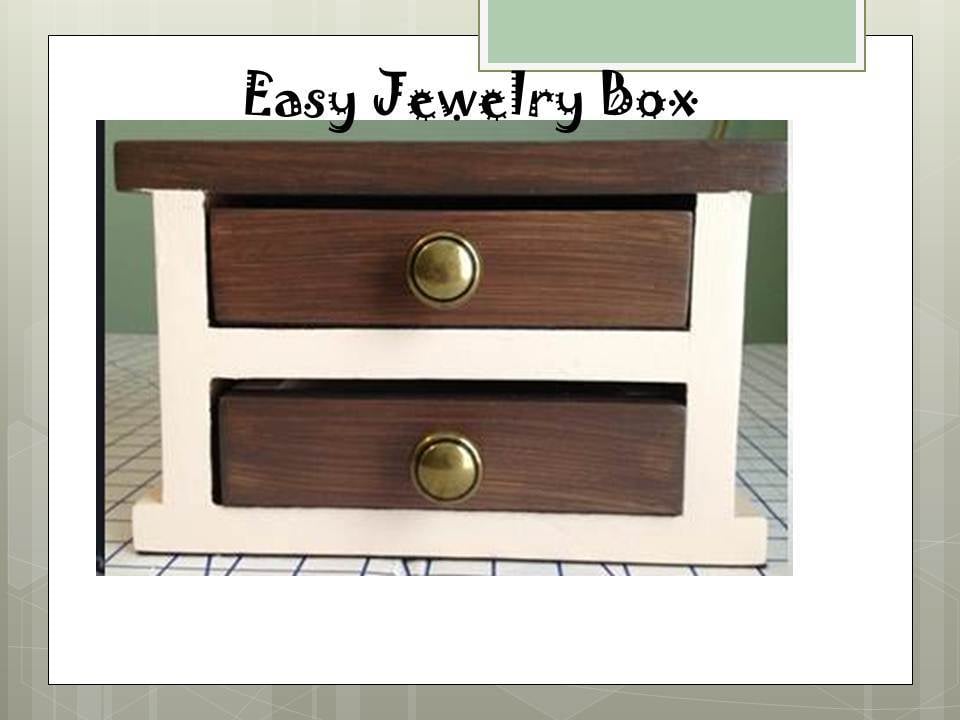


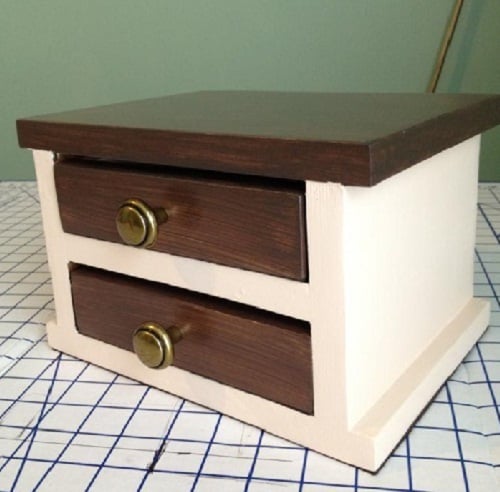
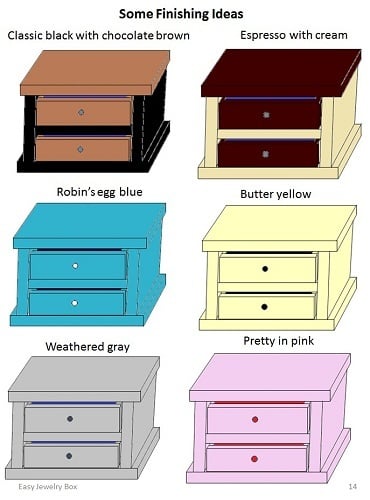
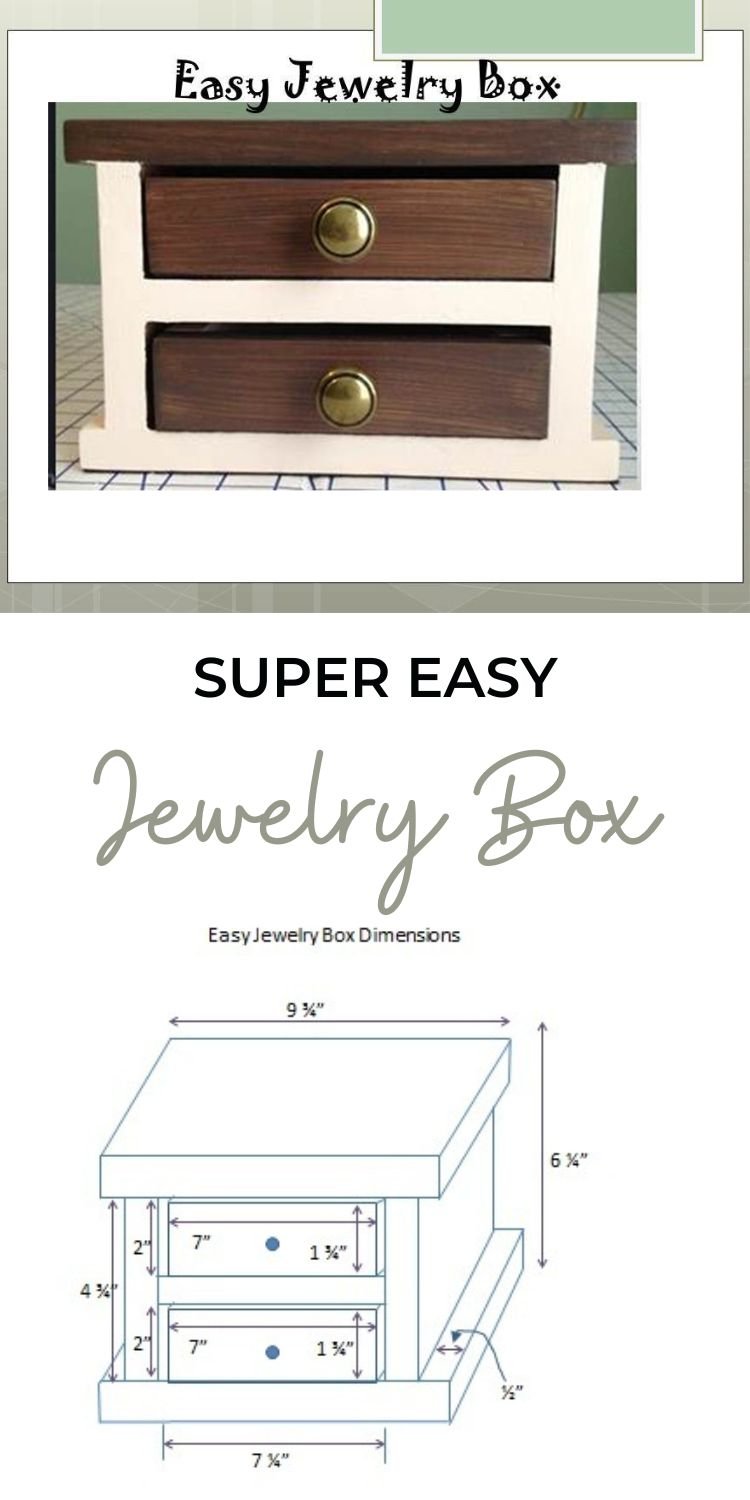
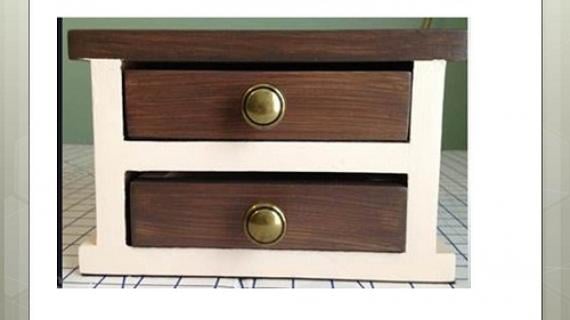
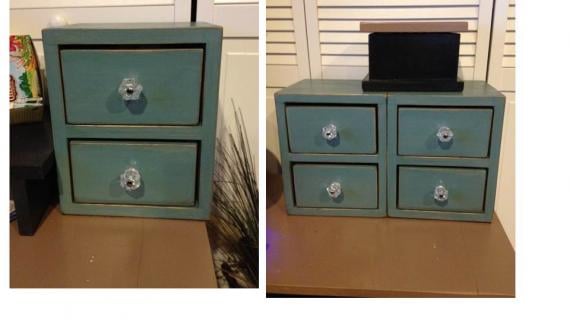
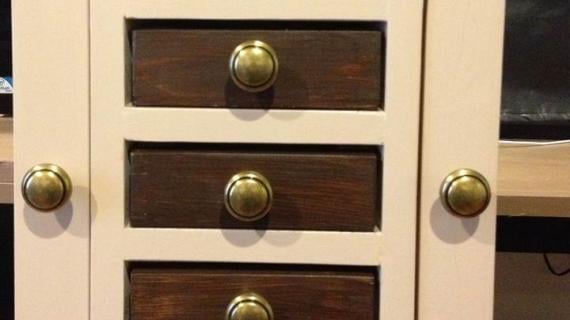
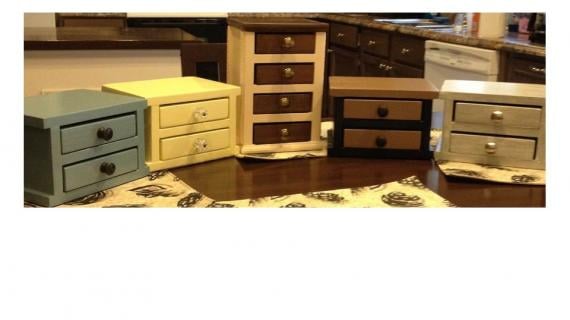
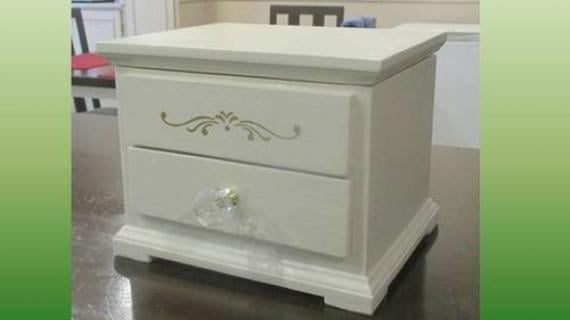
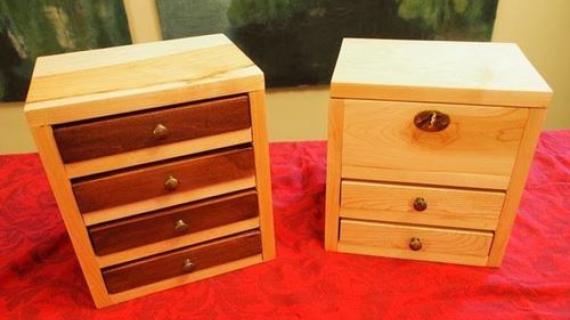
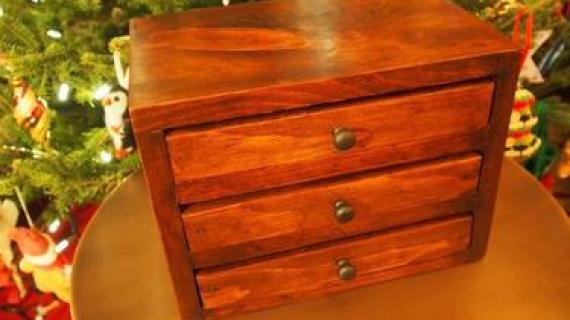
Easy Jewelry Box plan, inspired by master closet system drawers, and Willy bookshelf.
Pin For Later!
Preparation
Shopping List (for 1 jewelry box) (Plan assumes a 1x2 is ¾” x 1 ½”, and a 1x8 is ¾” x 7 ¼” )
1 pc 1x2x6
1 pc 1x8x6
1 pc ¼” x 2’x 2’ plywood (this piece is enough for 3 boxes)
(recommend hardwood plywood here - it sands and finishes best)
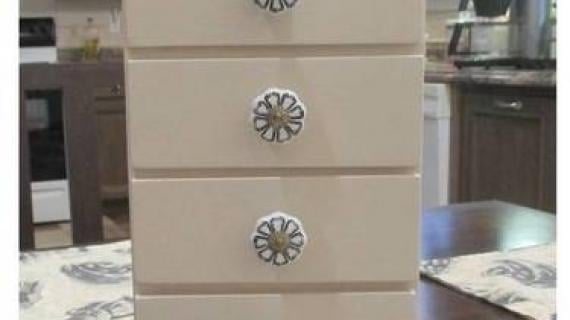
2 mini drawer knobs (Prices vary widely on knobs)
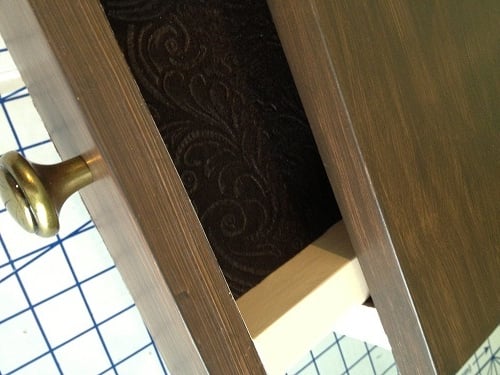
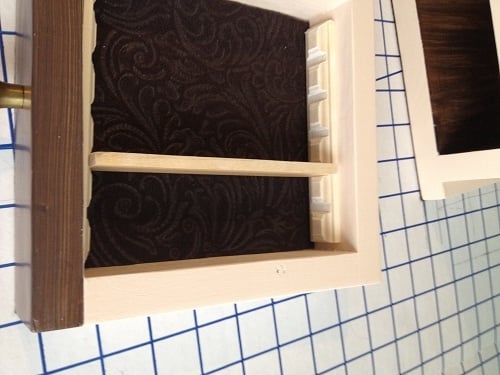
4 pieces felt (2 drawer liners on 1 sheet, and 1 sheet each for box and drawer bottoms)
Finishing materials - paint or stain of your choice
OPTIONAL (adjustable drawer dividers):
1 pc 7/8” dentil moulding (1 pc is enough for several boxes)
1 pc 1 1/8” lattice OR screen bead moulding (1 piece is enough for several boxes)
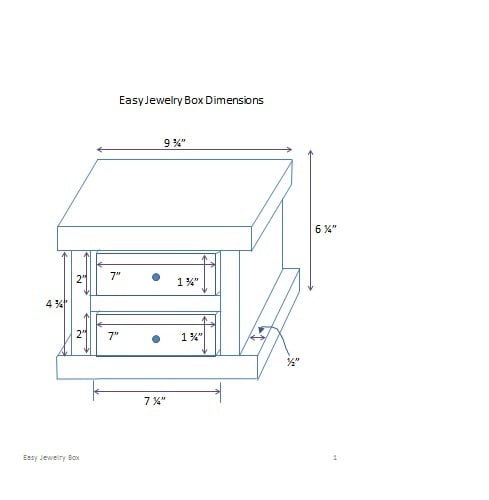
2 pc 1x8 @ 9 ¾” (top/bottom)
2 pc 1x8 @ 4 ¾” (sides)
1 pc 1x8 @ 7 ¼” (shelf)
2 pc ¼” plywood @ 7” x 7 ¼” (drawer bottoms)
1 pc ¼” plywood @ 6 ¼” x 8 ¾” (back)
4 pc 1x2 @ 7” (drawer front/back)
4 pc 1x2 @ 5 ¾” (drawer sides)
2 pc 1x8 @ 2” (spacers)
Cuts for OPTIONAL adjustable drawer dividers:
4 pc dentil moulding @ ~~ 5” (6 squares’ worth)
2 pc 1 1/8” lattice or screen bead moulding (cut to fit – approximately 5 ½”)
Note: Use the screen bead if you want more than 1 divider per drawer, shorter height will make it easier to reach in between
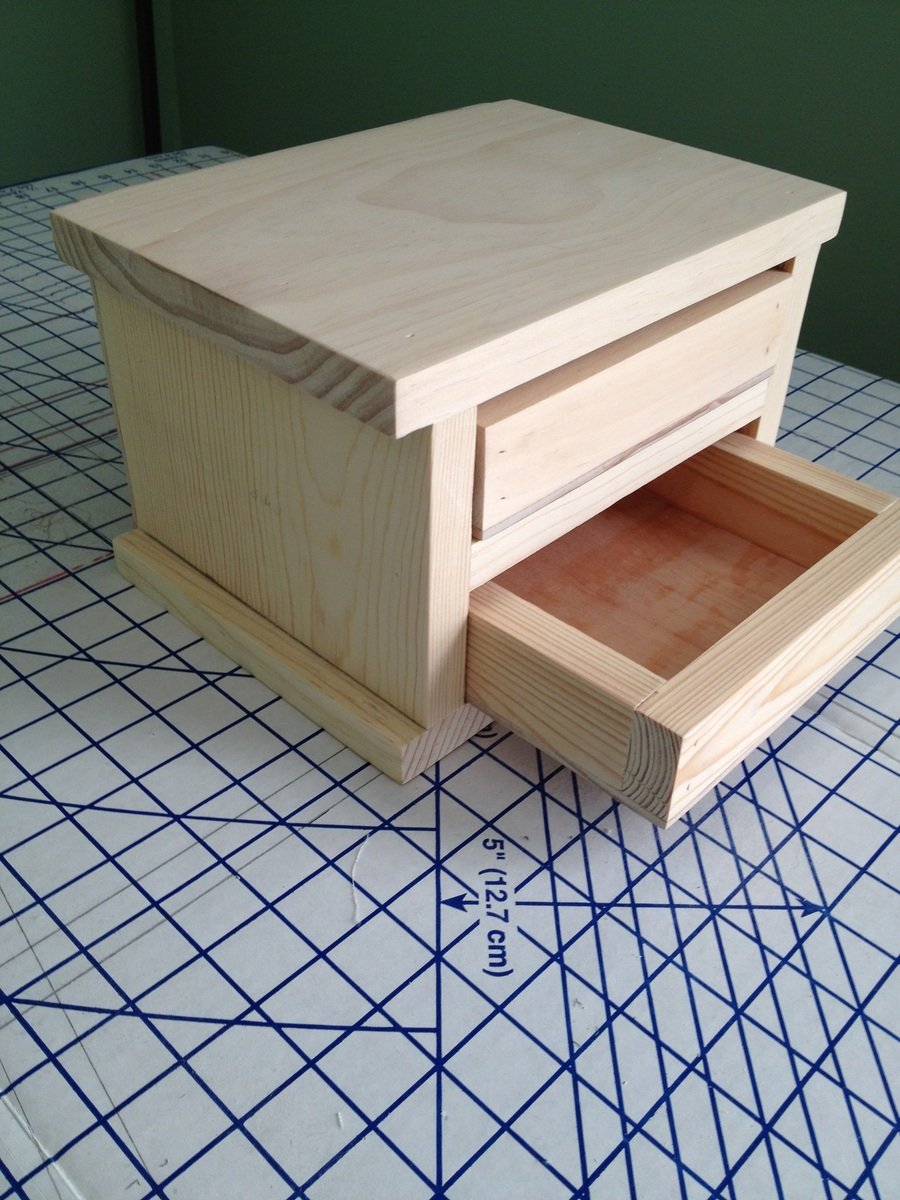
Used my miter saw for the entire build. I used left over 1/4" plywood so I was even able to cut that with the miter saw.


Please read through the entire plan and all comments before beginning this project. It is also advisable to review the Getting Started Section. Take all necessary precautions to build safely and smartly. Work on a clean level surface, free of imperfections or debris. Always use straight boards. Check for square after each step. Always predrill holes before attaching with screws. Use glue with finish nails for a stronger hold. Wipe excess glue off bare wood for stained projects, as dried glue will not take stain. Be safe, have fun, and ask for help if you need it. Good luck!
It is always recommended to apply a test coat on a hidden area or scrap piece to ensure color evenness and adhesion. Use primer or wood conditioner as needed.
Comments
don (not verified)
Wed, 10/03/2012 - 13:33
jewelry box plan
The measurements are off for the sides perpendicular to top and bottom. If you top and bottom are 91/4 and shelf is 71/4 and the wood is 3/4 inch it will only work if you bring the sides in 1/4 instead of 1/2. Right?
JoanneS
Wed, 10/03/2012 - 15:53
Jewelry box plan reply
Hi Don, can you tell me where you are seeing 9 1/4"? I'm seeing 9 3/4" as the measurement in the cut list, plan, and diagram for the top & bottom, which allows for a 1/2" overhang on each side. thanks, Joanne
BenC
Sat, 01/10/2015 - 19:14
Jewelry Box Plan
Hey Joanne,
Can you take a picture of the back of the jewelry box? I am a little confused as to how to do the back with the plywood. Did you just put it on the back?
Thanks
JoanneS
Sat, 01/31/2015 - 17:08
Jewelry Box picture added
Hi BenC,
I just realized I had this comment - sorry it took so long to reply. The plywood is just applied to the back, keeping the top and bottom flush, and outside edges flush with the sides of the box (it doesn't cover the overhangs). I added a picture of the unfinished box, where you can see a little on the side how the back went on. Also the diagram in step 5 is updated to show it more 3-d. Hope this helps, happy building! :)