Now don’t get me wrong, I love crisp white painted trim. When it’s clean and fresh, white trim can brighten any space.
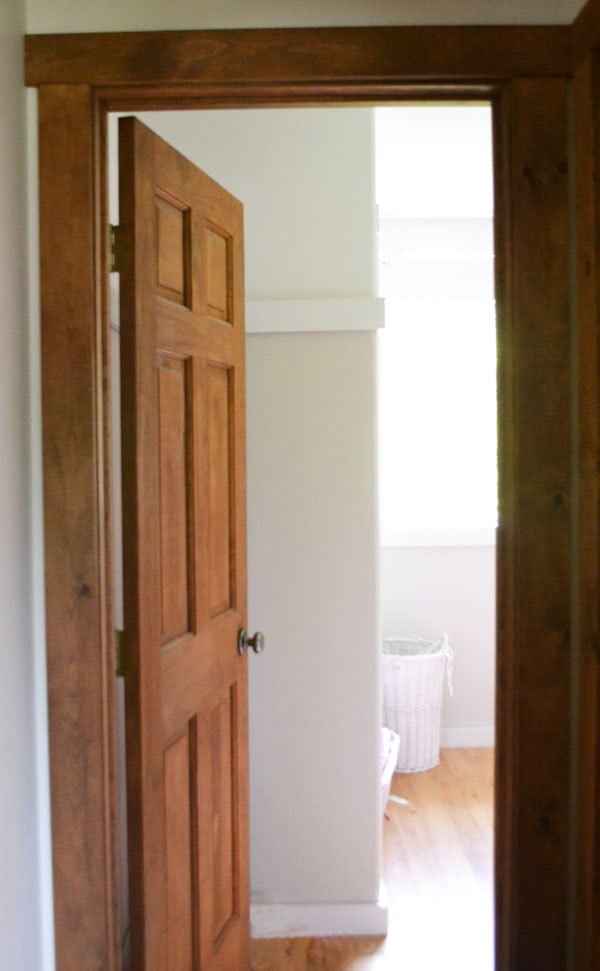
Most of the trim in my house is wood stained. But in a few rooms, I decided to paint the trim high gloss white. I’m sure glad I did not paint all of the trim in our house now.
Because you see, after a few years of use, I’ve noticed this about the white trim. It shows dirt and scuffs easily, and after a few months, no longer looks crisp and clean. I’m a slave in those rooms to wiping down the trim.
But in the rooms that still have wood stained trim, you can go days without wiping down the trim. The wood stained trim does not show dirt, and scuffs might happen, but you would never know it.
It’s like having brown shoes vs white shoes.
I love my wood stained trim.
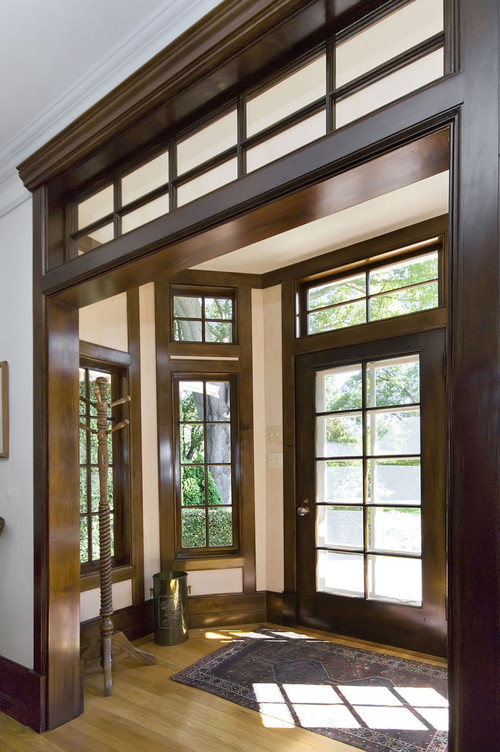
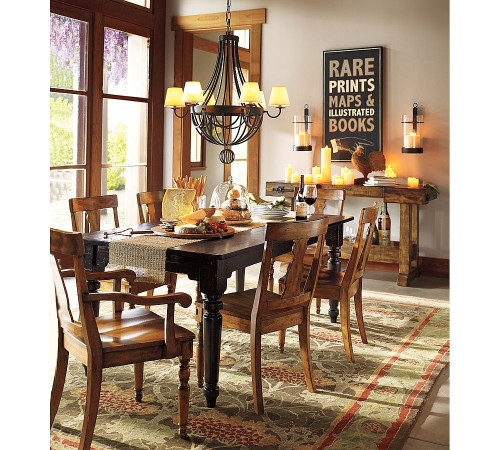
And I’m glad to see wood stained trim is on the rise in the design world as well!!!
Here's a some stained wood trim inspiration images from Houzz:

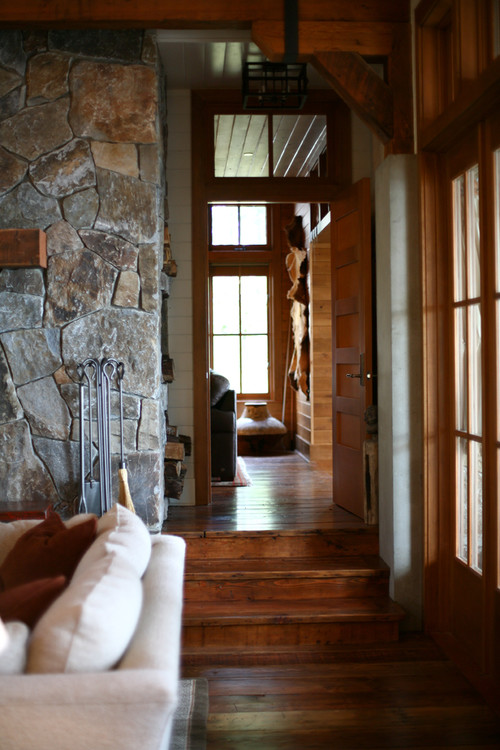
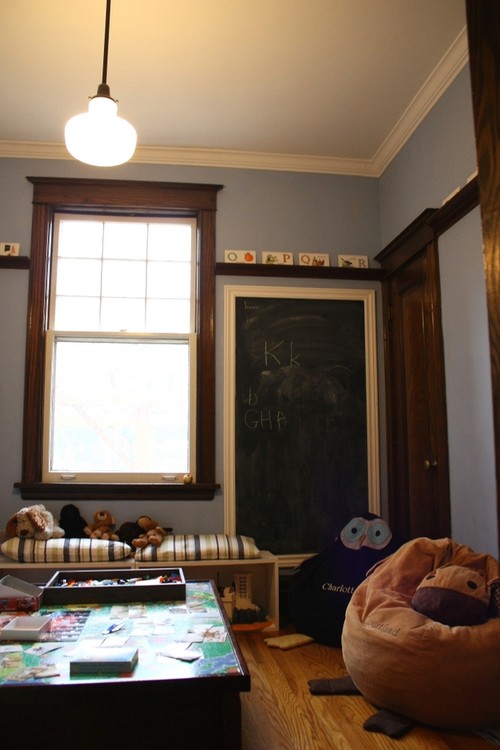
I especially love wood trim in a child's room!
And I thought some of you might love wood stained trim because it’s beautiful and practical too, so I teamed up with the folks at Minwax to show you step by step how I stain my trim.
• Medium or Fine and 220 Grit Extra Fine Sandpaper
• Minwax® Oil Based Pre- Stain Wood Conditioner
• Foam Applicator Pad
• Natural Bristle Brush or Staining Rags
• Minwax® Wood Finish™ – Early American
• Minwax® Fast Drying Polyurethane
• Mineral Spirits for Brush Cleanup
• Minwax Stain Marker Stain Marker
• Minwax Blend Fil Pencil
Preparing Boards
For my house, I’m just using pine boards for the trim. You can use decorative mouldings, or even stack decorative mouldings over boards as well, just make sure you have the same species wood.
Our trim boards are cut to length first, and our walls are already primed and painted in the desired color.

The trim boards are sanded with a power sander using medium grit sandpaper. If you are using decorative trim, use sandpaper to sand hard to reach spots.

Sand until the board is smooth to touch. It’s about to become part of your home! This board has a small blemish on the bottom edge – no worries, it will be covered by the floor.
After sanding, you’ll want to make sure all the sawdust is removed. Use a soft bristled brush followed by slightly damp rag to remove all sanding residue.
Pre Stain Application
Before you begin, make sure you have sufficient time to apply the Minwax® Oil Based Pre- Stain Wood Conditioner (Oil Based) and Minwax the Wood Finish as you should apply stain 15 minutes to no more than 2 hours following Pre- Stain Wood Conditioner.

I’m a huge fan of using Minwax® Oil Based Pre- Stain Wood Conditioner. I find I love my stained finish so much more if I take the time to apply it before stain.

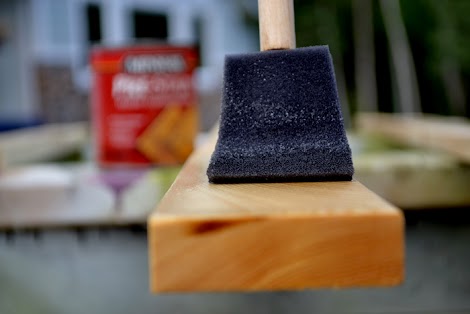
Make sure you stir, NOT SHAKE, the Minwax Pre-Stain Wood Conditioner before use. I like to use foam applicators to apply Pre- Stain. They are economical and easy to use!

You can’t apply too much, but you’ll find you won’t need a ton of it!

The wood will look slightly wet where the Pre Stain is applied.
Make sure you cover all sides and ends too! Let it sit on the wood for about 5-15 minutes.

Then you’ll want to remove any excess Pre-Stain Wood Conditioner from your boards.

Do not allow excess Pre Stain Wood Conditioner to dry on your boards.

And don't forget, you should apply stain within 2 hours of applying Minwax® Oil Based Pre- Stain Wood Conditioner
Stain Application

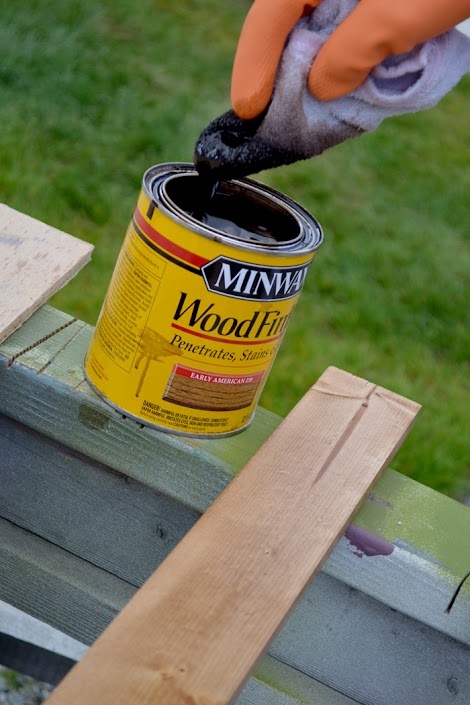
I’m partial to Minwax® Wood Finish™ in Early American, but you can use any Wood Finish color. But keep in mind, if you use Minwax Water Based Stains, you’ll then want to apply Minwax Water Based Pre- Stain Wood Conditioner. Water based colors are fun too, it’s total preference on whether you go with oil or water based stains. I know the Minwax Water Based stains are available in 50 tintable colors for lots more options!
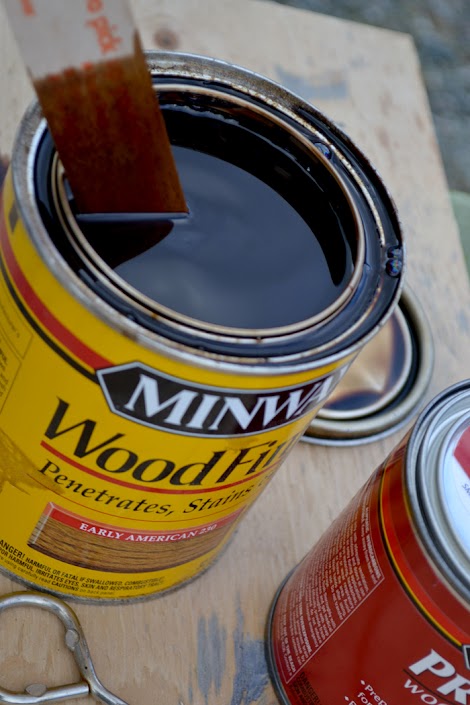
It’s very important to stir stain before and periodically throughout use for a consistent color.
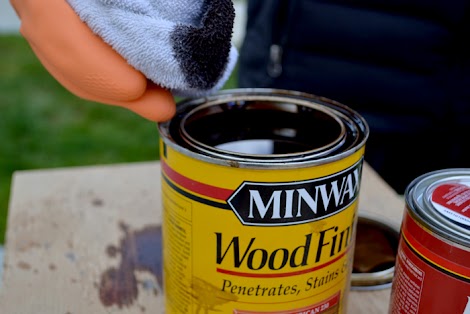
Normally I brush stain on projects. But because I am staining long, narrow boards with edges, I am going to use a staining rag to avoid dripping stain. I’m also wearing gloves to protect my hands.

I just rub the stain on the wood, in the direction of the wood grain.
Apply the stain liberally to the wood, wiping off excess after 5 to 15 minutes. It is very important to NOT allow excess stain to dry on the wood.

You can add additional coats of Minwax® Wood Finish™ after 4 to 6 hours if you would like to darken the color.

The boards will need to dry overnight before you can apply top coat.
Top Coat Application
I’m using one of the most durable protective coatings out there for my woodwork – Minwax® Fast Drying Polyurethane. I know my trim is going to get scuffed and kicked as life happens in our house!
I am working outdoors, on a nice, calm day, so I choose the easy route – the spray can of course! For those of you who may not be comfortable spraying, this awesome product does come in quarts and gallons too, for your bigger projects, and you can apply it with a brush.

First I apply a thin, even coat Be sure to spray using an even, sweeping motion, with slight overlapping strokes.

Let dry for about 2 hours and then apply second coat.

Then I sand it very lightly with 220 Grit Sandpaper.

Then I repeat with two additional coats of Minwax® Fast Drying Polyurethane. The finished product is smooth and durable!
After the last coat, (I usually do between 3-4 coats), make sure you allow at least 24 hours for the boards to dry before installing them.
Installation

We’ve already precut the boards to fit, so all we need to do is nail it up!

Using 2” finish nails, the trim is nailed up.

The nails leave tiny marks in the wood.

I just use a color matched Minwax Blend Fil Pencil to fill in any holes! I’ll keep it around if we need it for touch up later on.
And I’ve also picked up a Minwax Stain Marker for quick touch ups! Best part is they come in 8 colors, sure to match all the wood in my home.
Who says Mama can’t draw on the walls?
Comments
DJ Alexander (not verified)
Sat, 08/25/2012 - 10:53
Staining rags
In reply to Staining rags by DJ Alexander (not verified)
Ana White
Sun, 08/26/2012 - 08:52
So glad you brought this up!
John G (not verified)
Fri, 08/31/2012 - 11:20
orbital sanders are a "no no" for work that will be stained.
kayerhone
Fri, 05/31/2013 - 20:22
I truly love the color of the