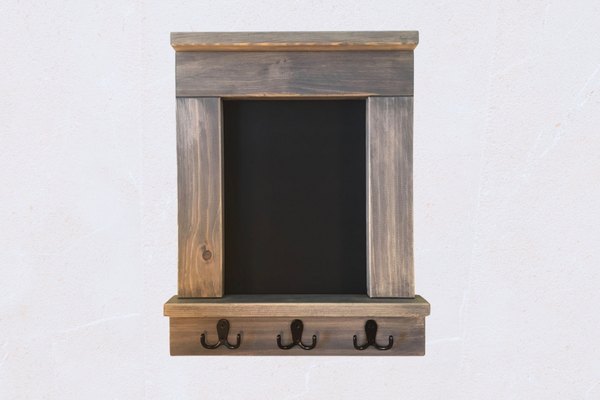


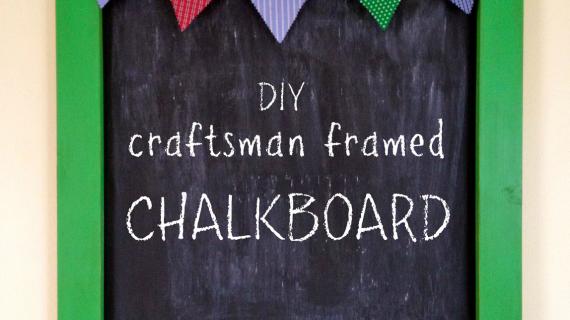
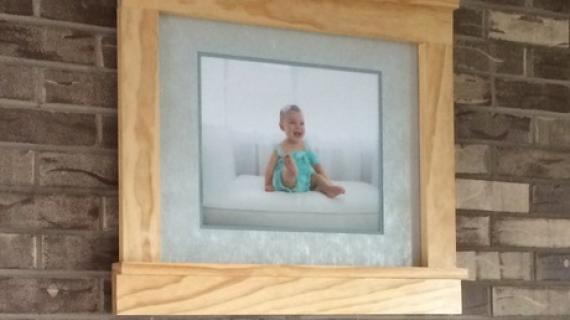
Free tutorial to build a craftsman style frame - no angle cuts and easy to build. Build in different sizes to fit your artwork or space. Free step by step plans from Ana-White.com
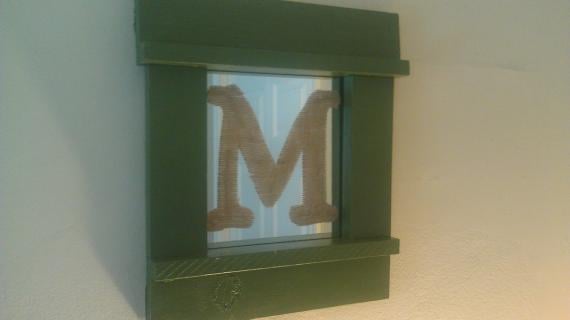
Reader submitted photo by KATE_14
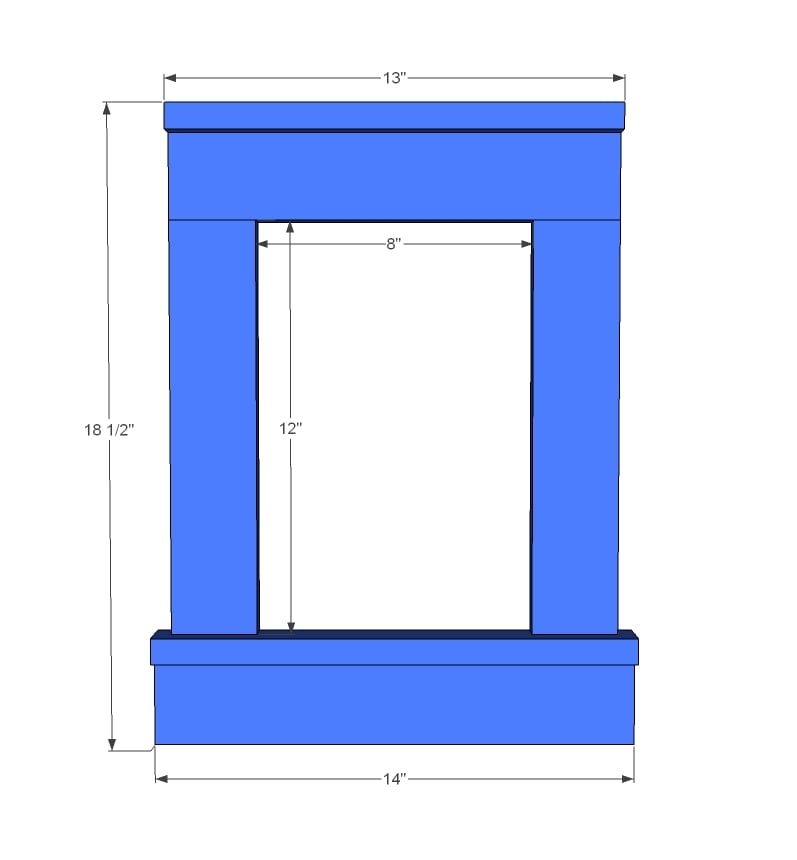
How to Adjust the Size
The plans are designed for an 8"x12" print. To adjust the frame for your print, do this:
- Cut the two side 1x3s to the height of your print. (mine is 12")
- Cut one 1x2 and one 1x3 to the width of your print PLUS 5 inches (mine was 8 + 5 = 13")
- Cut one 1x2 and one 1x3 1" longer than the measurement from step 2 (mine was 13" x 1" = 14")
Follow the build steps in the plans.
Preparation
For a frame with inside measurement 8x12:
- 1 - 1x3 - 8 feet long
- 1 - 1x2 - 3 feet long
For a frame with inside measurement 8x12:
- 2 - 1x3 @ 12" (sides)
- 1 - 1x2 @ 13" (top)
- 1 - 1x3 @ 13" (top)
- 1 - 1x2 @ 14" (bottom)
- 1 - 1x3 @ 14" (bottom)


Please read through the entire plan and all comments before beginning this project. It is also advisable to review the Getting Started Section. Take all necessary precautions to build safely and smartly. Work on a clean level surface, free of imperfections or debris. Always use straight boards. Check for square after each step. Always predrill holes before attaching with screws. Use glue with finish nails for a stronger hold. Wipe excess glue off bare wood for stained projects, as dried glue will not take stain. Be safe, have fun, and ask for help if you need it. Good luck!
Instructions
Step 1

Attach the 1x2 to it's corresponding 1x3. The easiest way is 3/4" pocket holes and 1 1/4" pocket hole screws and glue.
Step 2

Now drill 2 3/4" pocket holes on each end of the sides and attach to top and bottom. Sometimes your wood will split when attaching this way. You can prevent by drilling slowly, and unscrewing and rescrewing screw as you go to soften up wood. Another trick is to take a small drill bit and predrill a hole into second board through first pocket hole with joint clamped. And if all else fails, this is a frame, no structure really here - so try setting jig to 1/2" setting and using 1" pocket hole screws.
Frame can be hung with a sawtooth hanger or other hanging hardware.
It is always recommended to apply a test coat on a hidden area or scrap piece to ensure color evenness and adhesion. Use primer or wood conditioner as needed.


Comments
Chaz (not verified)
Wed, 10/10/2012 - 11:15
Frame
Hello,
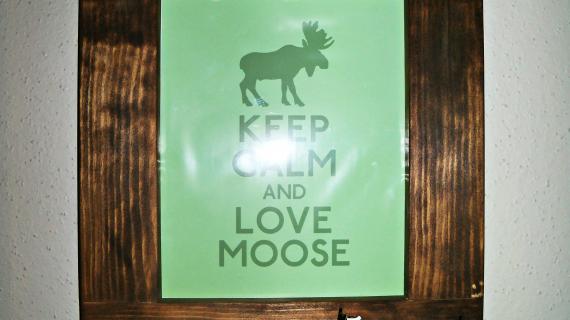
Excellent job on the frame. I was curious as to how you attached the picture to the frame. Thanks for your time.
-Chaz
dmcarwin
Wed, 10/10/2012 - 13:23
Eeek!
I am in LOVE with this frame, and I can't wait for the tutorial on the finish! It is soooooo cute! I hope you are enjoying your book tour! My copy of the Handbuilt Home is on it's way to me!
Thanks for sharing all your amazing talent!
Mindi
birdsandsoap
Wed, 10/10/2012 - 15:54
Love this frame, but I love
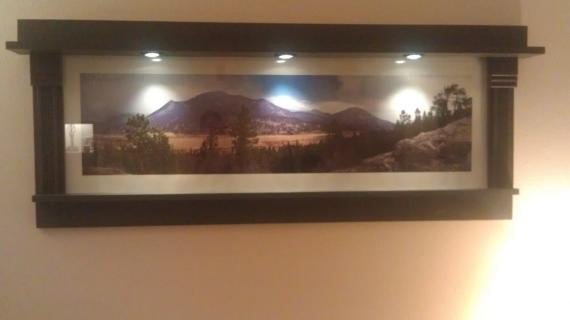
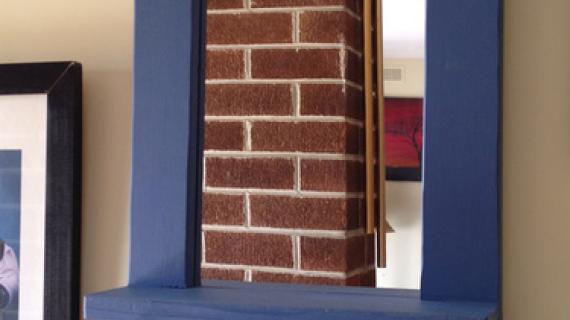
Love this frame, but I love the stain even more. I was actually planning a build for next summer and had one of those fancy cooler stands in mind stained in just this shade of blue. It's such a fun color, and by the way, it matches the color of the mountains in your pic above! Talk about being inspired by your surroundings. On a side note: been watching a bunch of "Alaska State Troopers" on cable lately and my desire to visit Alaska has gone up tremendously. It is so beautiful there!
Tell me about the stain! ( I have a feeling if I am patient, there will be a post about this in "finishes", right?) Can't wait!
Maira (not verified)
Wed, 10/10/2012 - 17:37
Ana, just got done meeting
Ana, just got done meeting you at the Home Depot in Atlanta! It was so great to meet you there. I really like this frame, but I think I like the one you did at home depot even more. I can't wait to get back to building.
Miralina
Wed, 10/10/2012 - 19:05
Great meeting you!!
It was so great meeting you at the Home Depot tonight! Yor advice was great... I think I am going to save up for a kreg jig after seeing yours in action. I love the book too...I can't wait to get started on some new projects!!! Thanks for coming to Atlanta!! :)
smacneil
Fri, 10/12/2012 - 09:39
FANSCREEEEECH!!!
Just got my pre-ordered book delivered!!!! making a cup o' joe to sit at my Fancy X PC Desk and read it.
this frame is absolutely perfect for my next project. I can't wait to get started. and like everyone else I am IN LOVE with that finish!
You're truly an inspiration Ana, thanks for inspiring me to pick up my power tools and fall in love with the smell of sawdust!
Tiffany Spencer (not verified)
Fri, 10/12/2012 - 14:00
You are amazing!! Thank you
You are amazing!! Thank you for sharing your talent with us.
smacneil
Sun, 10/14/2012 - 15:32
I'm with Chaz... how does the print fit in?
I was trying to figure out how to attach my print in there after I build it... did you add a backing and some of those tunbuttons?
JDimmer (not verified)
Fri, 11/30/2012 - 16:14
Love the frame
I love this idea for an antique looking frame. For those out there that wanted to know how to secure a picture, I just ended up cutting 1/2" round over trim and glued it to the inside....gave a very nice look and secured the picture in place perfectly!
Abby (not verified)
Tue, 12/25/2012 - 22:06
Framing
I'd like information on how to secure the image inside the frame... How did you do it? :) Thanks!
KaoticKrafter
Mon, 10/13/2014 - 20:16
First Project- Wall Frames
My 8yo daughter and I tackled our first woodworking project today- the Wood Frame from your book. She actually did most of the work with a little help from me. It was so much fun to make (we used the Kreg, that thing is awesome!) and we can't wait for our next project. She's going to help me with the Outdoor Modern Bar Table that we plan to adapt so we can use it in our kitchen.
Thank you so much for all the awesome and easy to follow plans. This is going to be so much fun!
Tina