

Build a play kitchen fridge with french doors. All 1x construction - just cut boards and screw or nail together. Free step by step plans from Ana-White.com
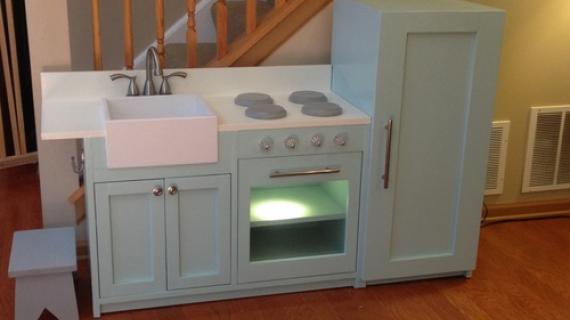
RELATED: Plans for the Play Kitchen Sink and Stove
Want to build a childrens kitchen? We can help! Our free plans are easy to follow and sure to delight!
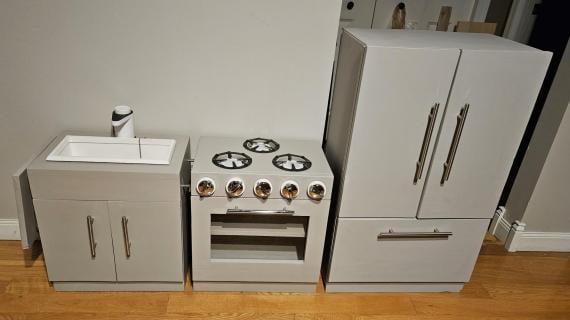
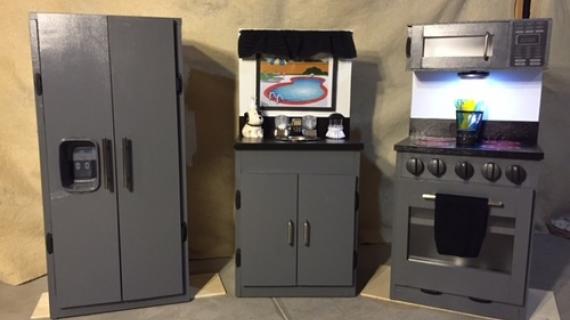
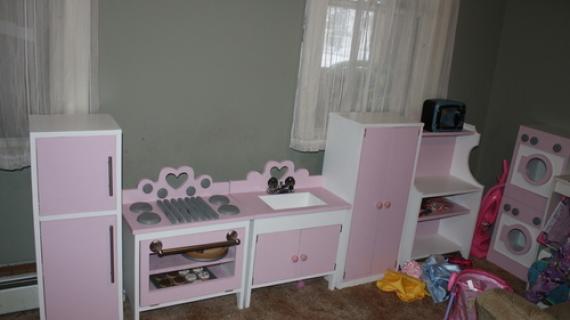
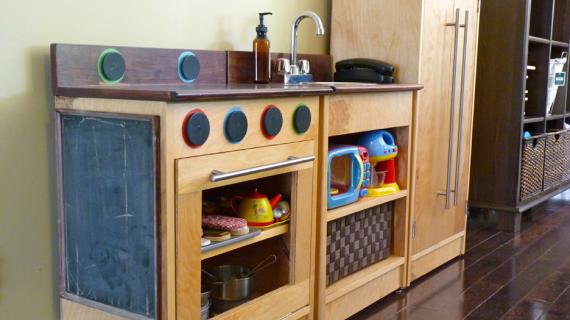
This play fridge works alone or with our Simple Play Kitchen Sink and Stove Plans.

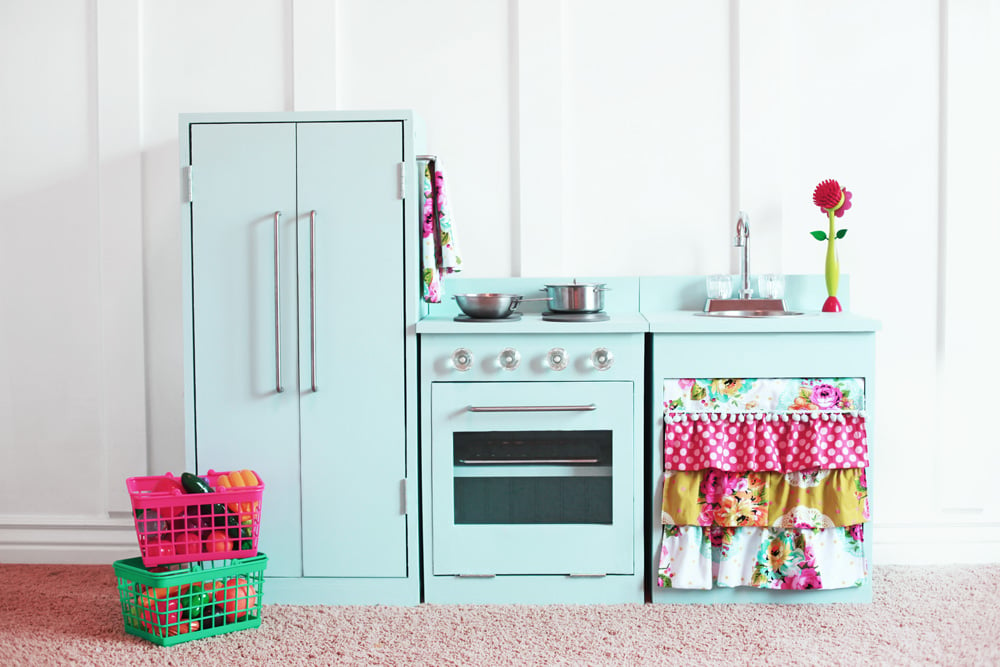
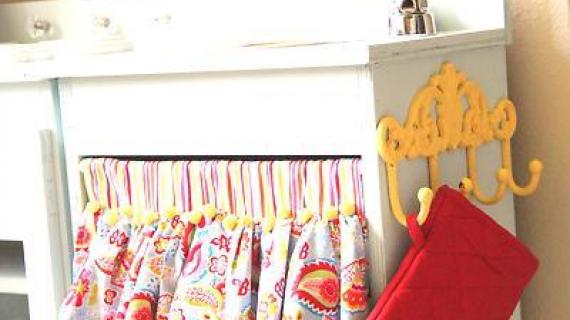
Photo Kirsten Wright Crafting Chicks
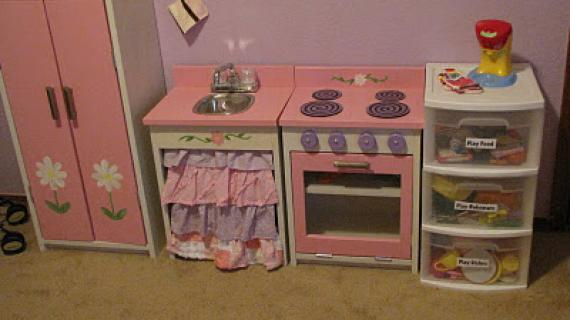
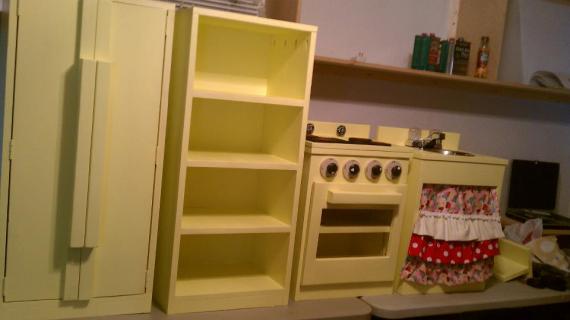
We love that this little play kitchen fridge has lots of shelves for storing all the play food and pots and pans.
Preparation
• 1 - 1x12 @ 10 feet long
• 1 - 1x10 @ 4 feet long
• 1 - 1x2 @ 15” long
• 1 - 1x8 @ 6 feet long
• 1 - 1/4 sheet of 1/4” thick plywood or beadboard
• 1 1/4” pocket hole screws OR 2” self tapping screws
• 1 1/4” brad nails
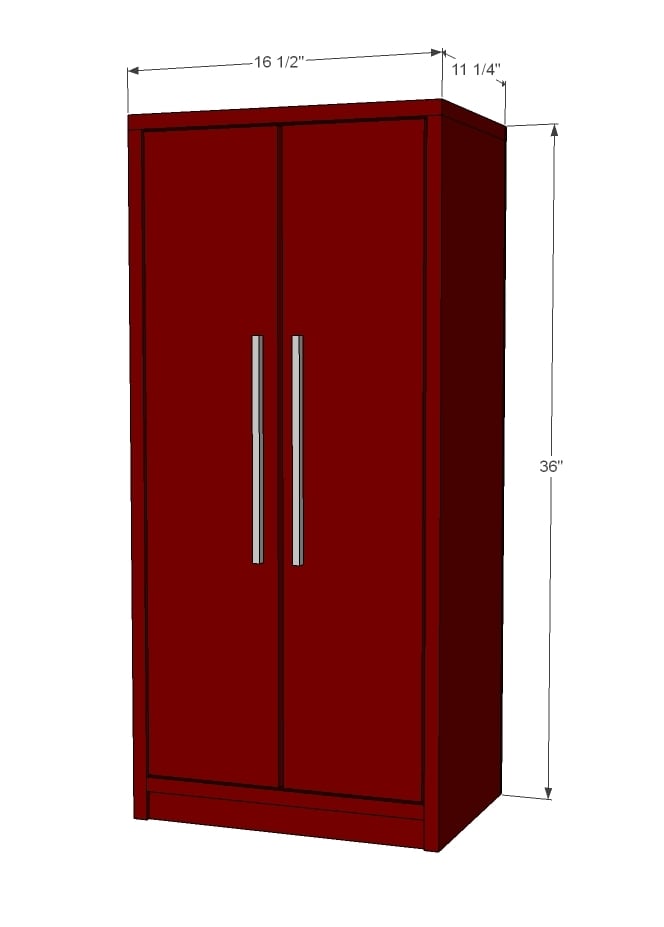
• 2 - 1x12 @ 35 1/4” (sides)
• 1 - 1x12 @ 15” (bottom shelf)
• 1 - 1x12 @ 16 1/2” (top)
• 1 - 1x2 @ 15” (bottom footer)
• 3 - 1x10 @ 15” (shelves)
• 1 - 1/4” plywood or beadboard 16 1/2” x 36”
• 2 - 1x8 @ 32 3/4” (doors)


This plan can be built with different methods.
- You can use 1-1/4" brad nails to assemble - just don't forget the glue and make sure you add the back with glue and 3/4" brad nails
- You can use 2" self tapping wood screws like these and nail the back on
- Or you can use pocket holes as outlined in the plans
Instructions
Step 1

Bottom Shelf
Measure up 1 1/2” on each bottom inside of sides and mark. Either drill 3/4” pocket holes on both ends of bottom shelf or predrill pilot holes for trim screws in sides. Attach with screws and glue.
Step 2

Top
Attach top with 2” trim screws countersunk or 3/4” pocket holes and 1 1/4” pocket hole screws. All outside edges are flush.
Step 3

Footer
Apply glue to top and end edges of footer. Position at bottom of project, and attach with 1 1/4” finish nails. You can also attach with countersunk screws or pocket hole screws.
Step 4

Shelves
Shelves are all installed flush to back, and can be placed at any height. In this plan, the shelves are 7 1/4” spaced so you can use the doors as spacers for attaching. Just attach with glue and screws or finish nails.
Step 5

Back
Attach back with 3/4" brad nails and glue.
Step 6

Doors
Finally, attach doors to cabinet with narrow profile butt hinges, with hinges installed in gap between door and cabinet. Keep a 1/8” gap on top and bottom of doors. Install stop or magnetic clasp at top or bottom to keep doors shut when closed.
It is always recommended to apply a test coat on a hidden area or scrap piece to ensure color evenness and adhesion. Use primer or wood conditioner as needed.


Comments
zackburnet
Thu, 02/27/2014 - 08:55
Nice kichen fridge
Hey Ana , I love your woodwork , kitchen fridge look cute , it is your great idea ,I think it is better put 4 wheel , easy to move , anyway, nice sharing Ana ...