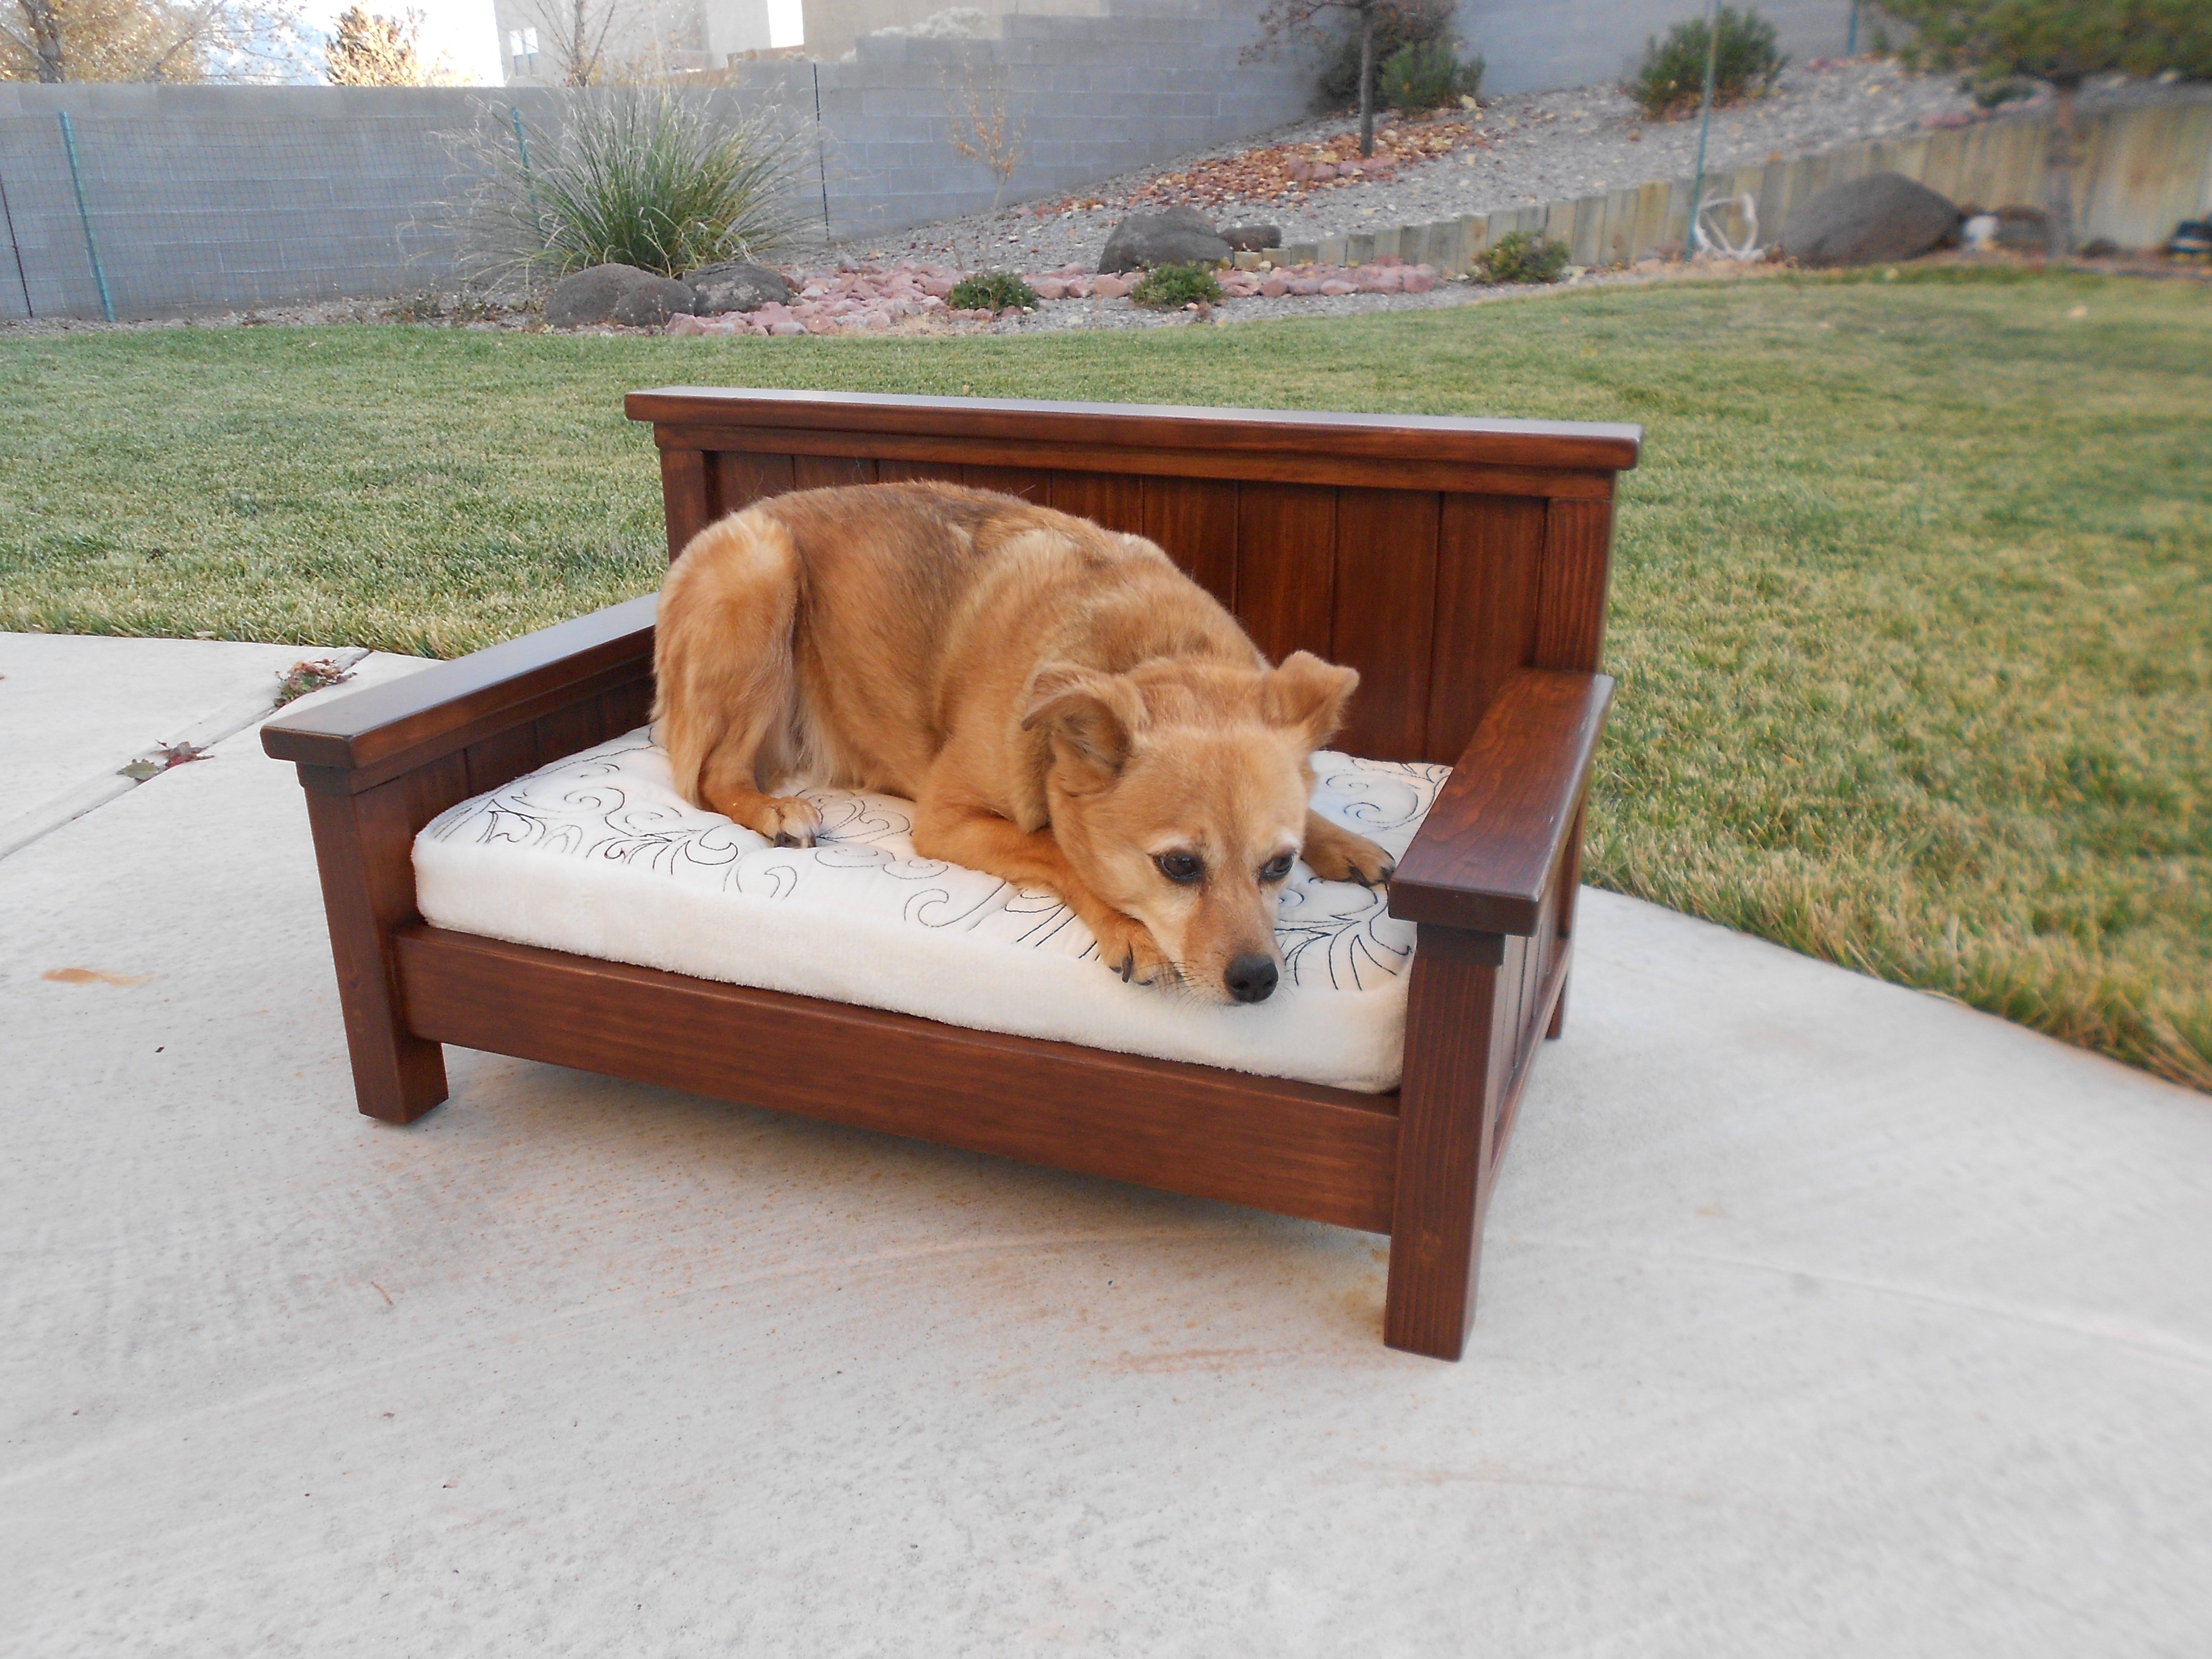
Since making a twin size daybed still seems intimidating to me, I decided to get some practice by making a small version for our dog. I modified the doll farmhouse bed making it a bit larger and in daybed style. We'll see if our doggie takes to it. If not, it will be a toddler couch!

Built from Plan(s)
Estimated Time Investment
Weekend Project (10-20 Hours)
Finish Used
Poly Shades
Recommended Skill Level
Beginner
Comments
dananryan
Tue, 12/04/2012 - 22:14
Cute!
I love the modifications you made. I believe you are ready for a twin size. Lucky doggie...
spiceylg
Wed, 12/05/2012 - 05:40
Awesome!
Oh my gosh, I love it. I have to build one for my dog. You did a great job. You are definitely ready for the twin, go for it! Love the dog cushion, too!
abbpim
Wed, 12/05/2012 - 07:07
Love this!
I built the big farmhouse storage bed and nightstands in my bedroom and my dog needs her own little farmhouse bed now. I've been trying to decide how I want to do it... You've just decided for me. Thanks!
Ashley I. (not verified)
Wed, 12/05/2012 - 09:00
I love this!!! I think I
I love this!!! I think I might steal this idea and make one of these for my nephews as a little couch. About how much did you spend on lumber?
moosmani
Wed, 12/05/2012 - 21:10
Thank you! I believe I spent
Thank you everyone! I believe I spent about $25 to $30 on lumber. I have the lumber receipt and it came to $44 but I had a lot left over.
jaime19861
Wed, 12/05/2012 - 09:48
This is great!
Is there anyway you could give us your approximate plans?
moosmani
Wed, 12/05/2012 - 20:52
I pretty much just followed
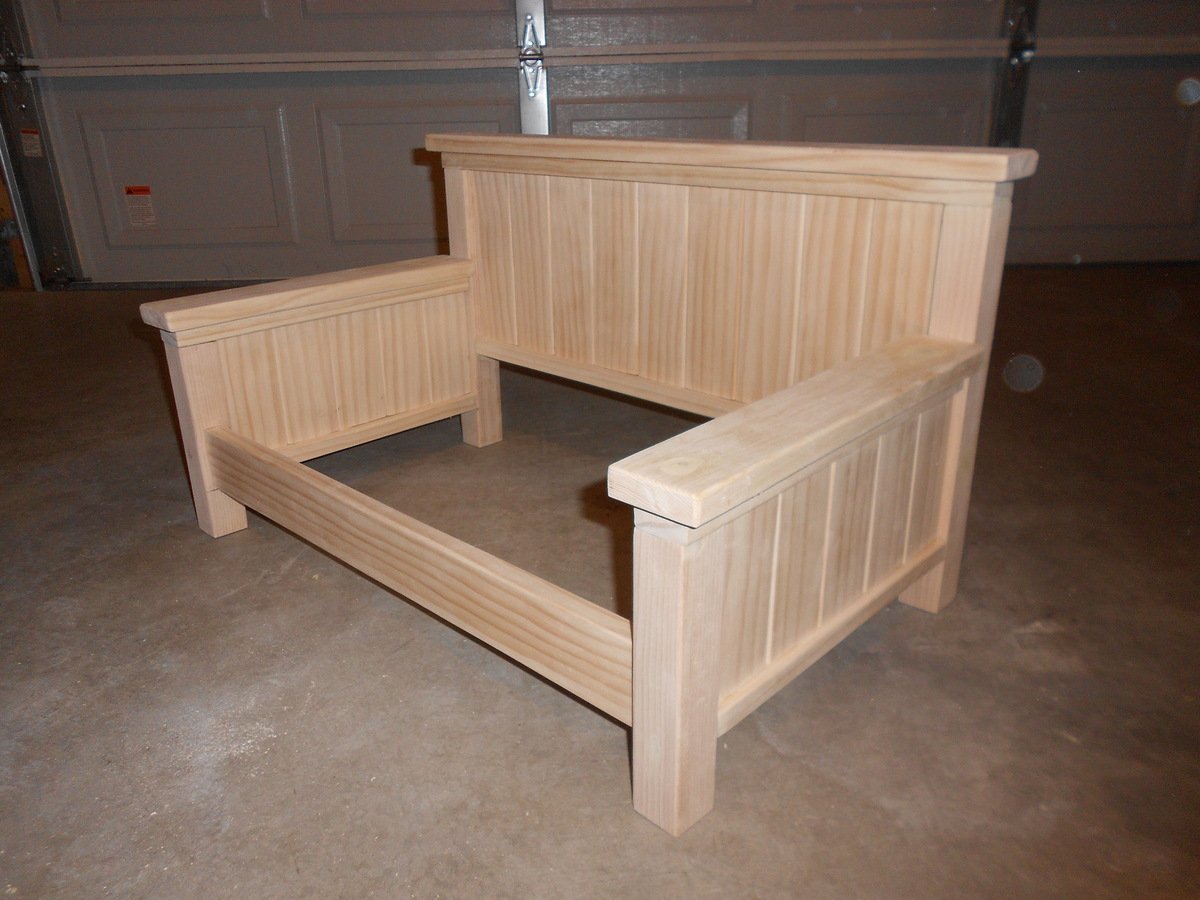
I pretty much just followed the plans, except making it taller and wider by adding more slats and making everything taller. The finished dimensions turned out to be approximately 26 ½” x 16 ½”. I kind of made it up as I went, but I did take some notes. Here is the first part of my altered cut list:
9 ea – 1x3 @ 8” tall (headboard panel slats)
10 ea (5 for each side) – 1x3 @ 5 ¼” tall (side arm panels slats)
2 ea – 2x2 @ 8” tall (side arm legs)
2 ea – 2x2 @ 13 ½” tall (headboard legs)
For the rest of the cut list, I didn’t take notes. I just cut the lengths to fit my new dimensions. I hope this helps. If you’d like more measurements just let me know and I can measure the actual bed.
Maira (not verified)
Wed, 12/05/2012 - 10:07
This looks beautiful. Where
This looks beautiful. Where did you get the cushion from? How big is the cushion?
moosmani
Wed, 12/05/2012 - 20:21
Thank you! I made the
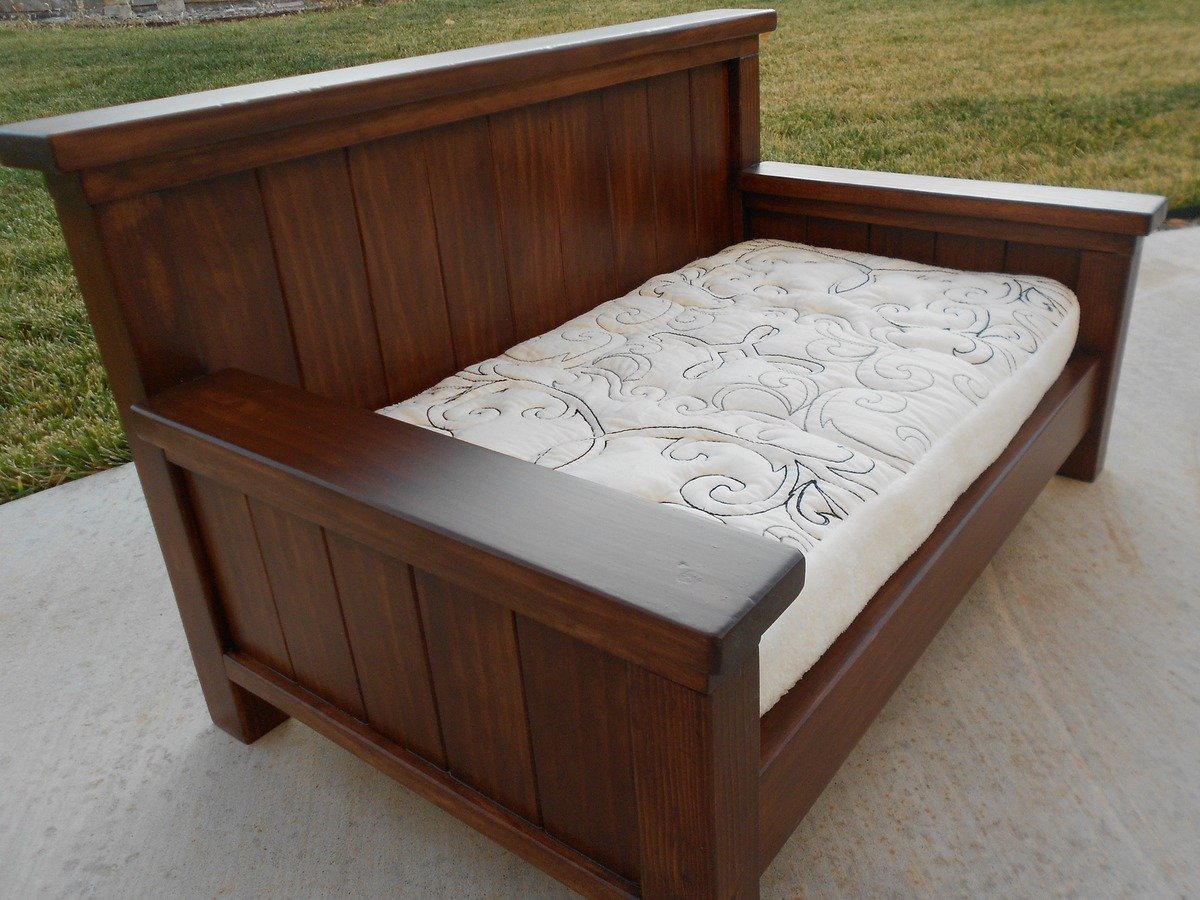
Thank you! I made the cushion with foam and batting. I got the foam piece from the fabric store. It was 2" thick, 22"x22" square. It was on sale, but I don't remember how much I paid. I cut it down to 22" x 12” to fit the inside of the bed. A regular handsaw worked great for cutting the foam. Super easy, but messy. I wrapped it in batting so it finished a little bigger, 23” x 13”. I bought one pillow sham from Walmart because I liked the design and cut it apart to make the cushion top. The rest is from one of those cheap fuzzy blankets.
Kimsims (not verified)
Wed, 12/05/2012 - 10:30
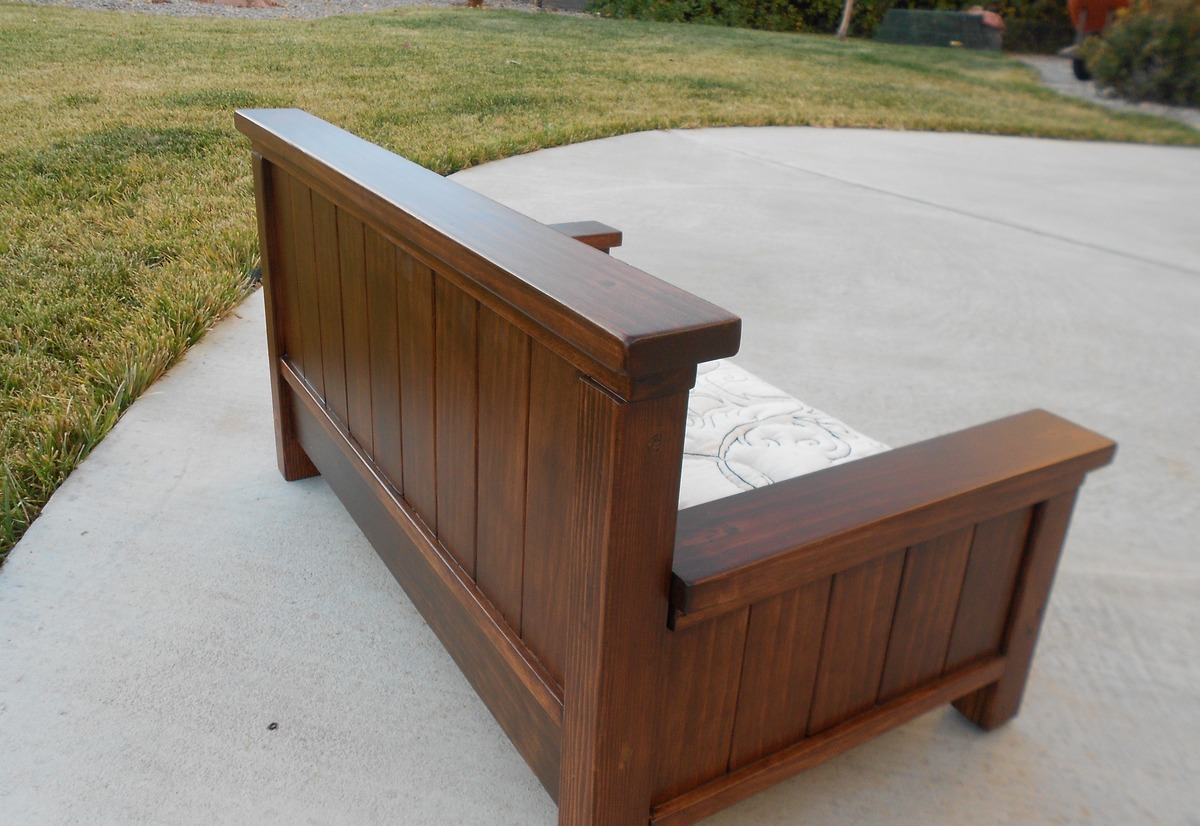
That finish is beautiful!
That finish is beautiful! Can you tell me how you did it?
moosmani
Wed, 12/05/2012 - 21:08
Thank you! I have much to
Thank you! I have much to learn about finishing. I first used regular stain. I think the color was gunstock. It turned out so not what I was going for. It was too orange. So then I stained it again with Minwax Hickory Gel Stain. Better, but the wood putty still showed and looked terrible. So I resorted to Minwax Bombay Mahogany Poly Shades which I found difficult to work with, but it did a fantastic job of covering over the wood putty filled holes. I think I used either 2 or 3 coats of the Poly Shades. I’m sure I could have skipped the first two stains and could have had the same result!
colsen
Mon, 12/17/2012 - 19:30
Fantastic bed!! I've been
Fantastic bed!! I've been shopping for a dog bed. This is 100 times better than anything in the store. I may have to borrow you're idea :)