


Free tutorial to make a folding chalkboard easel from ana-white.com
Hello and Happy Monday, DIY Friends and Folks!
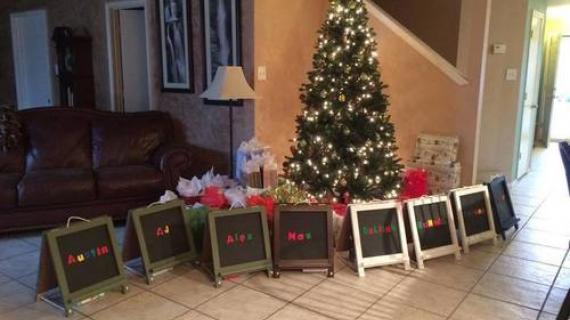
Do you need a fun fast project to give as a gift to a child? Or does your child just love to play school, and a small, foldable chalkboard easel would be much appreciated and inspire endless hours of creative play?
Many of us, myself included here, are Moms, and there's nothing we love more than building projects for our kids! My dear friend Jaime from That's My Letter is a mother of three, and she wrote me asking to collaborate on plans for a folding desktop easel. At $50 or more to buy, who can afford to shell out the cash for one for each of your kids? And then some for all the birthday requests you are going to get!
DIY to the rescue!

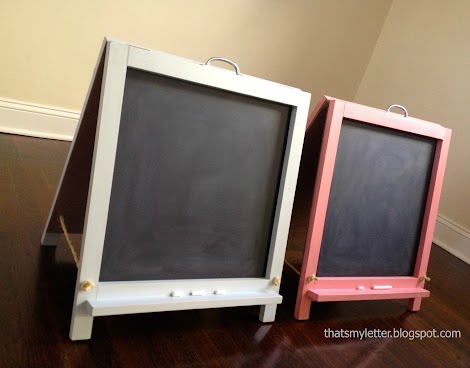
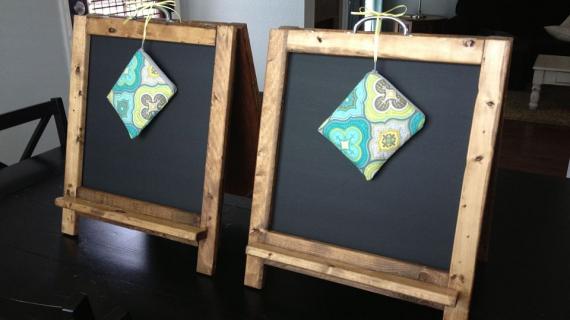
Check out this DIY cuteness ... for less than half the cost! Yep, $20 bucks, and some creative therapy for you, and your kids could be playing with this folding chalkboard easel!
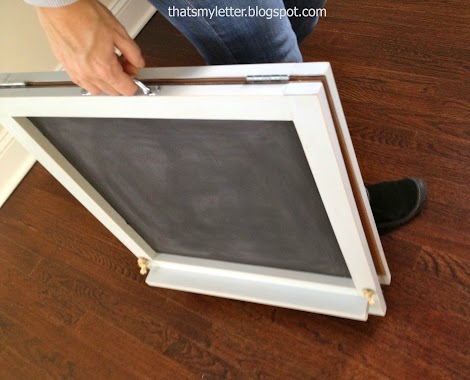
And the whole shebang folds right up for easy carrying. IDEA: Place a hook on the wall and hang by the handle on the wall when not in use or for wall mount use or display!
So you ready to make one, or two, or more? Of course we got you covered with the free plans below, but please take a second to stop over and read Jaime's post on how she built and finished her chalkboard easels and see lots more pictures! Thank you again Jaime!!!

Preparation
Shopping List
2 - 1x2 @ 8 feet long
1 - 1x3 @ 3 feet long
1/4 sheet of 1/4" or 1/8" plywood or hardboard
1 set basic hinges
rope or wire
handle
Cut List
2 - 1x2 @ 18"
2 - 1x3 @ 18"
4 - 1x2 @ 24"
2 - 1x2 @ 19 1/2"
2 - 1/4" or 1/8" plywood or hardboard @ 21" x 22"


Please read through the entire plan and all comments before beginning this project. It is also advisable to review the Getting Started Section. Take all necessary precautions to build safely and smartly. Work on a clean level surface, free of imperfections or debris. Always use straight boards. Check for square after each step. Always predrill holes before attaching with screws. Use glue with finish nails for a stronger hold. Wipe excess glue off bare wood for stained projects, as dried glue will not take stain. Be safe, have fun, and ask for help if you need it. Good luck!
Instructions
Step 1

Start by simply building two frames as shown here. I definitely recommend a pocket hole jig for attaching edge to edge like this. An alternative is to glue the frames and let dry. Then use the back plywood later to secure the joint with screws or nails.
Step 2

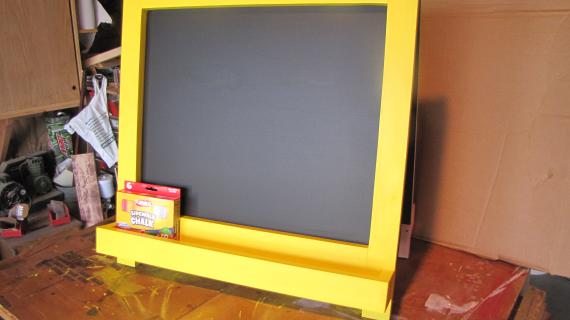
Jaime recommends attaching the ledge with a countersunk screw from the back for the best joint.
Step 3

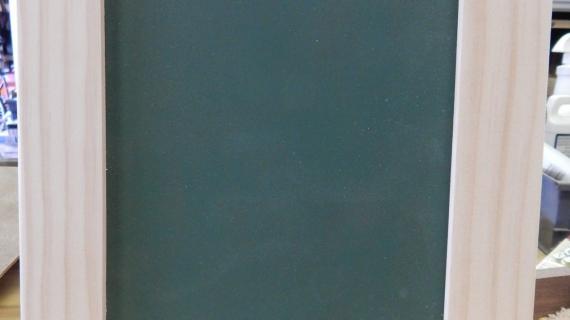
Paint your hardboard first with chalkboard paint and fit to back of frames. It may be easier to paint your frames before attaching the chalkboard backs to them.
Step 4

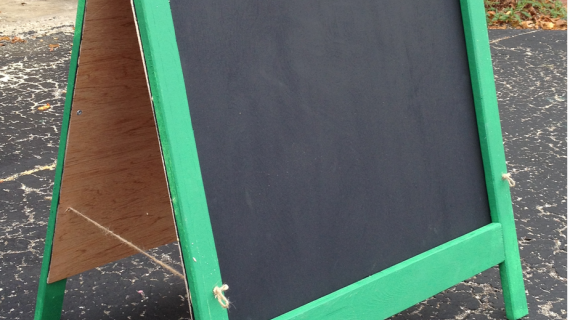
Now just hinge the two frames together with hinges at top. Then add a rope to bottoms to keep the easel open when open, and a handle to the top for easy carrying.
It is always recommended to apply a test coat on a hidden area or scrap piece to ensure color evenness and adhesion. Use primer or wood conditioner as needed.

Comments
Lady Goats
Mon, 01/28/2013 - 12:00
I adore this!
You guys've done an amazing job collaborating on this! Jamie, I LOVE how you finished them! The big kid used to have a chalk board, but it went during a great purge and I keep thinking baby goats would like one. Maybe i'll get around to it.. one of these days ;-)
whitney_smith
Mon, 01/28/2013 - 13:44
The rope is just genius! It's
The rope is just genius! It's that hardware that adds up $$!!! Love it!
spiceylg
Tue, 02/12/2013 - 00:35
Love this!
Looks like a great, quick gift idea since I don't have any little ones myself! Definitely on the list. Or even for the craft show.............
spiceylg
Wed, 09/04/2013 - 10:02
$
Is it a possible to get a price breakdown on this? Trying to figure out why it cost $20. I was thinking more along the lines of $10 as I see cheap hinges and handles on Lowe's website. 1x2s and 1x3s aren't expensive. Is it the hardboard?
jhodnefield
Thu, 01/01/2015 - 11:57
Awesome Project
I loved this project so much - I re-engineered it to work with student groups, Scouts, etc. It was so popular - I developed an entire DIY kit. The kids love to build it and I love sharing what I learned on Ana White.
So much better than the basic 'tool box' project.