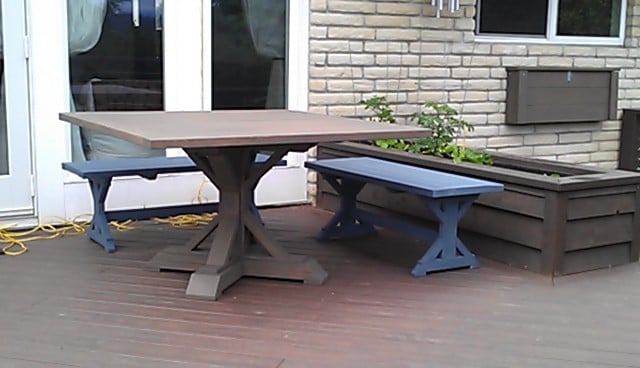


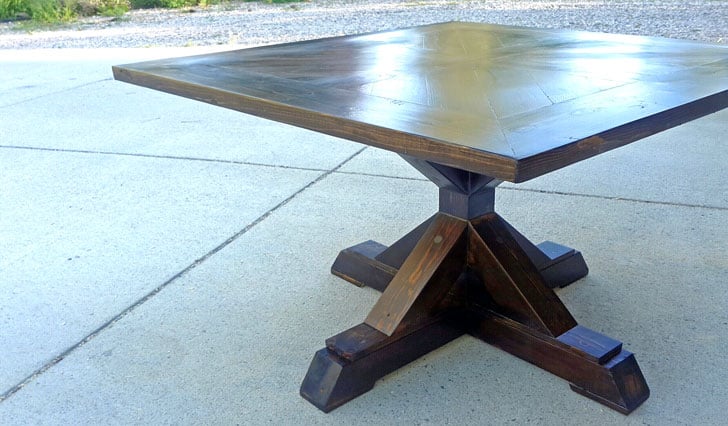
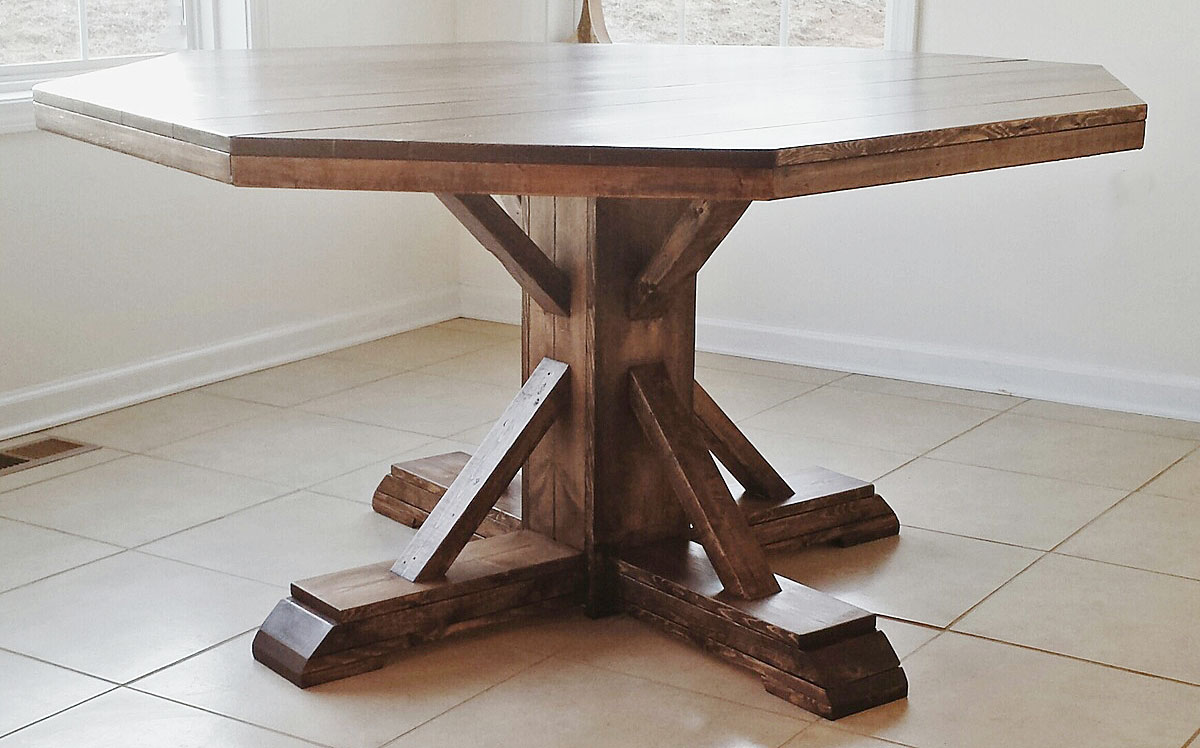
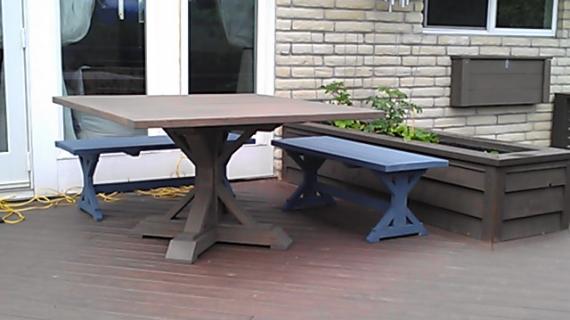
How to build a square farmhouse pedestal table. This pretty base pairs with a simple top to make a beautiful table. All 2x lumber base, this is a great way to use up scrap wood for a table base. Free plans from ana-white.com
Reader submitted photo by MICHELEV
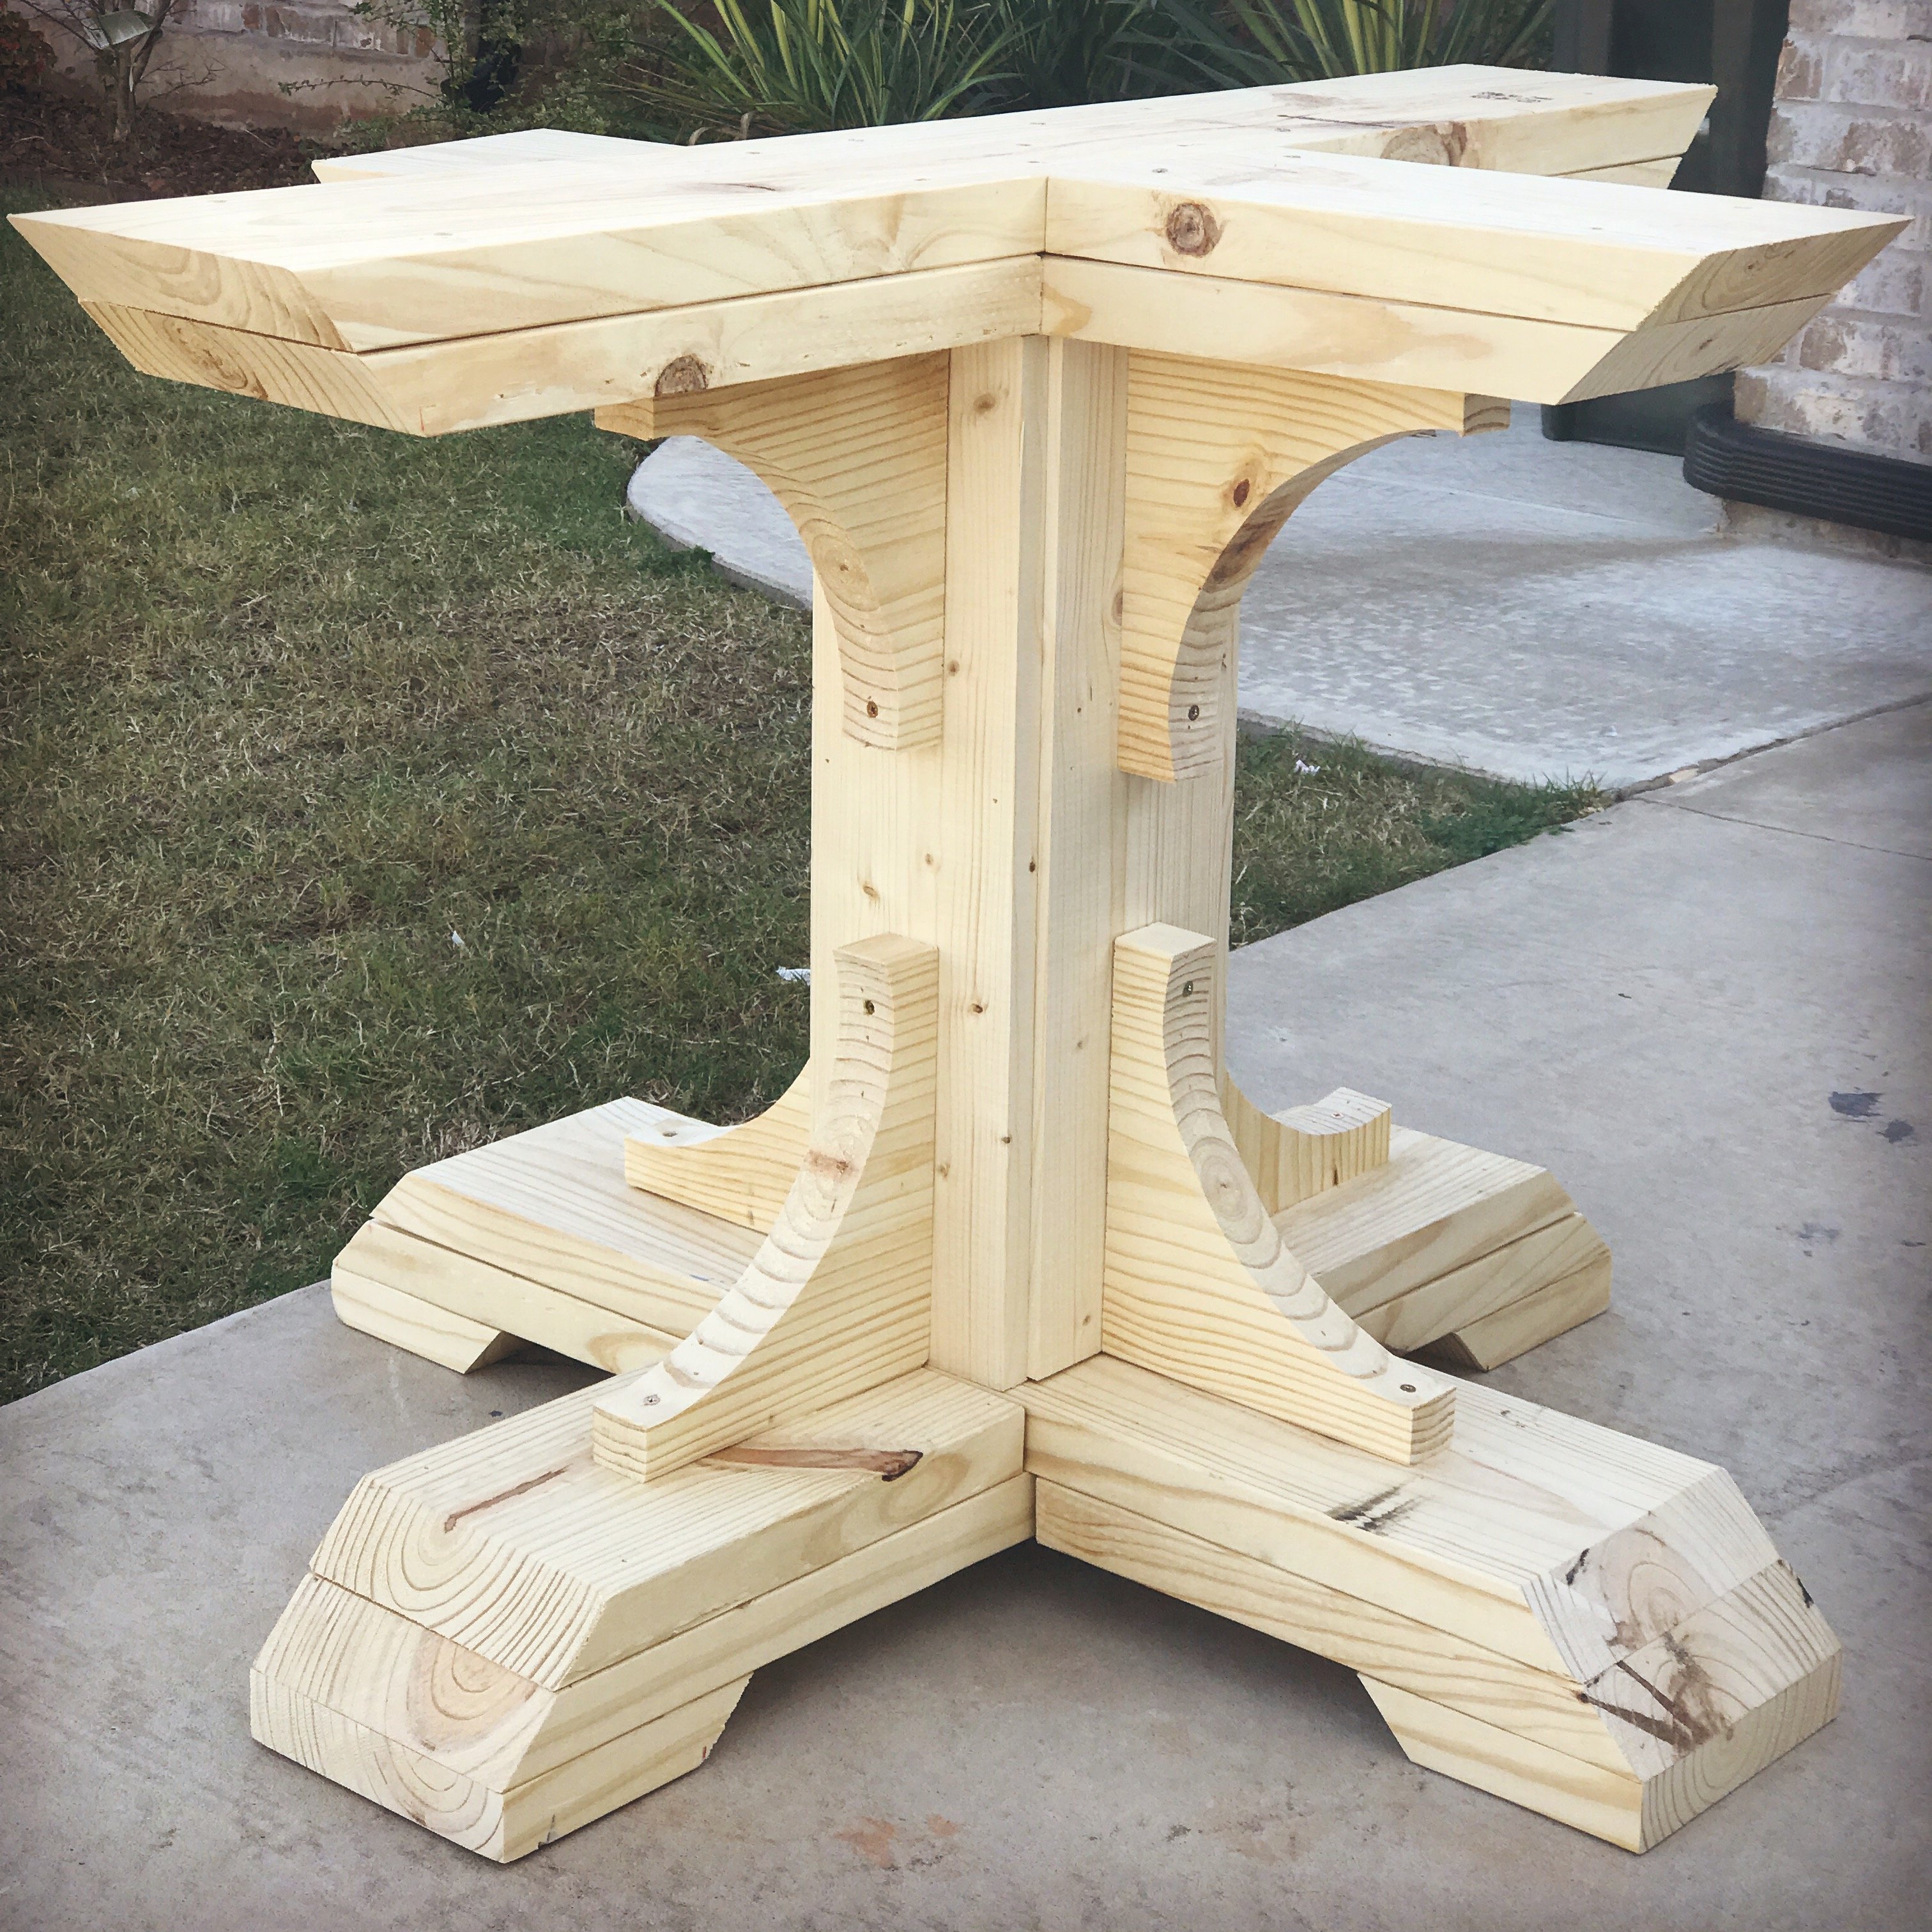
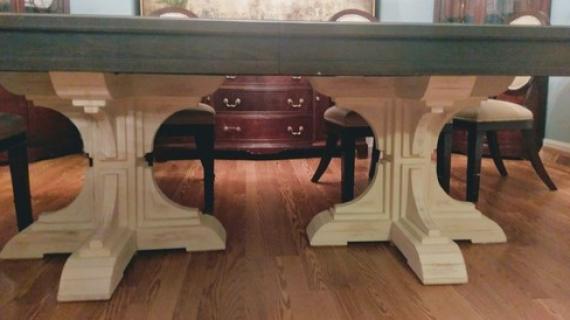
Modification Using 2x6 to Build Base
For a chunkier base, we love how SmashingDIY used 2x6s instead of 2x4s to create this base. This will affect some cuts, so do measure and cut as you go.
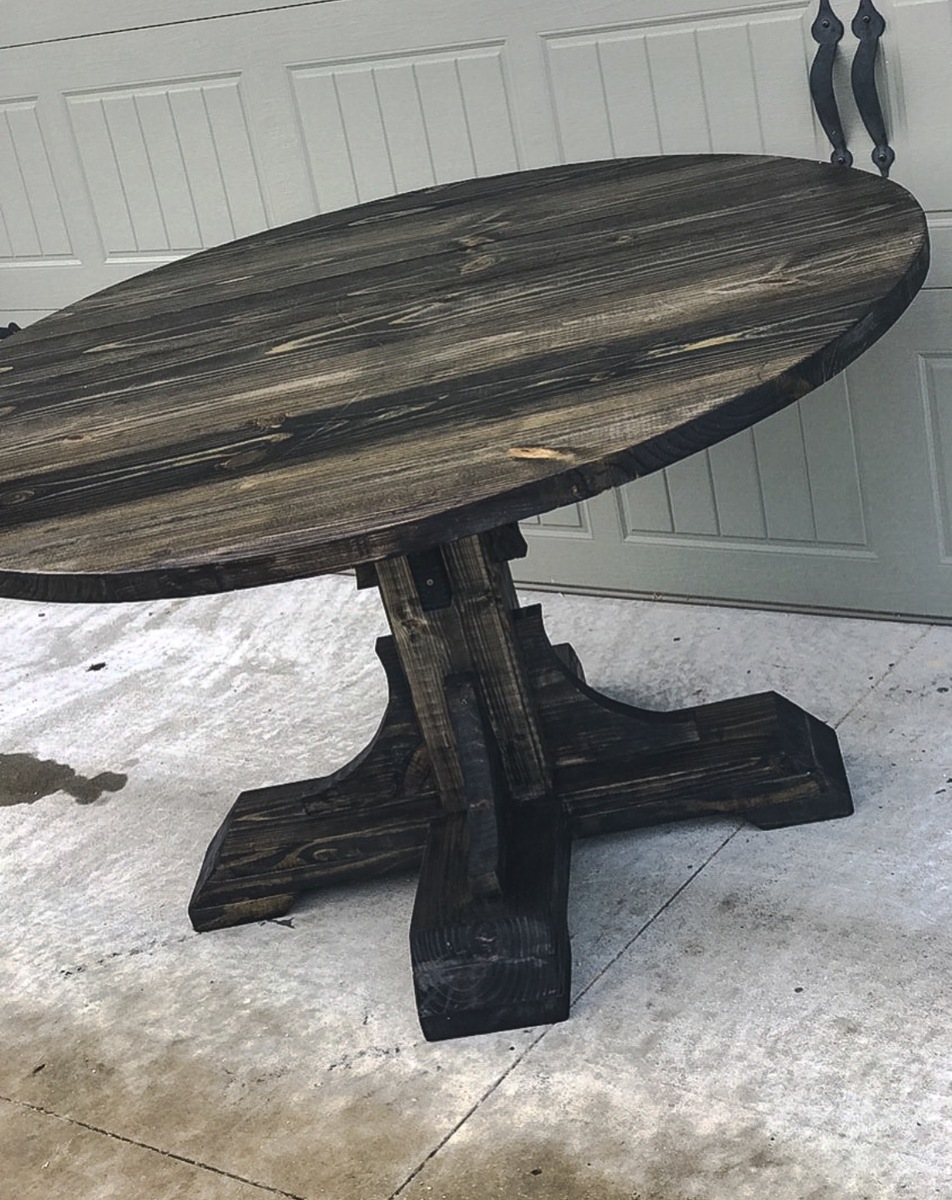
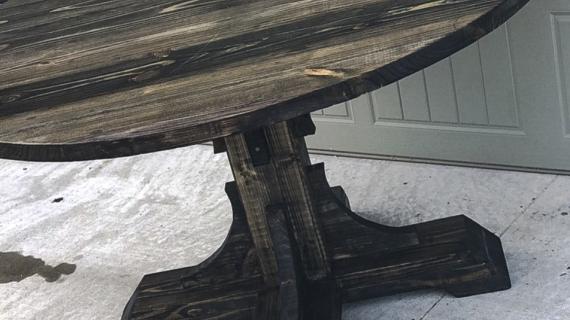
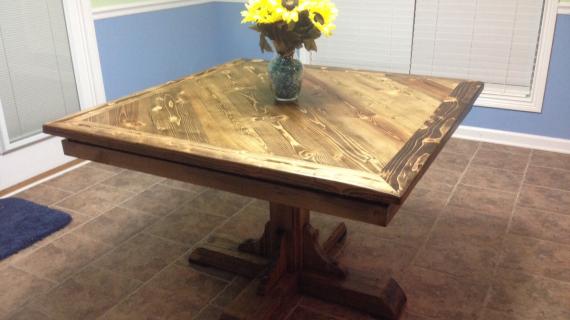
Round Tabletop Modification
You can use a round tabletop too for this base, also by SmashingDIY
Other Options for Pedestal Base Table Plans
If you don't mind working with 4x4s, here's a beautiful and simpler option: Pedestal Base Table with 4x4s
1x Center Base with Smaller Cross Supports Plans
Here's another option for a base, using a 1x center and then smaller cross supports. It's just a different look. Plans are here.
Also included are Octogaon Tabletop plans.
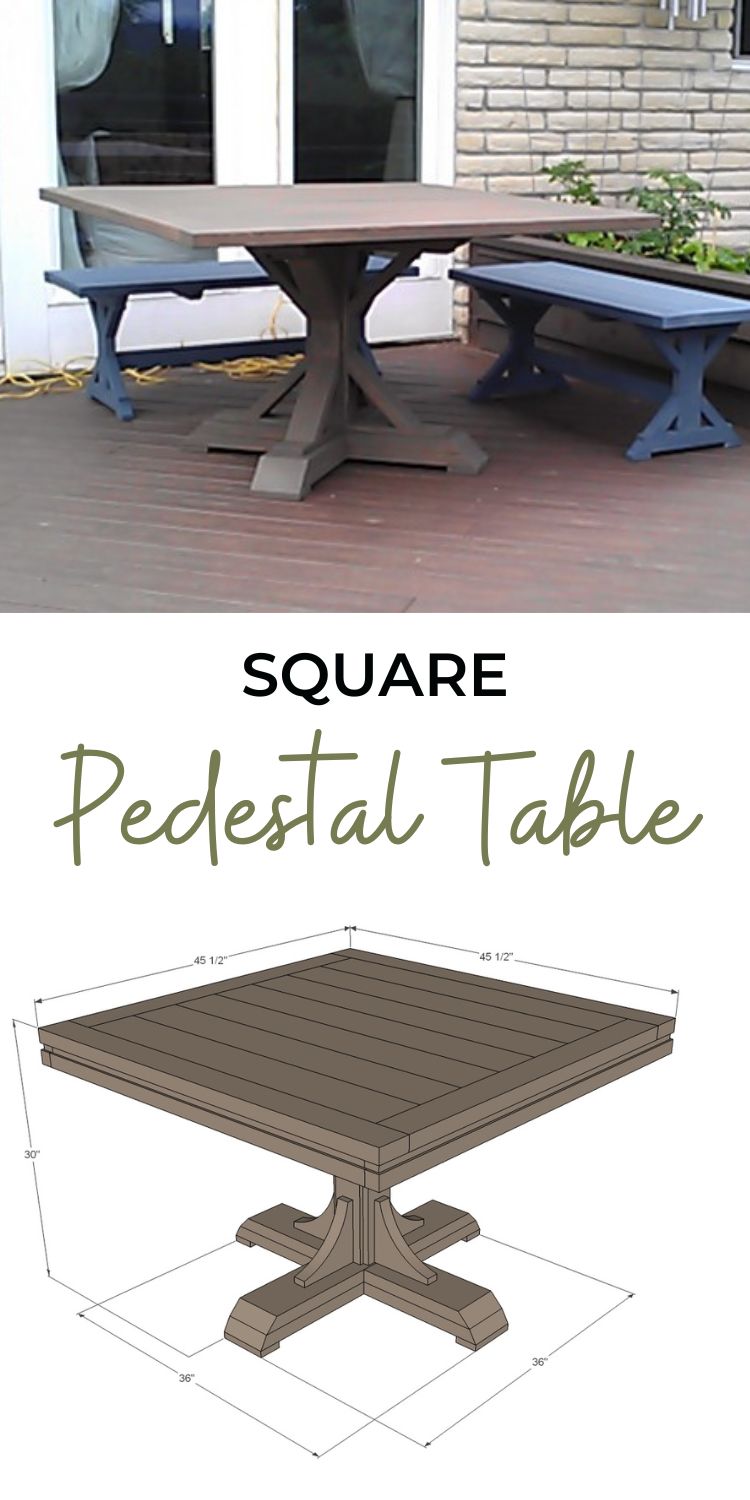
Plans to Build a 2x Pedestal Base Table
Pin For Later!
Preparation
- 3 - 2x4 @ 8 feet long
- 1 - 1x4 @ 6 feet long
- 1 - 2x8 @ 6 feet long
- 7 - 2x6 @ 8 feet long
- 2 - 1x2 @ 8 feet long
- 2 - 2x2 @ 8 feet long
- 2 1/2" or longer screws, use self tapping star bit
- 2 1/2" pocket hole screws (recommended for top)
- 1 1/4" and 2" brad nails
- wood glue
PEDESTAL CENTER
- 3 - 2x4 @ 21 3/4" (base center)
- 2 - 1x4 @ 21 3/4" (side trim)
- 8 - 2x8 @ 7 1/4" (decorative supports, cut into arch shape)
BOTTOM BASE PIECES
- 1 - 2x6 @ 34 1/4" (longest point measurement - both ends cut NOT parallel at 45 degrees BEVEL)
- 1 - 2x6 @ 36" (longest point measurement - both ends cut NOT parallel at 30 degrees off square BEVEL)
- 2 - 2x6 @ 14 3/8" (longest point measurement - ONE ends cut at 45 degrees off square BEVEL)
- 2 - 2x6 @ 15 1/4" (longest point measurement - ONE ends cut at 30 degrees off square BEVEL)
- 4 - 1x4 @ 5 1/2"
TOP BASE PIECES
- 1 - 2x6 @ 34 1/4" (longest point measurement - both ends cut NOT parallel at 45 degrees BEVEL)
- 1 - 2x6 @ 42" 2 - 2x6 @ 15 1/2" (longest point measurement - ONE ends cut at 45 degrees off square BEVEL)
- 2 - 2x6 @ 18 1/4"
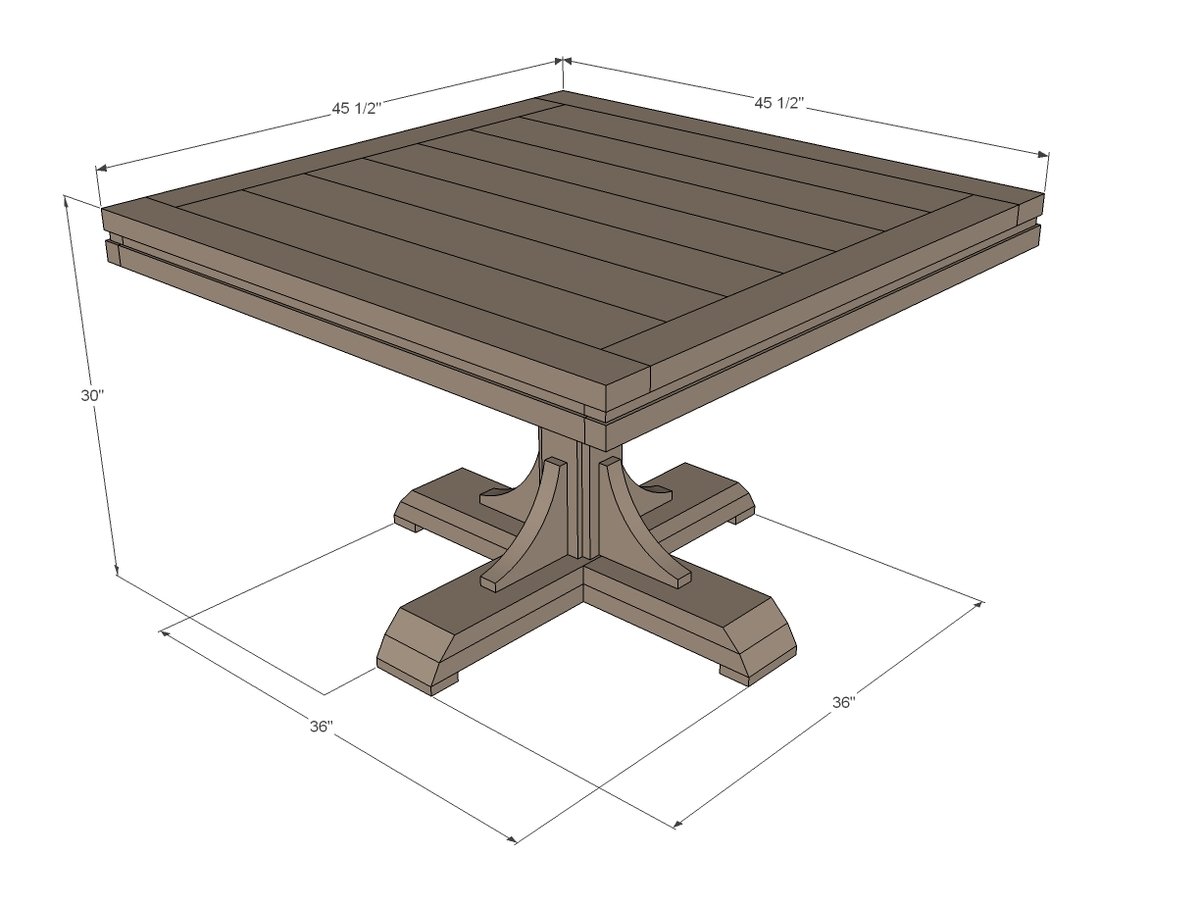
TABLETOP
- 2 - 2x4 @ 38 1/2" (CUT TO FIT!!!)
- 2 - 2x4 @ 45 1/2"
- 7 - 2x6 @ 45 1/2"
- 2 - 1x2 @ 42"
- 2 - 1x2 @ 45" (CUT TO FIT!!!!)
- 2 - 2x2 @ 42 1/2"
- 2 - 2x2 @ 45 1/2" (CUT TO FIT!!!!)


Please read through the entire plan and all comments before beginning this project. It is also advisable to review the Getting Started Section. Take all necessary precautions to build safely and smartly. Work on a clean level surface, free of imperfections or debris. Always use straight boards. Check for square after each step. Always predrill holes before attaching with screws. Use glue with finish nails for a stronger hold. Wipe excess glue off bare wood for stained projects, as dried glue will not take stain. Be safe, have fun, and ask for help if you need it. Good luck!
Instructions
Step 1
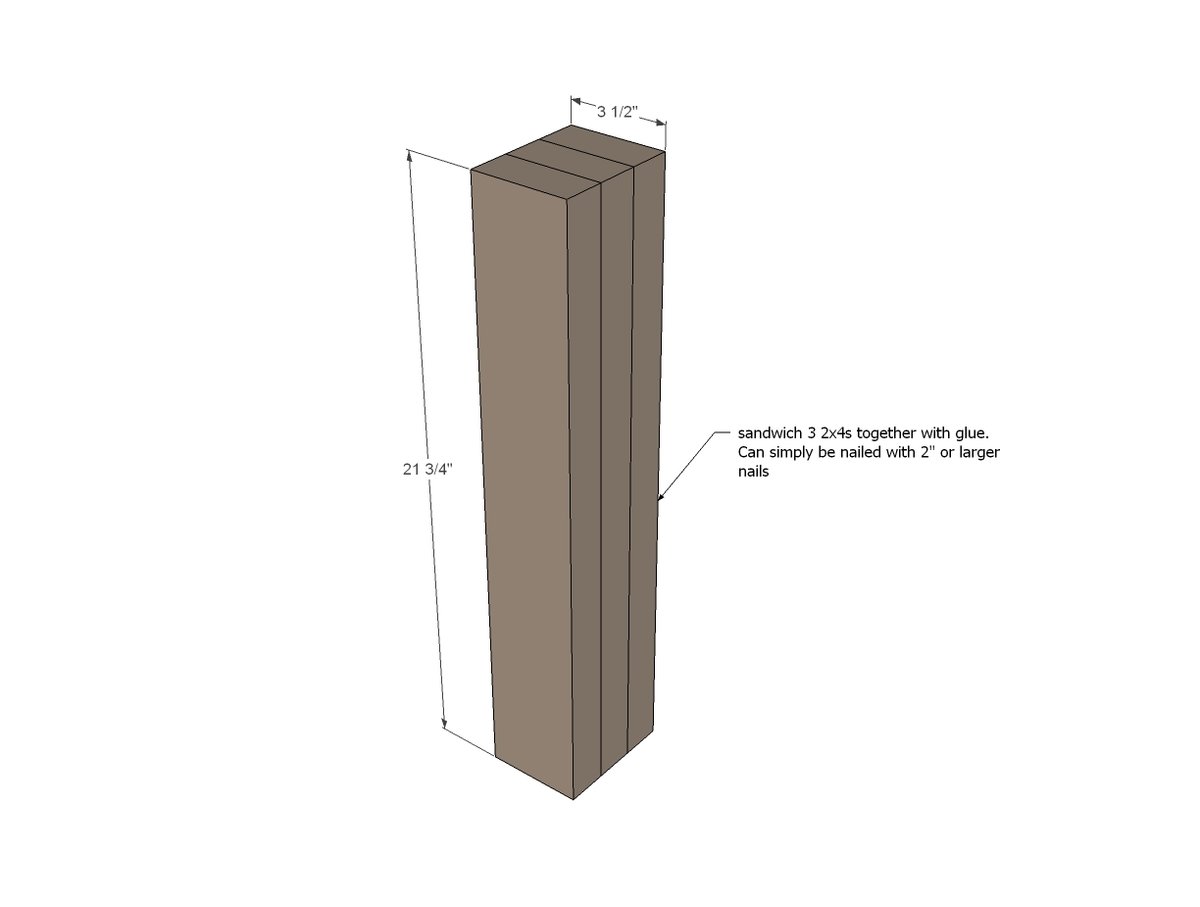
Start by sandwiching the center 2x4s together with glue and nails. Use glue and the longer screws for the first two. Then for the third 2x4, use the 2" brad nails and wood glue.
Step 2
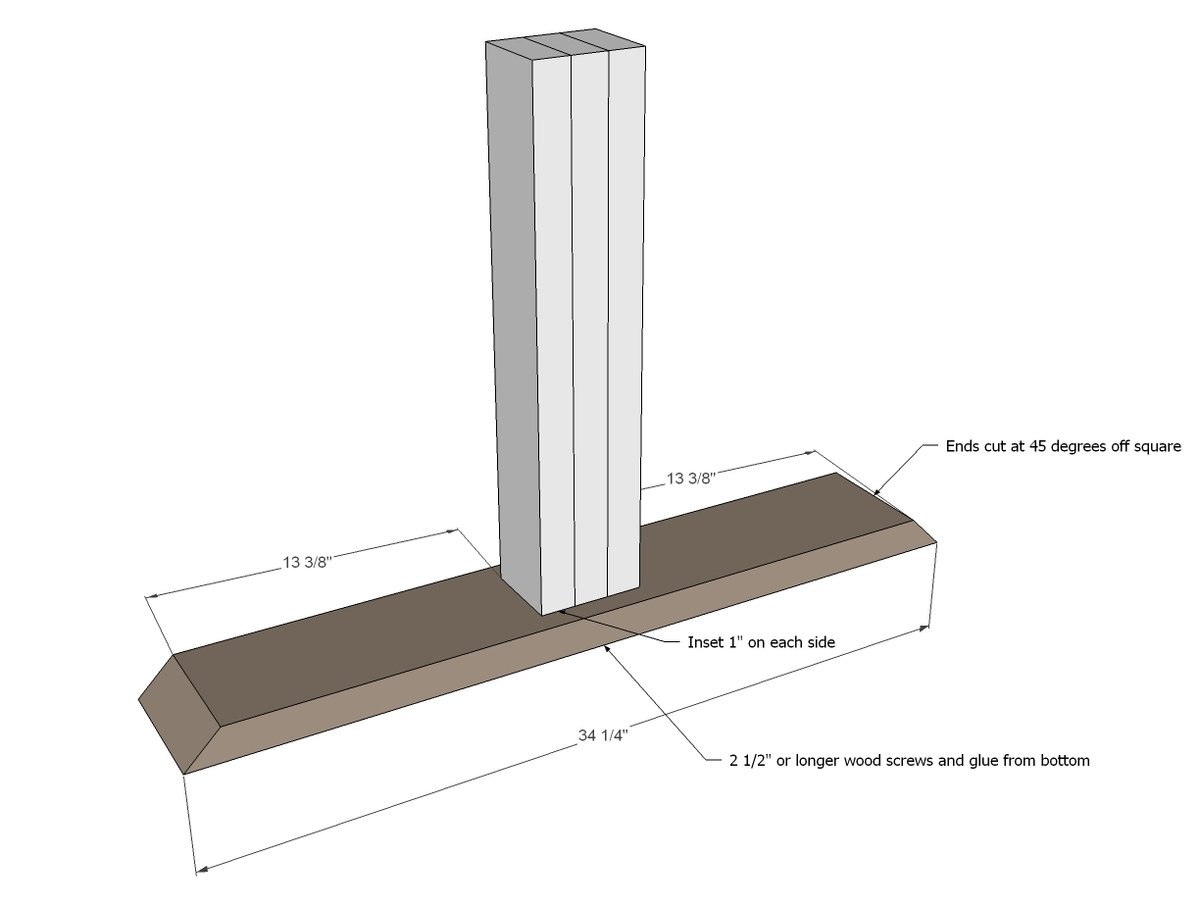
Now mark and measure the placement of the bottom board and attach from underside. Glue and the star bit screws and make sure you are square to the center pedestal.
Step 3
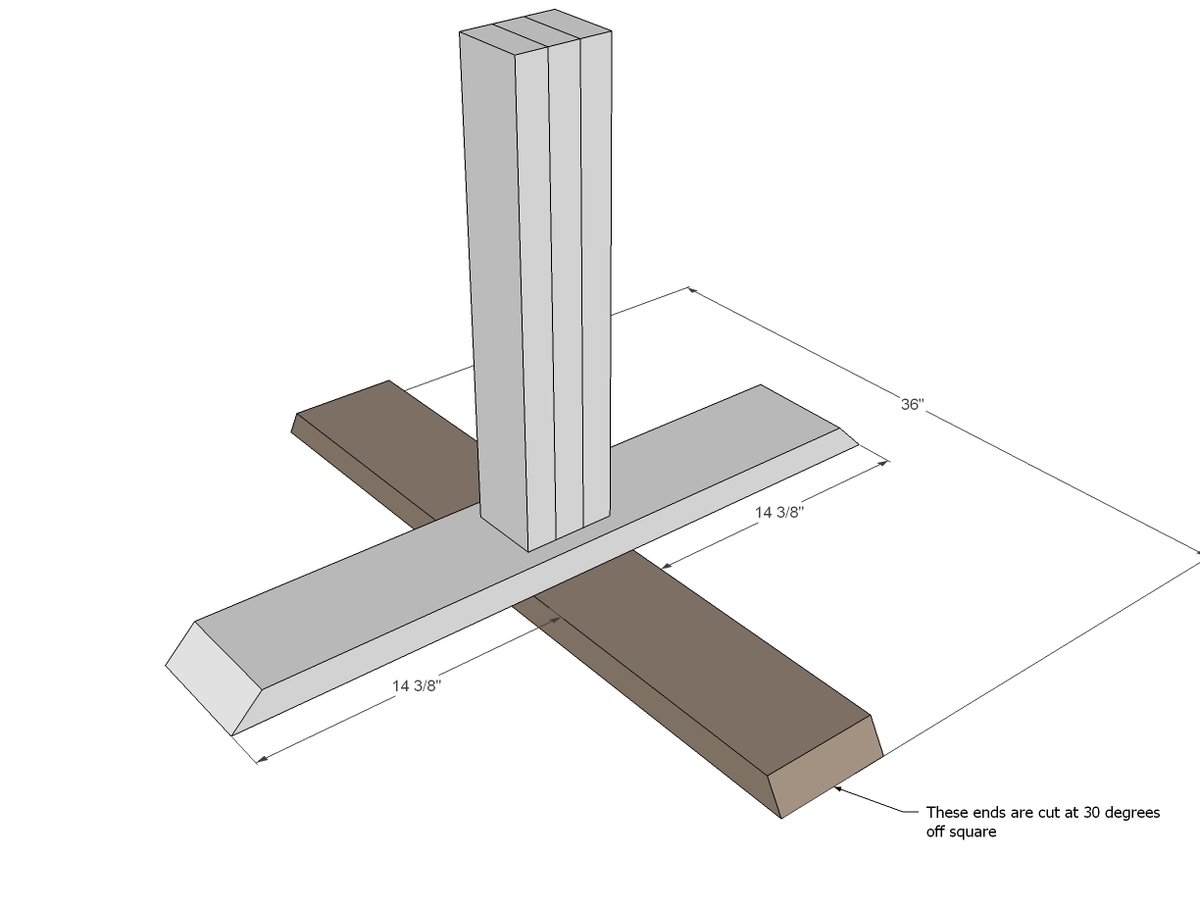
Then add the next board. Remember this one is the 30 degrees off square bevel. TIP: Use the boards from step 4 as a guide in placing. Attach with the star bit screws.
Step 4
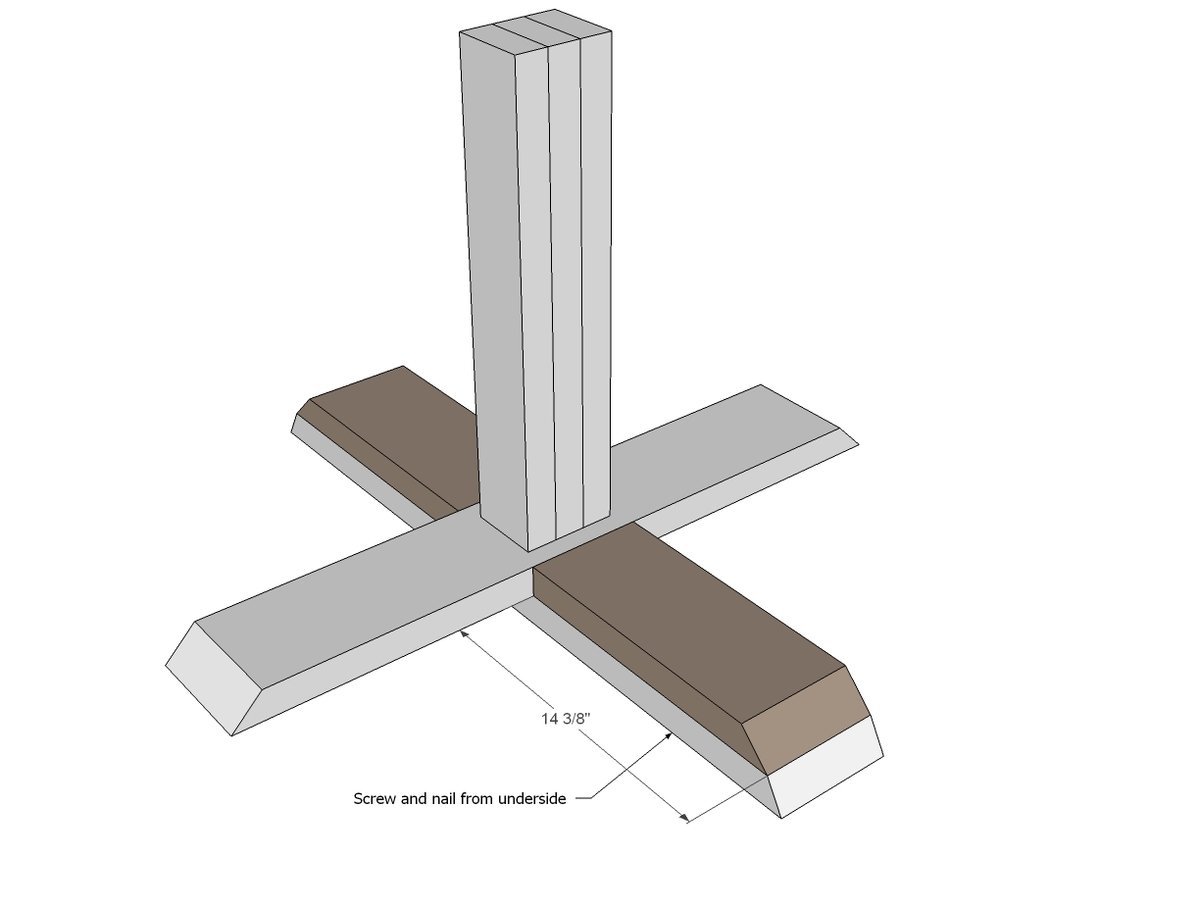
Now fill in with the spare boards. When you go to finish the base, sand joint to create a nice pretty curve on the ends.
Step 5

Fill in the bottom of the pedestal with the remaining 2x6 boards. Use the longer screws and glue.
Step 6
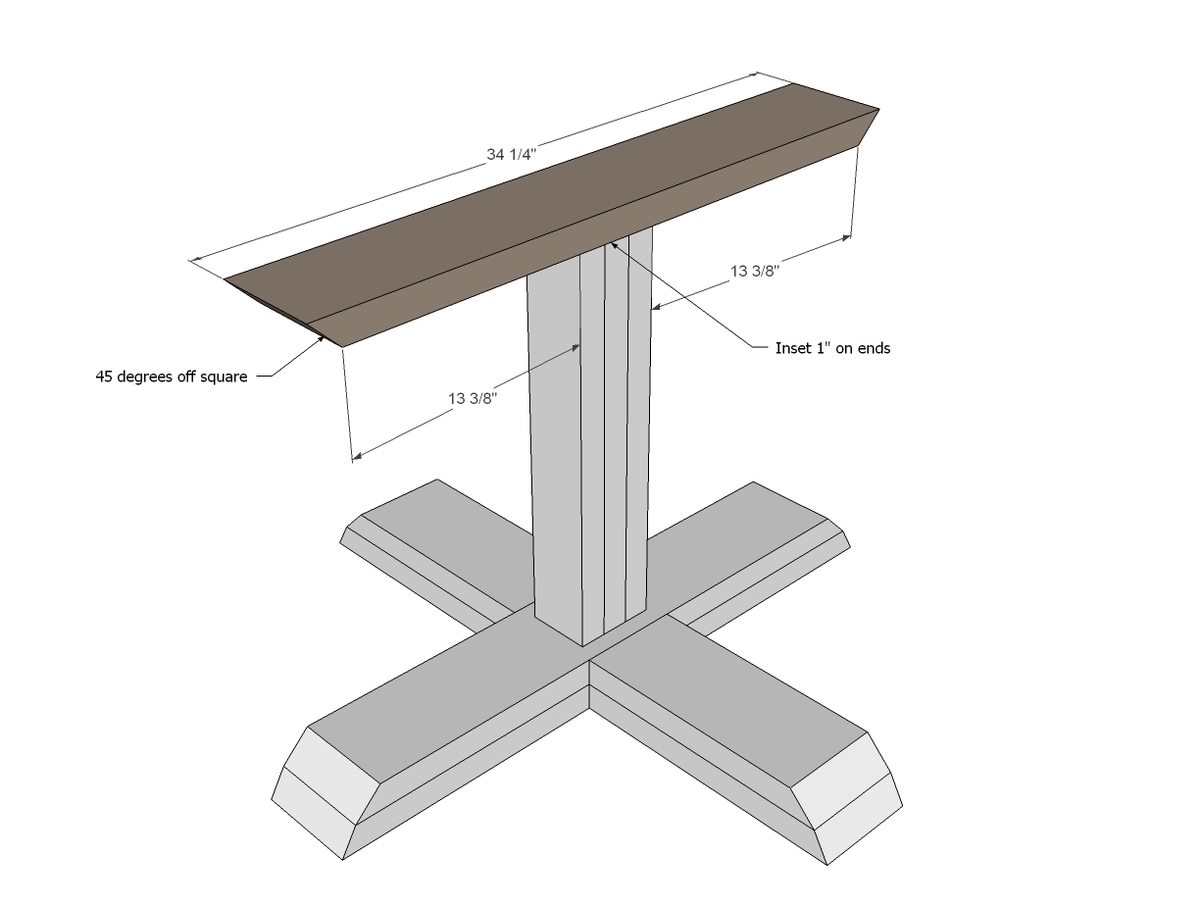
Now we'll start working on the top. Mark placement of top board and attach to center pedestal.
Step 7
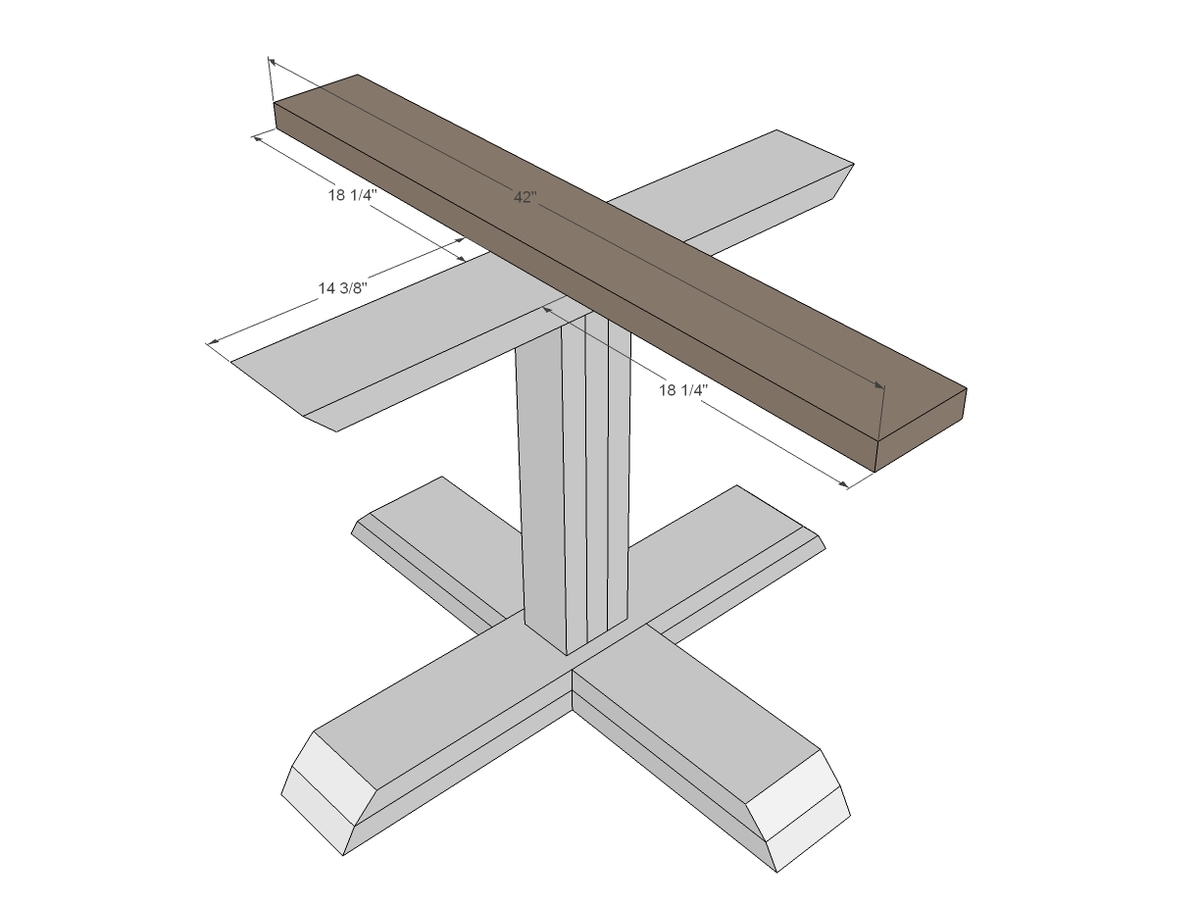
Mark placement of next board and attach with screws and glue.
Step 8

Fill in as shown here. Use 2 1/2" screws and wood glue, keeping outside edges flush.
Step 9
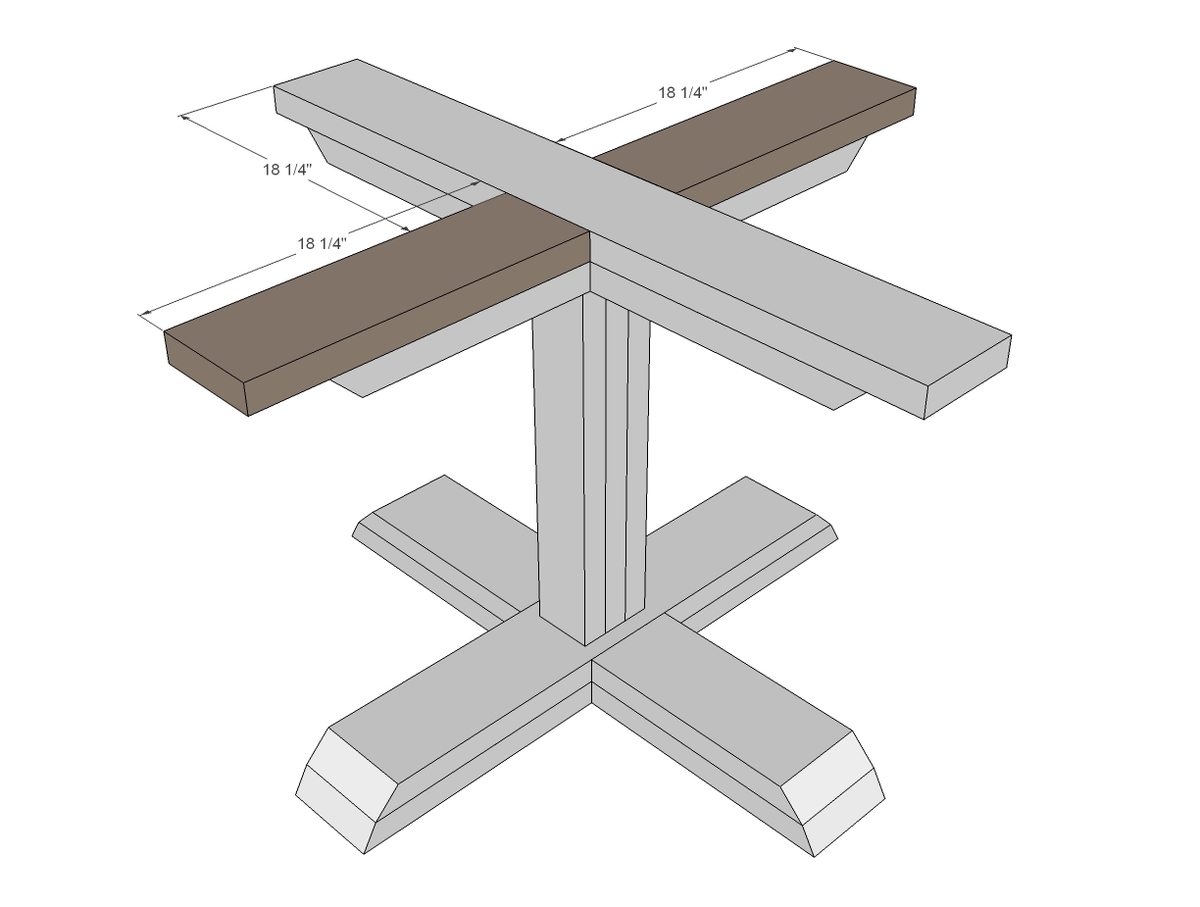
And then fill in your last boards, again 2 1/2" screws and glue.
Step 10
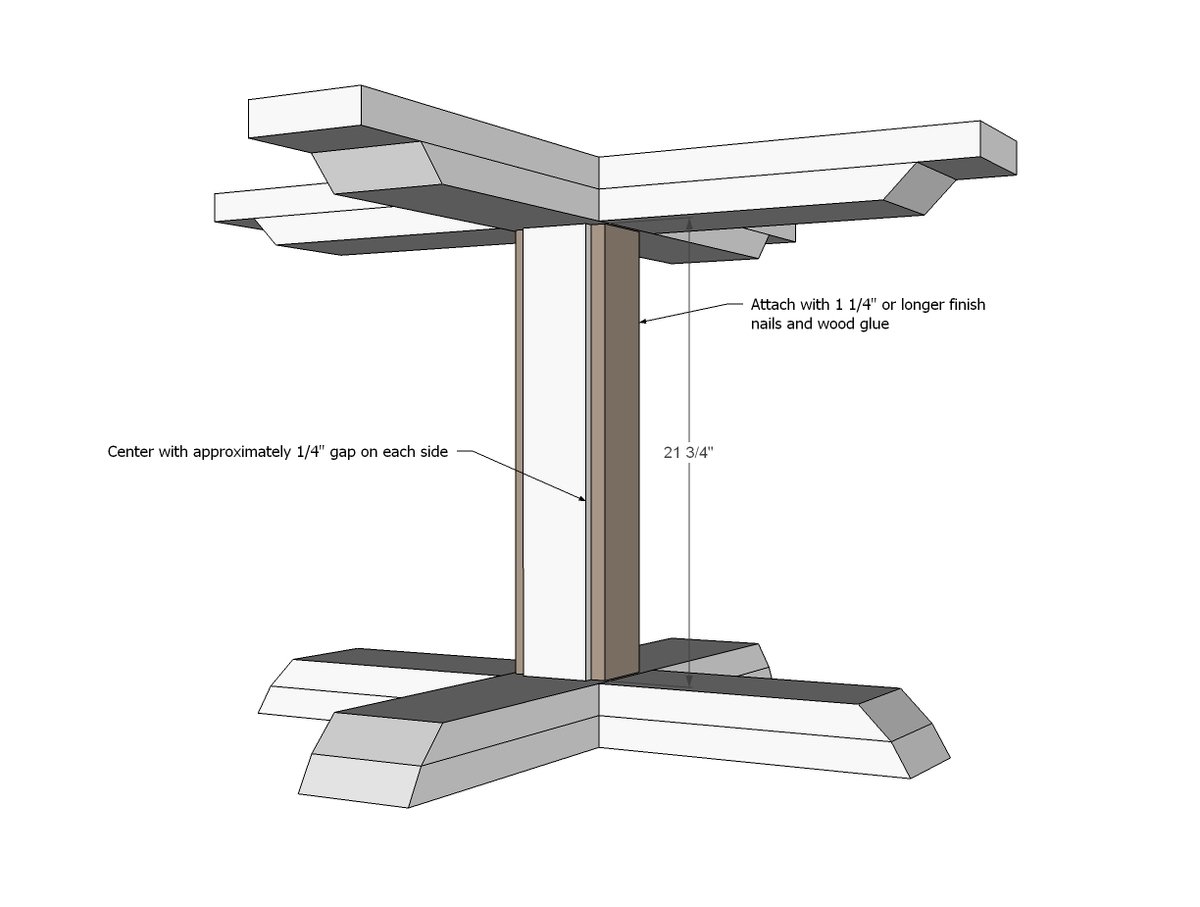
Now let's trim out that pedestal with 1x4s to make a little prettier.
Step 11
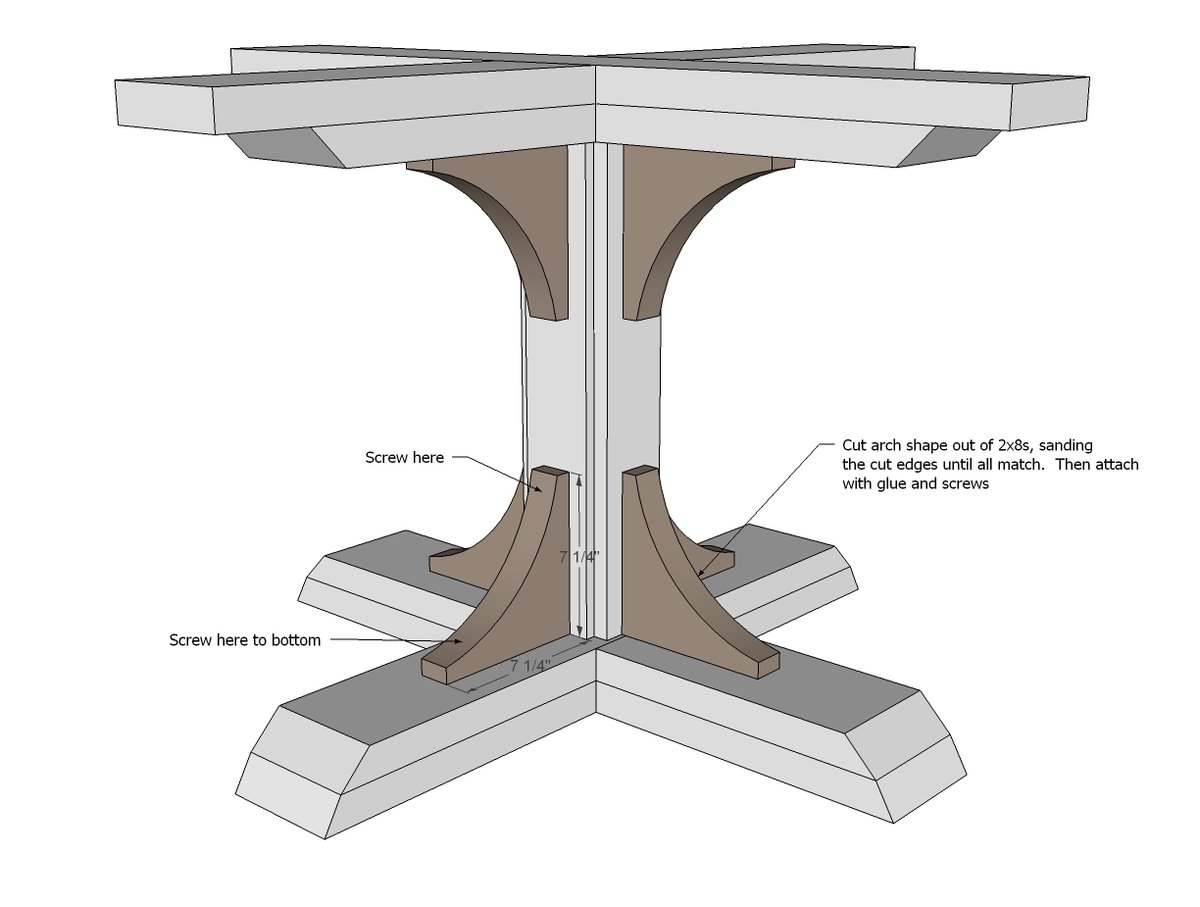
Cut with a jigsaw the curved pieces if using, and attach with screws and glue.
Step 12
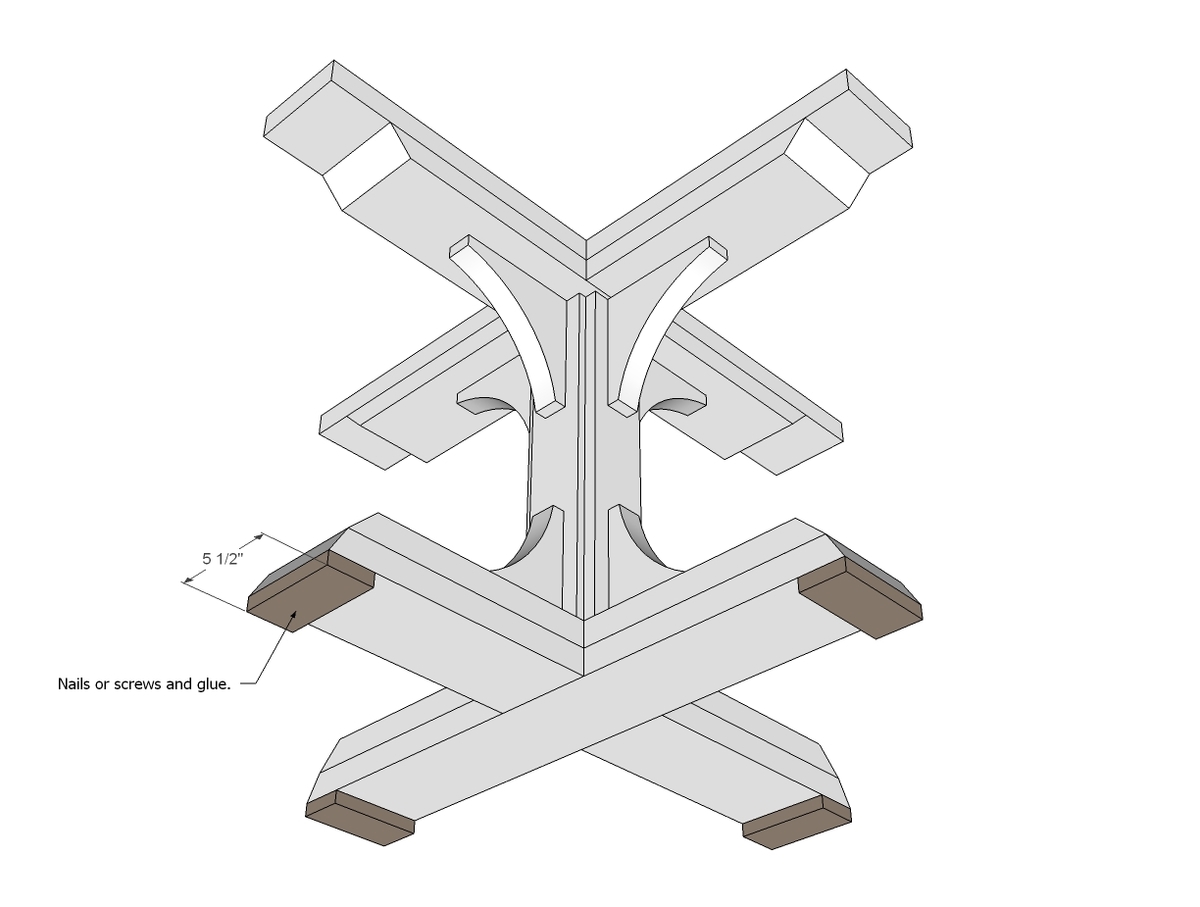
You'll want to add these so your table doesn't rock on uneven floors. You can additionally add cork pads to protect your floors underneath.
Step 13
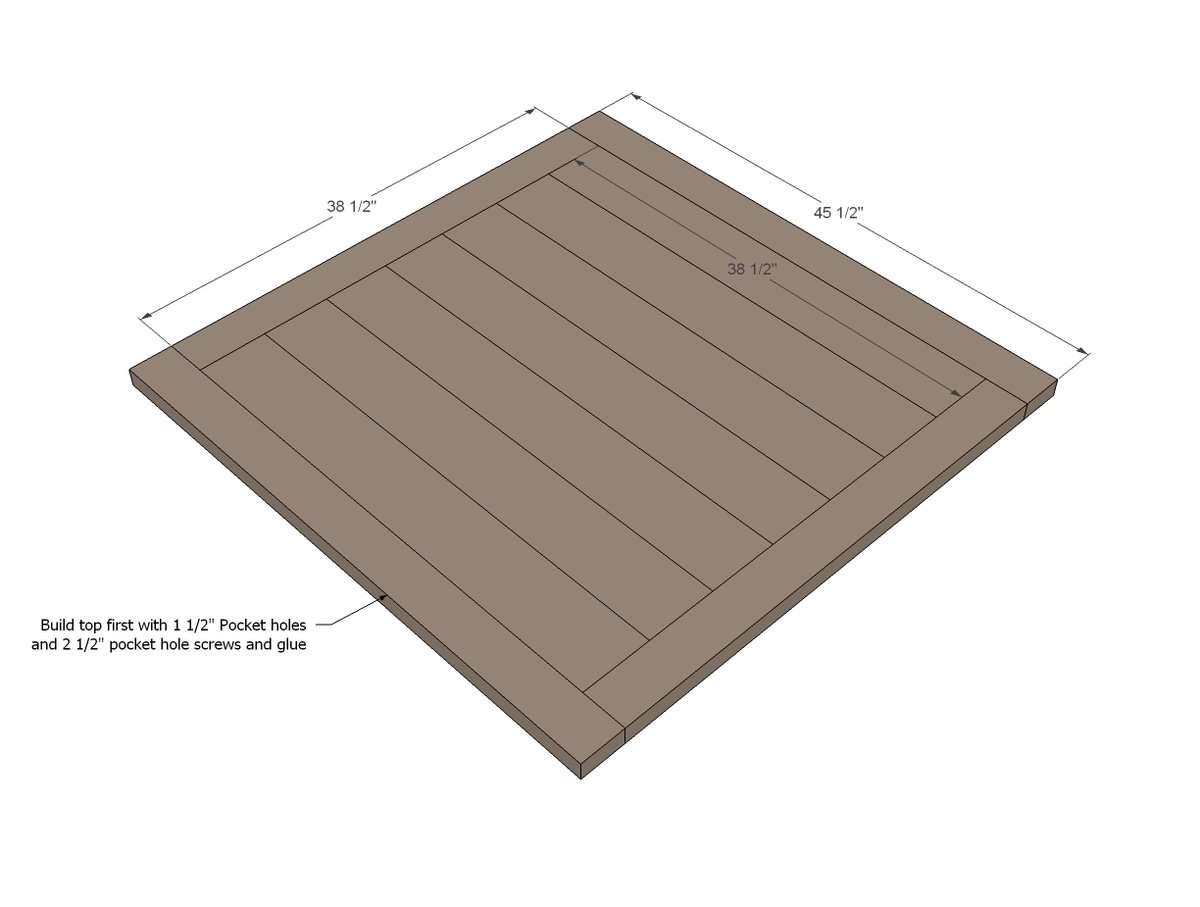
Let's move on to the top. I highly recommend building to first with a pocket hole jig on the 1 1/2" setting, using 2 1/2" pocket hole screws.
Step 14

These are really decorative - you don't have to put them on, but to keep the look, nail the 1x2s to the underside.
Step 15

And then add the 2x2 frame.
This frame is decorative and can be omitted.
Step 16
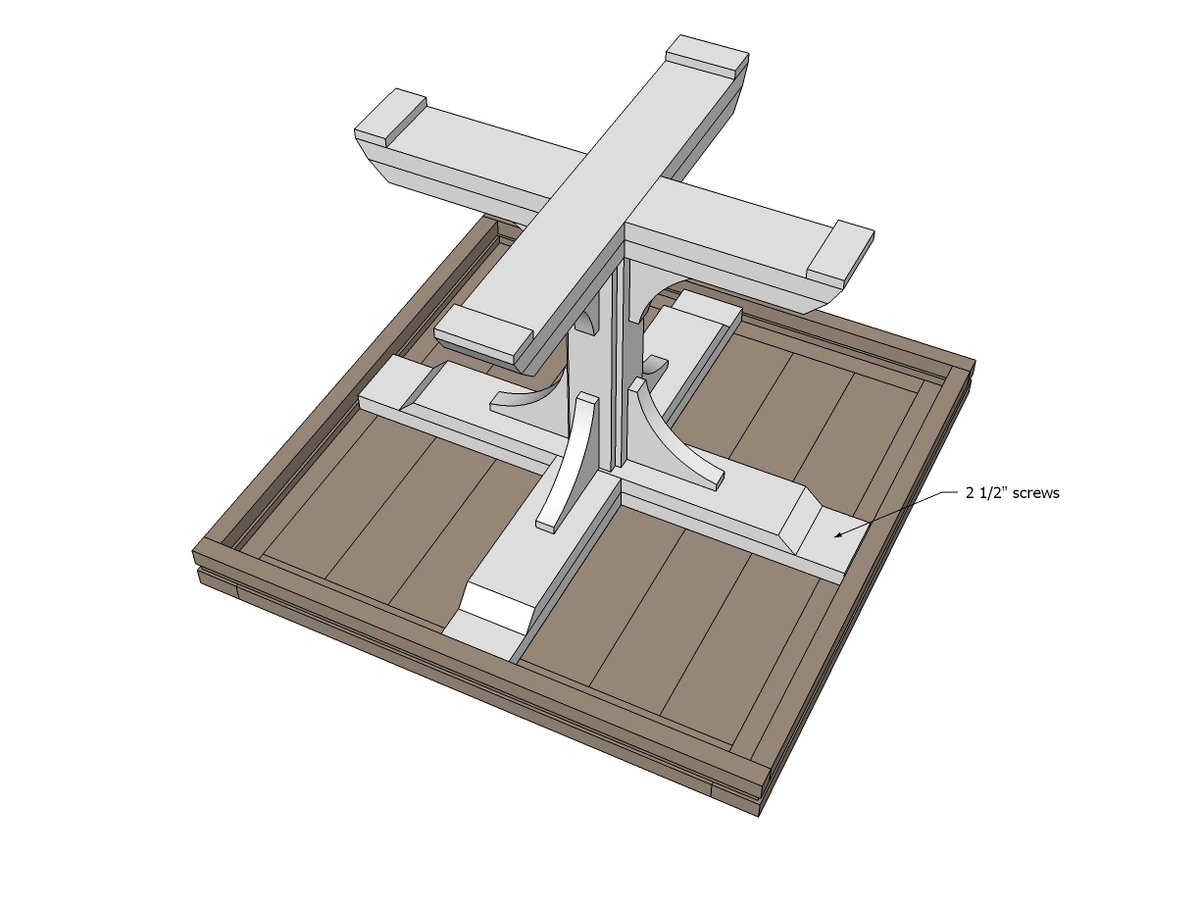
And finally, screw the top to the base! I'd leave the glue off here so you can dis-assemble/reassemble to move.
It is always recommended to apply a test coat on a hidden area or scrap piece to ensure color evenness and adhesion. Use primer or wood conditioner as needed.

Comments
Pam the Goatherd
Fri, 01/25/2013 - 18:50
Wow! That's gorgeous!
Wow! That's gorgeous!