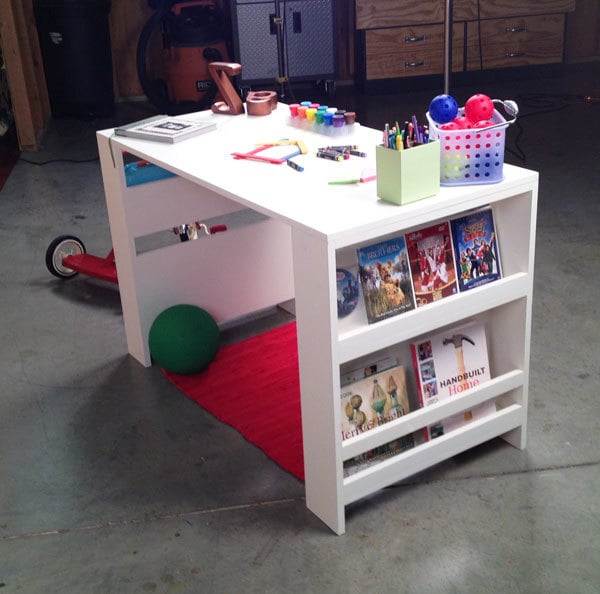
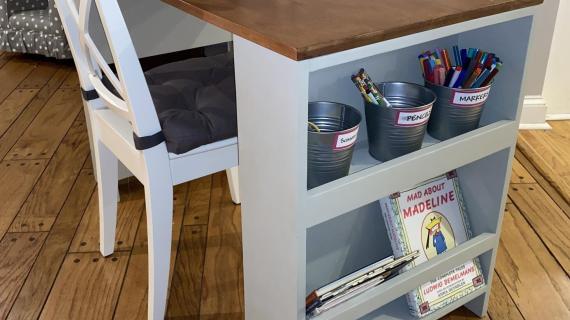
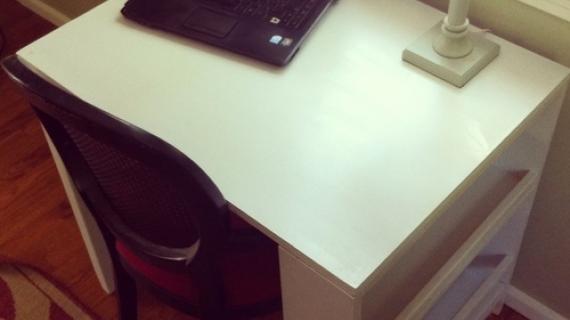
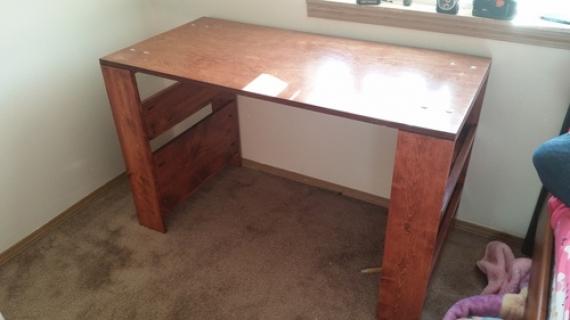
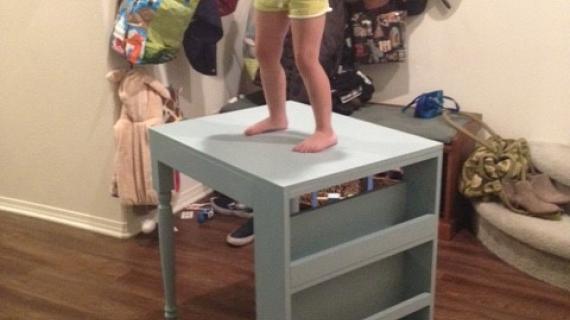
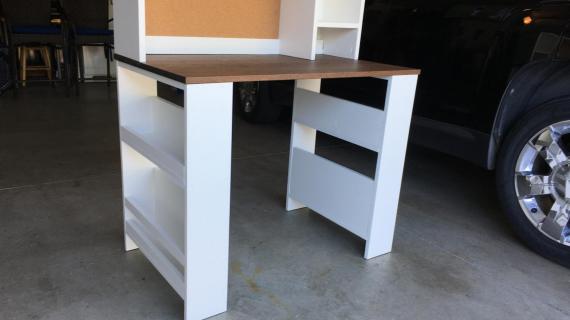
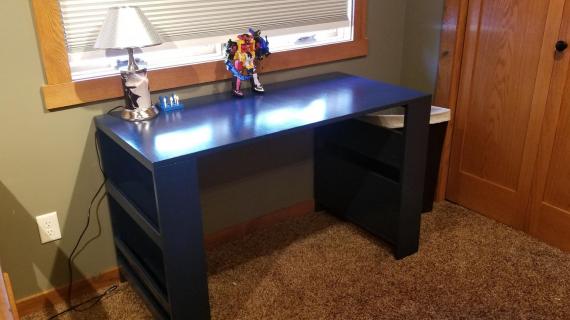
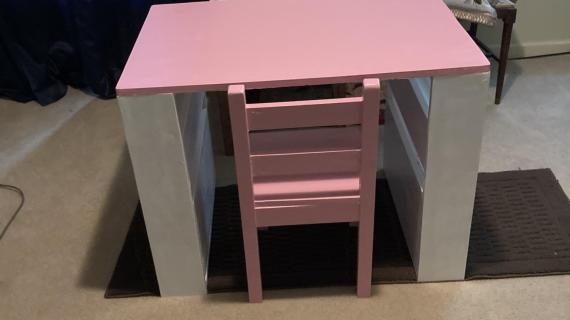
Easy to build kids desk or play table features side storage perfect for books, coloring tools and more. This is a free project plan with step by step diagrams, photographs, shopping and cut lists from Ana-White.com
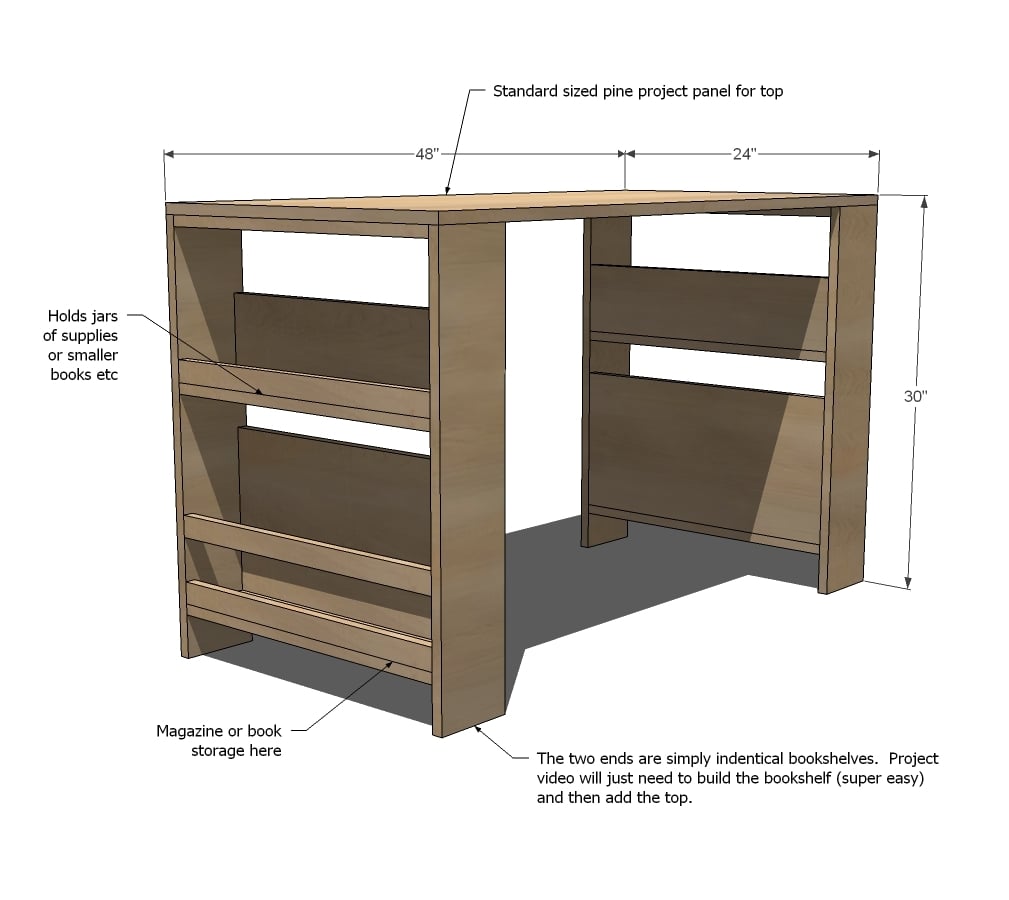
Preparation
- 2 – 1x6 @ 8 feet long
- 1 – 1x6 @ 10 feet long (cut bookshelf sides from this board)
- 1 – 1x12 @ 4 feet long
- 1 – 1x2 @ 12 feet long (or 1 1/2 @ 8 feet long)
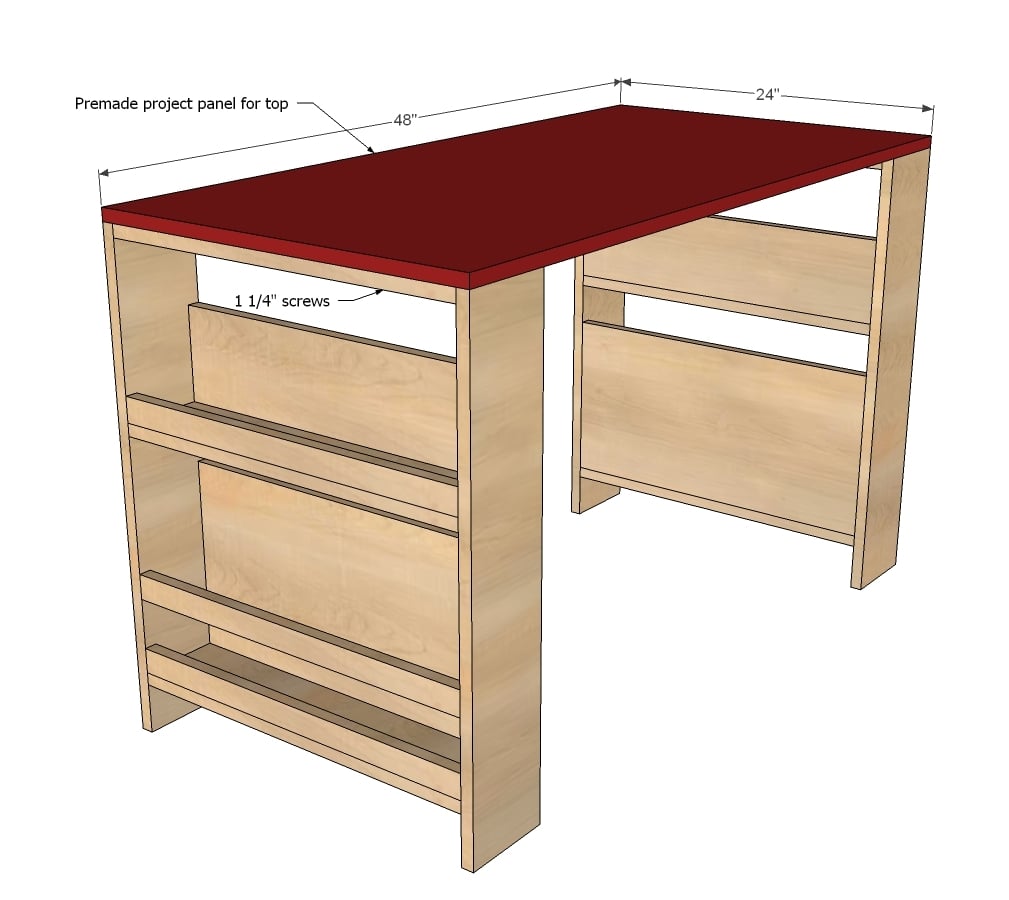
- 1 – ¾” thick project panel 48” x 24” or a ¼ sheet of hardwood plywood
- 1 ¼” brad nails
- 1 ¼” pocket hole screws
- 8 – 1x6 @ 22 ½”
- 4 – 1x6 @ 29 ¼”
- 2 – 1x12 @ 22 ½”
- 6 – 1x2 @ 22 ½”
- 1 – ¾” project panel 48” x 24”
Please read through the entire plan and all comments before beginning this project. It is also advisable to review the Getting Started Section. Take all necessary precautions to build safely and smartly. Work on a clean level surface, free of imperfections or debris. Always use straight boards. Check for square after each step. Always predrill holes before attaching with screws. Use glue with finish nails for a stronger hold. Wipe excess glue off bare wood for stained projects, as dried glue will not take stain. Be safe, have fun, and ask for help if you need it. Good luck!
Instructions
Step 1
Step 2
It is always recommended to apply a test coat on a hidden area or scrap piece to ensure color evenness and adhesion. Use primer or wood conditioner as needed.




Comments
Pam the Goatherd
Wed, 03/27/2013 - 11:54
I recently built a similar
I recently built a similar desk for my 28 year old "kid", only his is 8 ft. long to hold his dual computer monitors and mixer (He does radio production work from home). I had to build a support framework to go in the center, between the bookshelves, so it didn't sag from all the weight on it. He loves it!
http://ana-white.com/2013/02/big-huge-desk-my-son
waltera
Fri, 01/05/2018 - 19:57
How to choose the right wood
I am a complete beginner that will attempt this desk and I was wondering how one goes about deciding how to get the right wood. Pine seems to be what other people seem to like to use (based on other sites) but I was wondering that it would depened on the project itself on the wood one uses. So a bed or a storage that would hold reat weight use a different wood than one that is for a desk or a coffee table.
Thanks.
SeeDawson
Fri, 01/05/2018 - 21:10
Pine is plenty strong!
This is a great question. You're right that pine is a softer wood, but it is plenty strong for a project like this. My husband and I have built many bookshelves out of pine that hold very heavy books with no problems. Pine is great for a beginner since it is low-cost and readily available at places like Home Depot, so if something doesn't go right the first time, you can easily replace it. Good luck, and welcome to furniture building!