
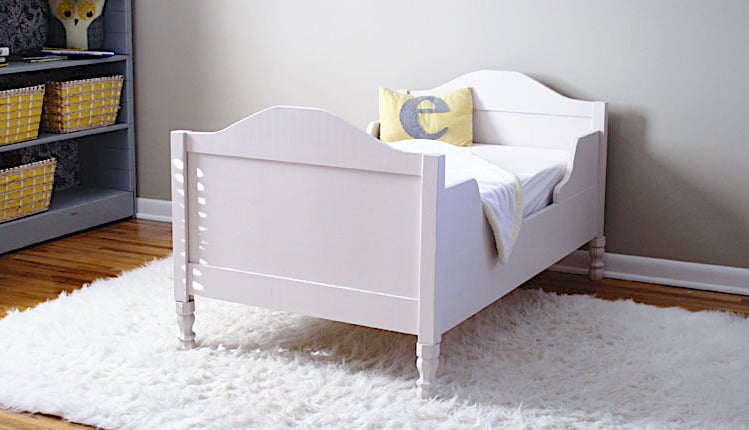

Free plans to build a beautiful toddler bed from Ana-White.com

Why We Built this Bed
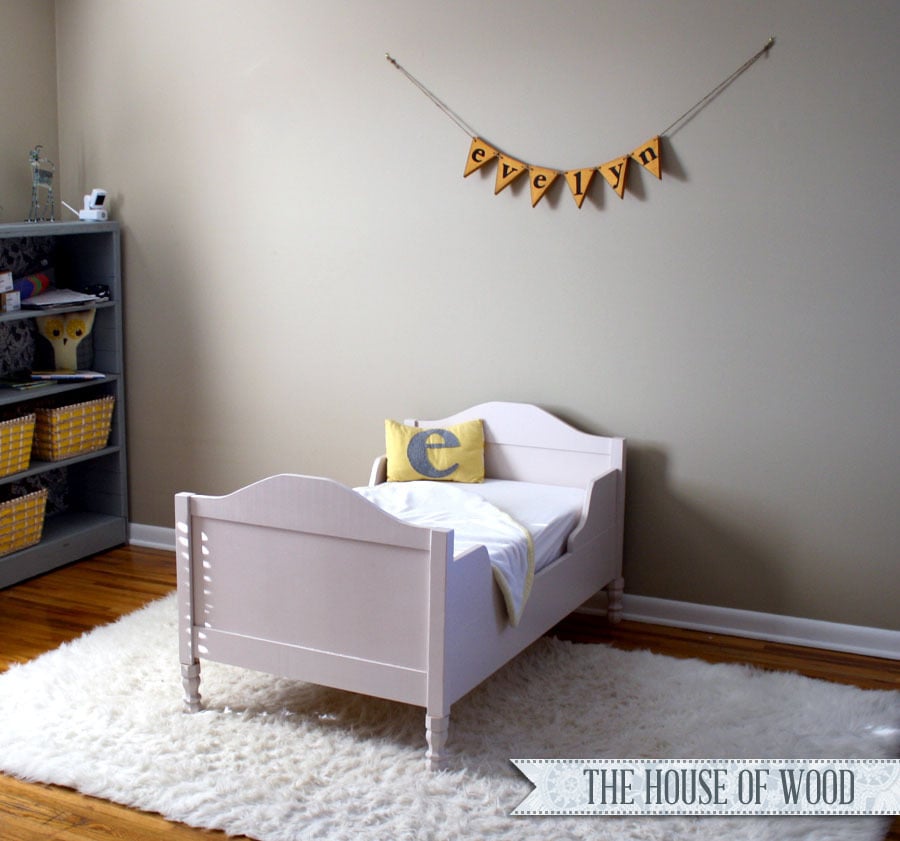
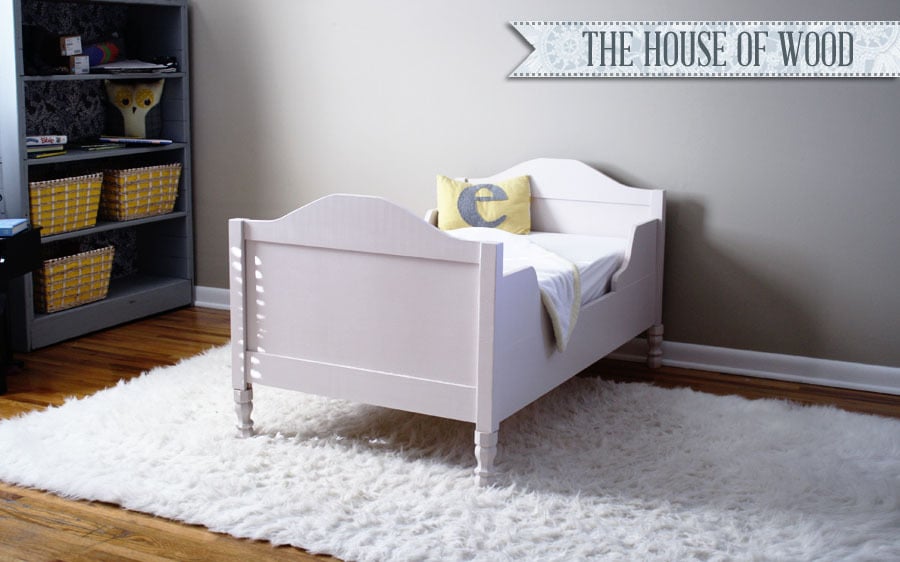
My dear friend Jen from House of Wood wrote me that her husband surprised her with a table saw and she wanted to build a toddler bed for her sweet daughter Evie. Jen loved the Tate Toddler Bed from Restoration Hardware Baby and Child, but not the $400 price. Kids do outgrow those toddler beds pretty fast, don't they!
So Jen and I teamed up to get this bed made. For the plans, knowing Jen had a table saw, we designed the headboards so the plywood fits inside a groove. We make doors in a similar fashion and love how both sides of the bed are finished.

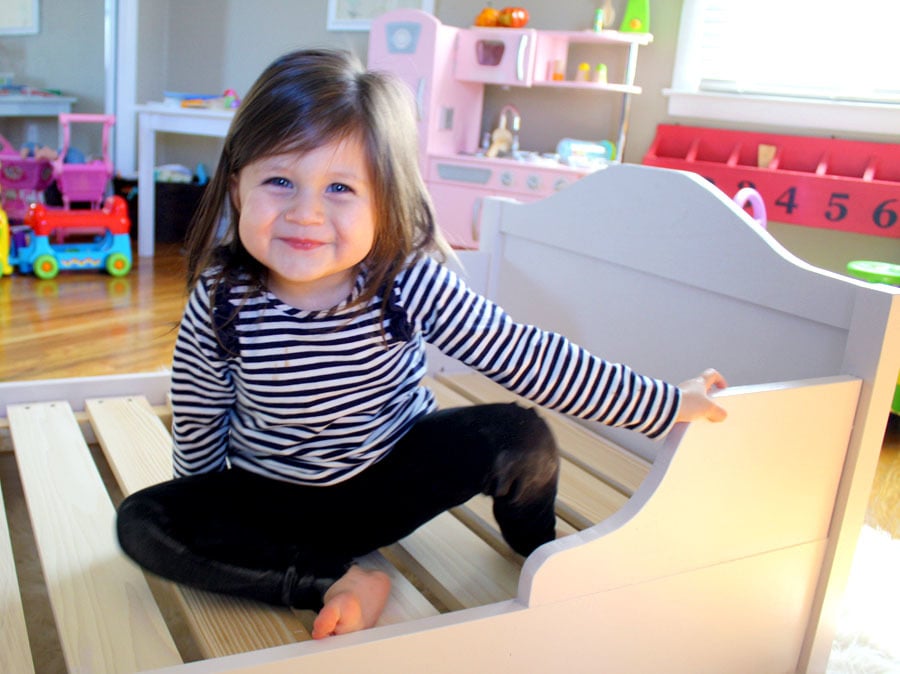
You can make the bed as sturdy as you like! Jumping on your toddler bed and getting a foot stuck between too far apart slats can be no fun at all!
Building Notes - Tips for a Better Bed
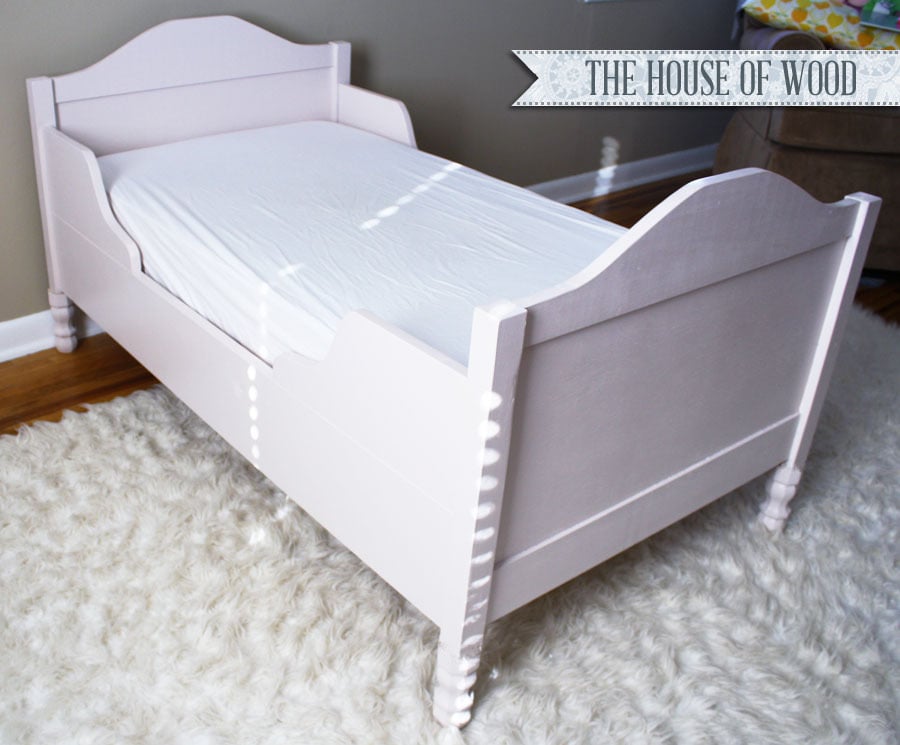
Jen attached store bought feet to the bottoms of the bed, but felt that the feet aren't as sturdy as she'd like for her little one, so she suggests either making the legs 6" longer with no turned feet (and save some $$$) or cutting the legs flush to the bottom of the bed and attaching the feet with metal brackets. Another option that could be fun would be caster wheels.
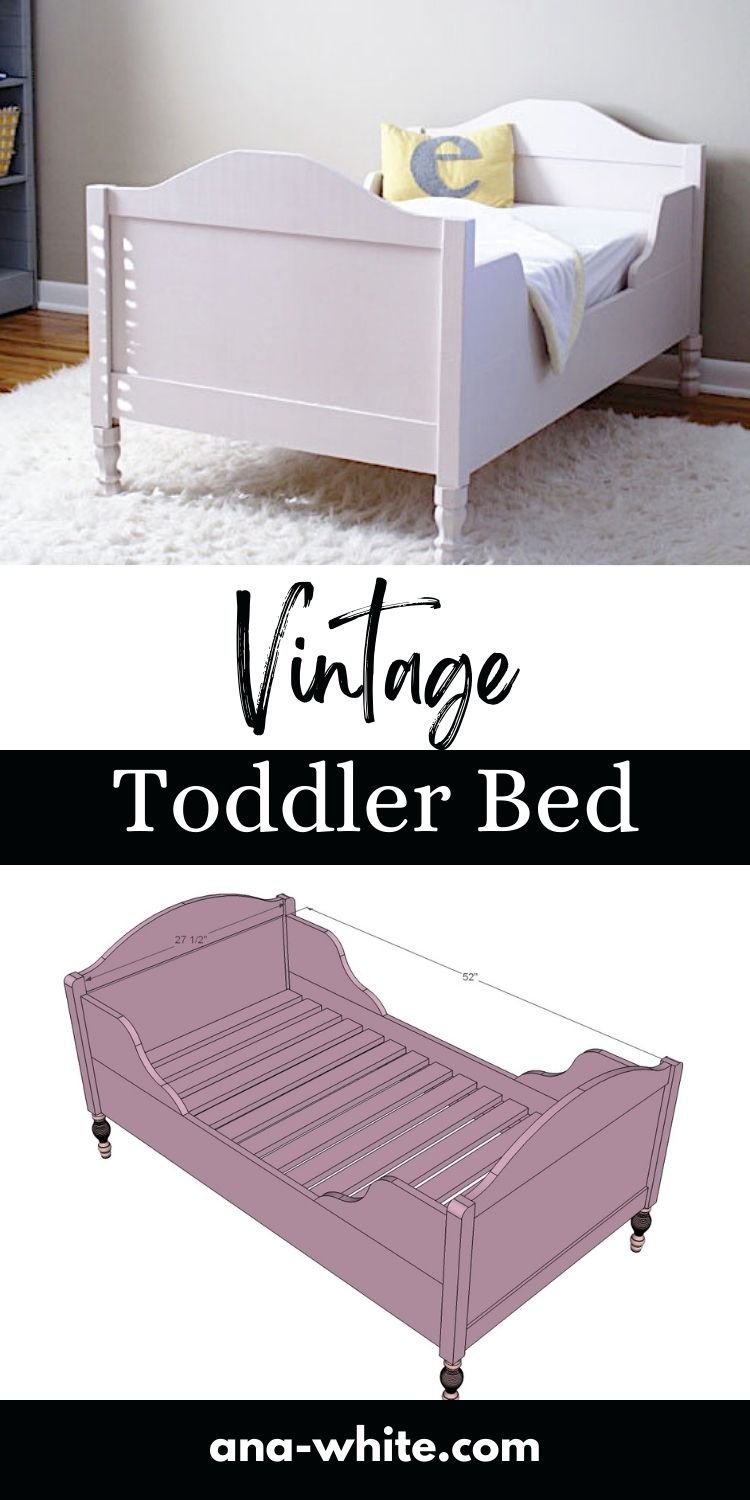
Free Plans to Build Your Own Vintage Toddler Bed
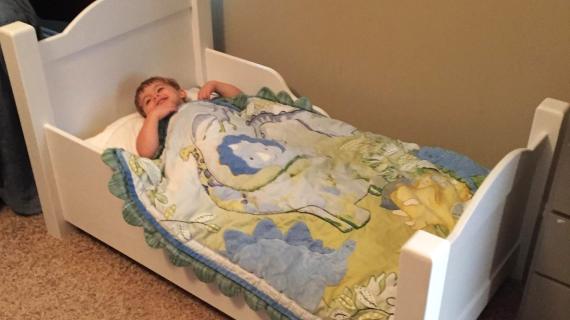
To see more photos and tips on building this bed, please take a second to read Jen's post here. There's lots more photos and details!
Enjoy the free plans following.
Pin for Later
Preparation
- 6 - 1x3 @ 8 feet long
- 1 - 1x6 @ 5 feet long
- 1 - 1/4” plywood or beadboard for panels at least @ 25 1/4” x 27 1/2”
- 2 - 2x2 @ 8 feet long
- 2 - 1x8 @ 8 feet long
- 4 - 6” turned sofa feet with metal bracket (optional)
- 2 - 1x3 @ 28”
- 2 - 1x6 @ 28”
- 2 - 1/4” plywood @ 12-1/2” x 27 1/2”
- 4 - 2x2 @ 22-1/2" (or 16-1/2” if using sofa legs for base)
- 2 - 1x8 @ 51”
- 4 - 1x8 @ 16”
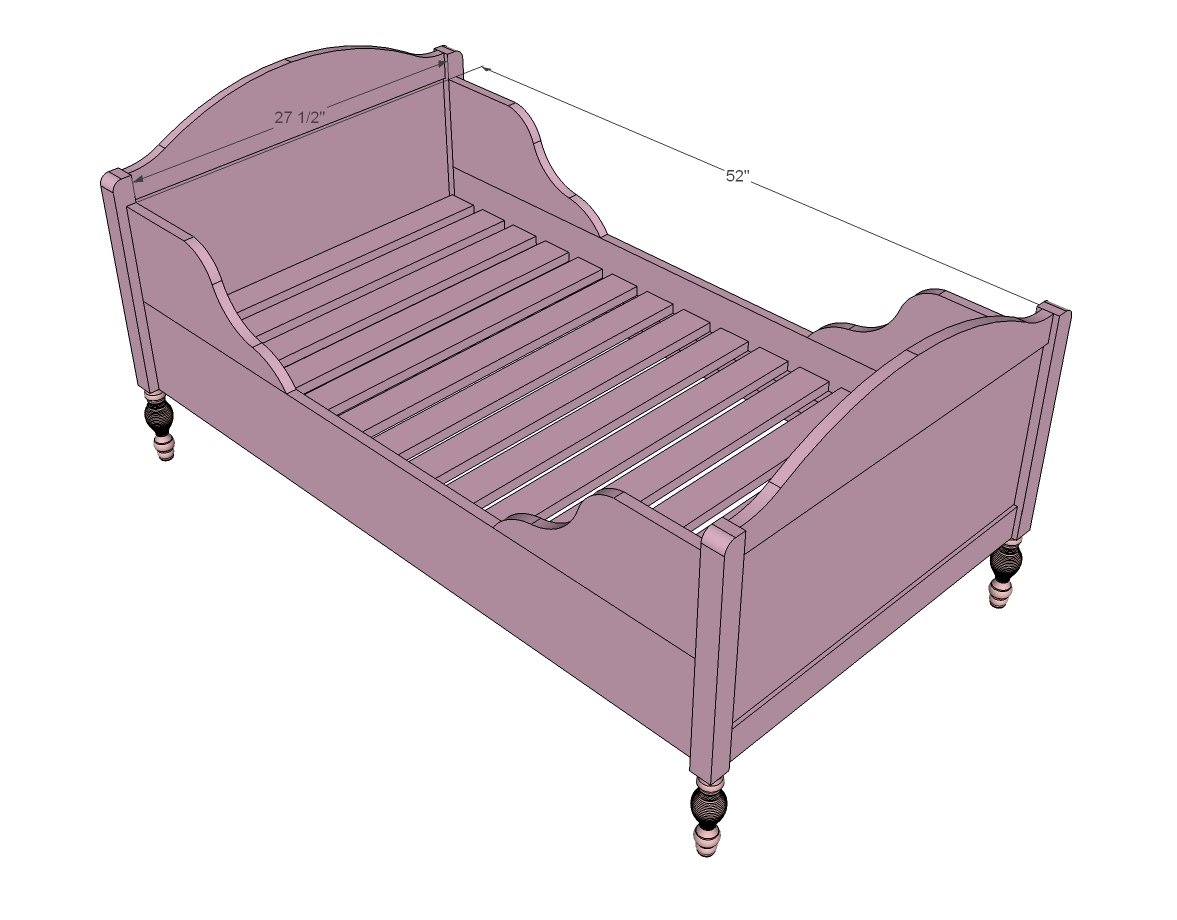
- 2 - 2x2 @ 52 1/4”
- 15 - 1x3 @ 27 1/2”


Please read through the entire plan and all comments before beginning this project. It is also advisable to review the Getting Started Section. Take all necessary precautions to build safely and smartly. Work on a clean level surface, free of imperfections or debris. Always use straight boards. Check for square after each step. Always predrill holes before attaching with screws. Use glue with finish nails for a stronger hold. Wipe excess glue off bare wood for stained projects, as dried glue will not take stain. Be safe, have fun, and ask for help if you need it. Good luck!
Instructions
Step 1

Since most saw blades are only 1/8” thick, you’ll need to make two cuts side by side to notch out for the panel in this headboard. Set your saw fence 1/4” from the outside of the blade and run the board through once. Flip and run through again, this time right next to the first cut. Make sure your plywood fits in the groove.
Step 2

Do the same for the top header board. Then use a jigsaw to cut arch shape out of top and sand smooth.
Step 3

Notch the legs as well, but for a stained finish, you’ll want to leave the top portion of the legs. For a painted finish, you can notch all the way through. Assemble the headboards with glue and screws.
Not shown - legs extend past by 6"
Step 4

Now add the two siderails. Since these will be covered by a mattress, go ahead and attach with pocket holes. Also drill two pocket holes facing upward to attach the decorative upper side rails (next step). You can actually attach the lower to upper siderails in this step as well. Glue the joint.
Step 5

The best way to attach side rails is with pocket holes - but you can also screw from outsides into the ends of the 1x8s.
Step 6

These are to support the mattress slats. I have them resting on the 1x3s in the headboards, but you can place at any height.
Step 7

I recommend mattress slats pretty close together (shown 1” spacing) because crib mattresses are so flimsy. This one’s your call here - standard spacing is between 2 and 3”. You could also use 3/4” plywood as a base.
Step 8

Attach legs using metal brackets or with the 2x2 extended 6" longer as legs.
It is always recommended to apply a test coat on a hidden area or scrap piece to ensure color evenness and adhesion. Use primer or wood conditioner as needed.

Comments
loon_138
Sun, 04/07/2013 - 13:55
Awesome plans, mine is just
Awesome plans, mine is just drying right now. I did have to make my end panels 28 1/2 inches long, rather than 27 1/2.
cant wait to get my son in it!
Thanks