
For this stain tutorial, I used
• Sandpaper in Medium and Fine grits
• Minwax® Wood Finish™ in Special Walnut
• Natural Bristle Brush
• Minwax® Helmsman® Water Based Spar Urethane
• Synthetic Bristle Brush
• Staining Rags
Project Preparation
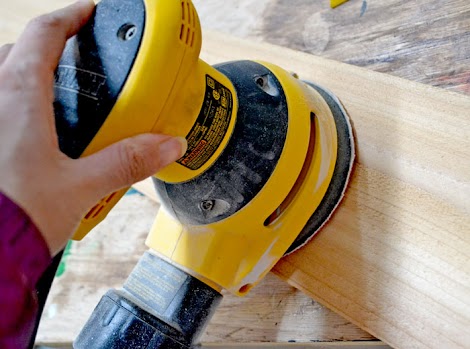
Because I’m using cedar fence pickets which are very rough and uneven, I sanded my boards first before any assemble. It’s much easier to sand a flat board than it is to sand a little planter!
I used medium grit sandpaper, sanding in the direction of the wood grain.

Then I followed up with a quick hand sanding using sanding blocks. I started with a medium grit, working in the direction of the wood grain, just to make sure the power sander didn’t leave any marks. Then I followed up with fine grit sand paper.
It just takes a minute to do this!
Then before I move on to actual staining, I get rid of all sanding residue by brushing off, vacuuming, and then just to be sure, wiping down the project with a barely damp rag.
Staining
For this project, I want to not just protect the wood, but add color to it.
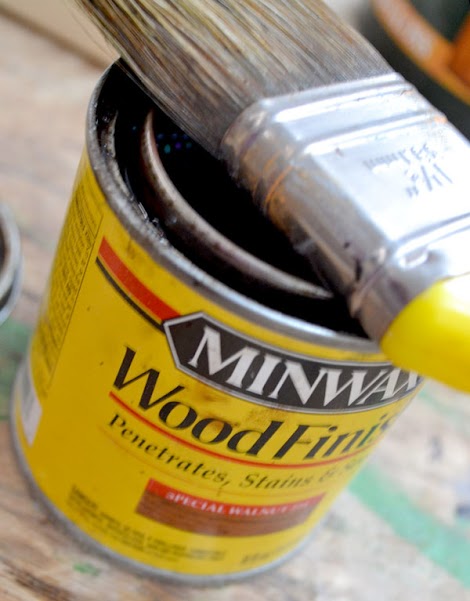
So I choose Minwax® Wood Finish™ stain in Special Walnut.

Since the Minwax Wood Finish is oil-based, I’m using a natural bristle brush. Minwax matches brush colors to can colors to make picking a brush easy! Yellow goes with yellow.

Even though the stain is brand new, I mixed it up because residue can end up on the bottom - resulting in uneven colors. I also mix as I work, just to make sure the contents aren't settling on me.
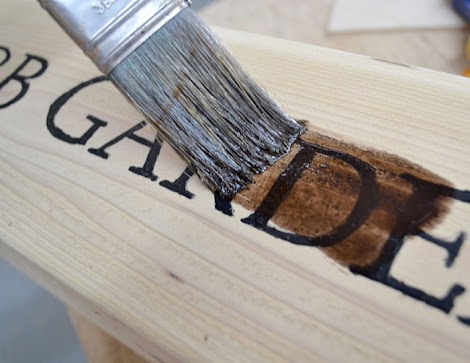
I choose to stain after painting the letters just because I’m doing a dark stain, and wanted to be able to see the letter outlines when I painted them on the light wood.
I just apply the stain with the natural bristle brush in the direction of the wood grain.

I love this color!

After about 10 minutes (5-15 is recommended) of allowing the stain to penetrate the wood, I took a clean cloth and began wiping excess off. Don’t let excess stain dry on the project - it won’t look good! (and could prevent the topcoat from adhering properly)
The cedar took the stain so well, I only needed a single coat. But for a deeper coat, additional stain coats can be added after a few hours of dry time. Before applying the protective top coat, I let the project dry overnight.
Protective Exterior Top Coat
To protect the finish, I used Minwax® Helmsman® Spar Urethane. I could use oil-based, but I have the waterbased on hand (and love it) so I opted for it.
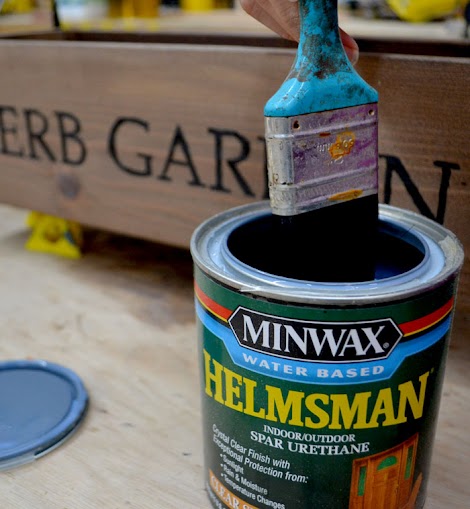
Notice I’m using a blue brush now with the blue label on the can.
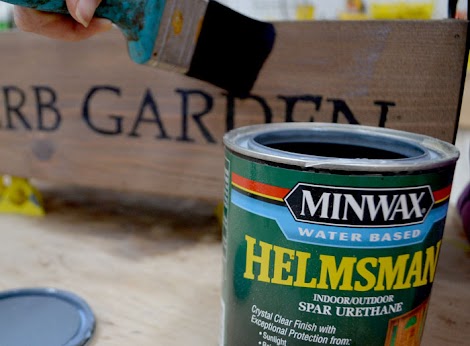
I applied a light, even coat of the Minwax® Helmsman® Spar Urethane to the project. I choose the Helmsman Spar Urethane because it’s specifically formulated for exterior conditions to protect against water damage and sunlight.
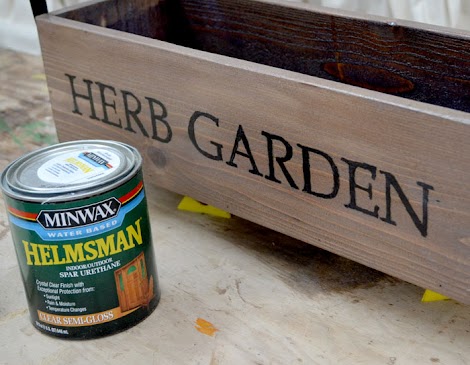
I applied two coats of Helmsman®, waiting a couple hours between coats, and lightly sanding between coats with fine grit sandpaper.

Amazing how a finish can transform a project!
Thanks Minwax® for bringing us today’s staining tutorial!


Comments
mybartmart
Tue, 04/30/2013 - 12:02
great tutorial
Ana White
Tue, 04/30/2013 - 13:51
Hi! This is a great
kazey
Thu, 05/23/2013 - 00:02
This is truly a great shared