
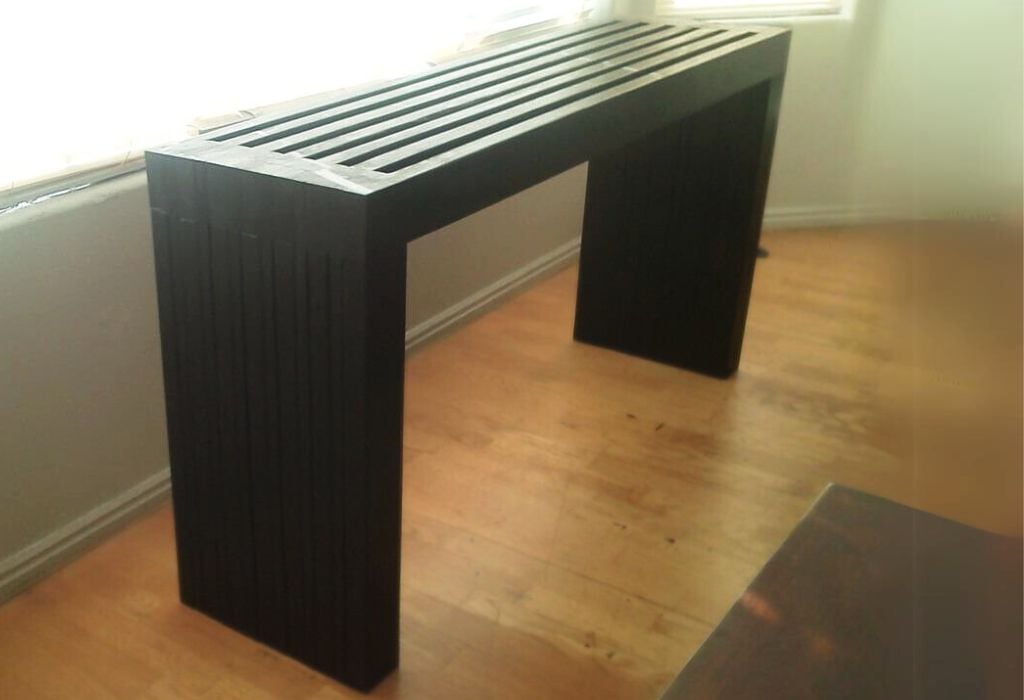

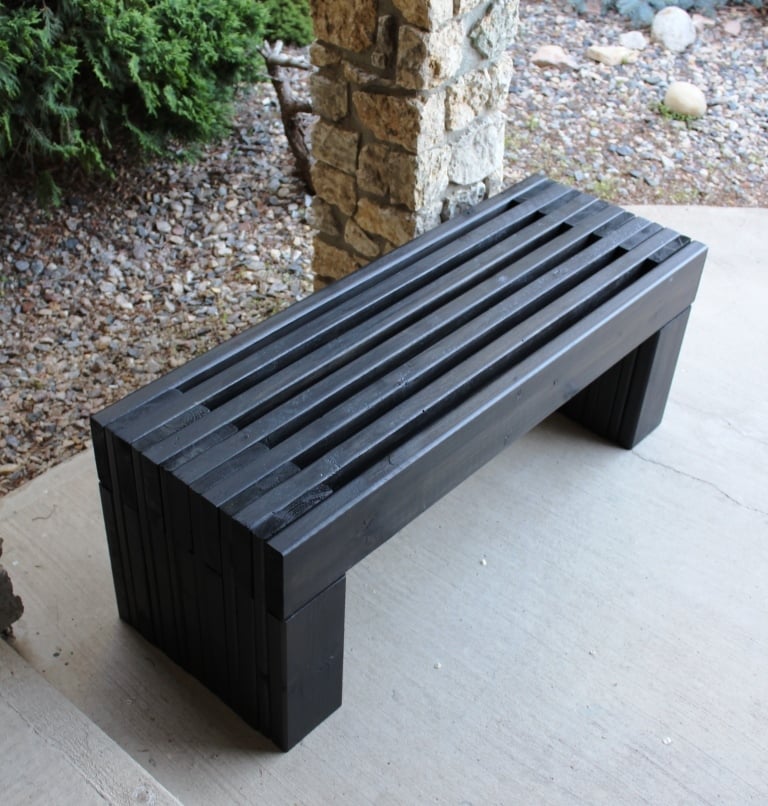
Perfect indoors or out, this easy build slat top console table has a modern design, heavy legs, and water drainage in the top.
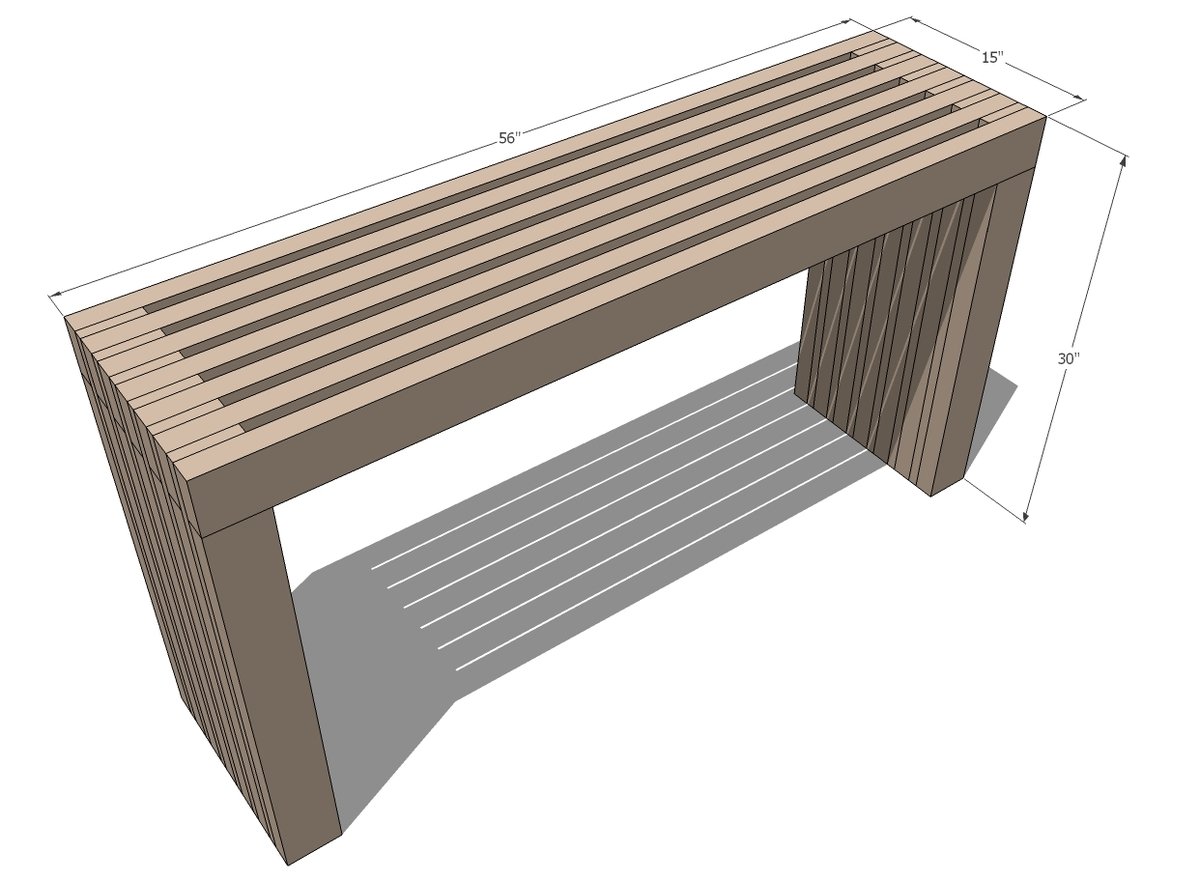
This is a beginner friendly project plan with step by step diagrams, shopping and cut lists from Ana-White.com
See Related: Matching Bench Plans
Photos by Solid Wood Furnishings and Jeff from A Touch of Arkansas
Bench/Coffee Table Size Plans Available

See Also: Matching Bench Plans
Preparation
- 10 - 2x4 @ 8 feet or stud length
- 4 - 1x4 @ 8 feet long
- 2 1/2” Pocket Hole Screws
- 2” brad nails
- Exterior Wood Glue
- 7 - 2x4 @ 56”
- 14 - 2x4 @ 26 1/2”
- 12 - 1x4 @ 30”


Please read through the entire plan and all comments before beginning this project. It is also advisable to review the Getting Started Section. Take all necessary precautions to build safely and smartly. Work on a clean level surface, free of imperfections or debris. Always use straight boards. Check for square after each step. Always predrill holes before attaching with screws. Use glue with finish nails for a stronger hold. Wipe excess glue off bare wood for stained projects, as dried glue will not take stain. Be safe, have fun, and ask for help if you need it. Good luck!
Instructions
Step 1

Lay out the first pieces. This will be the front, and all nails/screws will be attached to the back side of these pieces. If you have a pocket hole jig, go ahead and attach the top to the legs.
Step 2

Then layer a row of 1x4s to the inside of the 2x4s.
Step 3

Next, layer a row of 2x4s over the 1x4s. You can nail and glue from here on out.
Step 4

Just continue to add layers until you get to the desired width.
It is always recommended to apply a test coat on a hidden area or scrap piece to ensure color evenness and adhesion. Use primer or wood conditioner as needed.

Comments
louismike
Mon, 05/20/2013 - 05:30
I really liked the design and
I really liked the design and color of the table. The red color is looking royal.
storm damage Florida
spiceylg
Sun, 06/02/2013 - 03:30
Support
Hi, love this. Need an 8' long one to back up my outdoor sectional. With that long of a span, would it need an additional leg and how would I affix it?
spiceylg
Sun, 06/02/2013 - 03:33
Support
Love it. Need one 8' long to back up outdoor sectional. With that long of a span I assume I probably need a middle leg. How should that be affixed?
spiceylg
Sun, 06/02/2013 - 03:41
Support
Love it. Need one 8' long to back up outdoor sectional. With that long of a span I assume I probably need a middle leg. How should that be affixed?
In reply to Support by spiceylg
UncleBig
Tue, 07/02/2013 - 08:03
Support
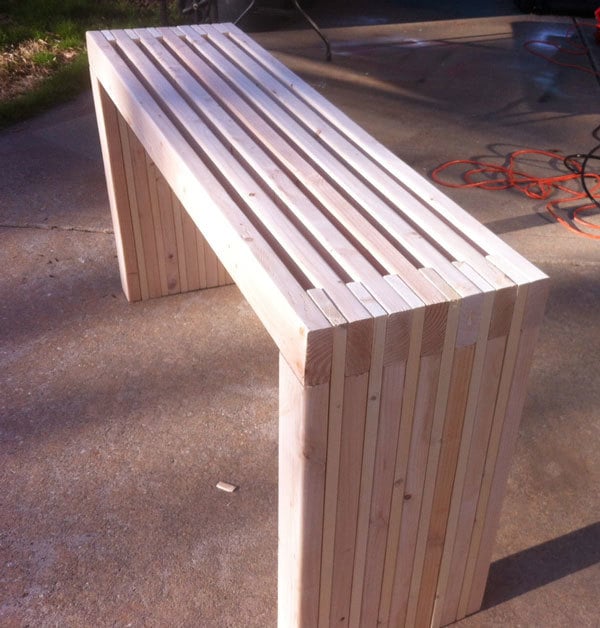
If you look at the picture of the table that is wood colored (looks like it may have been polyurethaned or something as a finish)...It has a board running underneath the middle of the table span. This adds support to the middle of the table by combining all of the unsupported pieces of the table and essentially making them one.
at 8' multiple 2x4s together should be able to support lots of weight, especially since the gravitational pull is on the 4" width instead of the 2" depth. For piece of mind's sake, adding the piece in the middle will add support and also allow you to keep the original look of the table without compromising it's effect
Hope this helps!
saltwaterdiver
Sun, 09/27/2015 - 16:00
Going to try this for an entry table.
Love this table.... I am anxious to try it. It will be a top priority next weekend.
I think I will do a two tone though... with the slats on the seat, stained and clear coated and the remainder of the table, painted antique white. I will try to post a picture when it's done so you can see how it turned out.
In reply to Going to try this for an entry table. by saltwaterdiver
Ana White
Mon, 09/28/2015 - 12:00
Can't wait to see yours!
Can't wait to see yours!