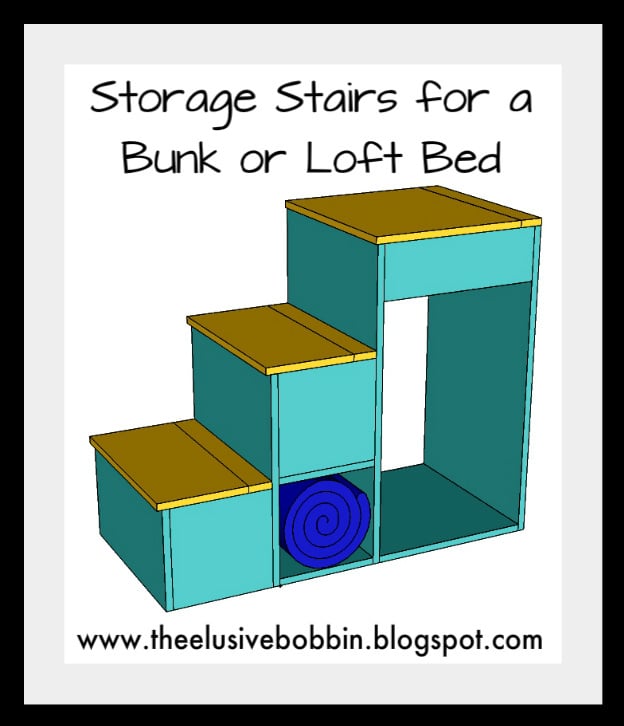
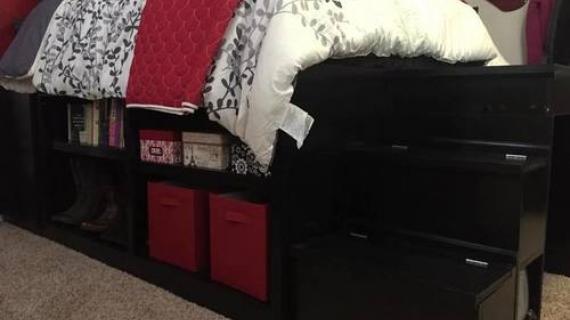
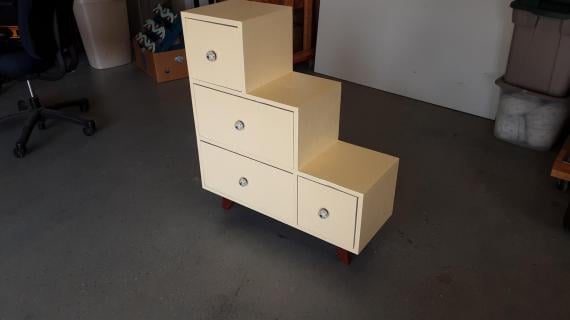
Storage stairs for a loft or bunk bed with :
2 deep compartments which can store toys or extra bed linens
a shallow compartment in the top step that is perfect for treasures or those large flat books
a small shelf under the middle stair that fits a rolled up sleeping bag perfectly
a large cubby under the top step that can be used as a crawl through, suitcase storage, could be divided into smaller cubbies, or could have doors attached.
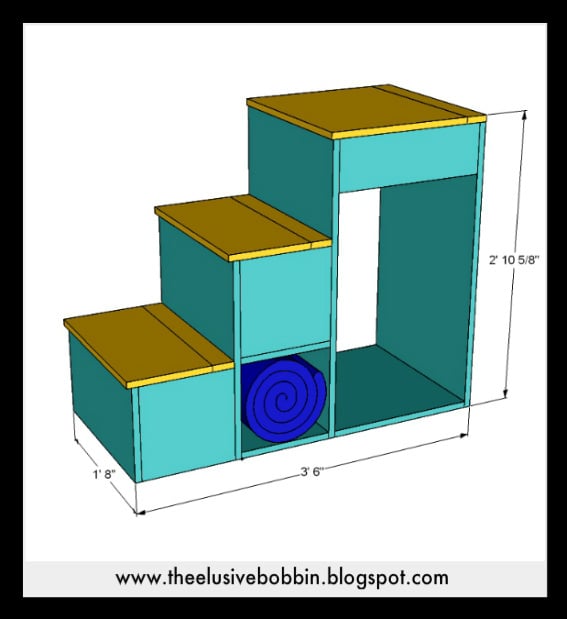
Preparation
1- 1x3
3/4 plywood (I used Purebond)
3 sets of hinges
3 - 1x3 @ 20 (tread brace of 3 steps)
4 - 10 3/4 x 10 3/4 (sides of bottom 2 steps)
2 - 5 3/4 x 17 1/2 (sides of top step)
2 - 20 x 9 1/2 (treads of bottom and middle steps)
1 - 20 x 16 3/4 (tread of top step)
3 - 20 x 10 3/4 (front of bottom step, shelf and base of middle step)
1 - 20 x 22.5 (front of middle step)
2 - 20 x 33 7/8 (front and back of top step)
1 - 10 3/4 x 18.5 (bottom step base)
1 - 20 x 17 1/2 (top step base)
1 - 17 1/2 x 18 1/2 ( top step compartment base)
Please read through the entire plan and all comments before beginning this project. It is also advisable to review the Getting Started Section. Take all necessary precautions to build safely and smartly. Work on a clean level surface, free of imperfections or debris. Always use straight boards. Check for square after each step. Always predrill holes before attaching with screws. Use glue with finish nails for a stronger hold. Wipe excess glue off bare wood for stained projects, as dried glue will not take stain. Be safe, have fun, and ask for help if you need it. Good luck!
Instructions
Step 1
Step 2
Step 3
Step 4
Step 6
It is always recommended to apply a test coat on a hidden area or scrap piece to ensure color evenness and adhesion. Use primer or wood conditioner as needed.


Comments
agarrigan
Wed, 01/08/2014 - 18:44
Update to Plans
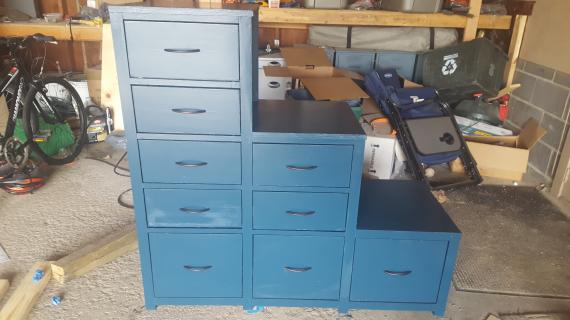
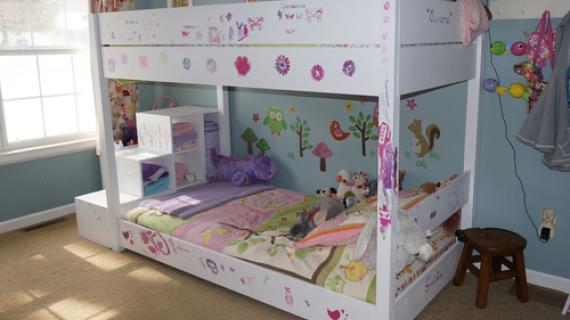
I have now posted the plans I used for the entire Bunk/Loft Bed Storage Stair System on my blog The Elusive Bobbin. You can find The same free plans for the steps I posted above, plus free plans for a handrail and flat bookshelf that sits at the top of the stairs.
http://theelusivebobbin.blogspot.com/2014/01/storage-stair-system-for-b…
Hope you enjoy,
Amy
robsaem
Tue, 11/25/2014 - 08:52
loft bed plans
I really love this plan. About how much would it cost me to build the whole bed system like you did for your son? Thanks!
Croker49
Fri, 11/27/2015 - 12:32
Storage stairs for bunk bed
Can all the parts be cut out of 1 4x8 sheet of plywood?
aehorn
Sat, 04/18/2020 - 20:11
Hi Amy! Thank you for these…
Hi Amy!
Thank you for these plans! I have been searching for stairs just like this! I am just wondering what bunk bed plan you used along with these stairs?