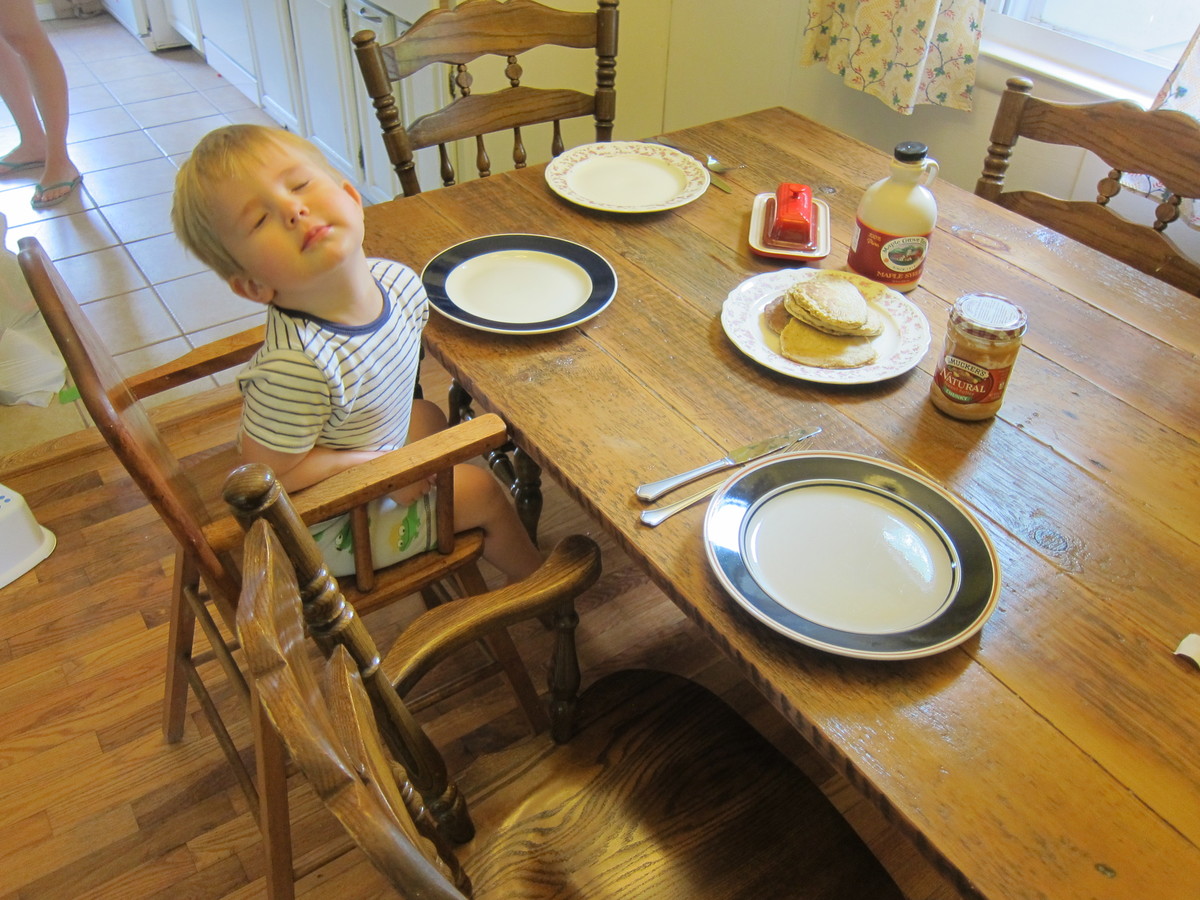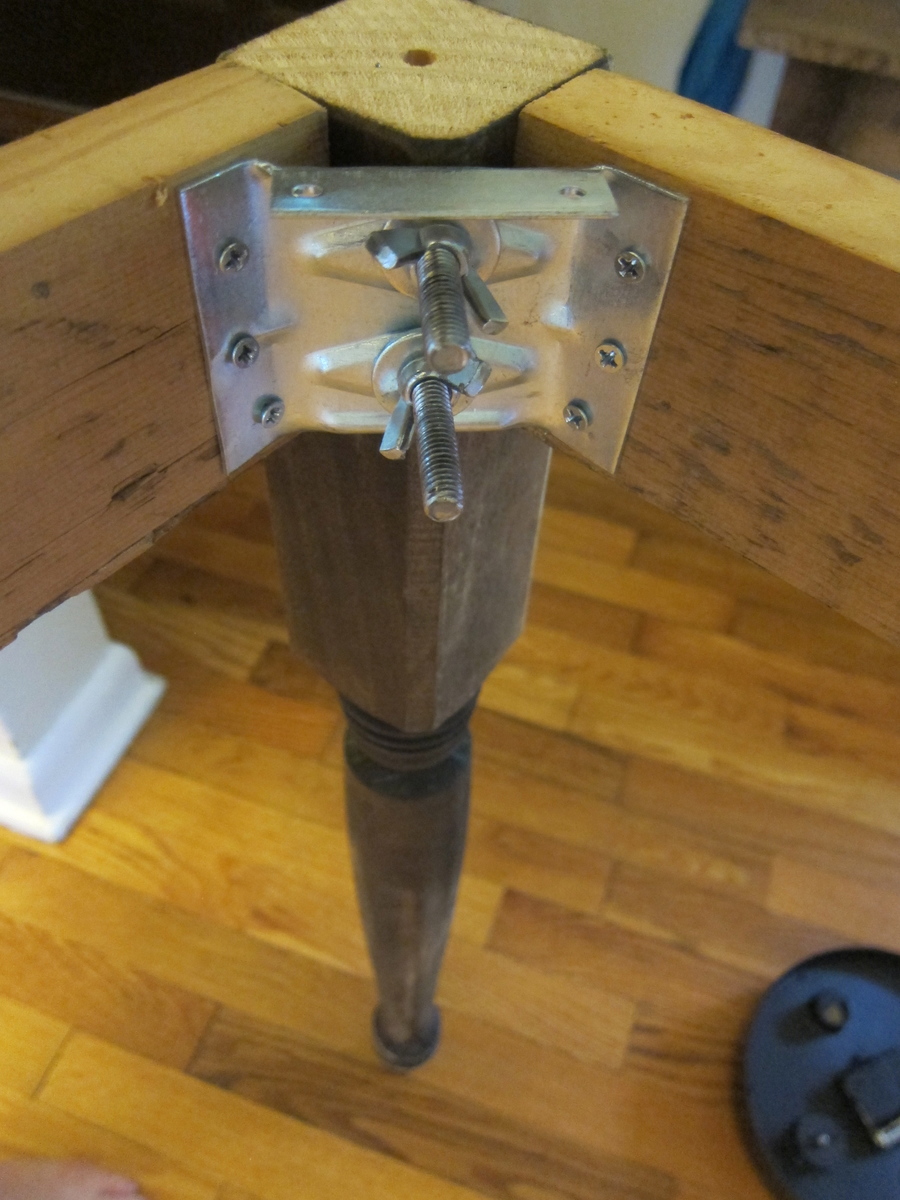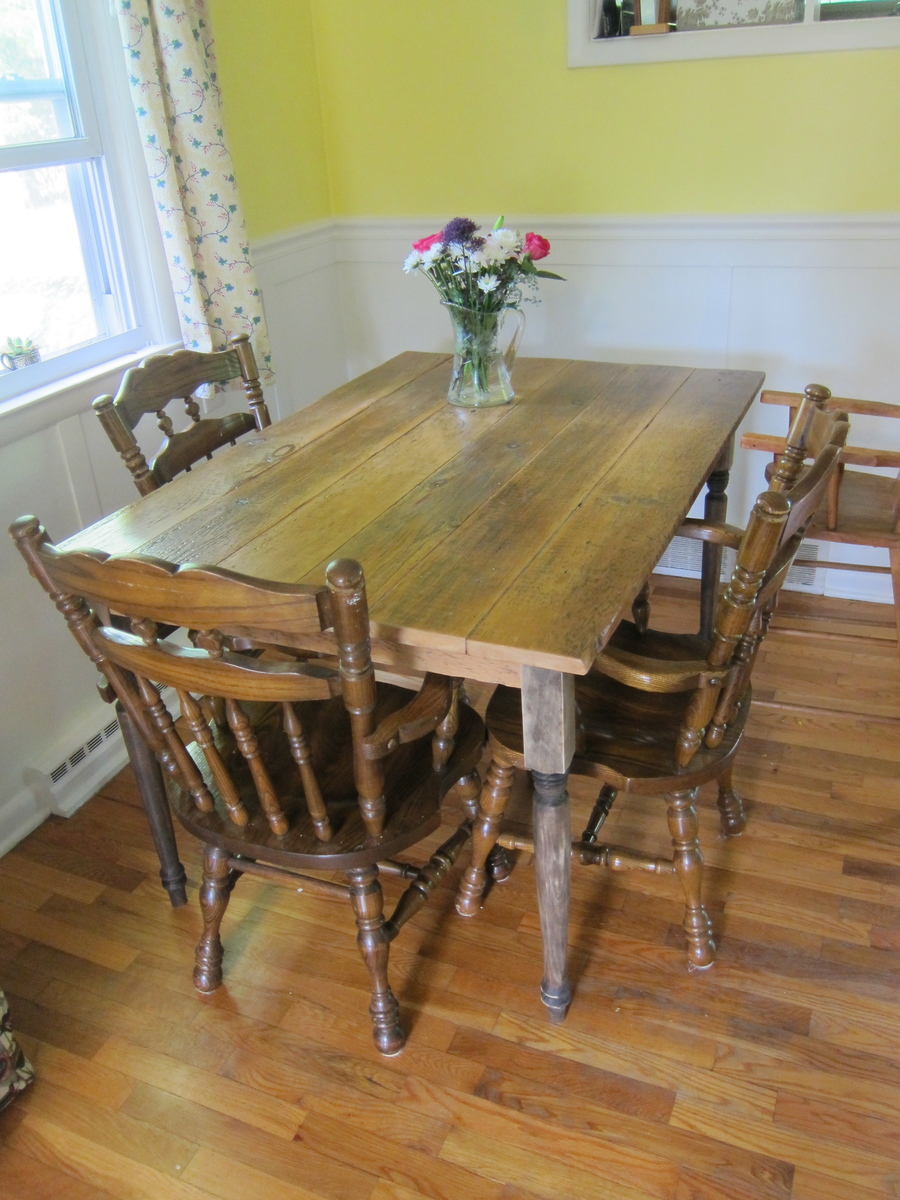
I've been wanting to build a "plank" style farmhouse table for a long time. I used metal corner brackets to allow for easy removal of legs of the table. However, I found the corner brackets quite hard to work with. I think they're probably sturdier than just pocket holes, so I guess that's good.
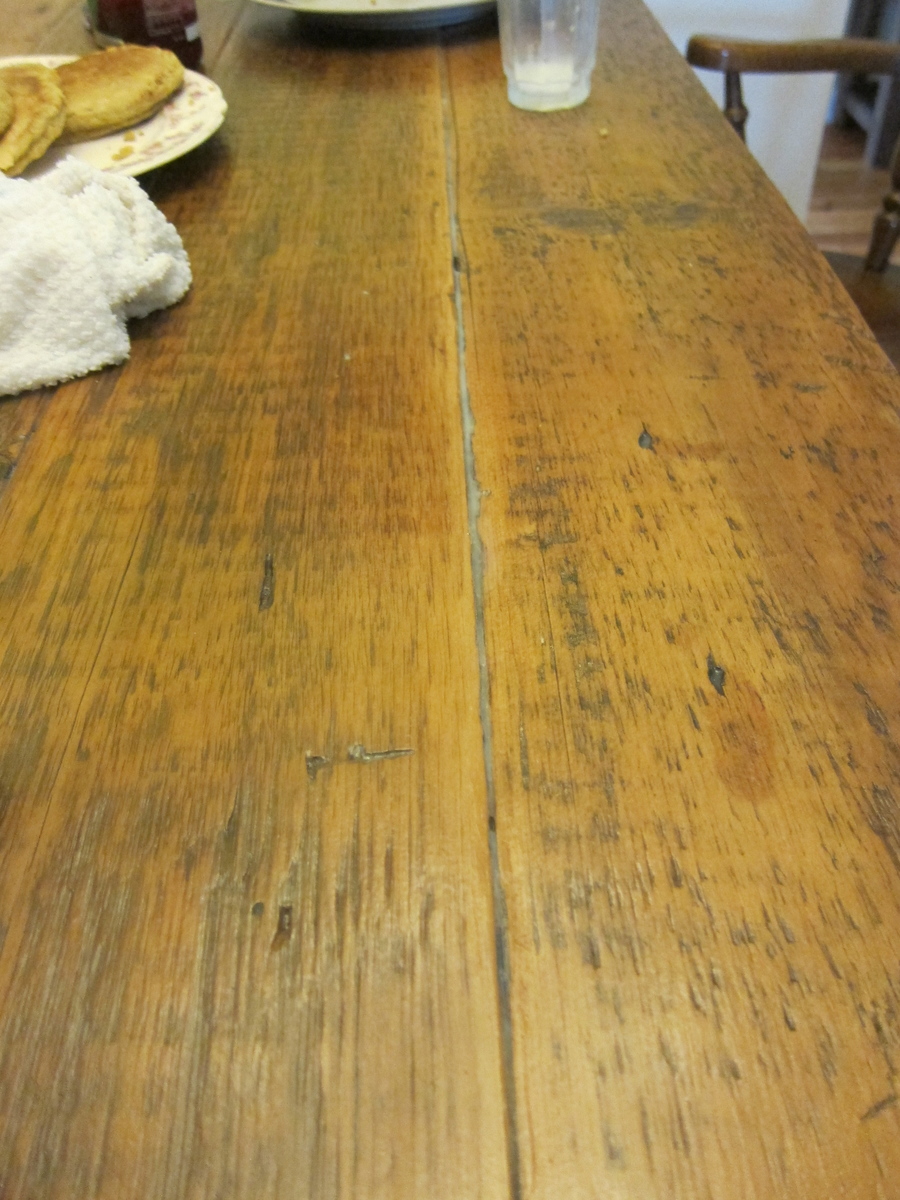
I used 100-year old barn wood and it looked so beautiful. BUT...I have a two year old and I'm expecting another child soon, so I wanted to plug up some of the gaps in the wood (like old nail holes that went the entire way through the boards) and put something down to preserve the quality of the wood.
After researching a lot of ways to fill in the gaps in wood tables, I tried a few things.
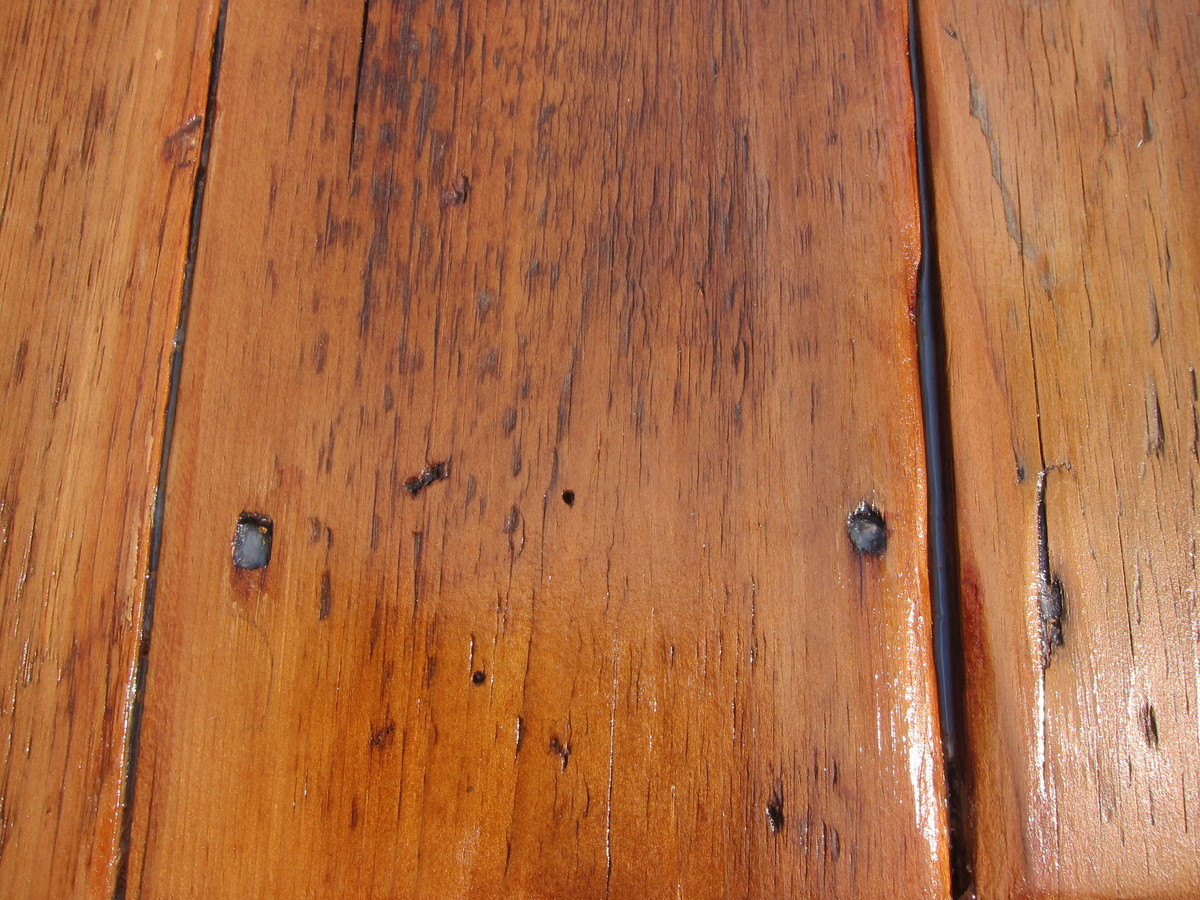
First I tried clear silicone. I think this would have been a great option if the holes were just a little bit smaller. It ended up just looking like plastic in the spaces, though. So I scooped that out and then tried wood filler. The wood filler looked terrible under polyurethane, though, and no matter how much I tried to get them to match, it just looked like a different color. Finally, I ended up using painter's tape on the bottom of the table under slats and holes and filling them slowly with polyurethane (I used an eyedropper for this task!). It worked really well. I should also say that I sanded the already planed boards as much as possible to reduce the gaps between boards.
I'm really pleased with my new table!
I used only poly on the top. The wood is its natural color.
Thanks for the idea, Ana!
