
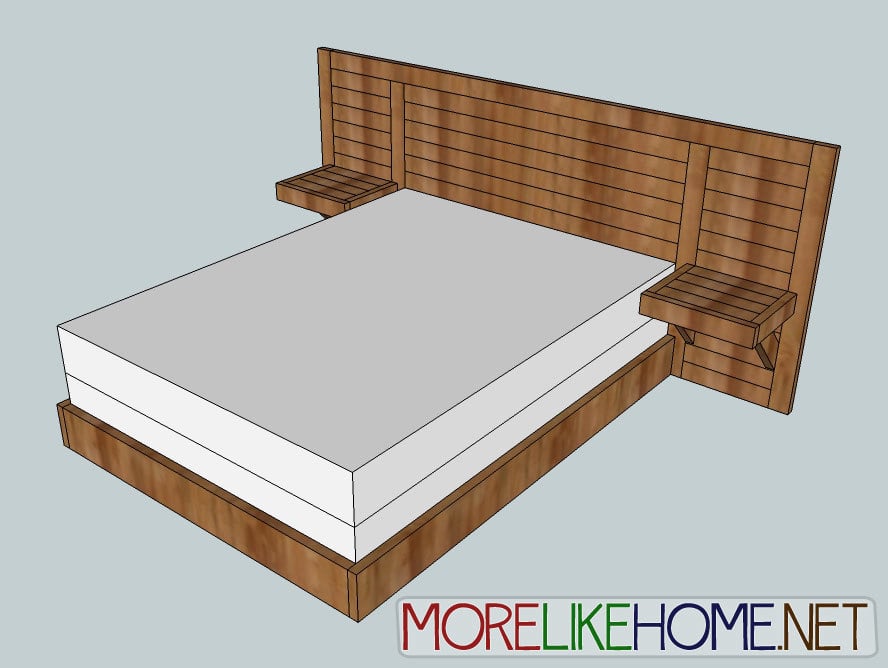

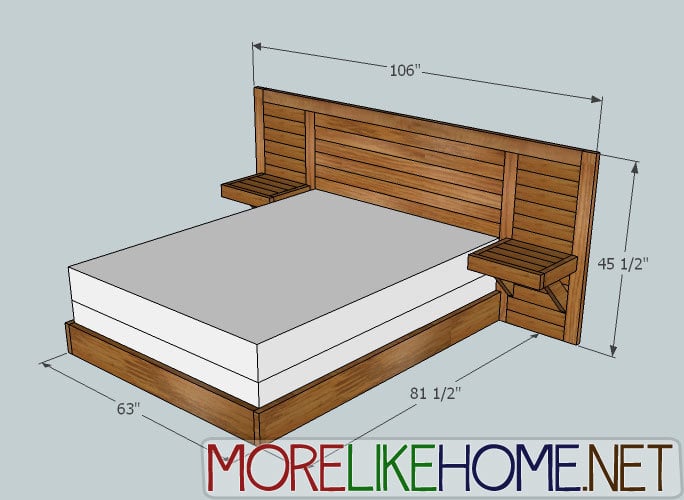
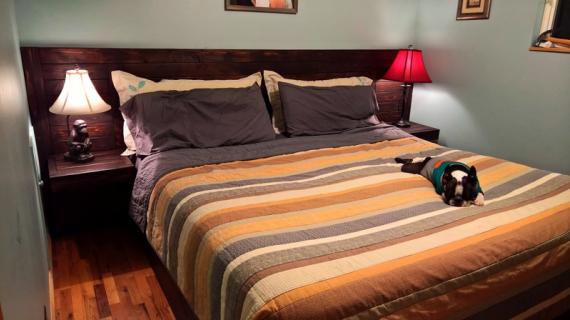
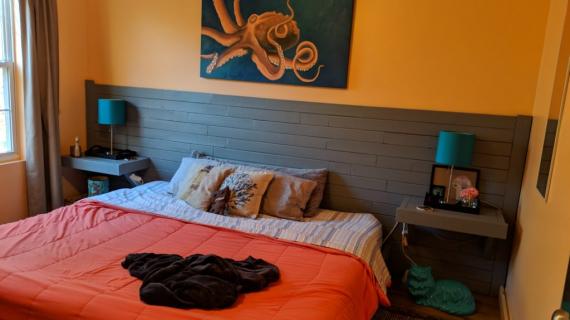
This simple, modern style bed has a unique long & low headboard with built-in nightstands. The plans are for a queen size bed, but could easily be adapted to other sizes. This headboard would make a statement in any room, but if you adjust the measurements to fill an entire wall in your bedroom it would be a show stopping feature! You can do all kinds of fun things with this big headboard. Like to read at night? Try installing some sconces right into the headboard. Or maybe hanging some family pictures above the nightstands. Be creative and find something you love!
Find the headboard plans here: http://www.morelikehome.net/2012/10/day-5-build-simple-modern-headboard…
And the nightstands and bed frame here: http://www.morelikehome.net/2012/10/day-6-build-simple-modern-bed.html
Please read through the entire plan and all comments before beginning this project. It is also advisable to review the Getting Started Section. Take all necessary precautions to build safely and smartly. Work on a clean level surface, free of imperfections or debris. Always use straight boards. Check for square after each step. Always predrill holes before attaching with screws. Use glue with finish nails for a stronger hold. Wipe excess glue off bare wood for stained projects, as dried glue will not take stain. Be safe, have fun, and ask for help if you need it. Good luck!
It is always recommended to apply a test coat on a hidden area or scrap piece to ensure color evenness and adhesion. Use primer or wood conditioner as needed.

Comments
MrsEnari
Wed, 10/01/2014 - 11:02
Would Love to Make this Bed!
Is there a plan for this bed in King?
tamihunter64
Fri, 05/08/2015 - 20:09
Does anyone have the plans
Does anyone have the plans for this in King?
Codding58
Wed, 06/08/2016 - 09:01
King measurment
Don't know if you all are still looking for the king plan, but here's what I got. Change the width from 63 to 75, and the length from 81.5" to 85.5". And of course make up the same width difference on the headboard. Will be making mine very soon!!! Cheers!