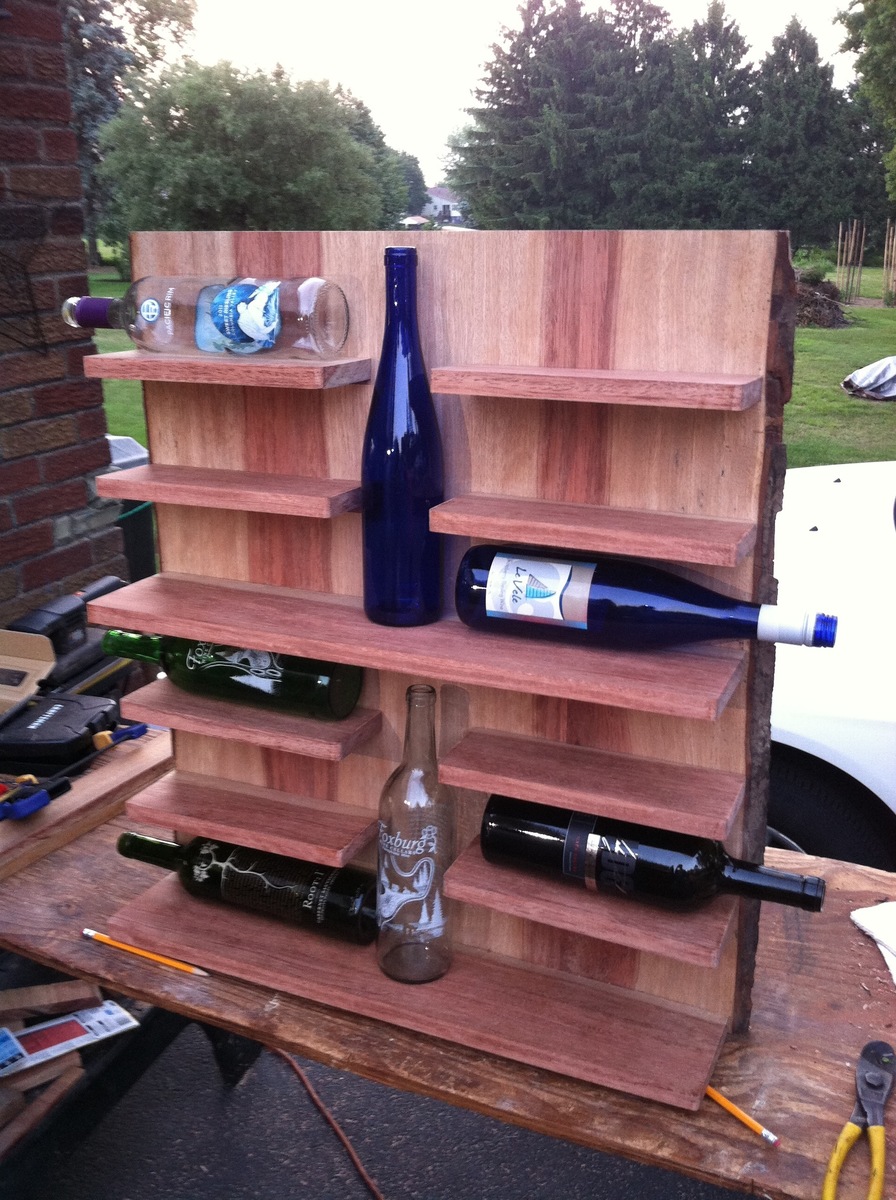
This was a rack I helped my dad make so he could give it as a wedding gift. This is an attempt to build from plans that Ana posted here:
http://ana-white.com/2011/11/wall-mounted-wine-rack-dont-forget-erase-y…
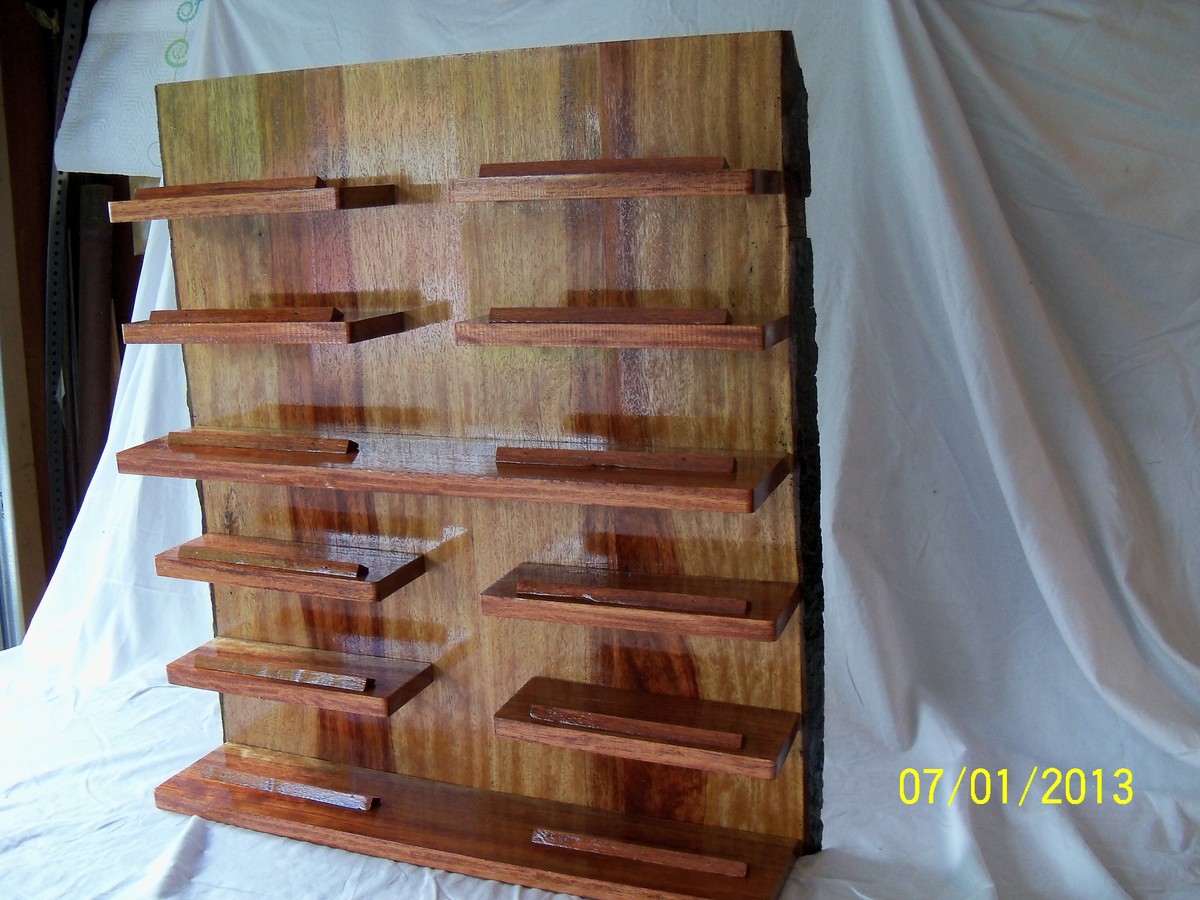
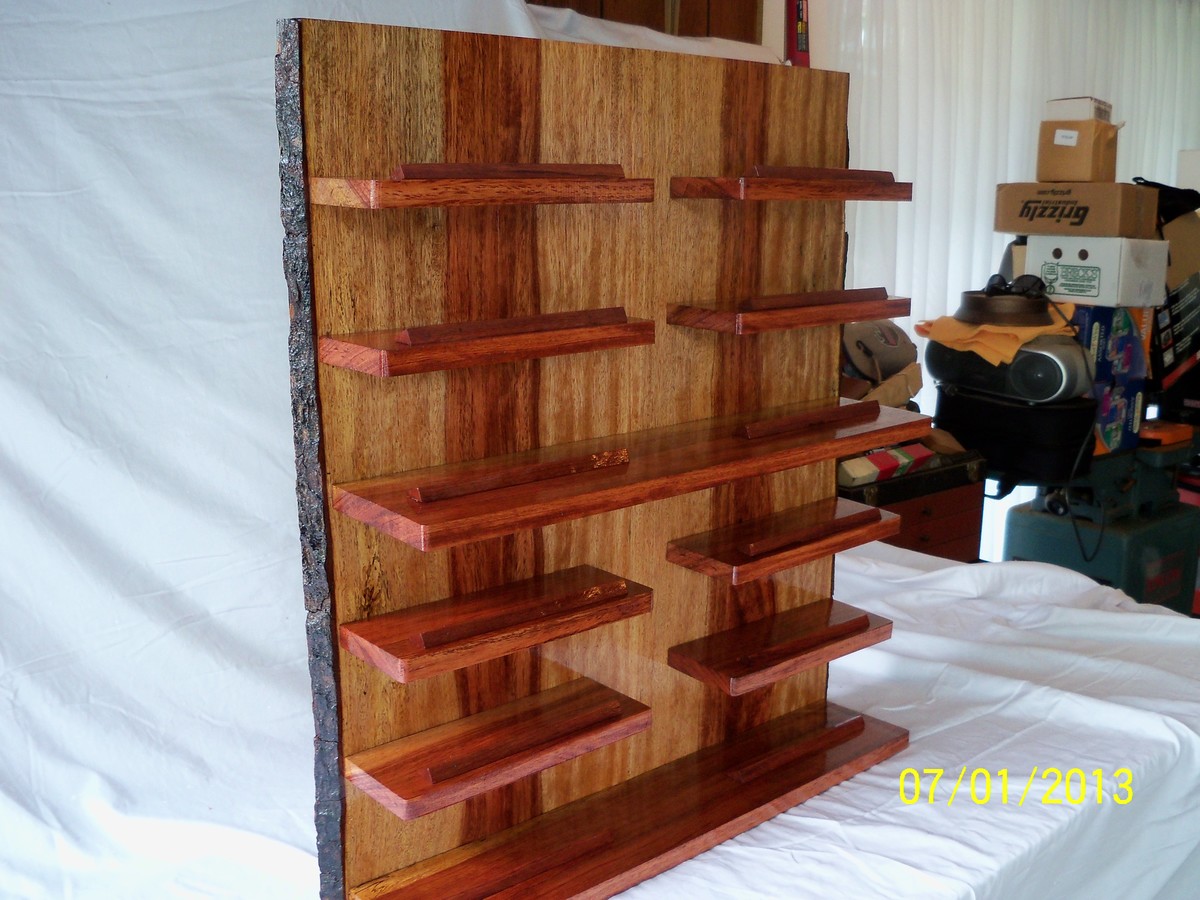
We took 2 long long cherry boards with bark still on the sides, and ran them through the planer. Then we ripped them down the center to be able to use bark ends on each side and book-matched the cherry colors, but most people wont have to worry about that since they wont be using "found" cherry.
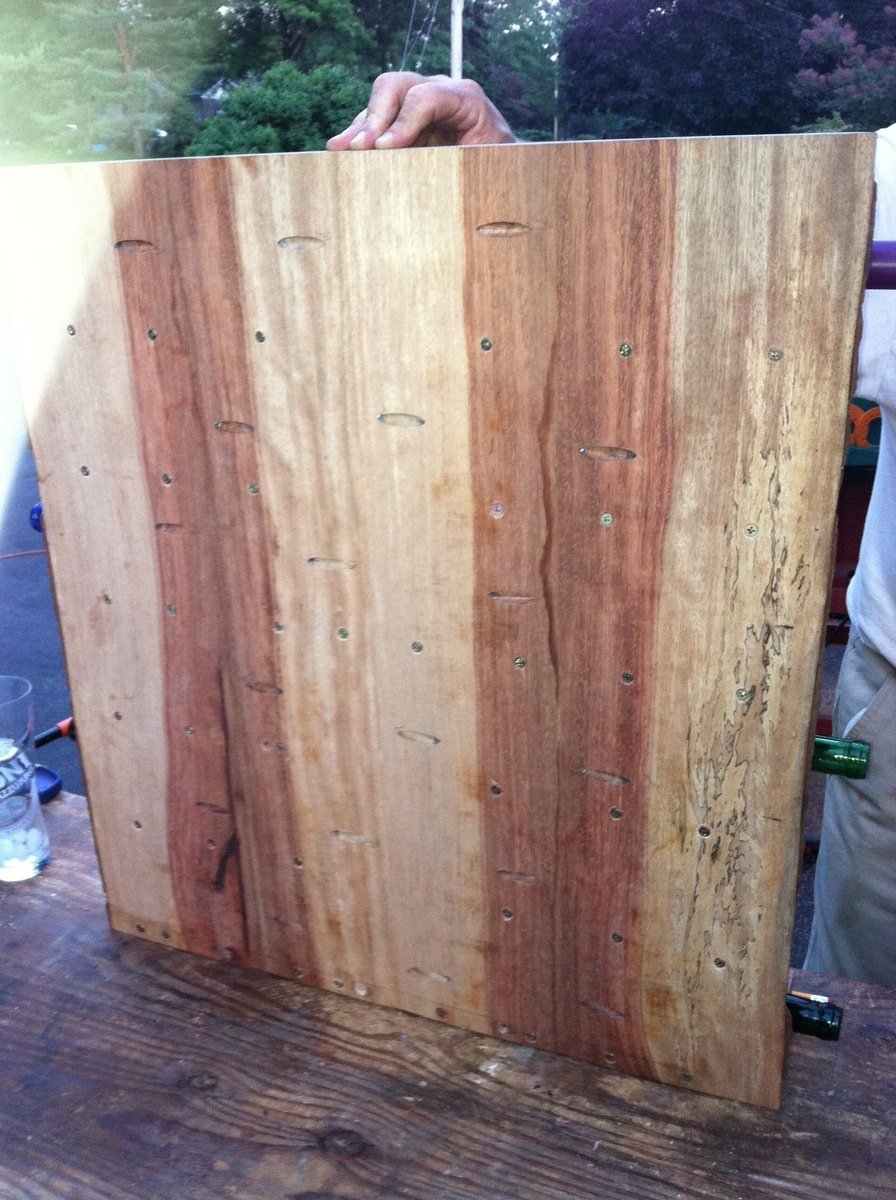
The back board is made up of four 1x7s cuts at 28.5 inches long. You can use whatever width you want, we just wound up with 7inch pieces. Then we used a Kreg Jig to screw those together flush (see picture of back). Once those 4 pieces were together we sanded the edges down to make the backboard smooth and flush.
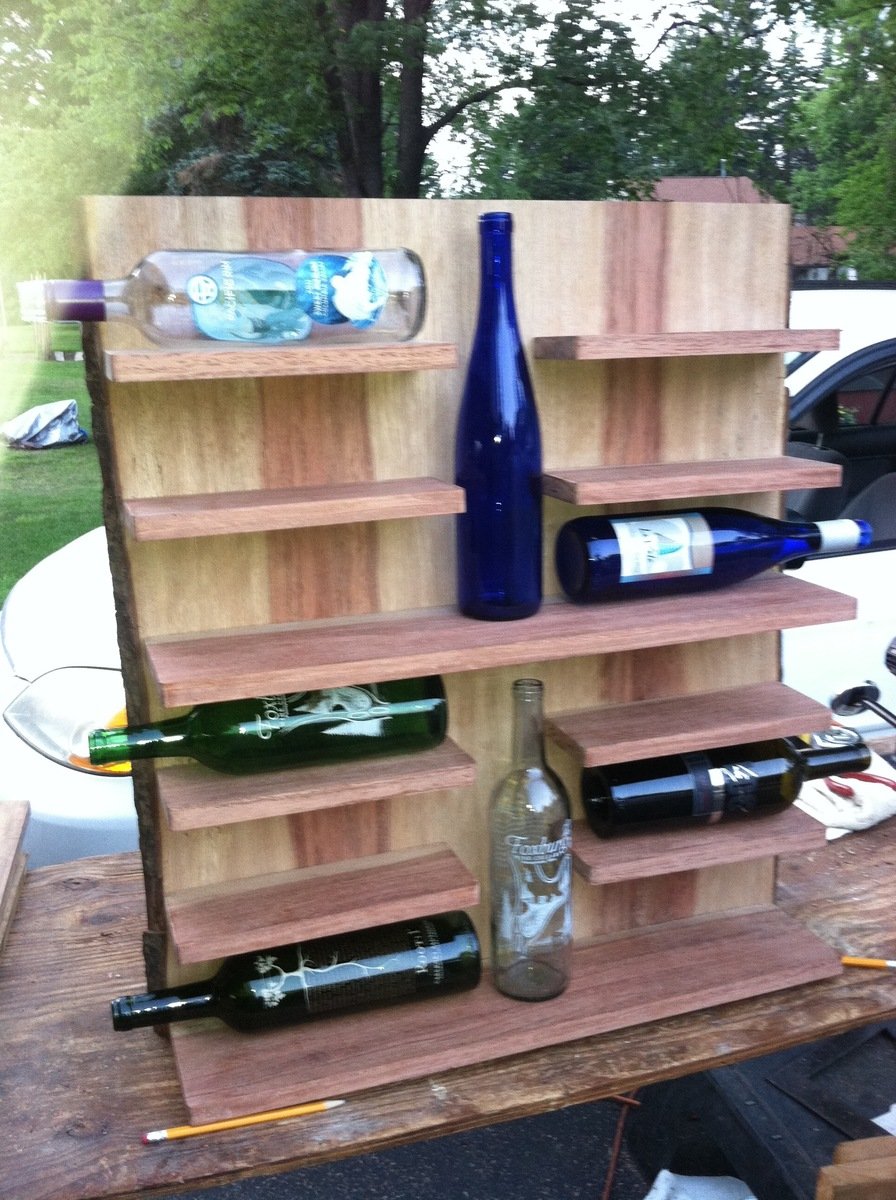
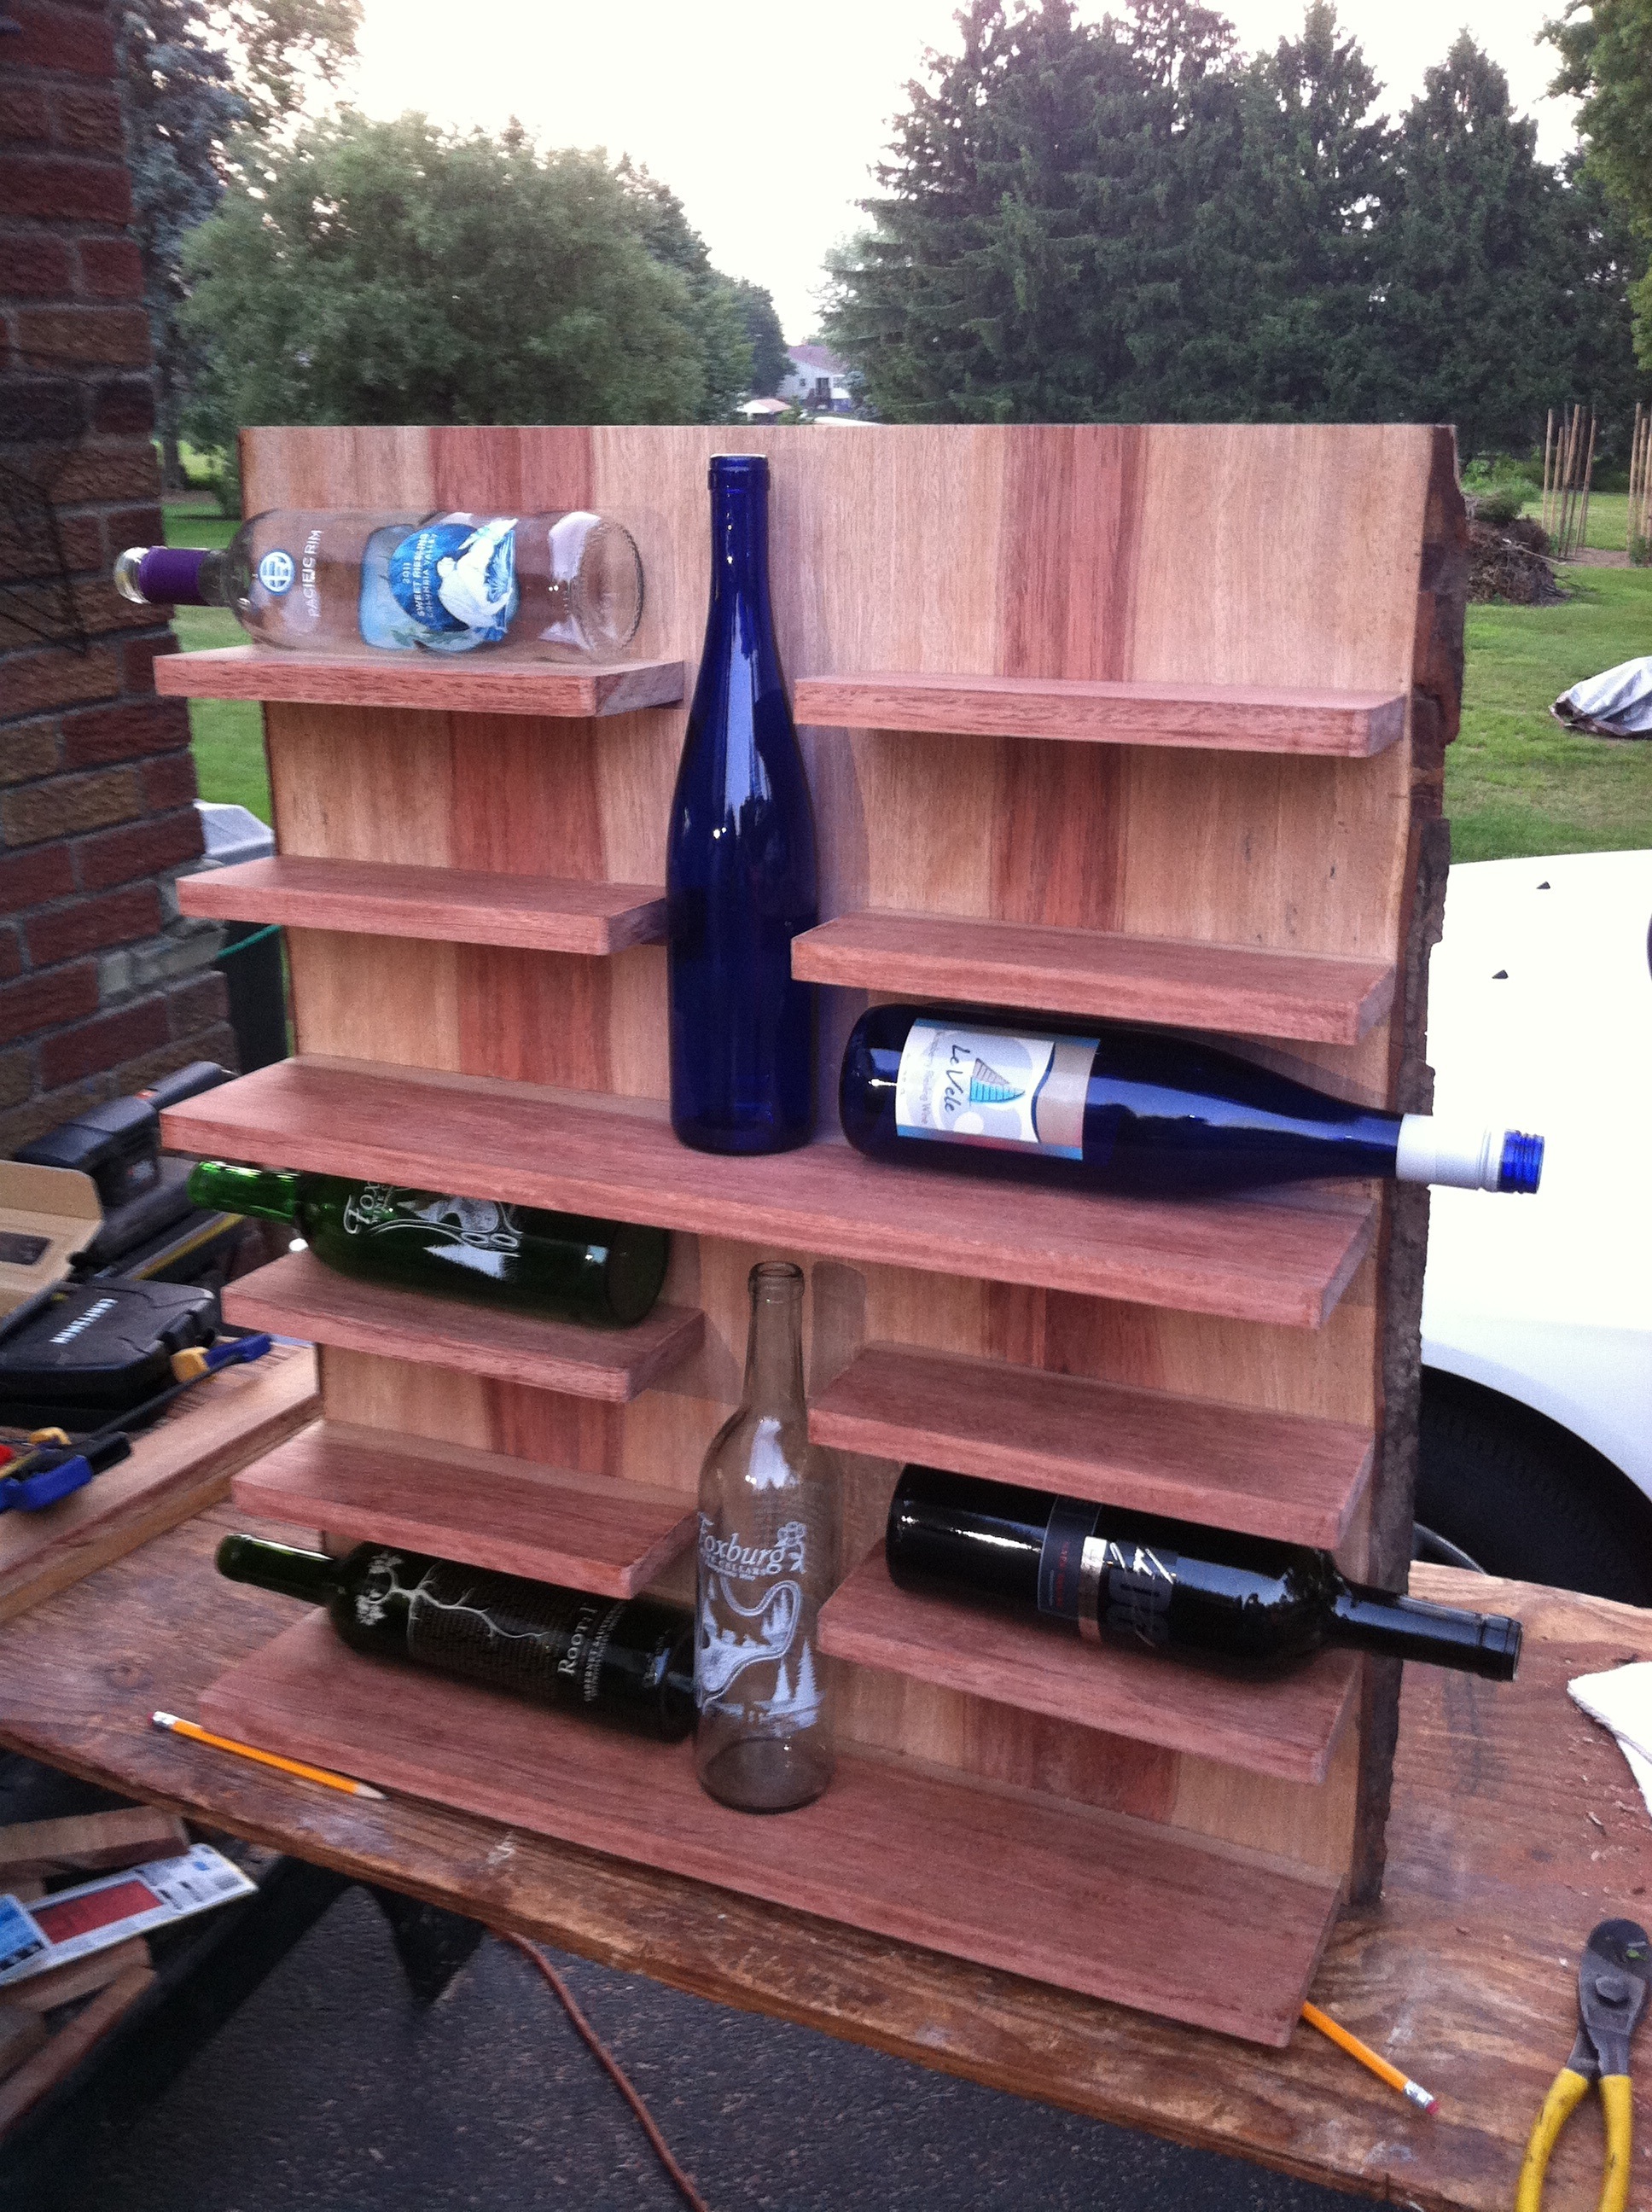
The 8 mini shelves were 1x3.5s cut at 10 inches long. The middle and bottom shelves were 1x5s cut at 24.75 inches long. Again, we were using limited wood and had to adjust our measurements to make it work.
We spaced the bottom shelf flush with the bottom of the backboard and then would space 4.5 inches between the top of that and the bottom of the next shelf. Make sure there is still room for your wine bottle to fit between the floating shelves. ALSO, MAKE SURE YOU KEEP THE FLOATING SHELVES ACROSS FROM EACH OTHER LEVEL WITH ONE ANOTHER. You don't want your shelves to look lazily placed.
The way we placed the shelves on backboard was...involved.
- Clamp the shelves in place on the front of the board and trace them with pencil.
- Remove the shelves.
- Marke holes to drill within center of the trace.
- Drill those holes from the front of the board to the back.
- Reclamp the shelves back on and use the holes in the board to mark the clamped on shelves from the back.
- Unclamp the shelves and fully drill the shelves by themselves while they were not attached. (BE CAREFUL TO DRILL STRAIGHT and never come through the top or bottom of the shelf)
- Sand off your pencil marks after your drilling.
- Re-clamp the shelves to the backboard.
- Use 3" screws straight from the back into the shelves.
- Use 8 screws per big shelf and 3 screws per little shelf.
Then it was just slow and steadily clamping, tracing, drilling, re-clamping, drilling, sanding, re-clamping, and screwing the shelves on... You have to follow that pattern for each shelf or you risk ruining your shelf and if you have limited wood (like we did) that is not an option.
We also put very small pieces of wood to keep the bottles from rolling off their shelves. These were just scraps we had lying around and tapped them in with small finishing nails.
Good luck!