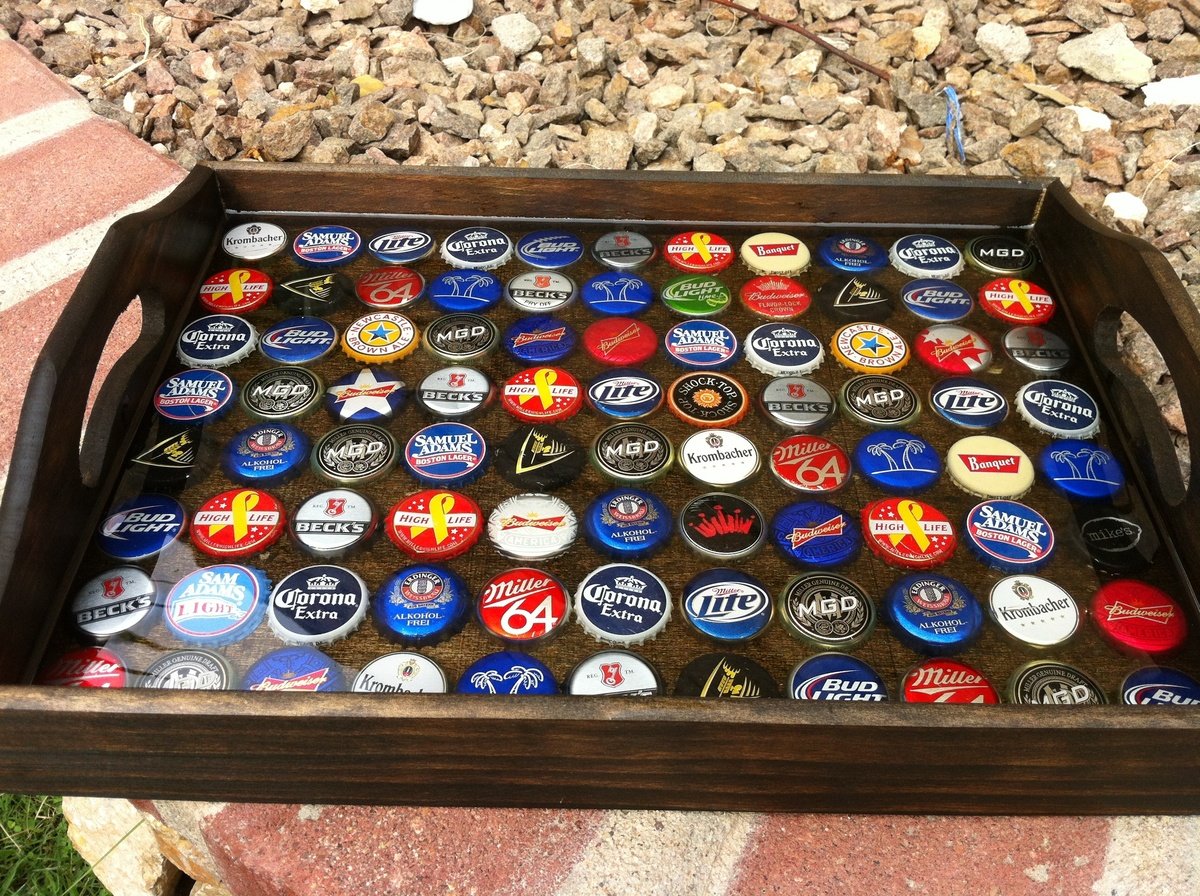
How to build a Bottle Cap Tray AND what NOT to do.
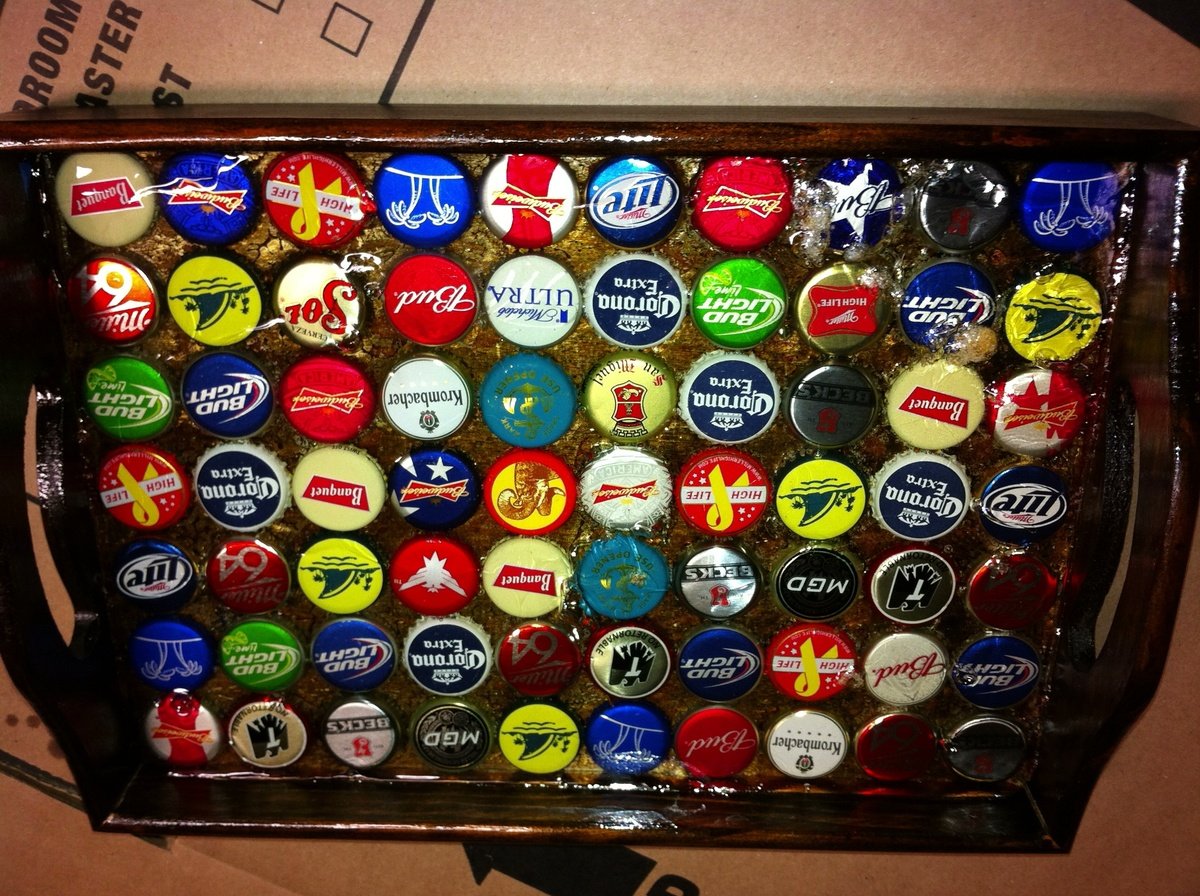
These Bottle Cap Trays are sold for 45+ Bucks online. I spend maybe 15$ on it.
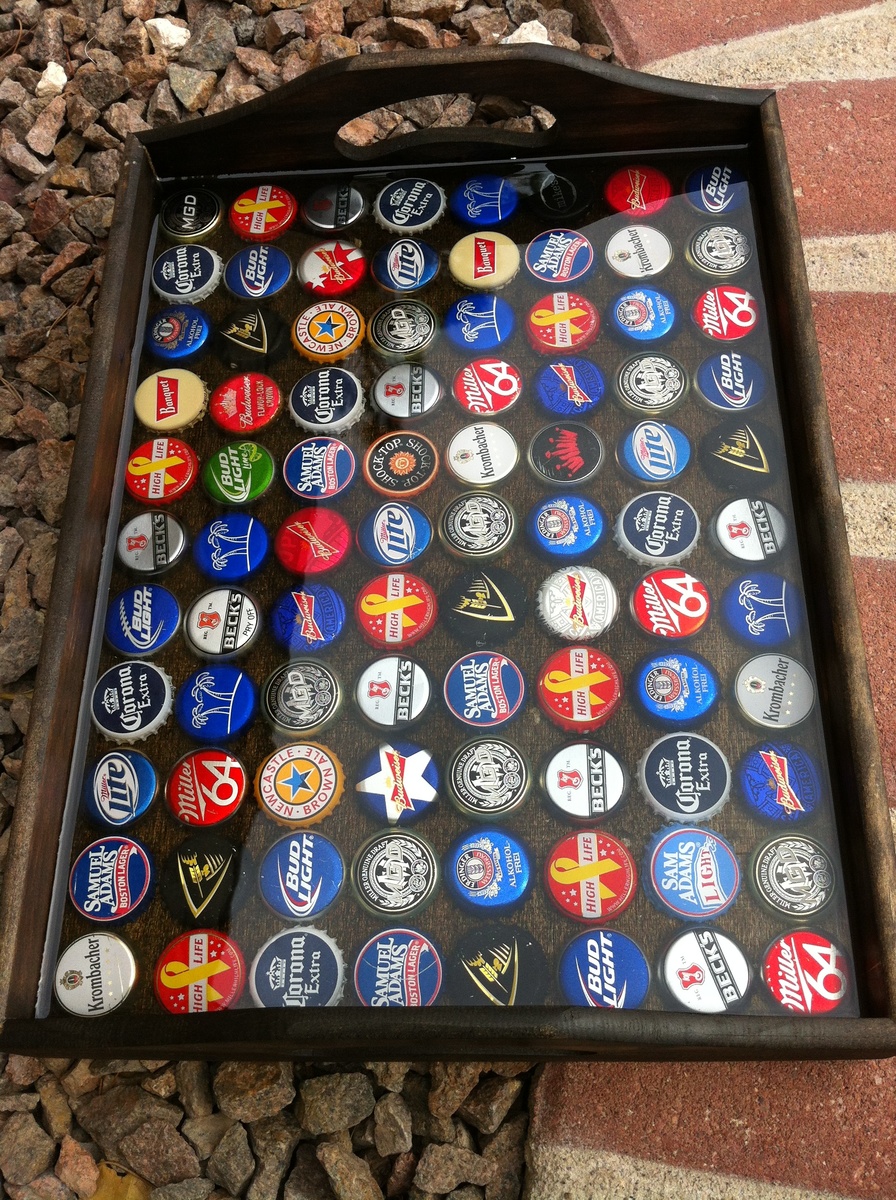
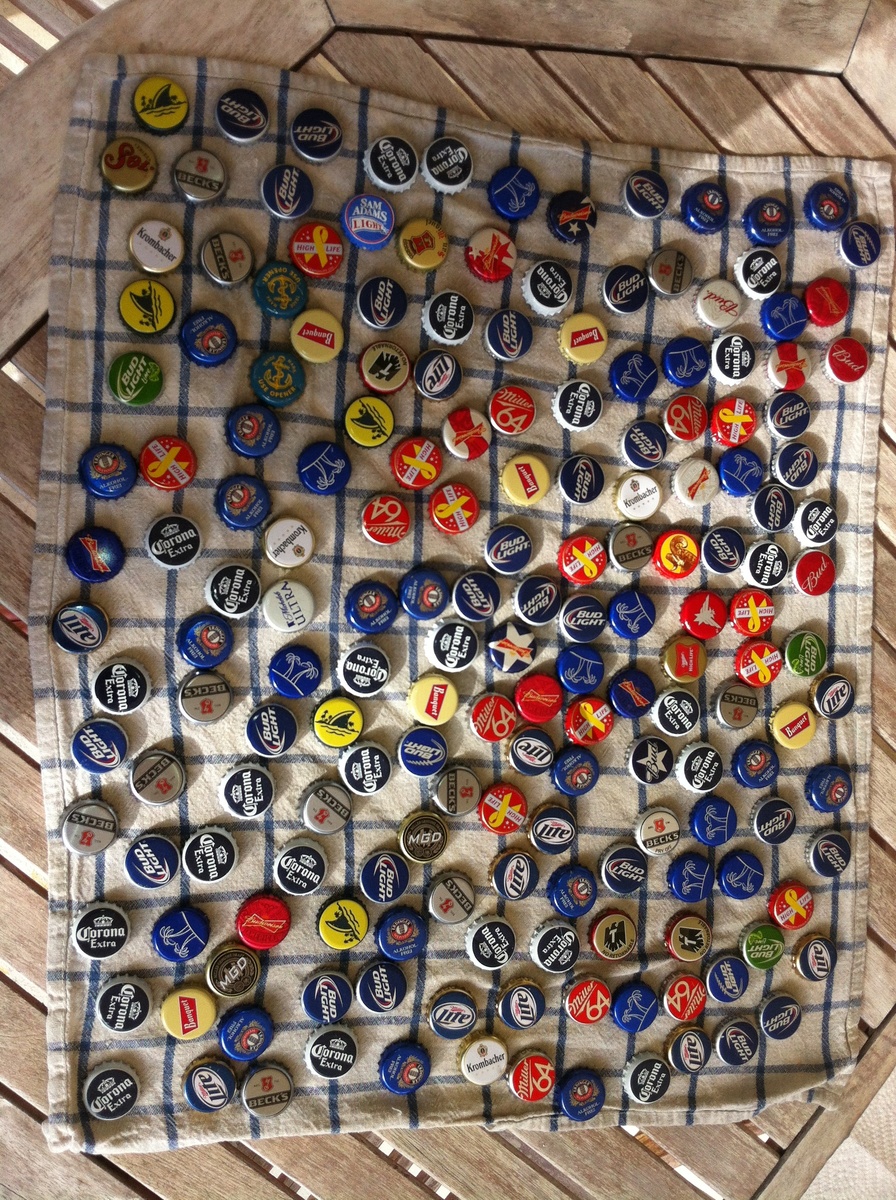
You need a lot of Friends drinking a lot of different Beers... For this tray i needed 88 Caps. I also asked Bartenders and Co-Workers to collect Caps. As more colorfull you get as better. Twist off Caps are the best behause they do not have dents.
I bought the Tray at Hobby Lobby for 3.99$ (you can also build one from a Plan from this Side) and after sanding with 220Grid i stained it to fit my Home Bar. After lay out the "Design" i removed them all and lay them in the back of the now empty tray.
2 Ways to glue the Caps to the Board:
1. Hot Glue (be carefull the Caps get very Hot)
2. I poured just a small amount of the Epoxy in there and pushed the Caps into the Ressin...
How to mix Ressin...
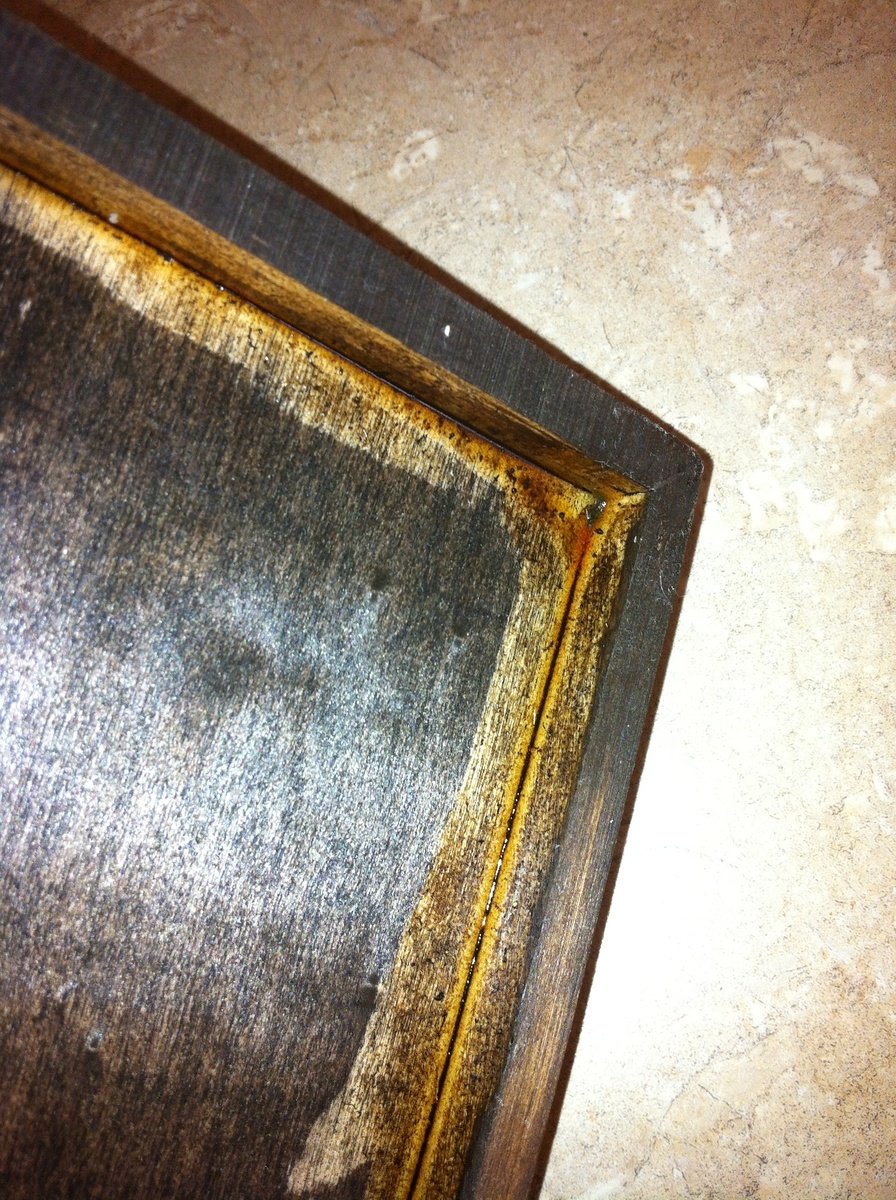
Read the Manuall!!! The first 2 Trays i poured to much and then it gets very very hot and ruin everything (see second last Picture). 2nd Glue the board to the Walls, if the Ressin runs out of the Tablet it is also a great mess!
I Used 2 small cups messured it and Mixed it in the Red Solo Cup...
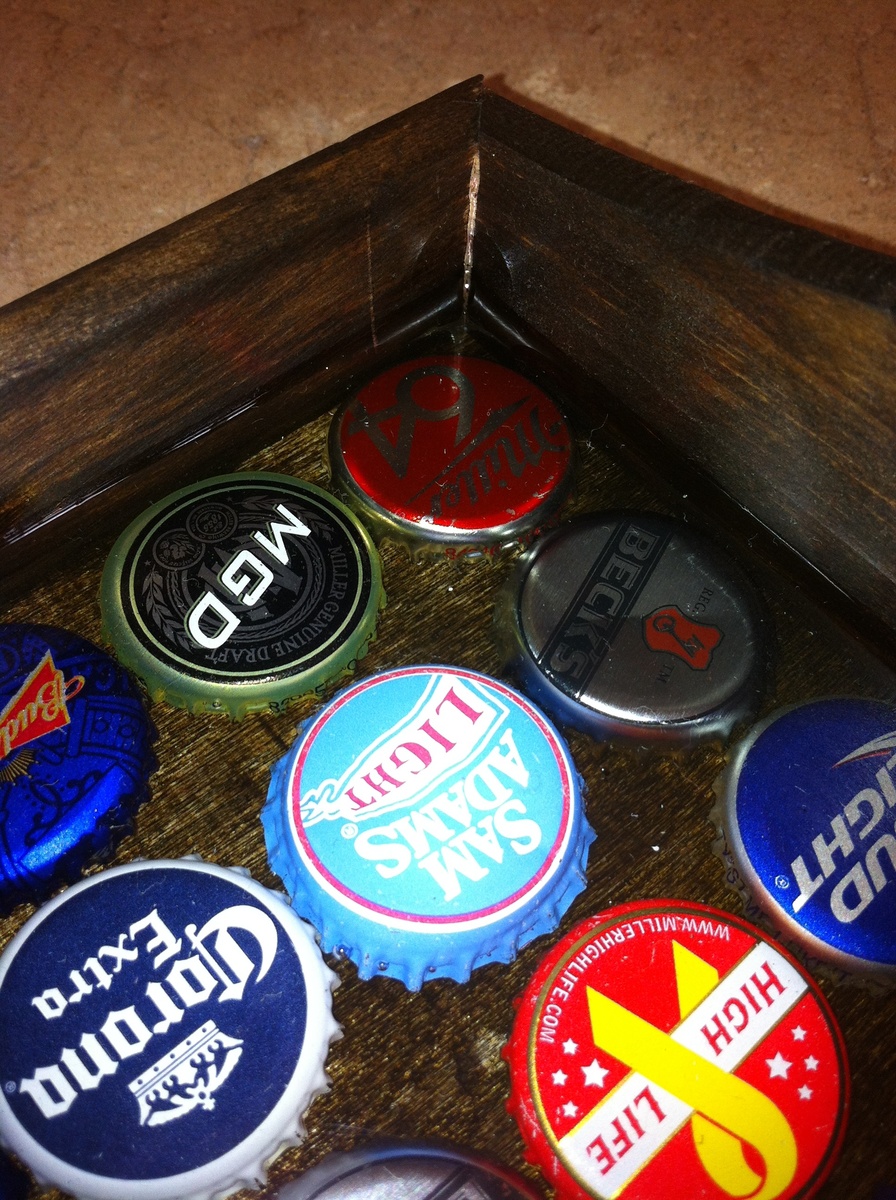
Put the Tablet on an even surface (protect it) and pour a small amount into the tray... Level it and then put the Caps in there and use a torch to get rid of the Air Bubbles. I needed 3 layers to Cover all Caps. Keep it Dustfree during curing - very important .
I let it cure for 12 Hours bevor the next layer was applied. Total Curie after 72 Hours...
Sorry for Bad English - i am German...
Hope that helps to build your own Bottle Cap Tray...
And made it as colorfull as possible. I aranged them to face One Side but you also can turn them happy around.
Thanks for comments and Reading
Jann
Polyurethane
Shellac