
If you were our decking boss, you'd be so tired of our excuses. One day it's too hot, then it's raining, then it's windy ... now we ran out of decking and hardware so have to make the 100 mile trip up to the big city to get more .... please don't fire us. I promise you, it'll get done. Hopefully before snow falls.
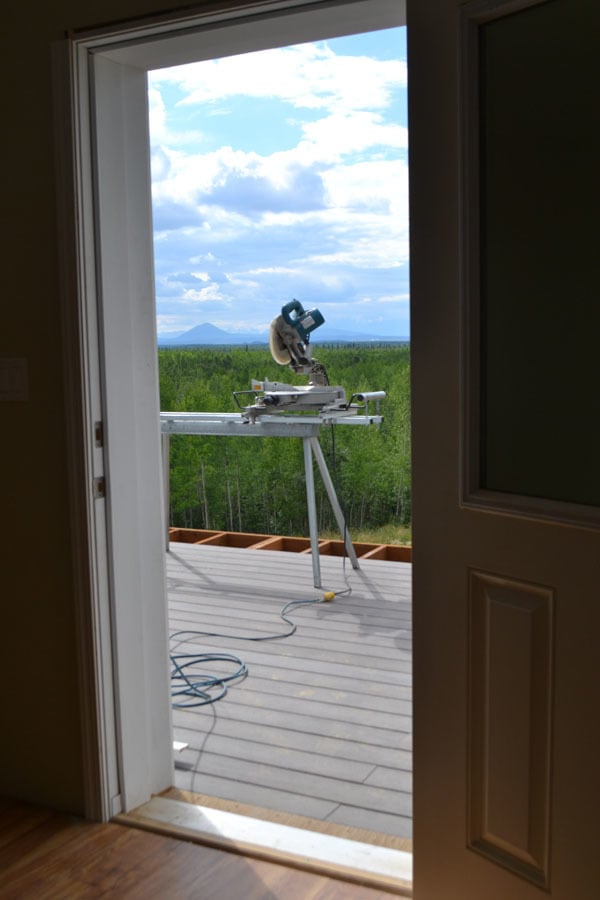
But the good news is we do have enough of the deck done that we can set up our office on it. We've been using the garages for a shop so far, but because we've got so much trim to do, we decided skipping the stairs for Every. Single. Cut. would be wise.

Plus there is a much better view from the deck.
That and I don't spend half an hour cleaning sawdust up each night when we cut outside.
You know exactly what I'm talking about.
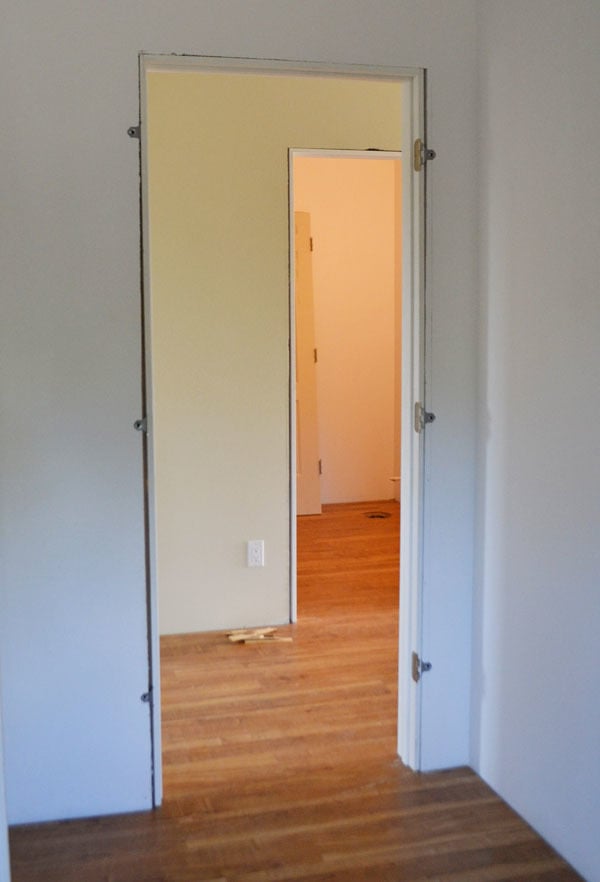
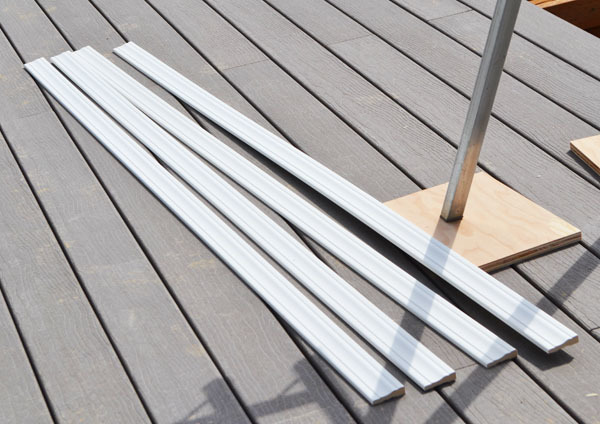
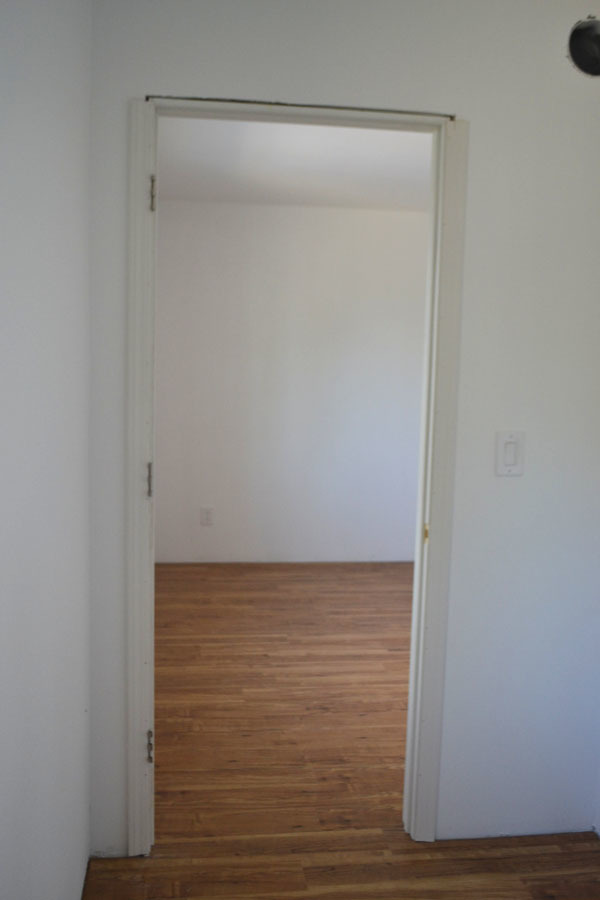
We'll start our trim out by attaching casing to the door vertical sides, to cover up those door hangers and hide the gap between the drywall and the door jambs.
We removed the doors .... yet again .... I'm getting darn good at popping those pins out and yanking a door off.
By removing the door, it's easy to reach the inside corner to attach the trim.

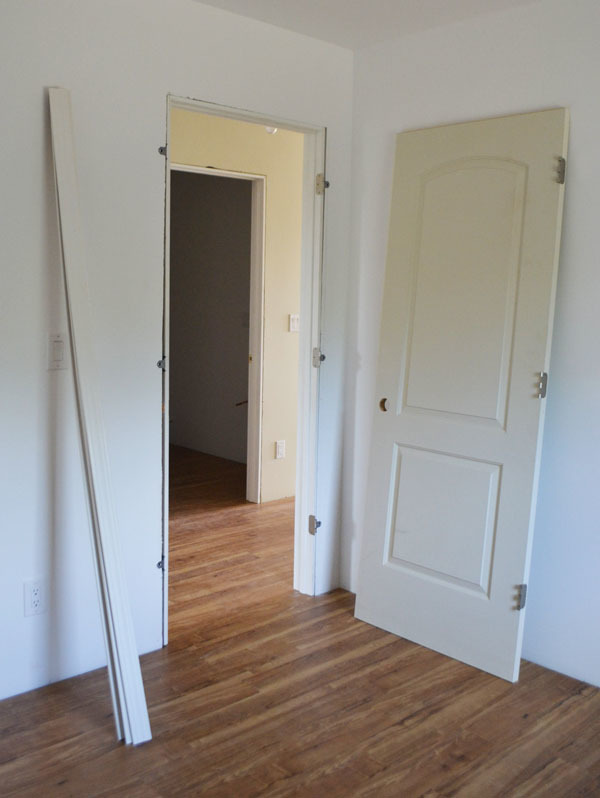
Then we measure the casing trim length we'll need.
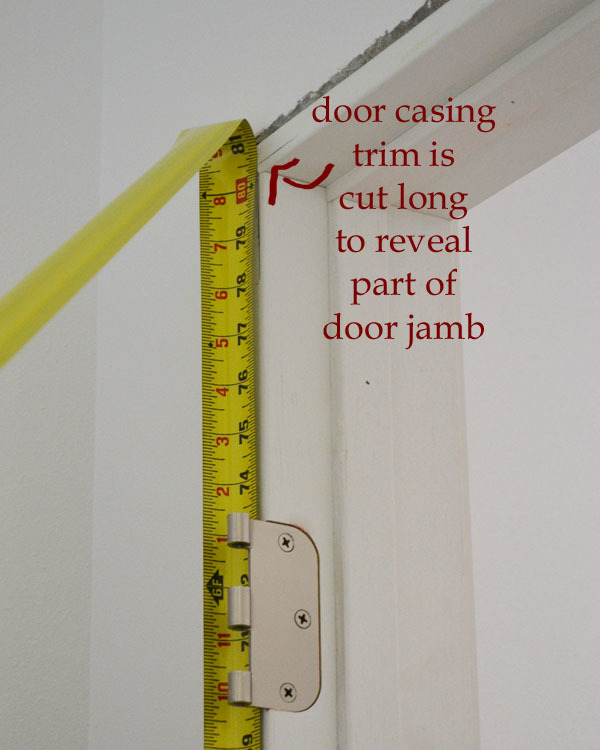
When we do trim around doors and windows, we always leave a reveal, or part of the jamb that shows. This is because it's next to impossible to match up trim exactly, so being off a little bit on purpose consistently makes for a better looking trim job.
Check out your doors in your house - the door trim is attached so that a little bit of the door jamb is revealed.
Ever wonder why casing sometimes comes in 7 foot lengths? This is for door casing, which is always right under 7 feet. That way you don't have a huge scrap pile of casing about 1 foot long (if you were using 8 foot sticks of casing).
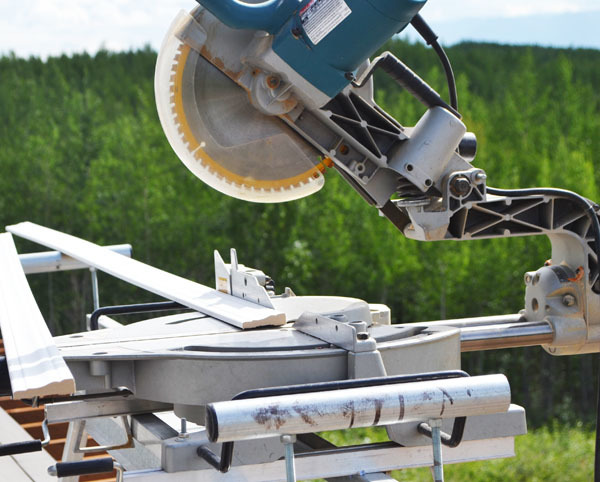
Then we just cut the casing to our measurements
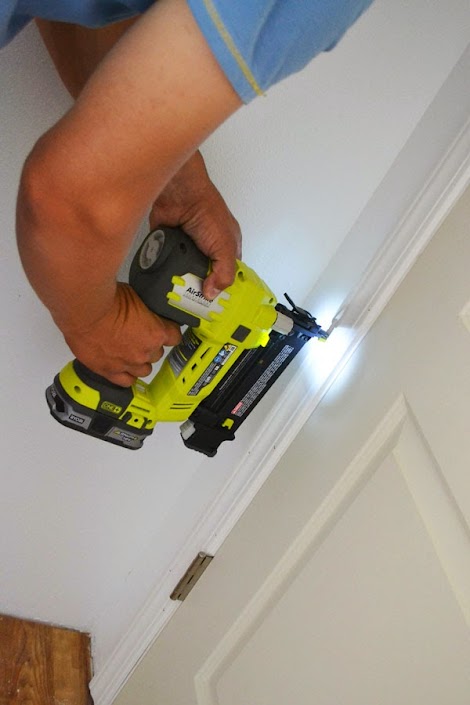
And it's time to install it.
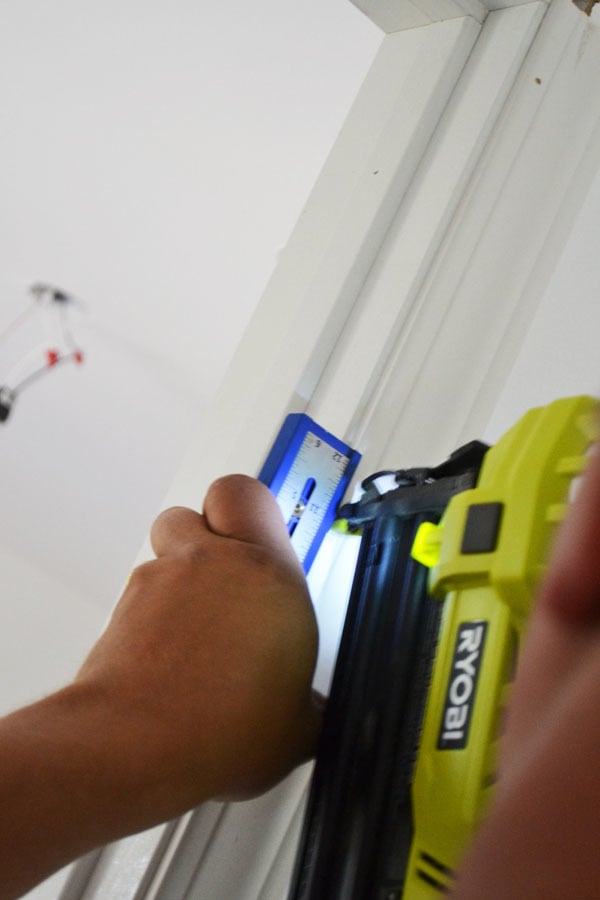
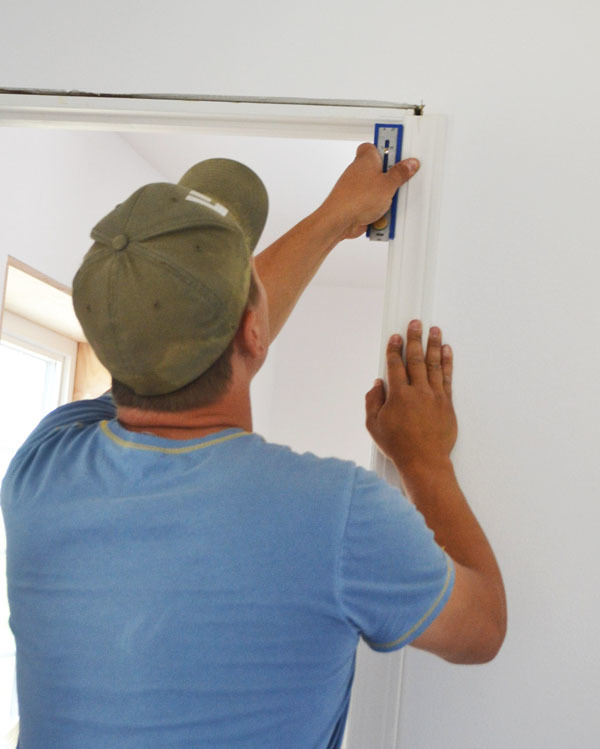
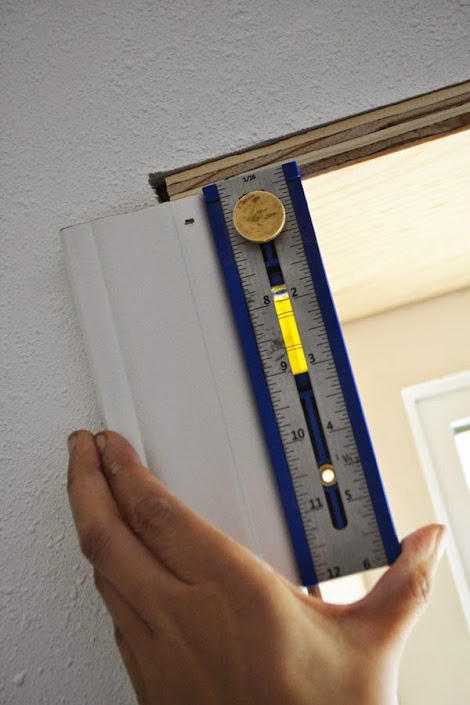
See that handy dandy tool the Ram is using?
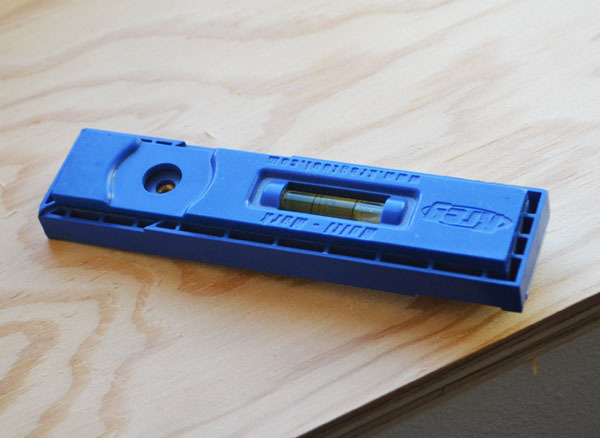
It's a $14.99 tool that can be used as a square and a level and a zillion other things ... and what do you know? The back is designed for setting a 3/16" reveal!

The mulitmark tool sets the reveal, and then we can just nail the trim on - no measuring and drawing lines and lining up trim - no sir! We don't have time for all that - Mom is getting moved in by this winter.
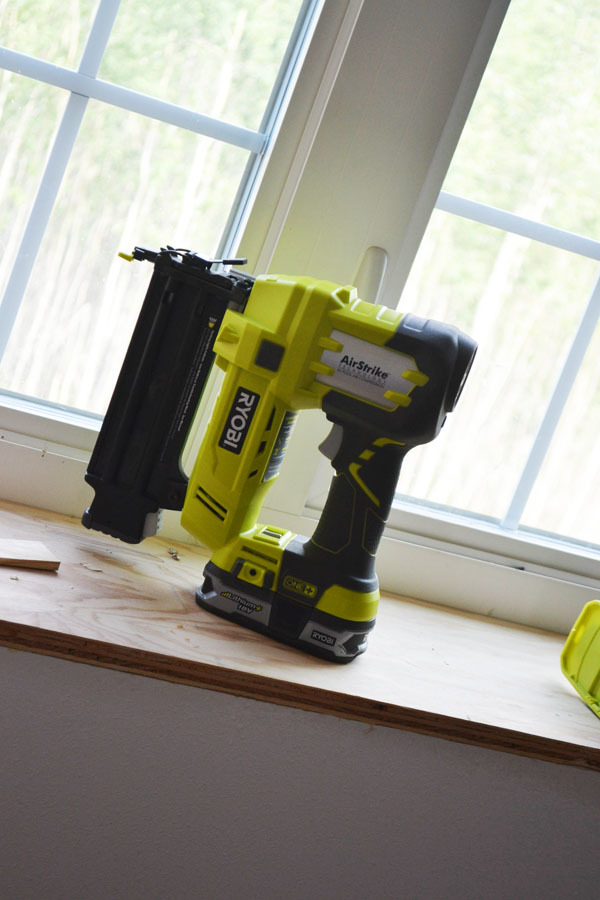
And yes, I got a new nailer!!! It's $129 for the bare tool and works with my drill battery and it shoots nails as fast as you can fire them!
The only down side of this nailer is the Ram loves it so much, it causes lots of disputes between the two of us.
But hey, I've been borrowing his tools for years now. What comes around goes around, right?
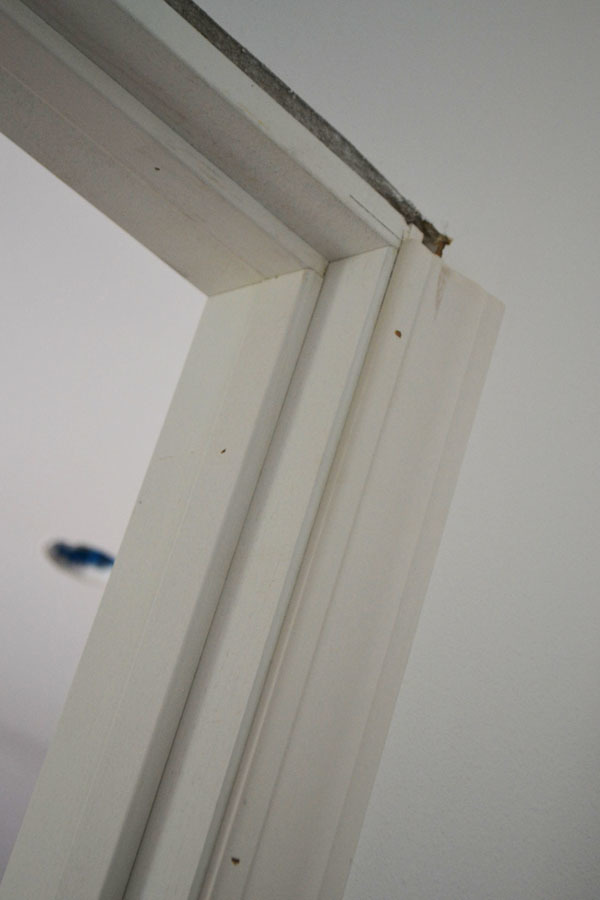
Can you see how attaching the casing with the reveal just looks so nice?
We attached both door casings to the door jambs, but we also want to attach the casings to the wall itself.
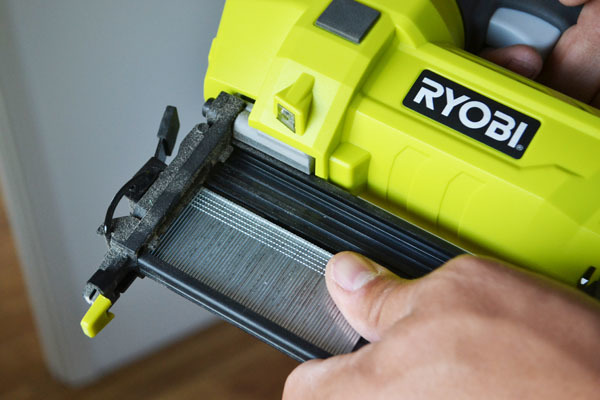
So we load up 2" nails into the nailer
And nail the casing to the wall itself where we know the wood framing is.
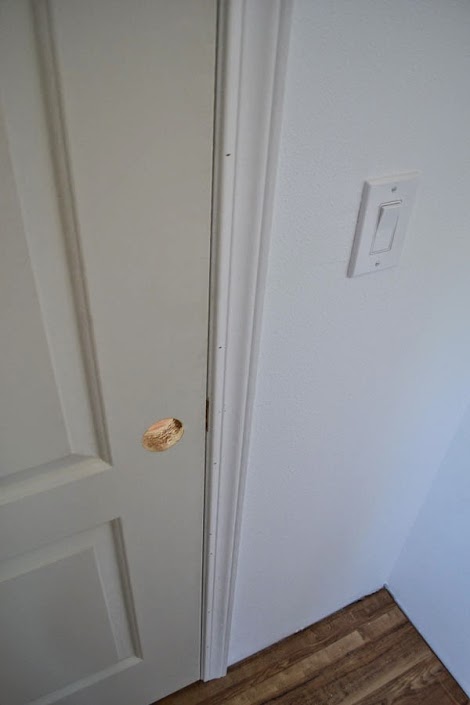
This also strengthens the door jamb attachment to the walls. Remember, the doors are only attached to the framing via the six metal door hangers on the hinge side. The casing on the outside (not hinge side) of the door really helps hold the jambs in place.
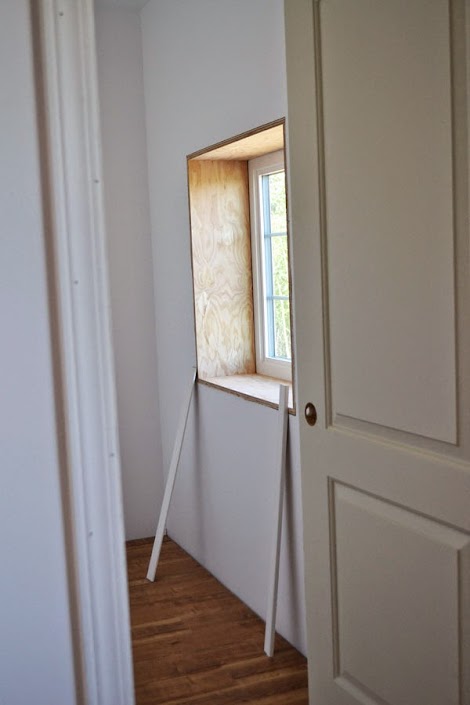
With all the door and closet casings installed, we move on to the windows,
Using the same 3/16" reveal.
We'll be painting those window jamb extensions white too so it will all look pretty for Mom before she moves in.
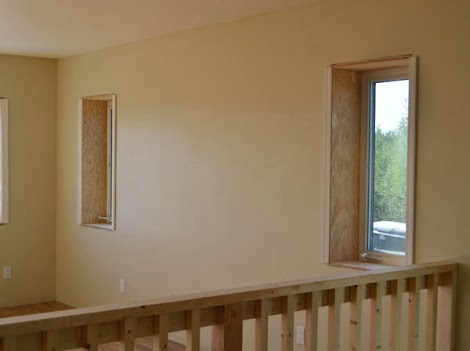
Well, this joint has been cased!
We'll add headers to all the windows and doors (can't wait to show you how we do that!!!) and aprons to the windows. We also need to add base moulding to finish out the floor to wall joint .... and I'm doing my best to convince the Ram we should just add crown moulding while we are at it. Help me out on that, will you???
Have you trimmed out your home? Do you like your trim? Considering changing things up? We'd love to hear your side too!
XO
Ana
Comments
perchik
Mon, 08/05/2013 - 12:06
tool
In reply to tool by perchik
Ana White
Mon, 08/05/2013 - 17:08
Hi - great to hear from you
birdsandsoap
Mon, 08/05/2013 - 12:25
A nailgun without an air
In reply to A nailgun without an air by birdsandsoap
Ana White
Mon, 08/05/2013 - 17:10
Hi Jenny! That nailer is
wittyschaffy
Mon, 08/05/2013 - 12:29
Love trim!
In reply to Love trim! by wittyschaffy
Ana White
Mon, 08/05/2013 - 17:12
Thank you! It sure is a ton
rchrdtalbot
Mon, 08/05/2013 - 12:54
good job
MissTilda
Mon, 08/05/2013 - 14:47
Nail gun
deirdre
Mon, 08/05/2013 - 14:52
Made me look
Darkness748
Mon, 08/05/2013 - 16:23
Hanging Trim
In reply to Hanging Trim by Darkness748
Ana White
Mon, 08/05/2013 - 17:15
Hi! Yes, the side casing
erh252
Mon, 08/05/2013 - 18:58
I too am curious how you will
In reply to I too am curious how you will by erh252
Ana White
Tue, 08/06/2013 - 08:37
Hi - we'll be doing the
SaraLodise
Tue, 08/06/2013 - 05:51
Trim looks awesome! Your
purejuice
Tue, 08/06/2013 - 09:40
i've been following along
kendikat
Wed, 08/07/2013 - 17:34
nail guage?
mbdarrington
Fri, 08/09/2013 - 20:41
We are working on an old
Bmcquary
Fri, 08/09/2013 - 23:36
Base paint before installing