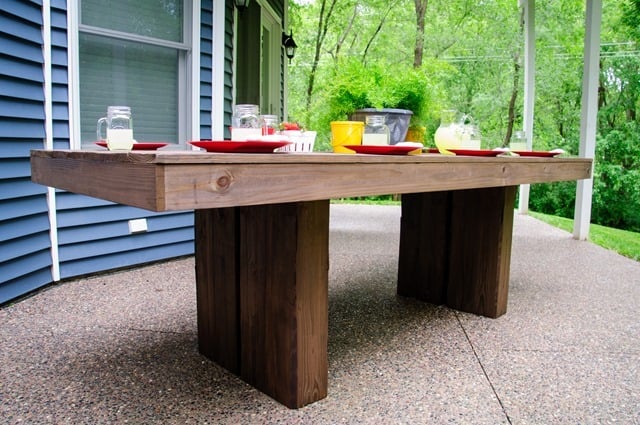
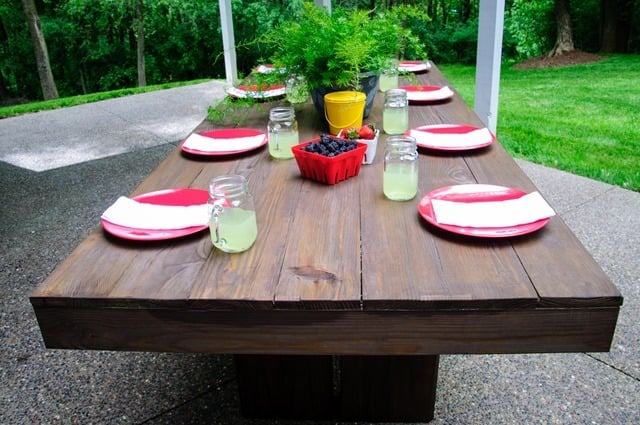
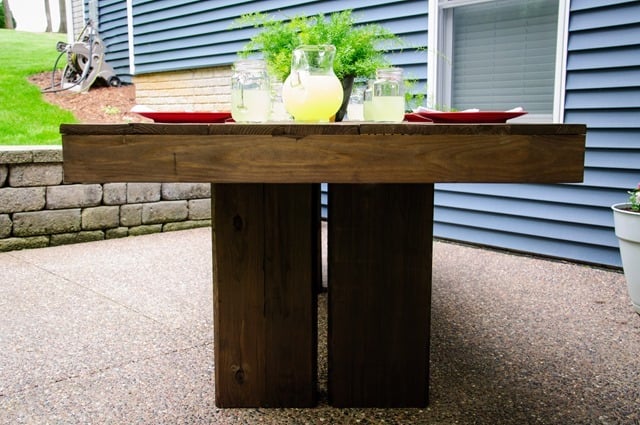
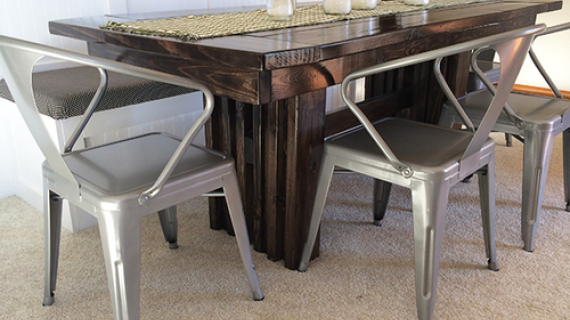
Modern outdoor patio table that is easy to build. This table could easily work with benches or chairs. For more information and TONS more photos go to http://decorandthedog.blogspot.com/2013/06/diy-outdoor-patio-table.html
Preparation
All boards pressure treated
- 2"x4"x8' – 2
- 1"x4"x8' – 3
- 1"x6"x8' – 7
- 6"x6"x8" - 3
- 1 1/4" outdoor screws (if you can find them for the kreg jig they are blue coated, otherwise any other outdoor screws will work)
- Outdoor wood glue (we used Titebond III)
- 3" outdoor screws
- 1x4 @ 94.5" - 2
- 1x4 @ 38.5" - 2
- 2x4 @ 37" – 4
- 2x4 @ 5" - 4 short point measurement, both ends cut out at 45 degrees for corner supports
- 6x6x30" - 8
Please read through the entire plan and all comments before beginning this project. It is also advisable to review the Getting Started Section. Take all necessary precautions to build safely and smartly. Work on a clean level surface, free of imperfections or debris. Always use straight boards. Check for square after each step. Always predrill holes before attaching with screws. Use glue with finish nails for a stronger hold. Wipe excess glue off bare wood for stained projects, as dried glue will not take stain. Be safe, have fun, and ask for help if you need it. Good luck!
Instructions
Step 1
Step 2
Using pocket hole screws, attach the 94.5" 1x4 to the 38.5” with the 1 1/4" outdoor screws and wood glue (do not use the regular kreg screws as they will rust with the pressure treated wood/weather conditions). If you just have deck screws like I did, just make sure not to screw them too far as they will pop out the other side of the board.
Step 4
Step 5
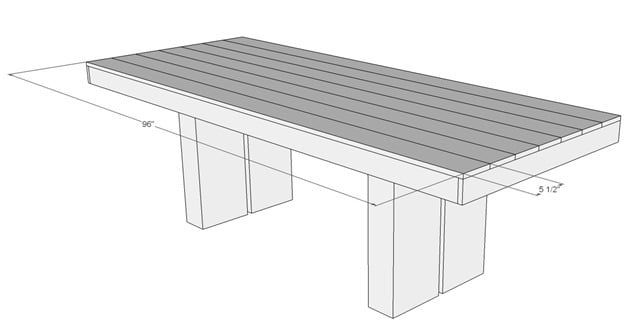
Check to make sure the 1x6 boards are 96" (mine were all uneven lengths longer than 96"). Place 4-5 pocket holes in each board, besides the last one, and using 1 1/4" screws and glue attach boards together for the table top. I found it helpful to have a large clamp to help pull uneven boards together. Flip so top is up, sand out any unevenness. (Ignore the legs in the following photo.)
Step 6
Step 7
Step 8
Put pocket holes on the 3 sides of the legs that will not be touching the 2x4 support. Using glue place on the upside down table, using 1 1/4 screws in the pocket holes, and after drilling pilot holes in the 2x4 support (I did 4 in each 6x6, or 8 in each leg) attach with the 3" screws. It might be best to stain the inside of the legs before attaching them as there is only 1" in between, we were able to get it stained with brushes after, but would be much easier before.
It is always recommended to apply a test coat on a hidden area or scrap piece to ensure color evenness and adhesion. Use primer or wood conditioner as needed.






Comments
Megan88
Sat, 02/22/2014 - 19:44
Make this Square?
Hello Anna!
I'm so thrilled that I've stumbled upon your site. My husband and I plan to make a dining table this summer. I LOVE the look of this table, but would like to try it as a square top to better fit our dining area. I'd like it to seat 8. What modifications would you suggest?
Also, what type of wood do you recommend for this piece? We want it to be a family heirloom, so your advice on sturdy woods would be helpful!
kwashington
Thu, 11/06/2014 - 08:47
72" Modification?
Is it possible to get this plan modified for 72"? Love it but, definitely don't need it this large!
Thanks!
poppinandlockin
Sun, 04/18/2021 - 14:52
The Plans
Call me crazy, but do most of the plans seem like they are lacking some step? I have built several things out of wood and when I look at the plans on this site it reminds me of when the math teacher glossed over the problems on the board and let you figure out the rest. I don't know, maybe it is just me.
DOWNUNDERFAUX
Sat, 08/28/2021 - 08:19
Great Design
I made this table larger, 12 x 5 which seats 12 - 14 people. I love it! Made a couple of minor changes.