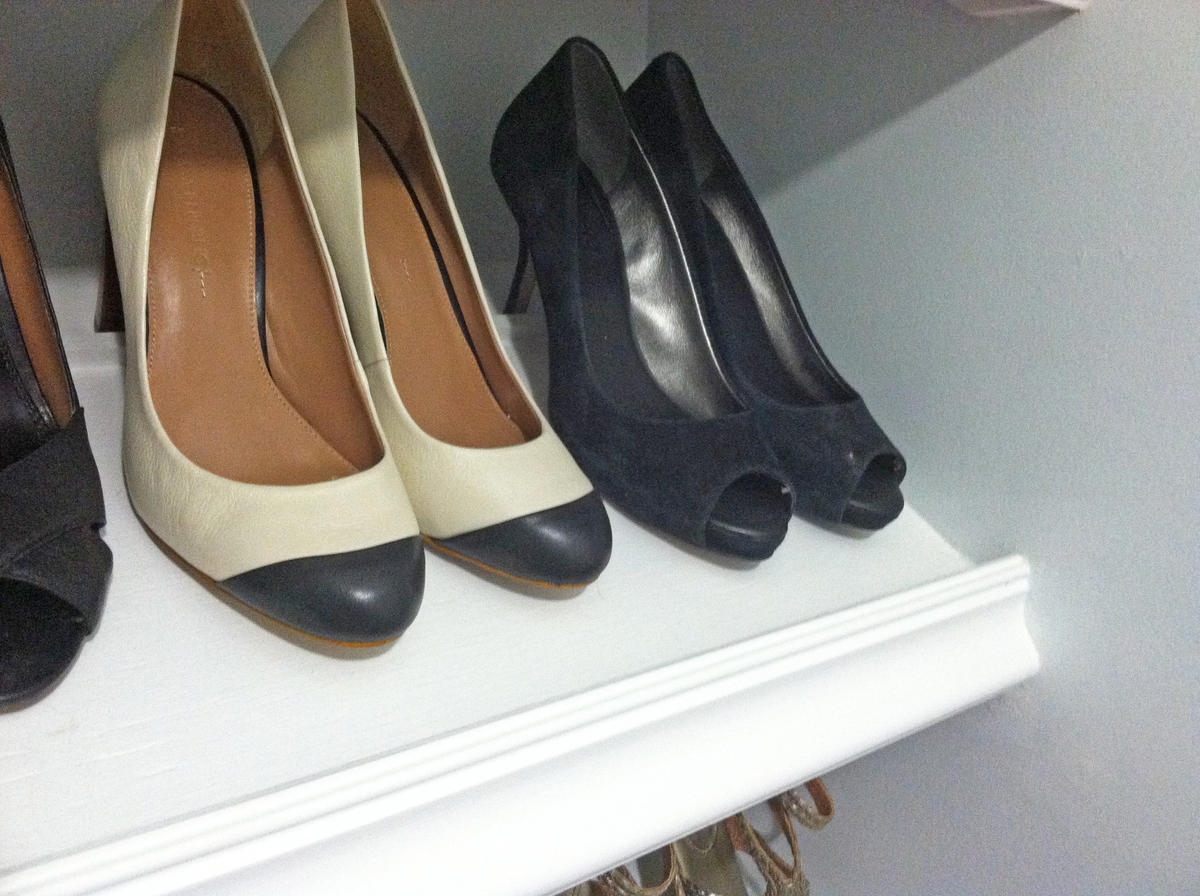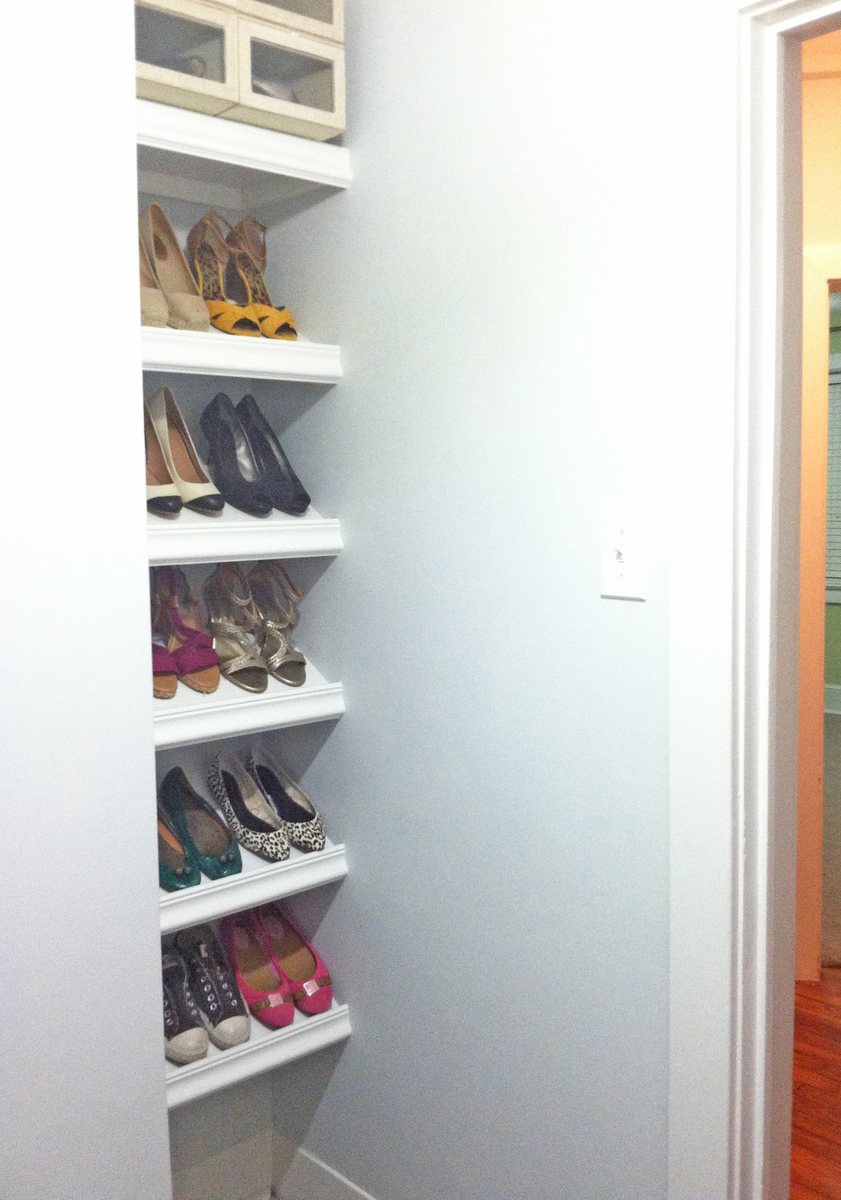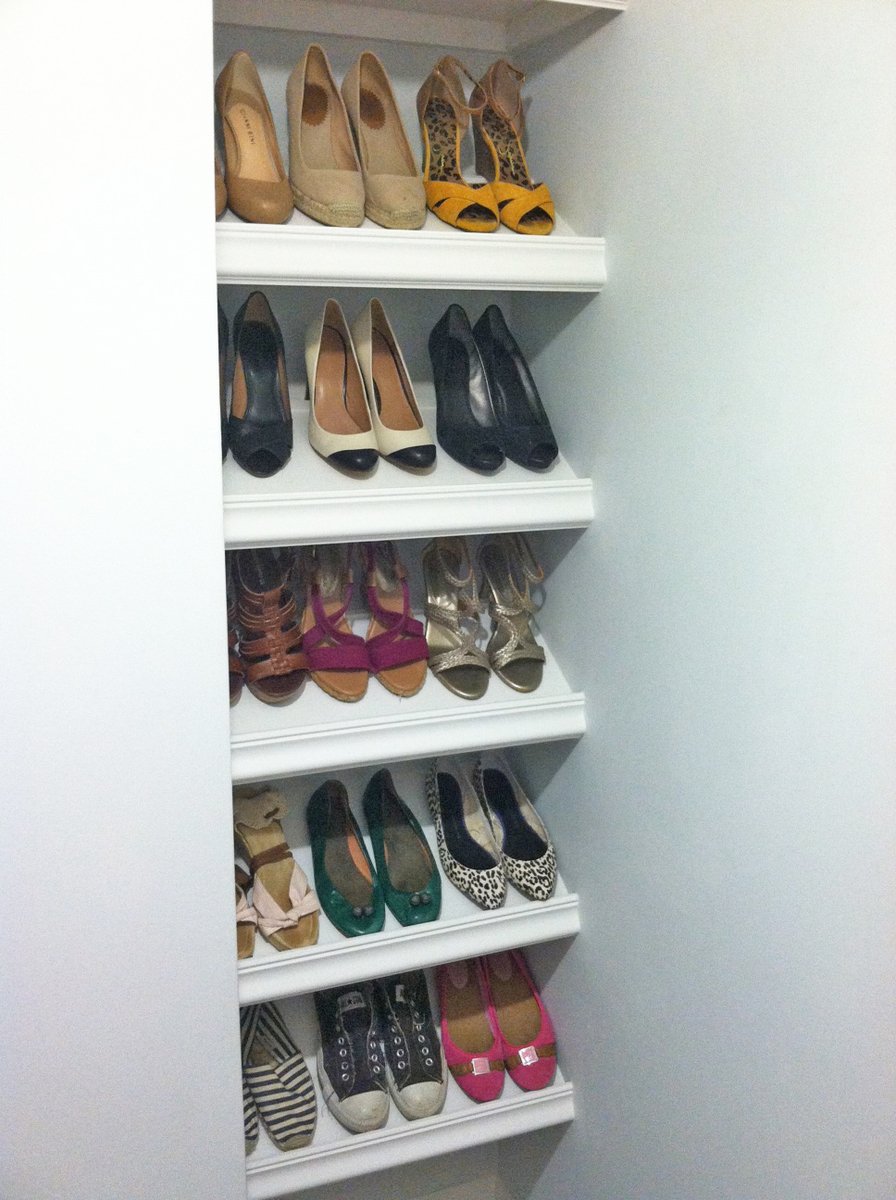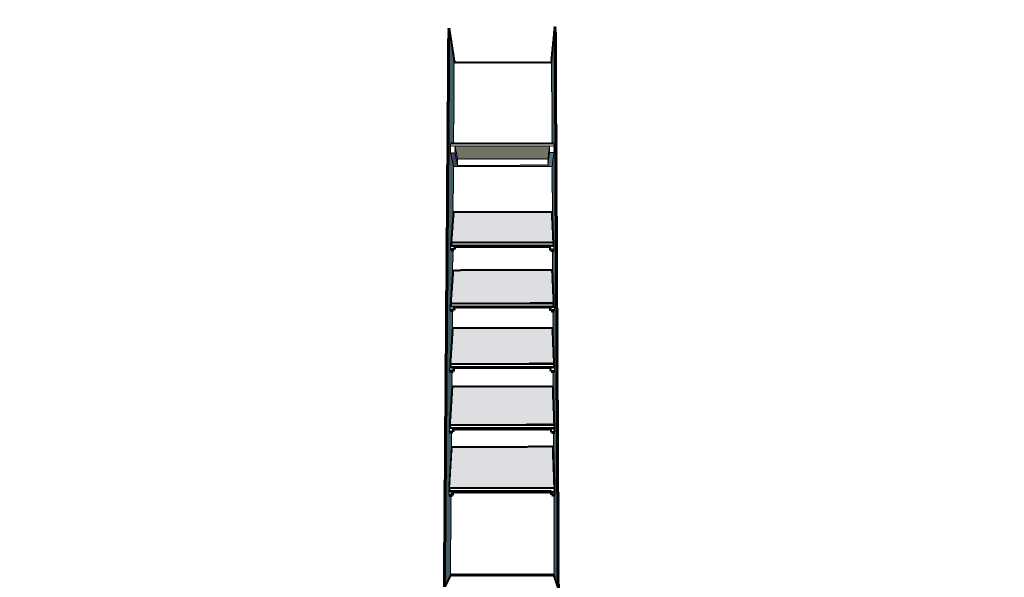
When we first bought our house, one of the things that appealed to me was the walk in closet off the upstairs foyer. A walk in closet in a house from the 20′s? That’s unheard of! I know I could have designed this in a way that fit more, but I switch out my shoes seasonally, and I personally wanted slanted shelves. Come on, they’re so much prettier! Shopping List 1 – sheet of 1/2″ plywood (4 x 8′ sheet) 2- Primed 1×2′s @ 8′ 1 – 1/2″ Square Wood Dowel (like this) 2- Chair Rail @ 8′ (like this) Kilz Paint Primer Behr Semi Gloss White Paint Indoor Caulk Wood Putty 2″ Screws 2″ Nails Cuts Plywood- 5 pieces at 23″ wide and 12″ deep. Cut either of the 23″ end at a 45 degree angle. Plywood- 1 piece at 23″ wide and 12″ deep 1×2′s- 10 pieces at 12″ with ends cut at 45 degree angle. Then measure 1″ down from the top of the front piece, and cut it straight across. 1×2′s- 2 pieces at 12″ 1×2′s- 1 piece at 21.5″ Wooden Square Dowel- 3pcs at 23″ Chair Rail- 6 pieces at 23″ How To Build 1. I first figured out how far apart I wanted my shelves to be. I don’t have particularly tall shoes, so I had the first shelf 17″ off the ground in the front, and then they were set approximately 12″ apart after that. I located the studs, and screwed in the 1×2′s on the walls directly into the studs. 2. I then added the wooden dowels to the tops of 3 of the shelves. I didn’t even nail these down, just used wood glue and caulk. I set the wooden dowel 2.5″ from the back of the shelf. 3. After that I dry fit the actual shelf on top of the 1×2′s. This was probably the hardest part because of course this house doesn’t have even walls. Why would anyone ever need even walls? What a silly concept. I ended up having to sand a lot of the edges to make them fit. Caulking will help fill in those gaps! I then nailed in the shelves to the 1×2′s from above. 4. I slowly worked my way up the wall. When I got to the top shelf, I knew that I wanted a flat shelf to store boxes of shoes. I also added an extra 1×2″ to the back wall just in case I really decided to stack those shoes high. I followed the same process as I did for other 1×2′s, and screwed this into the stud. Closet 1x2 All Shelves 5. Then I used the chair rail and aligned it at the bottom of the 1×2″ and nailed it to the front of the shelf. It sticks up higher than the front of the shelf, which is great for catching shoes that tend to slip down. 6. After this I, I ended up using wood putty and caulk to fill any gaps. They work miracles on wood. 7. Finally I just painted everything and viola! Budget 1 – sheet of 1/2″ plywood (4 x 8′ sheet) – $28.97 2- Primed 1×2′s @ 8′- $5.98 1 – 1/2″ Square Wood Dowel - $1.75 Chair Rail - $16.00 Kilz Paint Primer- already owned Behr Semi Gloss White Paint- already owned Indoor Caulk- already owned Wood Putty- already owned Screws- already owned Nails- already owned TOTAL: $52.70


