

Free plans to build a wood magazine shelf from Ana-White.com
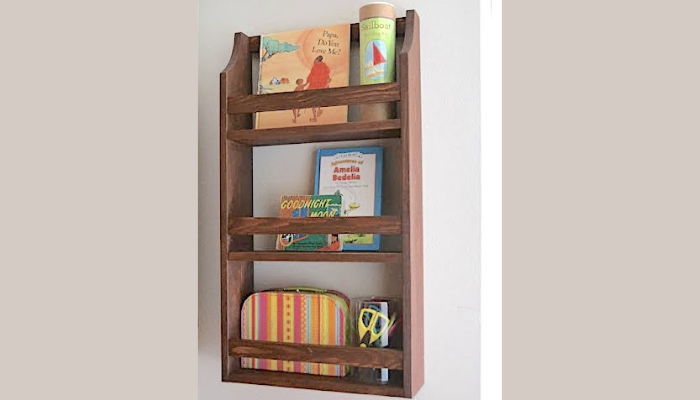
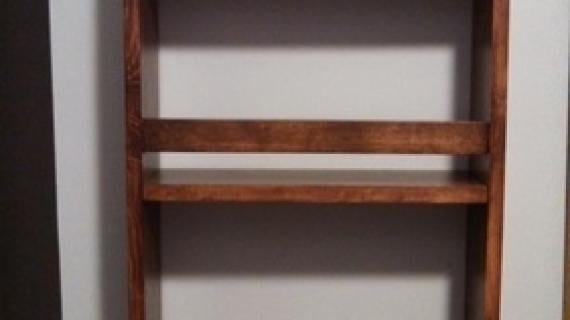
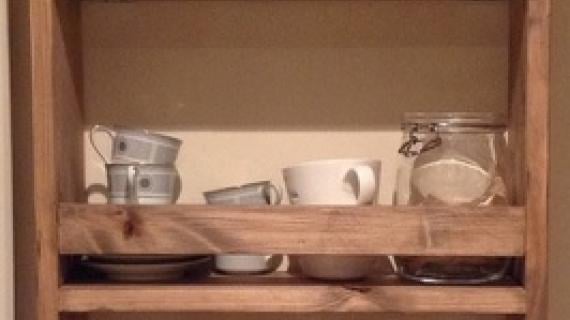
Do you need a little more storage on a blank wall? This easy to build wall shelf holds books and other small items, and can add a decor element to your space! We love this super quick and easy project - make it today with free plans!
It's inspired by the Pottery Barn Kids Hayden Magazine Rack ... only my DIY version cost about $10 to make, instead of $89.

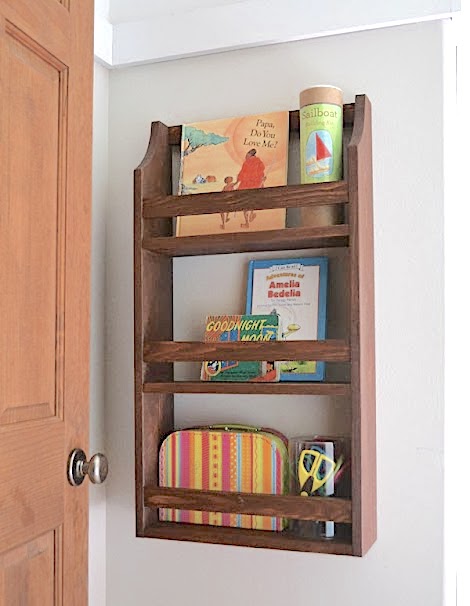
It's narrow enough to fit in a pretty tight space that was otherwise not useable - the perfect spot for a magazine rack!
How I Built This Wall Shelf
This wall shelf only took about an hour or so to build - it really was easy -

First, I cut the boards with my miter saw. If you don't have a miter saw, you can ask your hardware store to cut boards from the cut list, or use a circular saw or jigsaw (I recommend using a straight edge to guide your handheld saw for a more precise cut).

The boards I bought were just cheap whitewood boards, but I'm very picky, and will dig through the pile to get nice ones. Yes, I'm that lady at the hardware store with the flatbed cart, knee deep in boards. Crooked boards make crooked shelves.

Even though my boards were nice, I still sanded them with medium grit sandpaper, working in the direction of the grain. I sanded all four sides.

Now that's what I'm talking about. Time to build!

I took the two side boards (the big 1x6s) and marked all the shelf locations. I put Xs where the shelf goes.

And marked with a square the underside of the shelf. I like to mark the underside when I'm attaching with pocket holes because I can see it as I'm driving my screws.

Then I transferred the marks to the other side board so both match up exactly.

Then I marked out each and every pocket hole needed on every board.
You don't have to use a pocket hole jig to build this magazine rack - you could also countersink screws or even use finish nails and glue - but if there's two things that have truly changed the finished quality of my projects it's this: using pocket holes and putting more time into sanding the project.

With the pocket holes marked, there's no guess work. No wondering if this is the right side of the board, the right end ... it's just put board in pocket hole jig ...

Drill pocket holes ...

Line up board with marks ...

Drive screws ...

And build magazine shelf. It's really that easy.

The other nice thing about pocket holes is you don't really need glue. I tend to only use glue when there's just one pocket hole (like on the end of a 1x2 or 2x2) to keep the board from twisting out later.

To attach the rails, I used a scrap 2x4 to space the rails 1 1/2" above the shelf.
Why not make things easy on yourself?
With the shelf built, it's time to round those top edges.
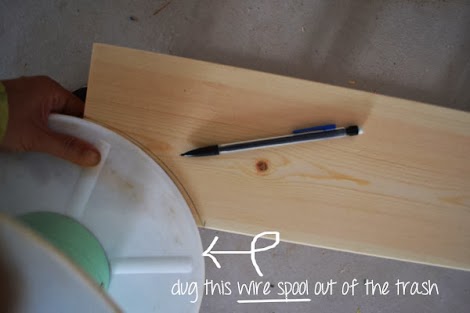

And then slow and steady with the jigsaw, paying attention to the blade, making sure it's not beveling on me as I cut.


How to Build Your Own Small Wood Shelf for Magazines or Books - Free Plans
Preparation
- 1 - 1x6 @ 10 feet long
- 1 - 1x2 @ 6 feet long
- I used 1 1/4" pocket hole screws to build everything but you could also use 1-1/4" brad nails or trim screws
- You'll also need some hardware to hang - a couple of long screws into studs in the wall works great.
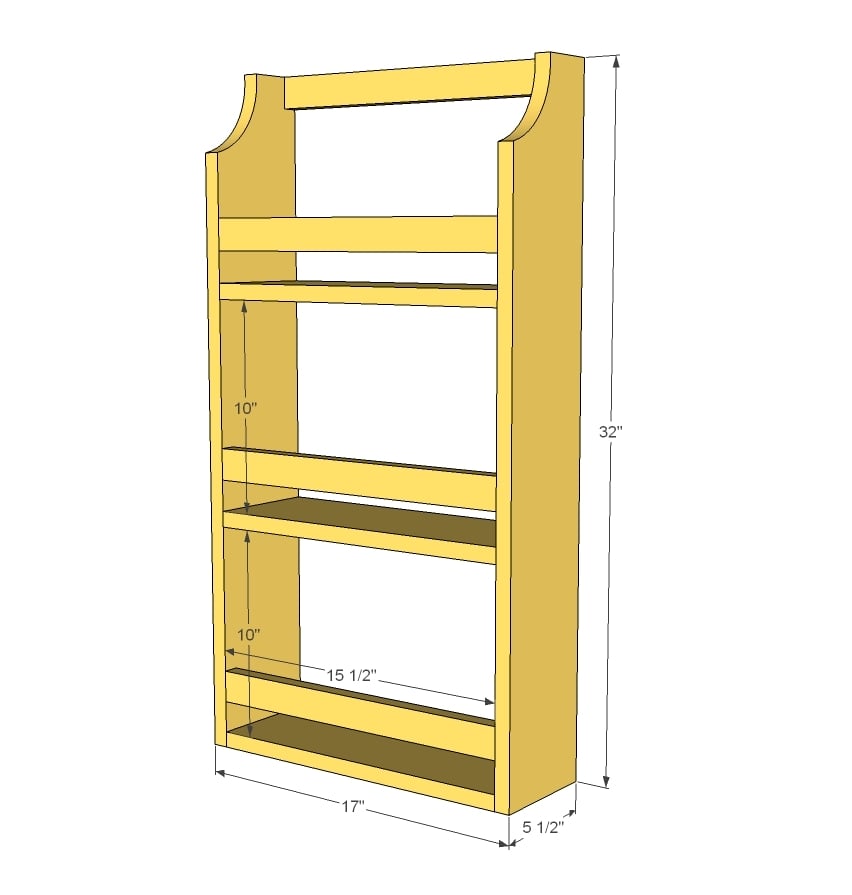
- 2 - 1x6 @ 32" (sides)
- 3 - 1x6 @ 15 1/2" (shelves)
- 4 - 1x2 @ 15 1/2" (rails/back)


Please read through the entire plan and all comments before beginning this project. It is also advisable to review the Getting Started Section. Take all necessary precautions to build safely and smartly. Work on a clean level surface, free of imperfections or debris. Always use straight boards. Check for square after each step. Always predrill holes before attaching with screws. Use glue with finish nails for a stronger hold. Wipe excess glue off bare wood for stained projects, as dried glue will not take stain. Be safe, have fun, and ask for help if you need it. Good luck!
Instructions
Step 1

Attach shelves to sides.
Step 2

Attach back to top, flush to top and back edges.
Step 3

Attach rails to sides.
It is always recommended to apply a test coat on a hidden area or scrap piece to ensure color evenness and adhesion. Use primer or wood conditioner as needed.


Comments
SoCaliforniaMel
Wed, 09/04/2013 - 21:26
Im that lady too
you sound like me at the hardware store. lol. Except the HD where I live puts the wood I need way up high so I have to drag the big metal platform ladder thing over. I'm up there cutting all the bundles open scavenging through all the wood like a mad man. hehe. I love this shelf. Its gonna come in real handy for my son's school stuff. Thanks for all your wonderful, useful plans. :)
~ Melody
p.s. have you ever tried a scroll saw? I love mine. I have a skil scroll saw with a turny knob thingy on top to make sharper turns and cool designs. You can get all kinds of cool blades in a range of sizes & thickness'.
Hope all is well with Baby boy/girl White, along with you, Miss Grace and "The Ram" :)
storchinsky
Thu, 09/05/2013 - 09:57
Pocket holes and glue
Nice shelf, Ana. I'm trying to think of a spot in my house for one...
I appreciate you mentioning again that with pocket holes you don't need to worry about glue. I've always had a hard time positioning boards perfectly the first time (there's a lot of shifting to get it in just the right spot!). And while that's not a problem if you're painting your piece, it causes problems if you are staining as the stain won't catch over a smear of glue! I appreciate the reassurance, and I love the ease of working with my Kreg jig (which I wouldn't know about if not for you!)
MichelleC
Thu, 09/05/2013 - 10:30
Congrats on a girl!
That's the first time I'd read what the gender of your baby is, congrats on a girl!!! It'll be so fun for your daughter to have a sister...it's a special bond! Love the magazine rack plan and how cheap it is to make. Hmmm...maybe for in my bathrooms!!! :-)
In reply to Congrats on a girl! by MichelleC
SoCaliforniaMel
Thu, 09/05/2013 - 12:34
Am I blind?
How am I missing where she mentioned the gender? :( I re-read the whole thing again and still cant find where she said it's a girl.
If it actually is a girl, yay for Grace. I have 3 sisters and all r my besties :)
~Melody
MichelleC
Thu, 09/05/2013 - 19:42
Melody
After the picture of the curve she cuts on the 1x4, Ana says "Not bad ... but I'll be sanding that edge regardless ...Hey, I'm building for my baby girl! She's worth the extra elbow grease!" :-)
In reply to Melody by MichelleC
SoCaliforniaMel
Thu, 09/05/2013 - 23:10
Thanks MichelleC
I think she's talking about Grace. I could be wrong but I figured she was talking about Grace since she building it for Grace's homework.
Oh well boy or girl, I'm sure Grace will love him/her anyway :) Thanks for helping me. I was like, wow, how come I can't see what other can. lol Have a great day/night (whatever it is where ever you are :) )
~Melody
MichelleC
Fri, 09/06/2013 - 07:14
AH, I guess I skipped the top
AH, I guess I skipped the top area where it says that she's building it for Grace, oops! Haha! Thanks Melody!
In reply to AH, I guess I skipped the top by MichelleC
SoCaliforniaMel
Fri, 09/06/2013 - 22:29
Haha
Glad we got that dilemma resolved. haha :D
~Melody
c-e-fogus
Fri, 11/22/2013 - 09:01
How do you hang it?
I am going to build a smaller version of this using 1x4 lumber to go in the bathroom. We don't have a medicine cabinet and there are vitamin bottles cluttering up the counter top. It's driving me crazy! But how do I hang it? I'm guessing that you have to screw nail into a stud using the top cross piece. As lovely as this little shelf is I just think this will look tacky. Any ideas on how to hang it nicely? Once I figure that part out I'll be making and hanging one. Thanks for any advice! (And I'm that lady too!! It always brings concerned store workers when I start digging through wood with my 3 boys swinging like monkeys on the wood cart!)