


Easy canopy bed plans from Ana -White.com! Make this bed!


Hi everyone!
Well, we promised you and a special little girl there'd be a canopy bed (and plans) soon!
Always happy to do what I can for you! And of course, a big beaming smile from our niece is hard to resist too!

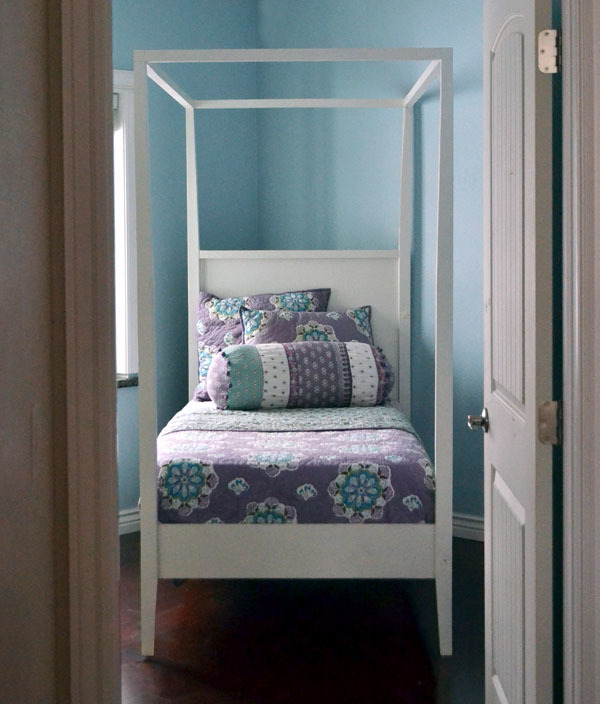
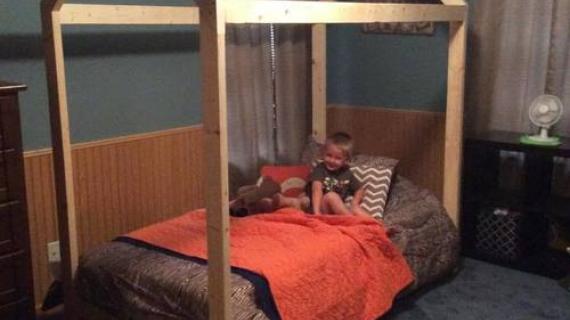
For about $100 in materials (yikes, the pillows cost more!) the Ram and Grace built this bed for our niece Hannah. It's sturdy and cozy and cute, but somehow make the small kids bedroom appear larger and loftier.
Who knew?
The bed itself is built out of 2x lumber, but for the plywood panel at the headboard, we choose to use PureBond Formaldehyde Free plywood to prevent toxic off gassing while our niece sleeps inches away. It's cost competitive, easy to paint or finish, North American made - ask for it at your local Home Depot.
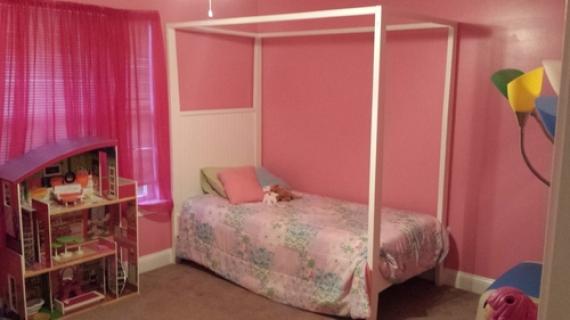
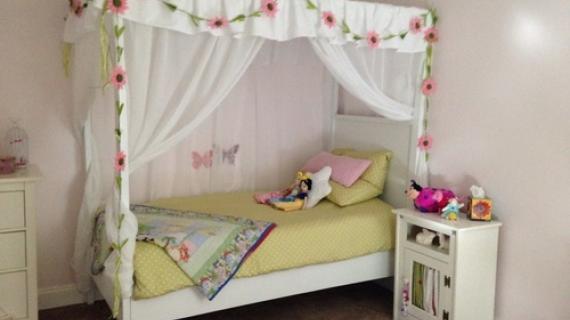
And the best part is you can build this bed for your niece - or your daughter (our daughter is now begging for a canopy bed, but doesn't want to give up her loft bed with stairs .... tough decisions for a six year old), or your friend or even yourself! The plans follow!
XO Ana

Preparation
4 - 2x3 @ 8 feet or stud length (if you can't get 2x3s, you can also rip 2x6s into 2 1/2" widths to make your own - you'll need 2 - 2x6s @ 8 feet or stud length if you do this)
2 - 2x2 @ 8 feet long
1 - 1/2 sheet of hardwood plywood (I used PureBond Birch)
1 - 2x8 @ 10 feet long
1 - 2x8 @ 8 feet long
2 - 2x4 @ 8 feet or stud length
slats - you can get two out of one 8 foot board - we used 2x4s
1 1/4" and 2 1/2" pocket hole screws are highly recommended
2 1/2" wood screws for attaching the cleats to the siderails
4 - 2x3 @ 78" (legs - taper in step 1)
2 - 2x2 @ 36 1/2" (headboard top/bottom)
1 - 3/4" hardwood plywood @ 39" x 36 1/2" (I used PureBond Birch)


Please read through the entire plan and all comments before beginning this project. It is also advisable to review the Getting Started Section. Take all necessary precautions to build safely and smartly. Work on a clean level surface, free of imperfections or debris. Always use straight boards. Check for square after each step. Always predrill holes before attaching with screws. Use glue with finish nails for a stronger hold. Wipe excess glue off bare wood for stained projects, as dried glue will not take stain. Be safe, have fun, and ask for help if you need it. Good luck!
Instructions
Step 1

This was definitely the most difficult part of the bed build - tapering the legs with a circular saw. But the bed just is so much cuter with the tapered legs - so very worth the effort! Start the taper from the end cut of the board. We sanded the finished cut with a belt sander as well to smooth it out.
You'll need to cut four legs total.
Step 2

From your plywood panel, drill 3/4" pocket holes (about every 8") around all sides. Also drill a single 1 1/2" pocket hole on each end of the 2x2s.
Then attach the plywood panel to the 2x2s, flush to the back side.
Step 3

Next, attach the panel to the legs with 1 1/4" pocket hole screws. Then use 2 1/2" pocket hole scews to attach the 2x2s to the legs, all edges flush to back side.
TIP: Drill a single 1 1/2" pocket hole on the top back side of the legs before attaching for attaching the top 2x2 in the next step.
Step 4

Next, add the top through the predrilled 1 1/2" pocket holes with 2 1/2" pocket hole screws.
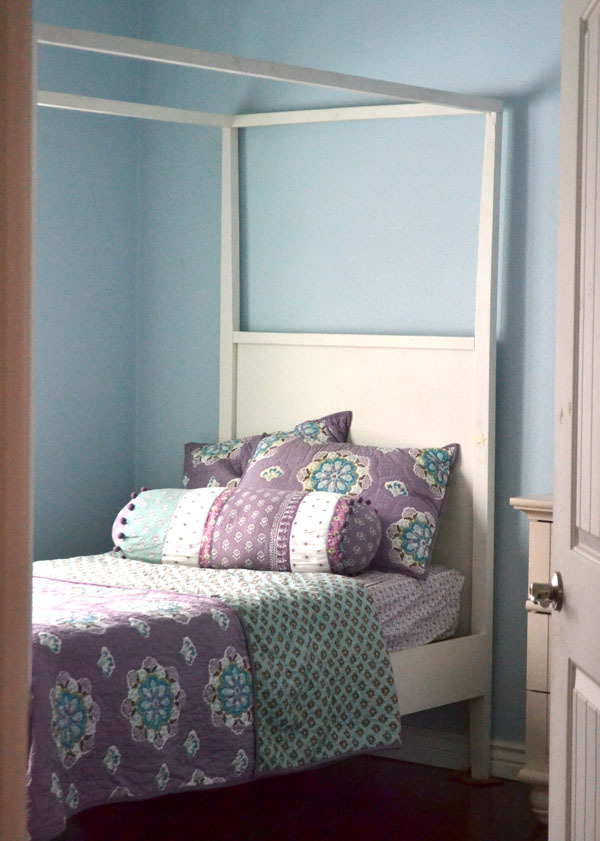
This entire panel can now be finished (pocket holes filled, sanded and painted). The bed itself will be too big to move into a room, so you'll need to bring the headboard panel, footboard panel, and siderails in seperately, then assemble in the room.
Step 5

Step 6

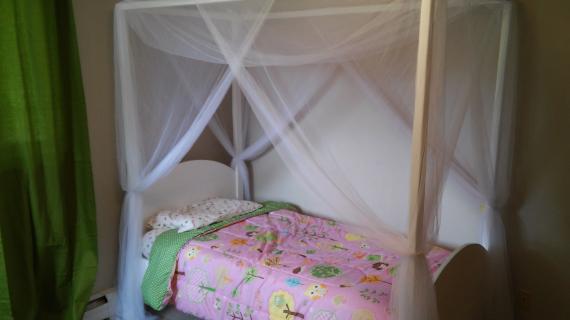
The canopy sides are attached on top with pocket holes - hidden where you can't see them.
The siderails are attached from inside with 1 1/2" pocket holes and 2 1/2" pocket hole screws.
Step 7

Cleats are attached to inside of siderails with 2 1/2" screws - you may wish to do this in the room. The cleats do not need to be finished.
Step 8

Slats are layed on top of cleats and screwed down following assembly.
It is always recommended to apply a test coat on a hidden area or scrap piece to ensure color evenness and adhesion. Use primer or wood conditioner as needed.
Comments
monet419
Mon, 09/30/2013 - 12:18
Could I make this for a Queen sized bed?
I've been searching for a modern looking four poster/canopy frame for our queen sized bed. The Architecture Bed from Room and Board is too expensive, and the Edlund bed from Ikea was discontinued. I love the look of this one! Do you think I could adapt the plan for a larger bed?
Kristi F.
Fri, 03/27/2015 - 12:54
Bed
I was just wondering what the cleats are that you are using for the slats
In reply to Bed by Kristi F.
Ana White
Sat, 03/28/2015 - 09:00
See diagram in Step 6, the
See diagram in Step 6, the cleats are 2 x 4's. Determine if you want to use
2 x 4's for slats or 1 x 4's for slats to know the gap that needs to be
left at the top of the cleat, also shown on diagram in step 6. Hope this
helps!
BrittnyGuinn
Sat, 09/16/2017 - 18:27
Trundle
Can a trundle fit under this bed? If so do you a have a plan for a trundle that would fit under it?