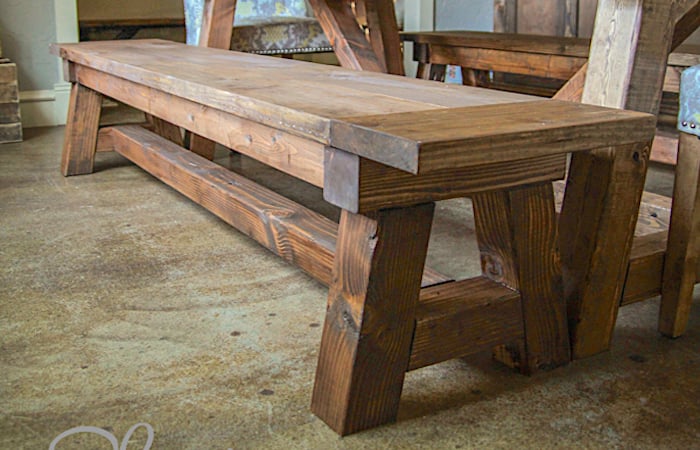


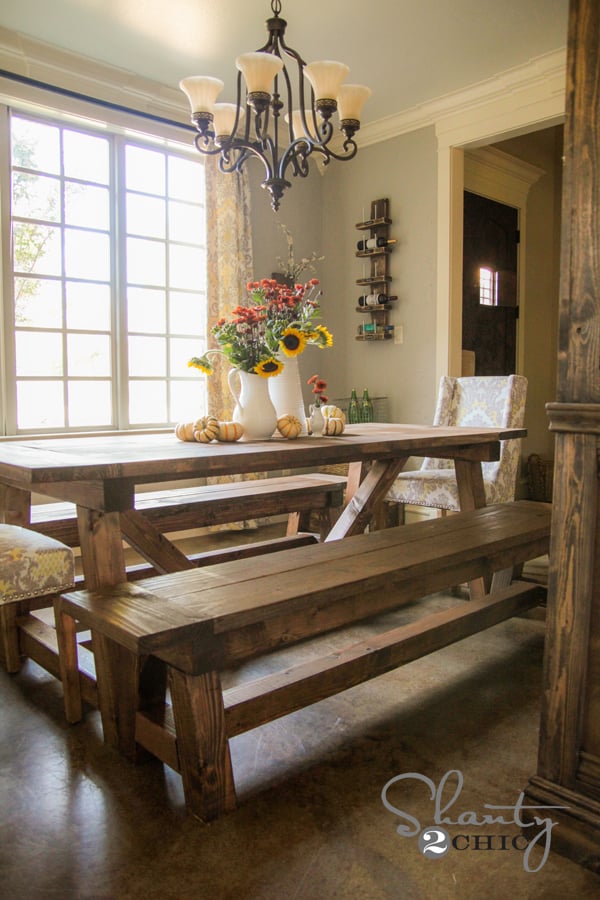
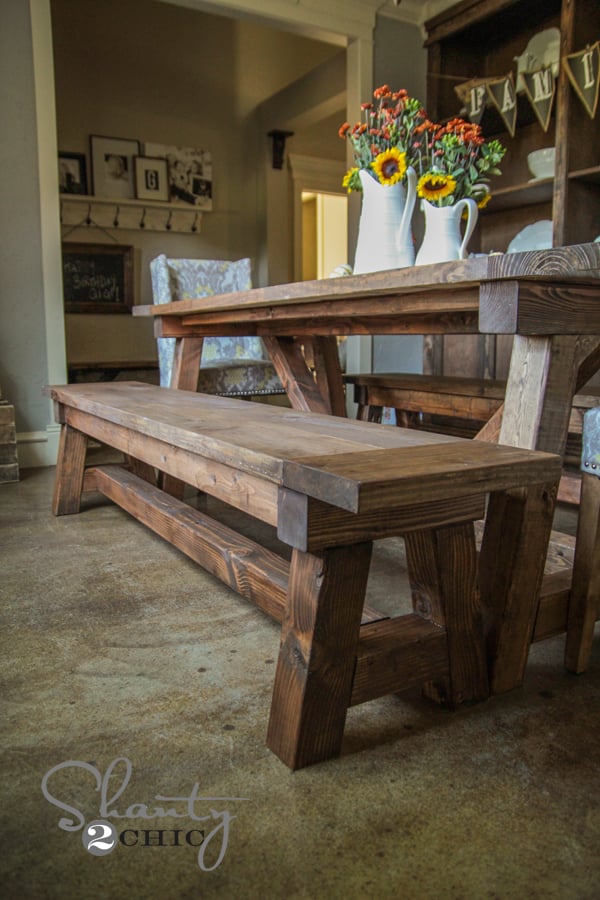
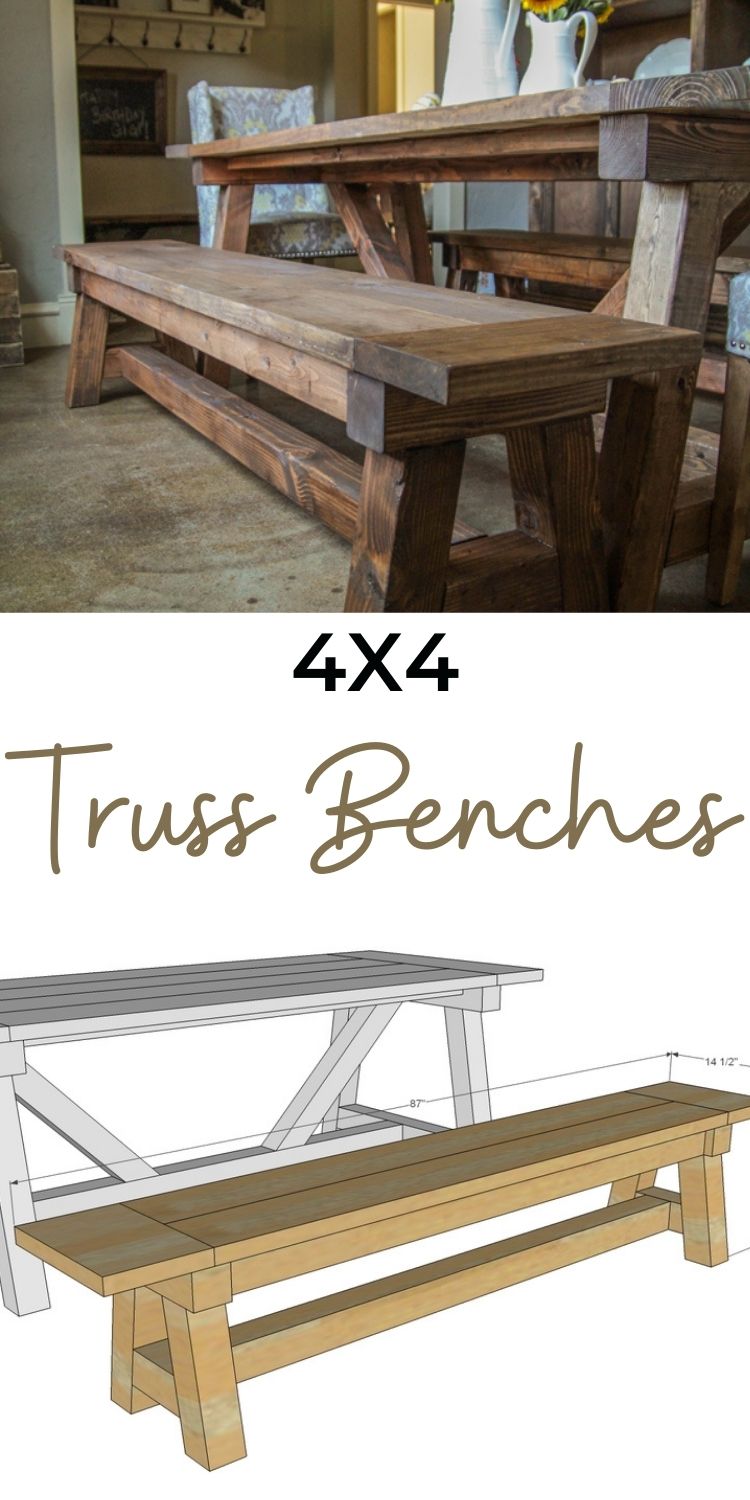
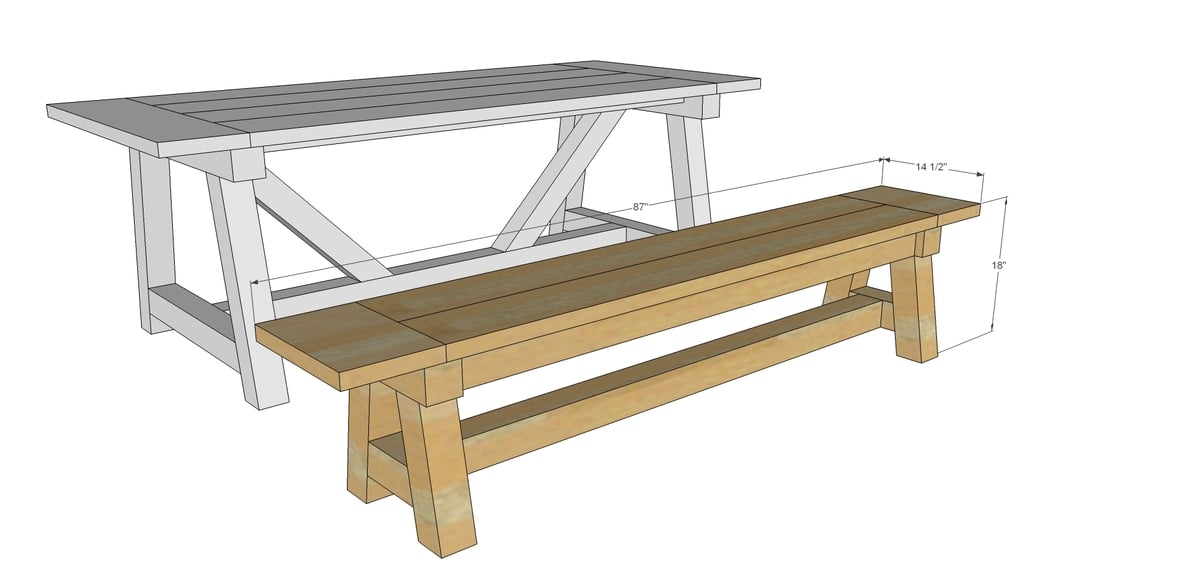
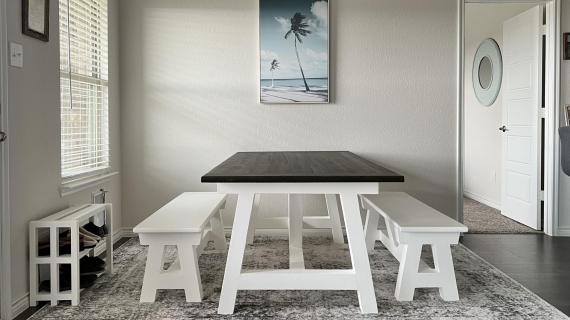
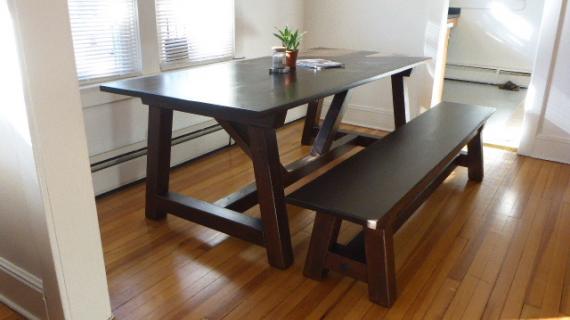
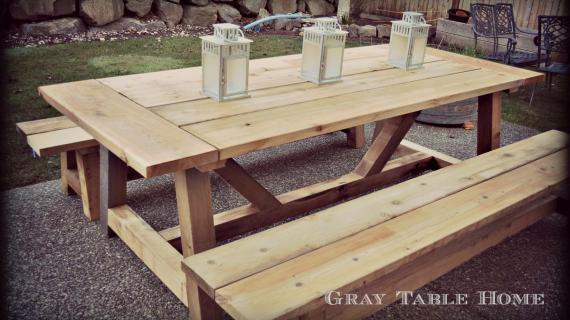
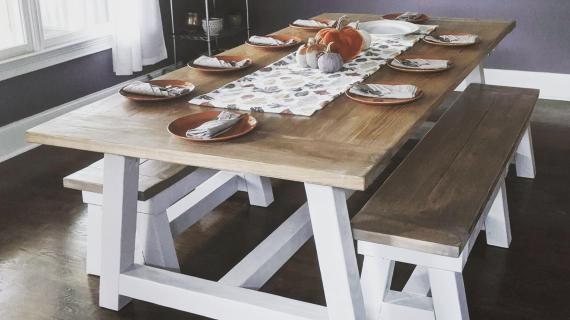
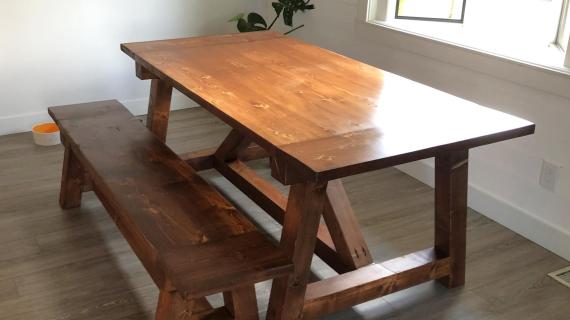
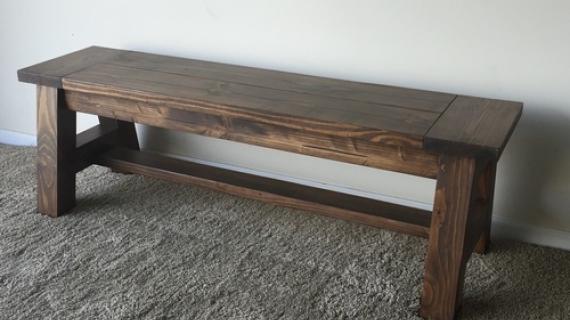
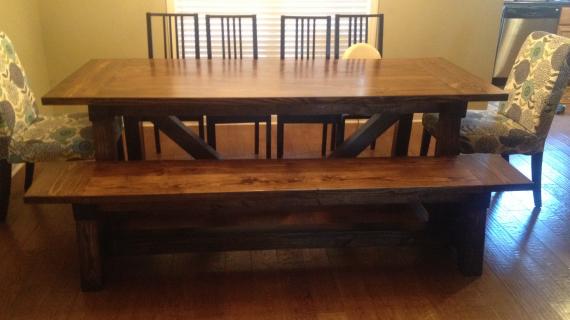
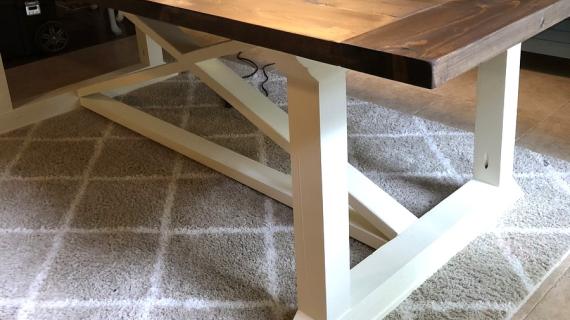
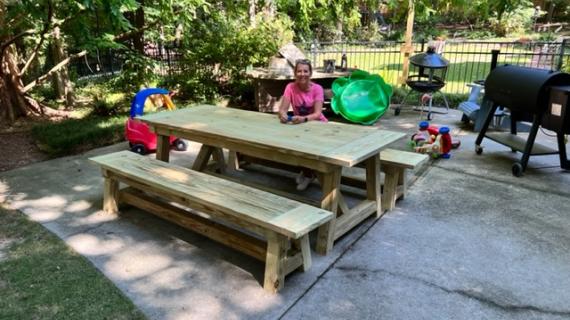
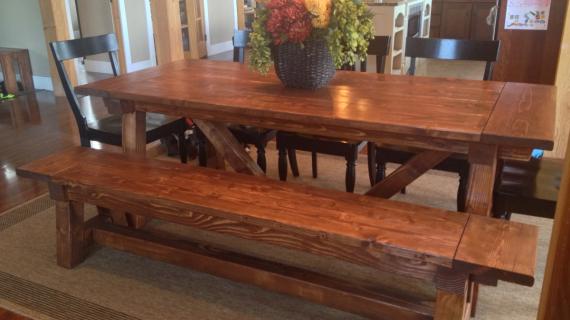
Free plans to build rustic farmhouse benches. These benches feature chunky, 4x4 framing. This bench matches our free 4x4 truss table plans.
Pin For Later!
Preparation
- 2 - 4x4 @ 8 feet long
- 2 - 2x4 @ 6 feet long (or a 12 footer)
- 2 - 2x8 @ 6 feet long (or a 12 footer)
- 1 - 2x10 @ 3 feet long (for the breadboard ends - you can also use 2x8 scraps here instead of buying a 2x10)
- 2 1/2" pocket hole screws
- 2 - 4x4 @ 13 1/2"
- 4 - 4x4 @ 13 1/4" (long point to long point, both ends cut at 10 degrees off square, parallel)
- 2 - 4x4 @ 8" (long point to long point, both ends cut at 10 degrees off square NOT parallel)
- 1 - 4x4 @ 65"
- 2 - 2x4 @ 65"
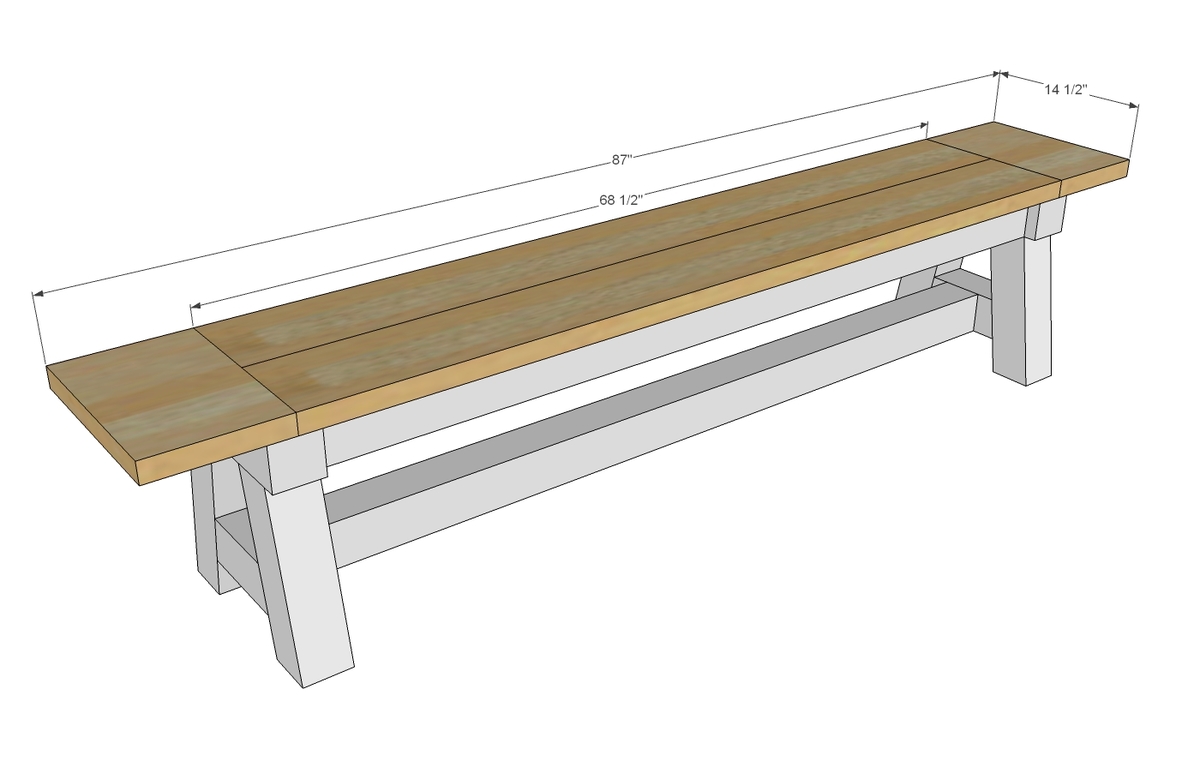
- 2 - 2x8 @ 68 1/2"
- 2 - 2x10 @ 14 1/2"


Please read through the entire plan and all comments before beginning this project. It is also advisable to review the Getting Started Section. Take all necessary precautions to build safely and smartly. Work on a clean level surface, free of imperfections or debris. Always use straight boards. Check for square after each step. Always predrill holes before attaching with screws. Use glue with finish nails for a stronger hold. Wipe excess glue off bare wood for stained projects, as dried glue will not take stain. Be safe, have fun, and ask for help if you need it. Good luck!
Instructions
Step 1
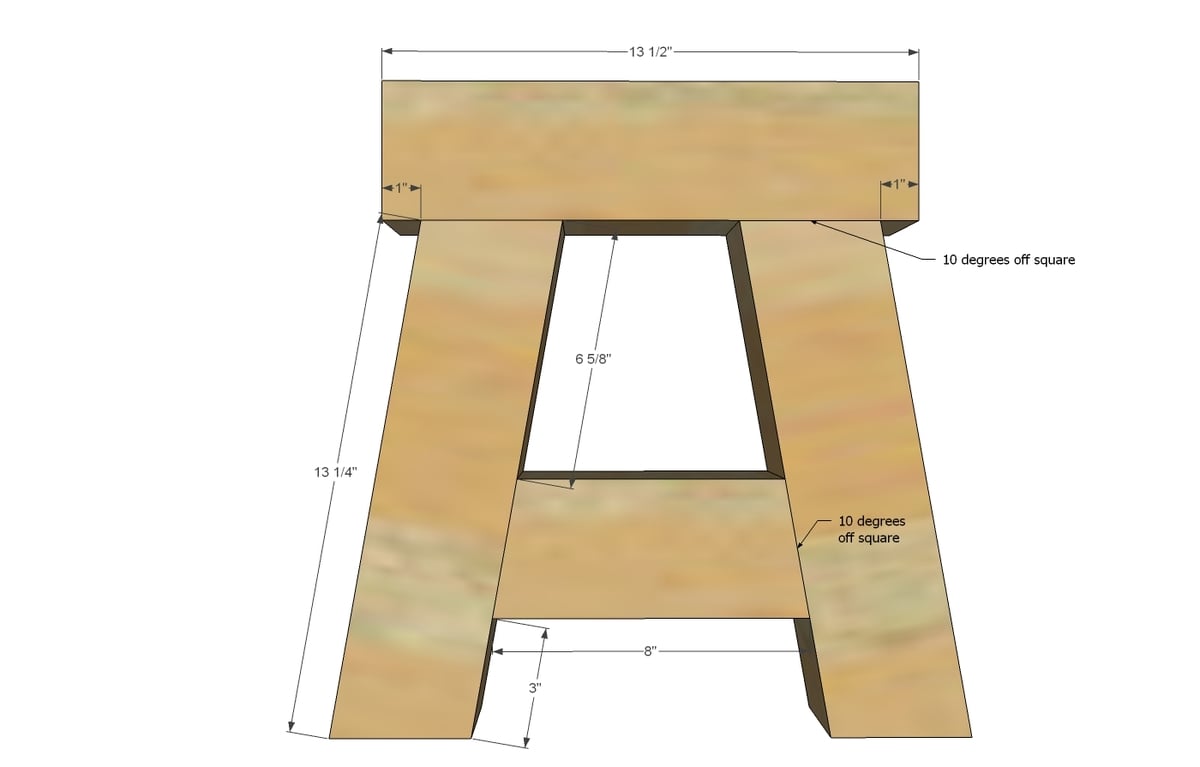
Build two of the leg ends as shown above. There's a ton of different ways to join 4x4s - I really like how Whitney used a Kreg Jig to hide the joints underneath - check that out here.
Step 2
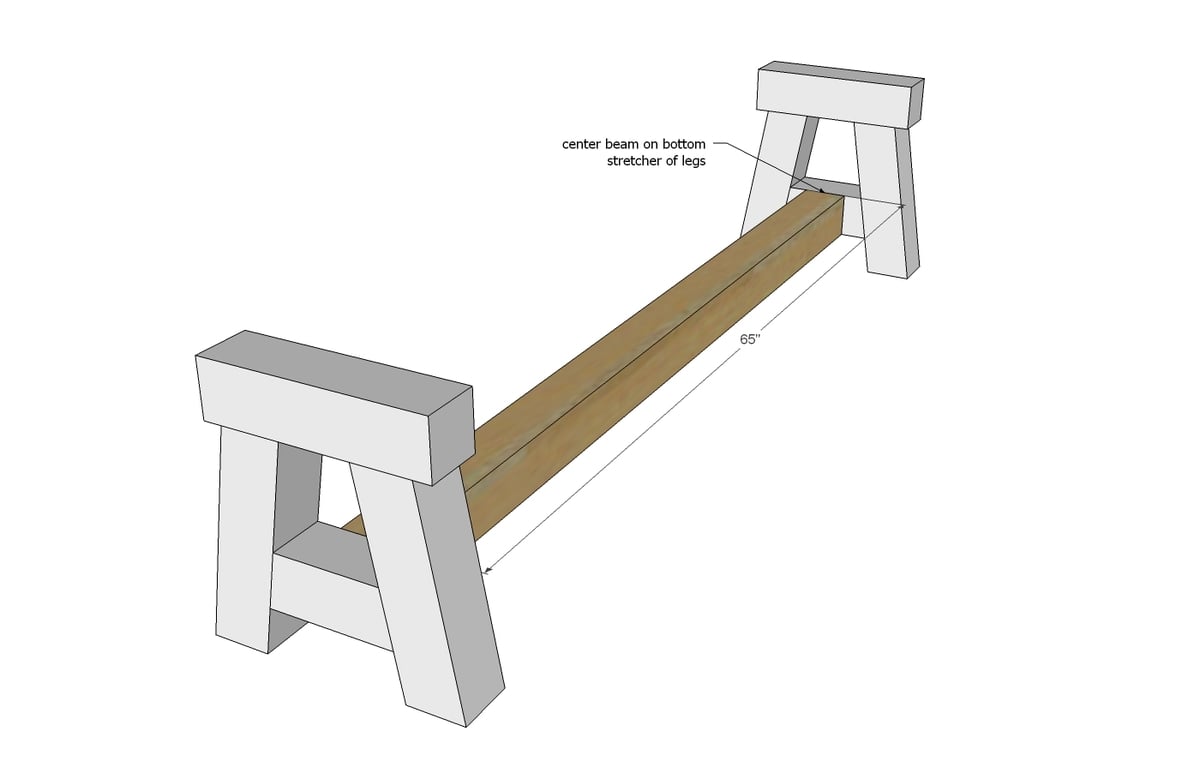
Then attach the bottom stretcher to the two legs ...
Step 3
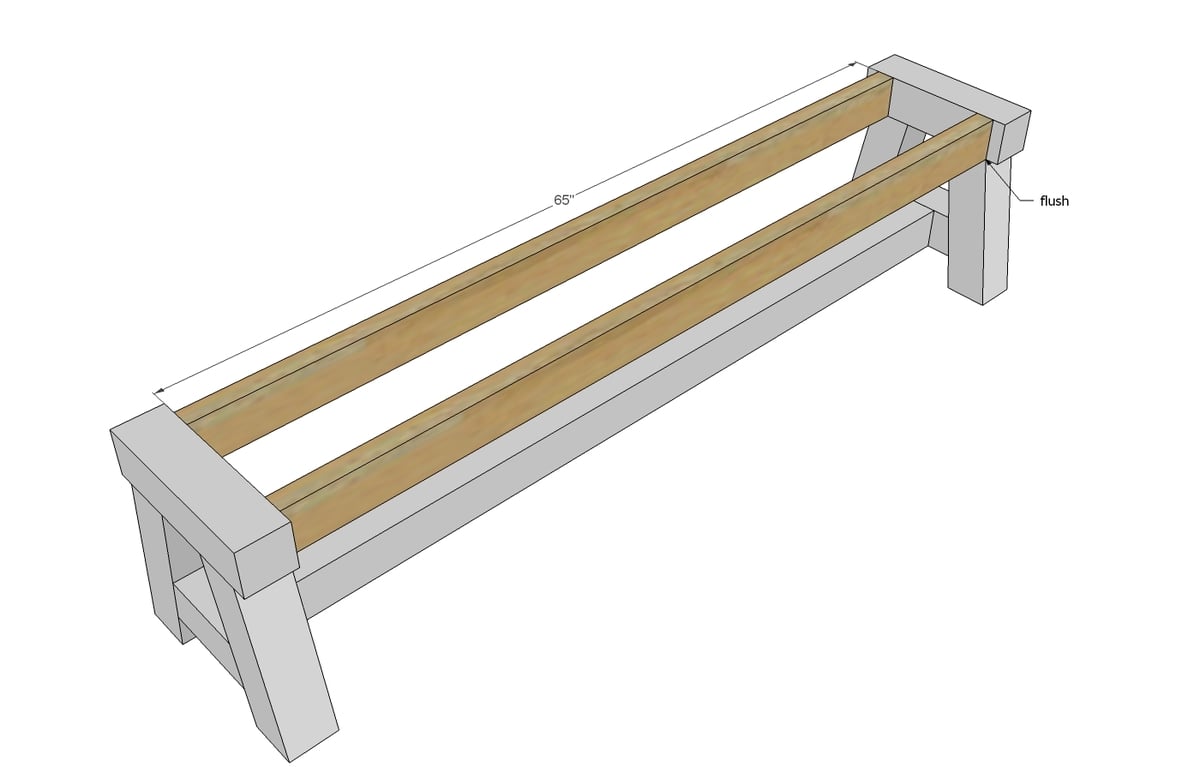
Next, add the two side aprons - these will give structure to the seat and look like 4x4s from the outside.
TIP: Drill 1 1/2" pocket holes facing upward on the inside of the aprons before attaching for attaching the bench top in the next step.
Step 4
Finally, build your bench top first (I recommend building with 1 1/2" pocket holes and 2 1/2" pocket hole screws first) and then attach to the bench.
It is always recommended to apply a test coat on a hidden area or scrap piece to ensure color evenness and adhesion. Use primer or wood conditioner as needed.
Comments
apowers313
Sun, 11/24/2013 - 11:43
Attaching 4x4s
The instructions mention that there are many ways to attach 4x4s. Since I don't want to spend $50 on the Kreg Jig HD, what are some of the other options?
apowers313
Mon, 12/16/2013 - 20:57
Use 4" screws
Replying to my own post here...
I experimented with using #10 and #14 screws with a normal Kreg pocket-hole, but that didn't work so well. Using 2 1/2" pocket hole screws with a 1 1/2" pocket hole didn't come out of the center of a 4x4 (for obvious reasons), so it didn't seem very sturdy.
I ended up using 4" long 1/4" wide concrete screws and going into the ends of the wood rather than creating pocket-hole screws. (I'll post some pictures if I can figure out how). The end result ended up being very sturdy and definitely 3-year-old-proof.
jschroed5186
Thu, 01/02/2014 - 06:38
Pictures?
Hi Apowers313,
Is there any way you could email me? I would like to get some more info on how you did this. Thank you for your help!!
My email is Jschroed5186@hotmail.com
jschroed5186
Thu, 01/02/2014 - 06:38
Pictures?
Hi Apowers313,
Is there any way you could email me? I would like to get some more info on how you did this. Thank you for your help!!
My email is Jschroed5186@hotmail.com
Nickm0501
Sun, 09/06/2015 - 05:09
Not using the Kreg Jig
I had similar concerns to yours,not wanting to spend money for the Kreg Jig, espcially since I didn't really understand how it works. I've built a couple projects from this site, a coffee table and a bed frame, without using it. In the past I simply improvised how to join the pieces, usually using longer 4 1/2" screws.
For this project I decided to invest in the Kreg Jig and am really glad that I did! It allows you to screw into wood at a consistent angle and join pieces using only 2 1/2 inch wood screws. The joined pieces are MUCH more secure, are completely hidden from view, it saves time, and is easier to do. I can't imagine doing this project without the Kreg Jig. Without it, the finished product would not be nearly as professional looking. Having all of the screws hidden really enhances the aethestics of the project.
Although you could figure out how to make this without it, for the enhanced quality of final product, I would strongly suggest investing in the Kreg Jig. I am surprised I hadn't heard of people using it before now. It will probably inspire you, like it did us, to build even more projects!
apowers313
Mon, 12/16/2013 - 21:03
Do step #2 LAST
Note that in step #4, when attaching the top with the pocket-hole screws, the angle that you need to get your drill to drive the pocket hole screws requires that the back of your drill be exactly where the bottom stretcher is that was put in during step #2. I had to take out the bottom stretcher from step #2 in order to drive the final pocket-hole screws in, so I would recommend saving yourself the hassle and just doing step #2 last.
Also note that creating the top uses the same method as the pocket-hole farmhouse table (two 2x8s pocket-holed through the sides to form the top of the bench). It wasn't specified in the design, so it might be a bit daunting if you haven't read through the farmhouse table design.
apowers313
Thu, 01/02/2014 - 10:06
Breadboard ends aren't sturdy
One last comment on this -- after finishing the bench and giving it a "test sit" before staining it, I found out that the breadboard ends aren't very sturdy. After thinking about it, they are only attached by a handful of pocket hole screws. The 2x10" board only overlaps the supporting 4x4 by about 1.5" (see the diagram in step 4). That means that if you sit on the end of the 2x10 there is quite a bit of leverage on that joint. When I sat on it (I weight 200 lbs), I could feel it move, and I imagine that my bouncy 3 year old would destroy it in a matter of weeks.
I ended up putting a few 4" long 0.25" diameter screws through the top of the breadboard ends into the 4x4 below (and countersinking the heads so that they didn't show). This at least made it so that the breadboard ends didn't move, but only time will tell if they will end up splitting because of the lack of support.
This is a pretty serious design flaw that would make me think twice before building this design again.
tylec
Thu, 06/18/2020 - 23:39
Hello can I see a picture of…
Hello can I see a picture of exactly how you fixed this problem
Canuky
Thu, 01/02/2014 - 16:33
breadboard ends aren't sturdy...
I thought this might be the case in the farmhouse bench I made, so I for once I thought ahead and made the under supports longer, so the bread board ends rest on it more....Just an Idea for future builders, or make your top a bit shorter, so the support is there!
Emilyk222
Mon, 08/18/2014 - 14:56
Untreated 4 X 4s
I just went to buy wood for these benches and found that no stores in my area carry untreated 4x4s, they only carry treated 4x4s. Will this be an issue with staining? I've never used treated wood before and I'm worried about the way it will match with the other untreated wood that I'm using!
In reply to Untreated 4 X 4s by Emilyk222
mharrison
Sat, 11/22/2014 - 04:26
UNTREATED 4 X 4S
I have had the same problem Emilyk222. Our Lowes finally started carrying cedar 4 x 4's. I've googled using treated 4x4s in your house & they DO NOT recommend it, due to the chemicals it is treated with. I have used 2 x 4s screwed together & wood filler to create my own 4 x 4. Like I said though our local Lowes has started carrying cedar 4 x 4s so at least we have some option. Good Luck!
slynneb68
Tue, 11/19/2019 - 09:58
In my area I have a Lowe’s…
In my area I have a Lowe’s and a Home Depot. Lowe’s said they don’t ever carry untreated 4x4’s but Home Depot does, in my area at least.
Beefquimby
Tue, 03/31/2015 - 23:31
Construction ?'s
I followed all of the instructions and have 2 ?'s. First, in the pictures here, the 2x8's used for the bench top stop short in top of the 4x4's so that the breadboard ends can also rest on the 4x4. My 6 foot long 2x8's stick out a tiny bit past the 4x4 underneath them, so if I attach the breadboard ends now, they'll be floating with no support underneath. Should I continue? Or cut the 2x8's shorter so that there's room for the breadboard ends to also rest on the 4x4's? Second, with the long 4x4 attached, I can't fit my drill between it and the 2x4's to drill the screws into the pocket holes and connect the 2x8's (bench top). Did you have to remove the 4x4 to do this? Or did you wait to attach it until the bench top was attached?
Ste hansen
Wed, 05/13/2015 - 21:29
breadboard support
I saw the bread board weakness right away and I put in 2 pieces of 4x4 on each side cut at a 45 degree angle and screwed the supports into the 4x4 cross piece. It's a minor thing but I could just see someone sitting on the breadboard and breaking it off.
elana
Sat, 02/27/2016 - 14:56
kreg HD pulling joint tight
I just used my Kreg HD to build my first truss bench. The kreg pulled half of the 4x4 joint tight, but left the outside face of the 4x4 "loose". The bench can move side to side because of those loose joints. I cannot get the screws any tighter and the joint is flush on the inside of the 4x4. Any advice?
Sara.Christianson
Sun, 11/06/2016 - 11:08
Tall Bench?
Can anyone help me figure out the measurements for a taller bench? I need it to be roughly 23" tall and 40" long. Any helpers? I'm horrible at figuring out things with angled cuts haha
thewoodbuilder
Tue, 05/22/2018 - 05:00
The table plans
What happen to table plans an error comes up now in
mattgcon
Fri, 09/10/2021 - 14:07
A backrest?
I'm going to be building this bench, but my wife wants to know if anyone has built it with a back to it. Has anyone added a backrest to this?