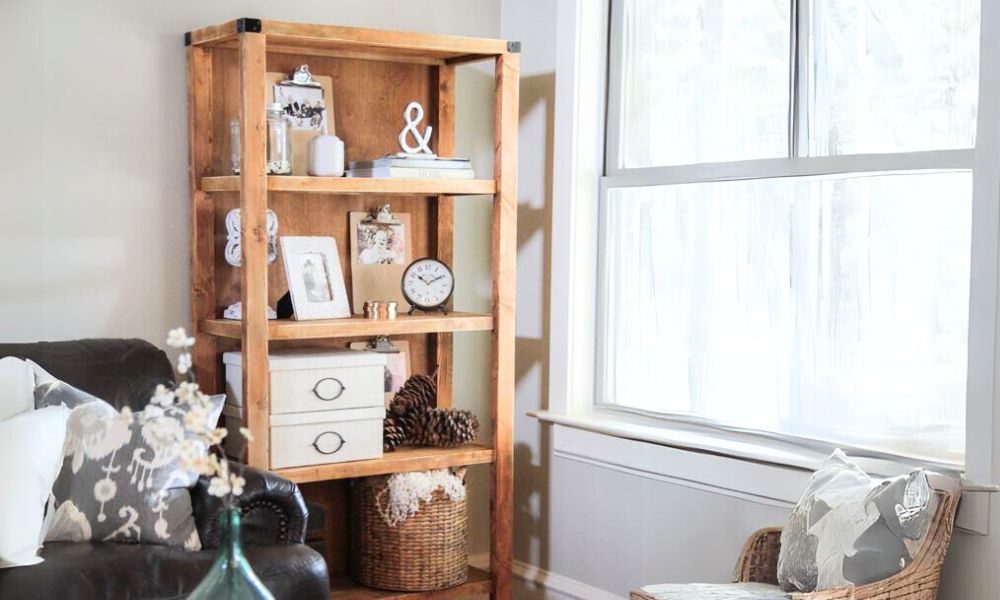
Free plans to build wood bookshelf featuring open sides from Ana-White.com
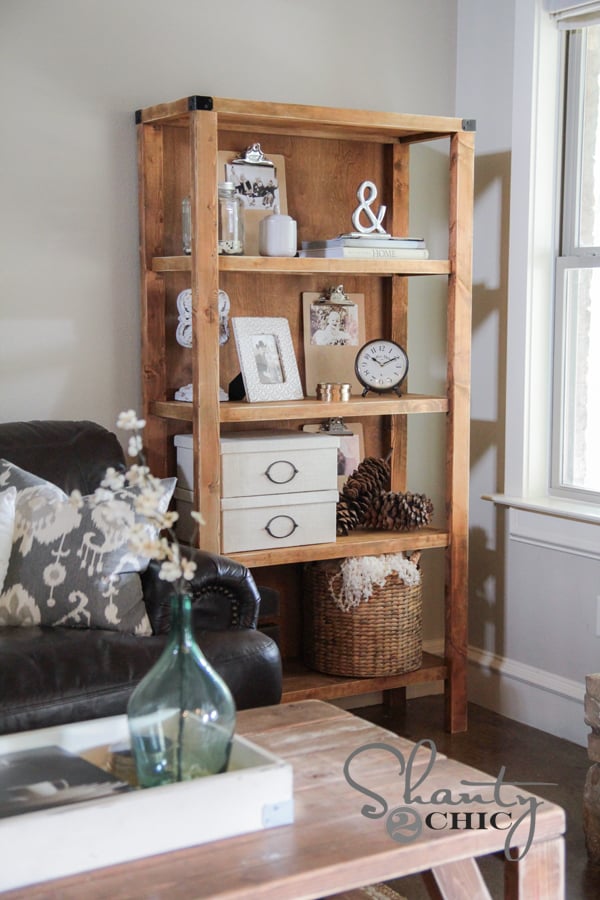
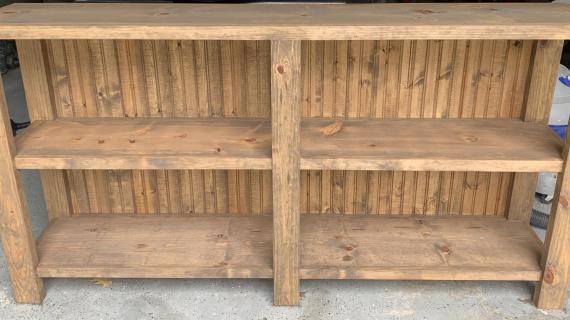
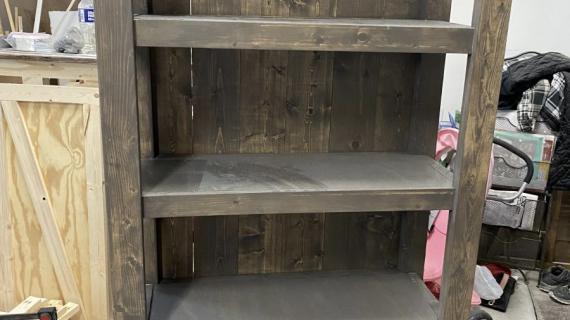
This beautiful bookshelf acts as a frame, easily decorating a space without overwhelming it. Made of wood, this is the perfect piece to add wood texture to your room.
This is a free step by step project plan, with diagrams, shopping and cut lists and lots of reader submitted photos.
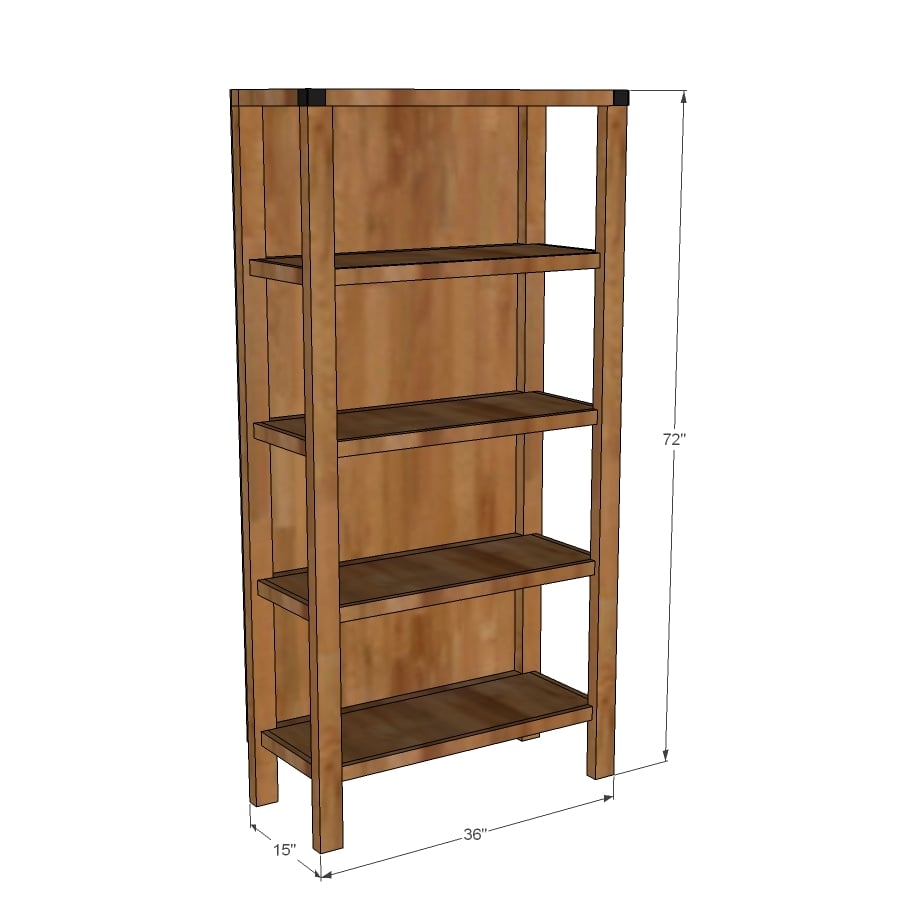
Preparation
- 4 - 2x3 @ 6 feet long (can rip 2x6s in half)
- 3 - 2x2 @ 8 feet long
- 3 - 1x2 @ 8 feet long
- 1 - 1x12 @ 10 feet long
- 1 - 1x12 @ 6 feet long full sheet of 1/4" plywood or paneling for back (would be super cute to use planked boards for the back too!)
- 1-1/4" and 2-1/2" pocket hole screws
- NOTE: If you can't find 2x3s and don't want to rip 2x6s down to 2 1/2" widths (2x3 should measure 1 1/2" x 2 1/2") you can substitute 2x4s - but you will need to take an inch off all shelf trim boards (excluding top shelf trim boards and end shelf trim boards)
- NOTE: 1x12s can vary in width, most likely 11 1/4" wide. For the end shelf trim pieces, measure and cut to fit for the best fit.
- 4 - 2x3 @ 70 1/2" (legs)
- 2 - 2x2 @ 36" (top shelf trim)
- 4 - 1x2 @ 31" (front shelf trim)
- 4 - 2x2 @ 31" (back shelf trim)
- 5 - 1x12 @ 33" (shelves)
- 2 - 2x2 @ width of 1x12 shelf (top end shelf trim)
- 8 - 1x2 @ width of 1x12 shelf (end of shelf trim) back is maximum of 65-1/2" x 34-1/2" (I tend to cut backs a little bit smaller so you can't see them from the sides)
For long term durability and more professional results, I recommend using a pocket hole joinery system for wood joints. Here is a video with tips for using a pocket hole jig:
Instructions
Step 1
This bookshelf is basically two face frames (the front and back) with shelves in the middle. I highly recommend using a Kreg Jig for construction, just because it will hide all the screw holes, be much stronger (whick is very important on this bookshelf with open sides), and be much easier to construct - trust me, countersinking through 2x4s on edge is no.fun. at. all.
You are saving hundreds - invest in one or at least put it on your Christmas list! You'll thank me later, I promise!
So build your front face frame as shown in diagram, keeping edges flush to back and hiding pocket holes on back side. Try placing a piece of 3/4" stock (like a 1x2) underneath the 1x2 shelf trim to raise them up 3/4" as you attach.
Step 2
The back frame will be much easier because all the boards are 2x thick. Set your Kreg Jig to 1-1/2" setting and drill pocket holes on each end of the shelf trim boards, and on the tops of the legs. Then assemble with 2-1/2" pocket hole screws.
Make sure the shelf trim placements match exactly the front face frame so your shelves will be square.
Step 3
Now set your Kreg Jig to the 3/4" setting and drill 3/4" pocket holes around all sides of all of the shelves. I'd do 2 per end, and then 4 per front and back side of each shelf. Then attach the shelves to the front and back face frames, as shown in diagram. Note the 1 1/2" gap at end of each shelf for the end trim pieces.
Step 4
Step 6
For finishing details, please visit Shanty2Chic.
It is always recommended to apply a test coat on a hidden area or scrap piece to ensure color evenness and adhesion. Use primer or wood conditioner as needed.




Comments
stephenobryan
Tue, 10/29/2013 - 05:36
Trim Hardware
Anna,
Thanks for all your work on the plans for the site. I've benefitted greatly from these projects, especially your detailed skectchup work. Where do you find the trim hardware that you use on your projects? For instance the top corner pieces of this bookshelf. Can you direct me to a good online retailer?
bcsanson
Thu, 09/04/2014 - 19:53
OFFICE
OFFICE
johnnnnn
Fri, 08/09/2019 - 19:11
carpentry
Thanks!It is very helpful. I would like to share with you something that has worked for me. A huge thanks to my friend who suggested me: https://bit.ly/31tsaI2 me through which I could access the world's largest collection of wood plans for every project imaginable. It's very very detailed explanation helped me build projects with no waste of time searching or thinking for a plan. Searching in the internet has been a time consuming thing for me, with very incomplete details that they provide. It saved a lot of my money too. Oh Gosh! I just can't recommend this enough and trust me, it's worth every penny.