Video Tutorial on Applying Edge Banding
Here's a quick video showing the steps on how I apply edge banding

So let's talk shelves. Specifically kitchen cabinet shelves, made of plywood.

How the heck do you make a plywood edge look like it's wood?

Like this?
Well, it's pretty easy.
And quick.
And inexpensive.

For the Momplex kitchen cabinets, we picked up Edge Banding in a matching wood veneer (to our plywood shelves) from our local hardware store.
It's about 1/8" or so thick, so we trimmed off 1/4" from all of our shelf fronts to give a little room for the edge banding, and then also some wiggle room for easily placing the shelves (we used adjustable shelves with shelf pins).

First, we start at one edge, and hold it a little past the front edge of the shelf.

The edge banding has a heat activated adhesive on the back. An iron works great to set the edge banding in place.

With one edge set, we move to the other end, and cut it about 1" beyond the shelf.

With the two ends cut, we can now focus on adhering the edge banding to the plywood edge with the iron.
The edge banding is about 7/8" so there's a little wiggle room when attaching it to 3/4" thick plywood. And if you get off - simply heat and reset. It is very forgiving stuff.

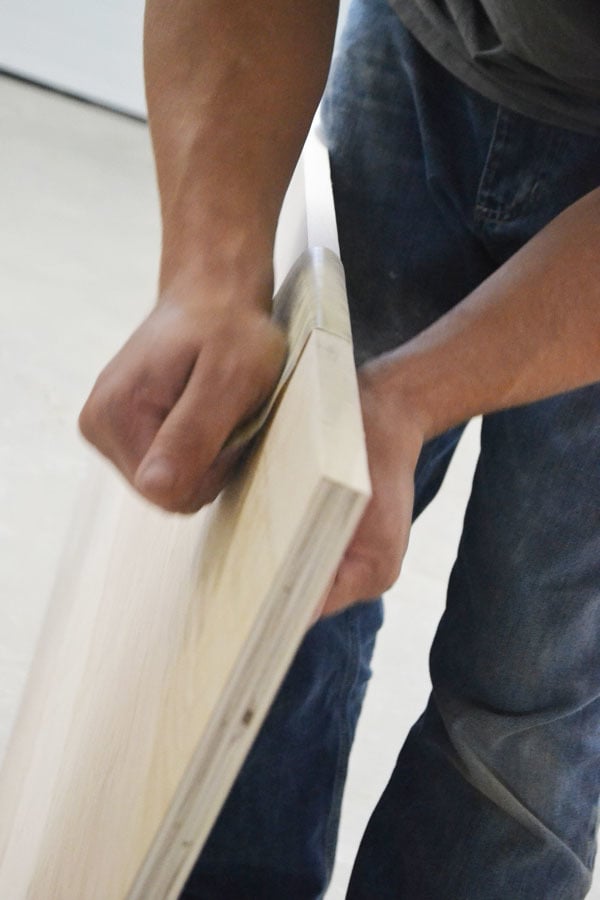
When we were happy with how the edge banding is set on the plywood, we took a smooth wood block, and started in the middle, and firmly pressed the edge banding into the plywood edge.
We let each shelf fully cool down before moving on to trimming the edge banding flush to the plywood sides.

Once the edge banding is heat set and fully cooled, we use a utility knife to trim the ends flush,

It cuts pretty easily with a sharp blade.
You can also use the utility knife to trim the sides (remember the edge banding is a little wider than the plywood, so it needs to be trimmed down),

But we finally broke down and ordered the edge banding trimmer tool.
Nothing like having two kitchen to build on your to-do list to motivate you to invest in the little tools that save you hours and hours of work.

It works like this: Simply squeeze it together and run it along the edge banding, and it trims off any material beyond the plywood at the perfect angle.

It works in reverse, too.
Once the edge banding is trimmed off, it's can be a little sharp, and sharp isn't good. Not just because it might scratch you, but also because a sharp, rough edge is more likely to catch and peel off.
Nothing some sandpaper can't fix!
We started with a medium grit and finished with a fine grit.

Who knew getting a professional looking finished plywood edge could be so simple and easy?

The finished shelves can then just be placed in the cabinets, either fixed or as we did with shelf pins. We also cut the shelves about 1/4" less in width than the cabinet interior to allow for shelf pins and easy shelf adjustment, but you should always figure your shelf length depending on how you place them in the cabinet.
Happy Building!
XO
Ana
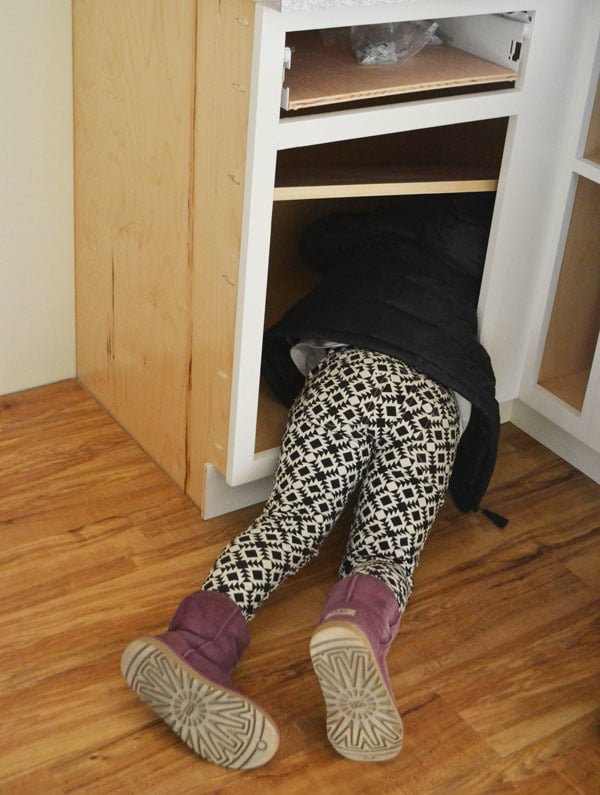
PS - for those blind corner cabinets, unless you have a mini helper, consider placing shelves inside the cabinets before installation.
:)
Comments
orangesugar
Thu, 11/28/2013 - 16:03
Prefinished?