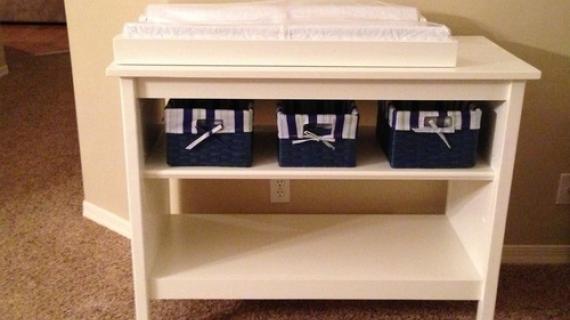
This simple wood baby changing topper creates a baby changing station on top of a console, tabletop, dresser, or desk. Free plans from Ana-White.com

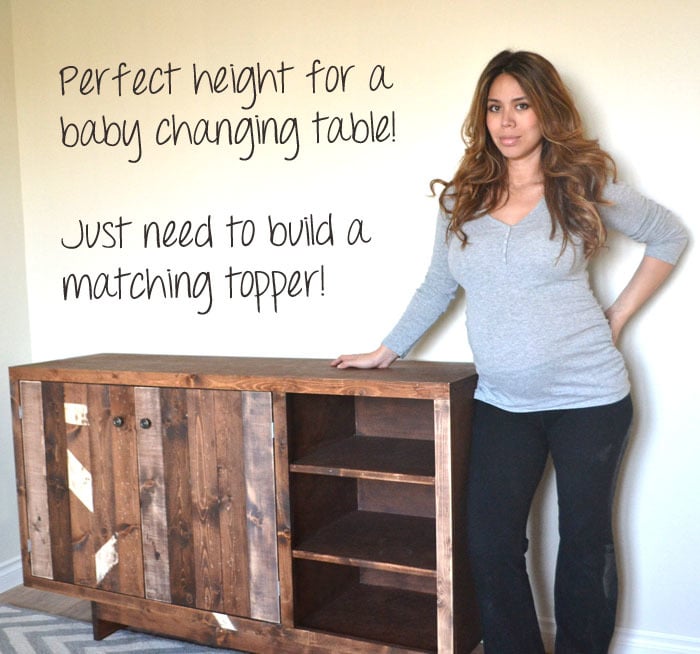
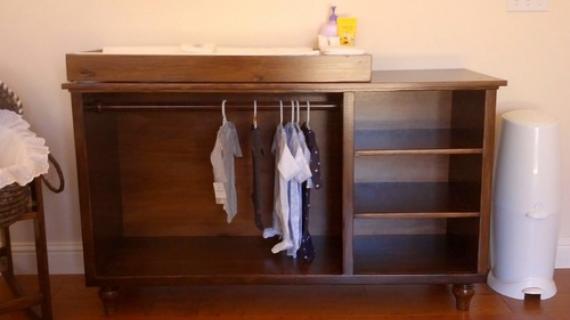
I built this buffet (plans here) because I loved the rustic, reclaimed look, and wanted something a little less "changing table" looking for the baby room, but needed to add something on top to make it a little less buffet looking and more functional.
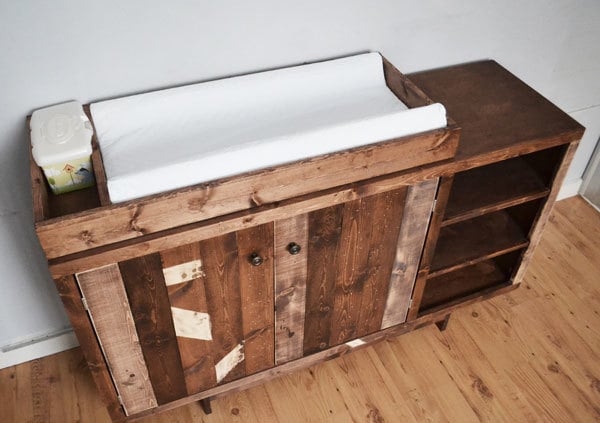
So I picked up a few 1x4s, and made a topper!

And my sister came over and stained it to match the buffet.
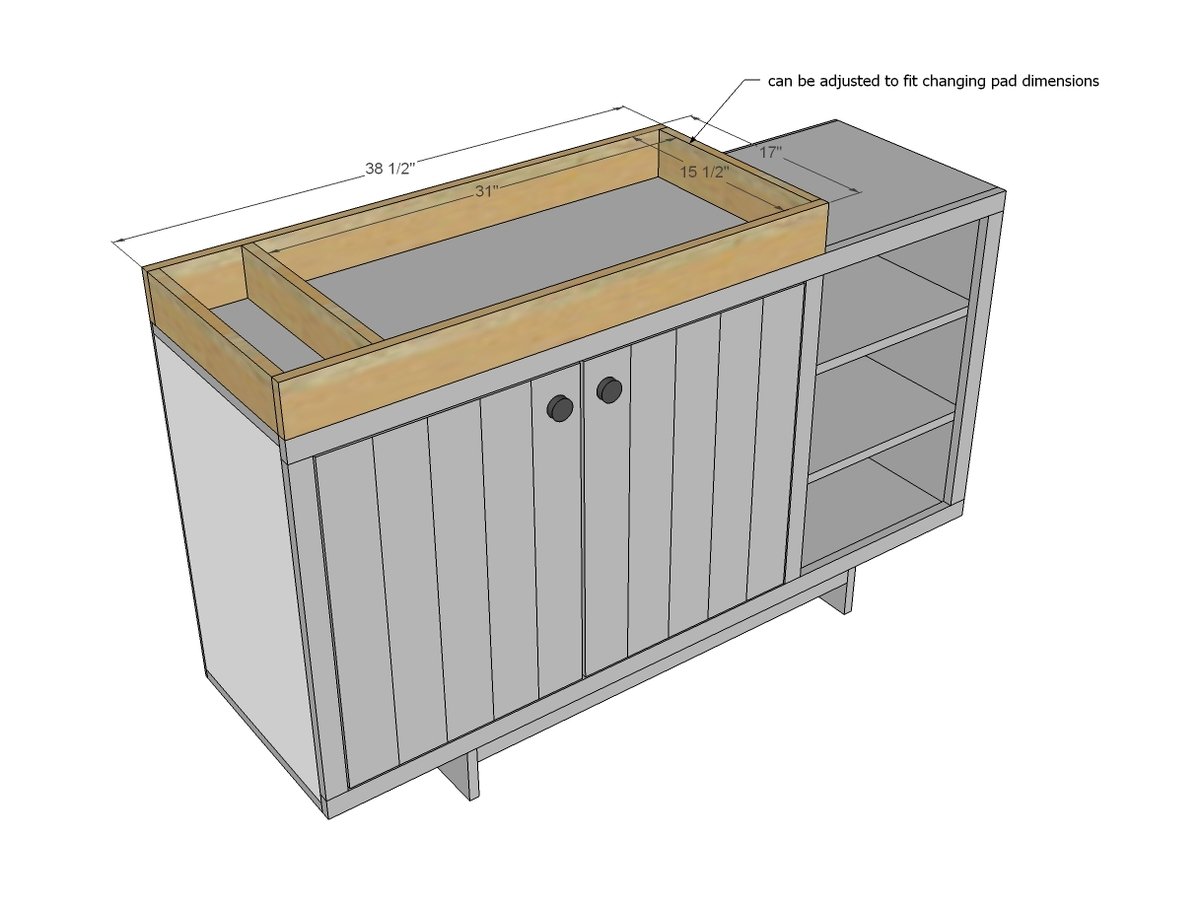
We sized the topper to fit a standard changing pad (16" x 32") and left enough room in a side compartment for diapering supplies.
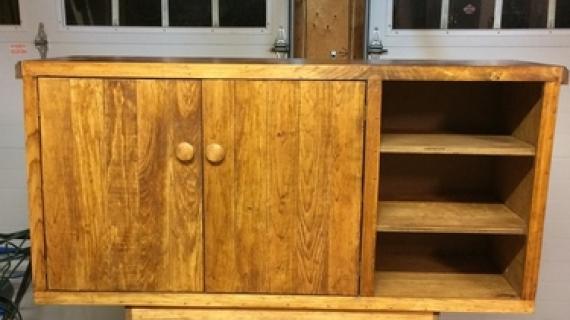
RELATED Build the base project - plans are here.
Preparation
1 - 1x4 @ 10 feet long
I used 1-1/4" pocket hole screws for joining and attaching to cabinet top
2 - 1x4 @ 38-1/2"
3 - 1x4 @ 15-1/2"


Please read through the entire plan and all comments before beginning this project. It is also advisable to review the Getting Started Section. Take all necessary precautions to build safely and smartly. Work on a clean level surface, free of imperfections or debris. Always use straight boards. Check for square after each step. Always predrill holes before attaching with screws. Use glue with finish nails for a stronger hold. Wipe excess glue off bare wood for stained projects, as dried glue will not take stain. Be safe, have fun, and ask for help if you need it. Good luck!
Instructions
Step 1

Measure your changing pad and adjust the plans as needed to fit your table and changing pad.
I started by attaching the two ends to the front and back. I used my Kreg Jig and hid pocket holes on the insides.
Step 2

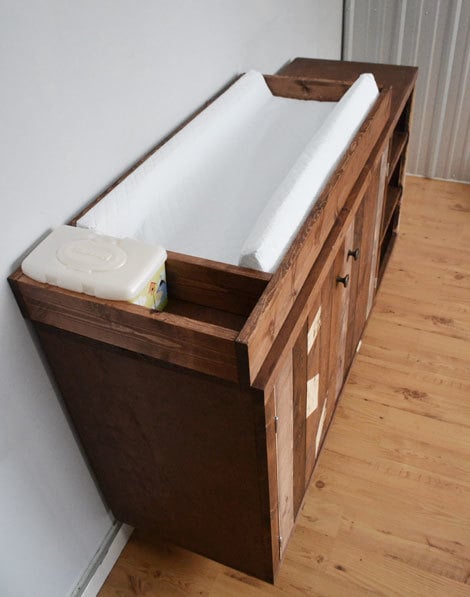
Once I got the basic box done, I added the divider to fit my changing pad. It worked out perfect for wipes.
Step 3

You'll need to secure the topper to the cabinet somehow. I used a few pocket holes along the back but you could also use an L bracket - but you will need something to keep it from sliding off.
It is always recommended to apply a test coat on a hidden area or scrap piece to ensure color evenness and adhesion. Use primer or wood conditioner as needed.