So let's just say you got a team of two building a kitchen, and one hates painting and the other can't paint.
Well, it's not that I couldn't paint. They say occassional painting in a well ventilated area is fine for pregnant women.
But up here in Alaska, in the cold winter months, working inside a poured in place concrete building, with no ventilation, where your full time job is to build and paint or stain furniture, it's not occassional and it's not well ventilated.
So guess who gets tasked with painting???
Yes, Mr. I'd-Rather-Be-Framing-Or-Wiring ... or anything else than painting.
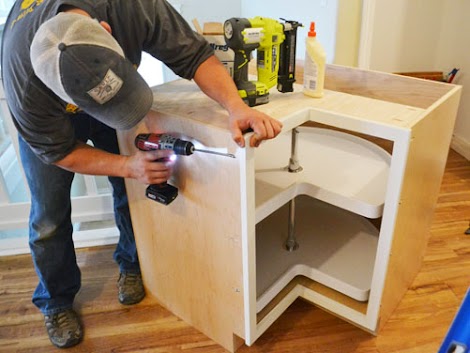
So when we decided the first kitchen for the Momplex would get painted white, the Ram immediately started strategizing how he could minimize the kitchen cabinet painting task.
There was no way he was going to take a kitchen cabinet roller and crawl inside a lazy susan with a headlamp, and stress out about drips and brush marks. It just wasn't going to happen.
So we opted for a more expensive plywood (about $20-$30 a sheet more and we needed six sheets, so about $150-$180 more in cost) in a Pre-Finished Maple (PureBond is the brand) for the carcasses. That means the entire inside of the cabinet - everything but the face frame, is fully finished.
Hey, a marriage counseler probably runs about $150 an hour, right?
The prefinished plywood is a bargain!
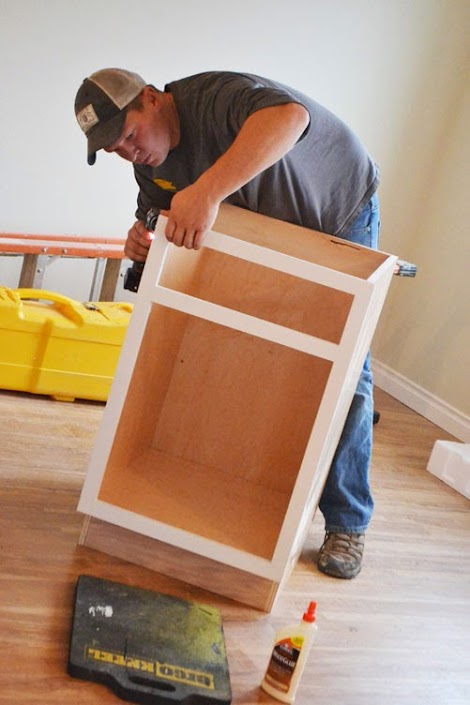
So all we have to do is paint the face frames and the doors/drawers for the cabinets - because that's all you see -

But open those doors ....
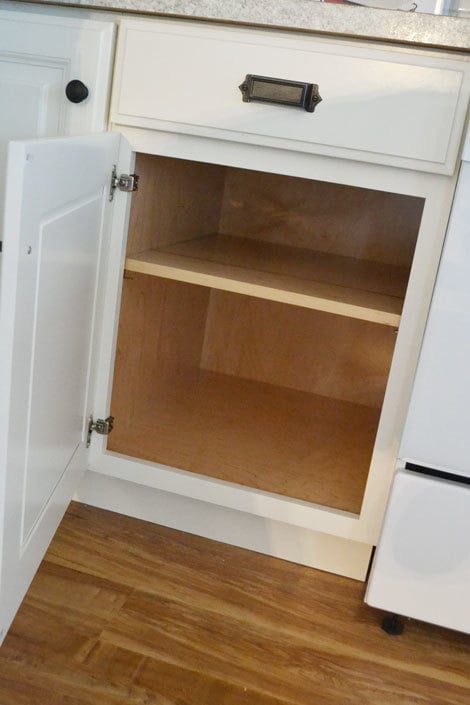
And there's the prefinished plywood inside.
Not having to paint the cabinet carcass is huge - but we still got a pretty big task in painting those face frames up.

There's a lot of them, and they aren't exactly the easiest thing to paint.
That, and we've invested so much time and love into these kitchen cabinets, it would be heartbreaking if the only thing you saw was a bad paint finish on the face frames.
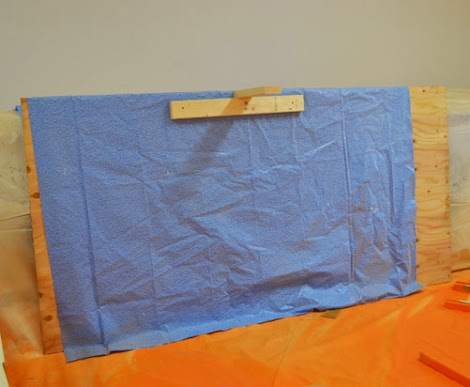
Since we can't paint outside in the winter in Alaska, and we just don't have space inside to lay all the face frames out and paint them, we set up a hanger system (a fancy way of saying a paint tarp over plywood with a make shift hook holder).
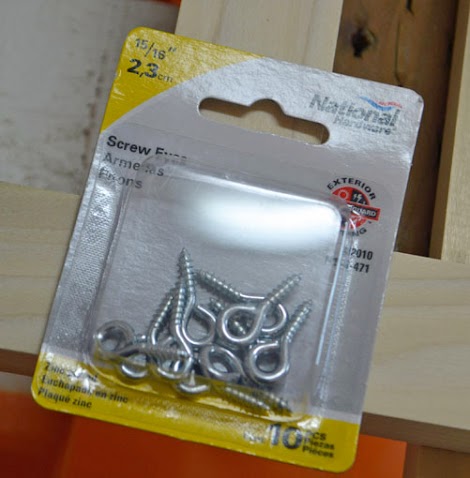
And then we bought some eye hooks,
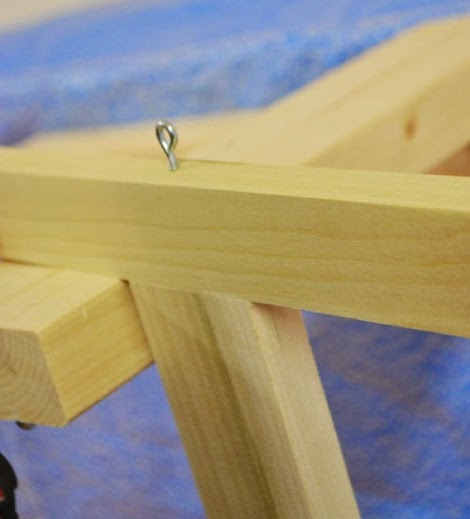
And attached them to the underside of the face frames (where the hole won't ever be seen again)

And then the Ram sprayed the face frames, back side first - just to seal the wood as it's completely unfinished poplar,

And then carefully sprayed the front side first. The eye hook in the top enabled us to easily rotate the face frames to get all sides.
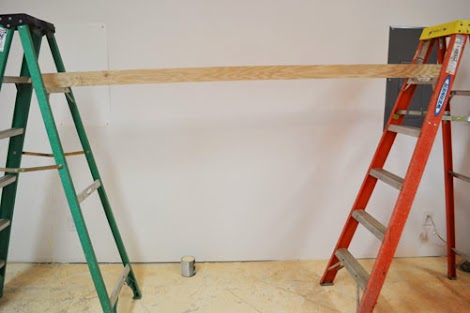
To dry the face frames, we set up two ladders and rested a board between (its actually scrap plywood)
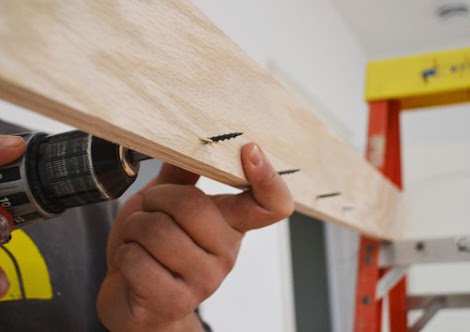
Then we just added some screws about every 3-4 inches,

And hung the painted face frames on the screws to dry.

Every now and then, the face frames were inspected for drips, and touch ups were made as needed.
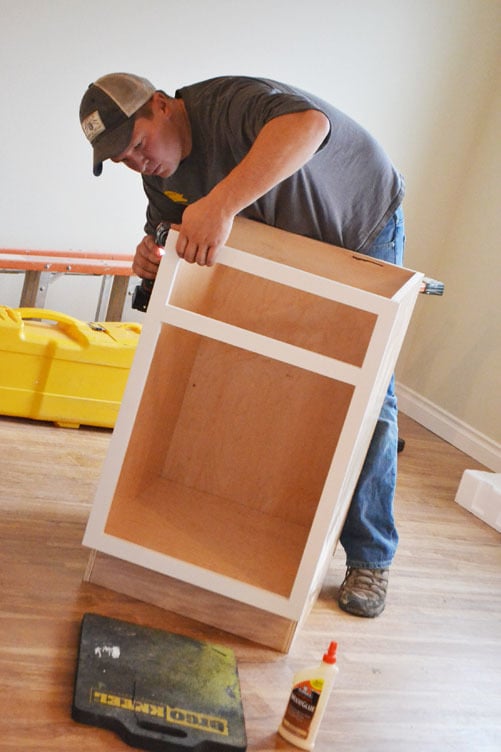
Once all the face frames were painted, it's time to attach them for good to the cabinets.

We applied glue to the fronts of the cabinets,
And then carefully attached the face frames to the cabinets with the pocket holes we drilled in the outsides of the sides. We also use the nailer to attach the face frames where we couldn't place pocket holes (the bottom underside).
There you have it - a painted kitchen cabinet!

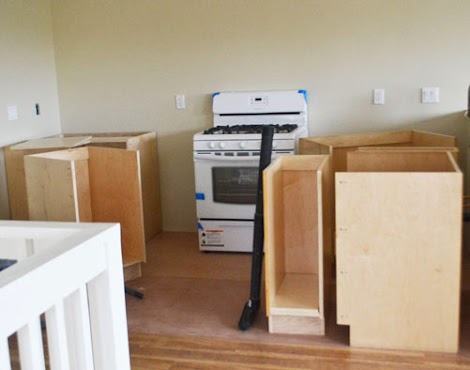
Ready to be permanently installed!
We'll still need to attach pre-painted toekicks to the bases, and the ends will need to get finished out with painted 1/4" plywood, but the worst of the painting is O.V.E.R.
Next up, we'll get to work on the wall cabinets and boxing in that fridge and dishwasher!
Comments
bludevil35
Thu, 12/12/2013 - 13:05
Paint Sprayer
DecorSanity
Thu, 12/12/2013 - 14:05
Genius!
pblomberg
Sun, 12/22/2013 - 12:13
How many coats? Sanding?