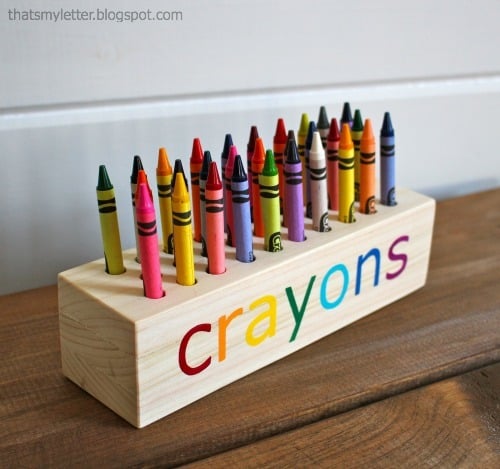
Easy Scrap Wood Crayon or Pencil Block Holder

The free plans on this website are supported with advertising and affiliate revenue.  When you click some links in this plan, you may be helping us earn a small commission.  Thank you for supporting this website.


diy crayon holder
Difficulty
Starter Projects
| Print this plan

DIY crayon holder wood block!
diy crayon holder
diy crayon holder
diy crayon holder
diy crayon holder
diy crayon holder

Hi Everyone!!!


Well this is it!  Our final Handmade Holiday gift plan for this Christmas season!!!  It's been such a fun series, and I hope you enjoyed the projects as much as Jaime and I have working on them!


Before we get to the final plan - please extend a HUGE thank you to Jaime for her hard work in making this happen.  It would not have been possible without her help!


Since I know time is pretty scarce for getting handmade gifts under the tree, this last project is the simplest and easiest of all!


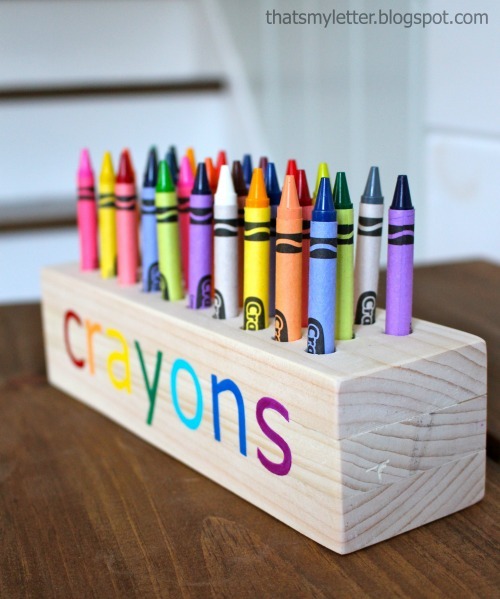
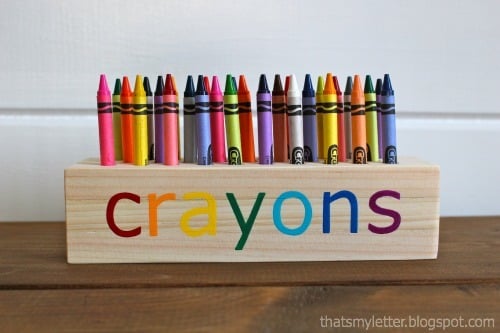
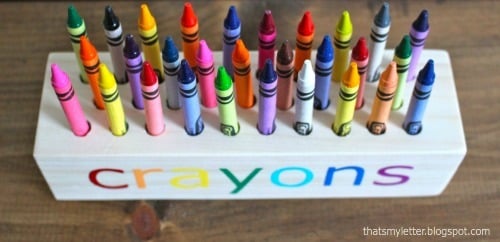
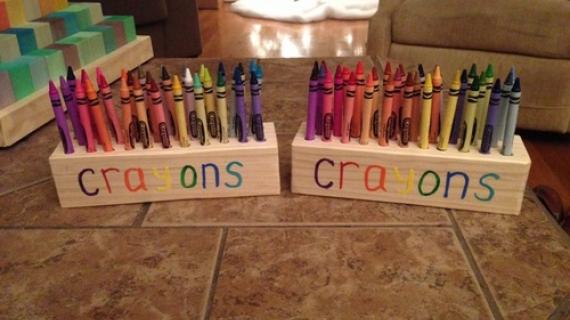
It's a DIY crayon holder!  


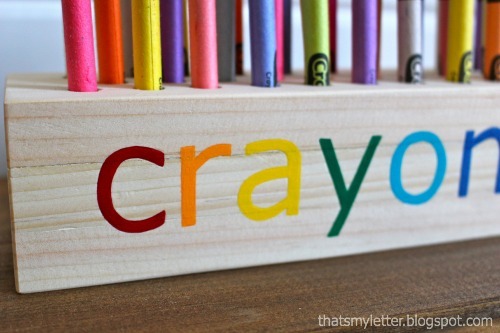
You could also put a special little person's name on it too!


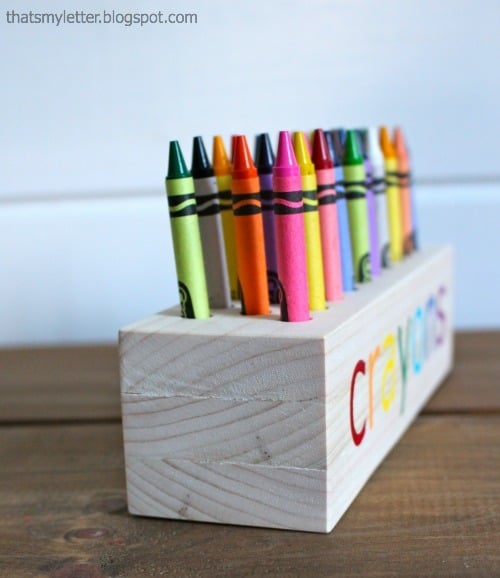
And we staggered the crayons holes so little hands can reach each crayon easier.


We opted not to just take a 2x4s and drill holes in the top because it would be top heavy.  And you wouldn't want to go out and buy a huge 4x4 just to make a crayon holder.


So for this plan, we decided to glue three 1x3s together (just drilling holes in only the top 1x3) to get a 3x3 block that is easy for little hands to carry around.


1x3s are so cheap and inexpensive - you could make this little block for less than a buck!


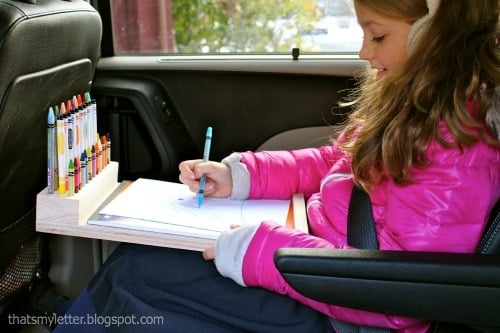
And you could even add a little board under it to make a lap desk - as Jaime did here.


The plans follow, but please stop over and check out Jaime's building post for details on the lap desk, how Jaime got those letters put on, and lots more pics!!!


Happy Holidays - share your projects with us (after they are unwrapped of course), we can't wait to see them!!!


XO Ana

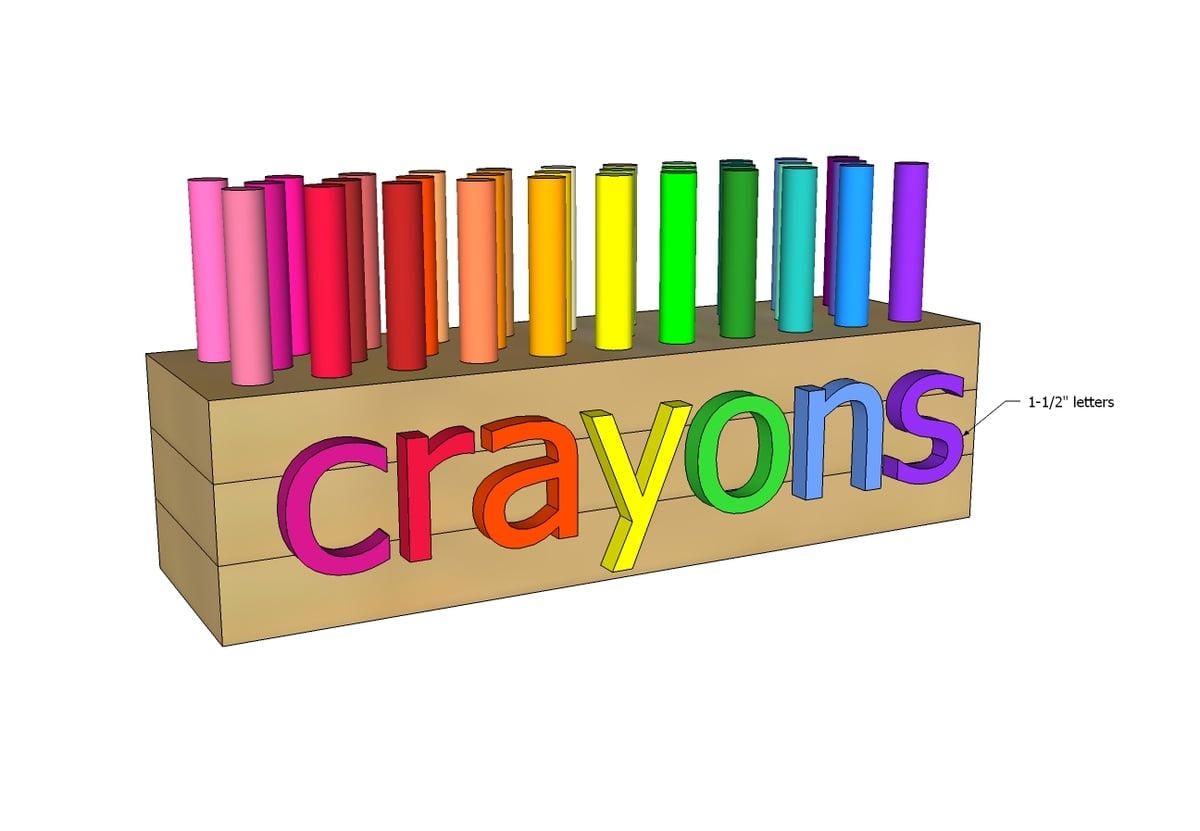
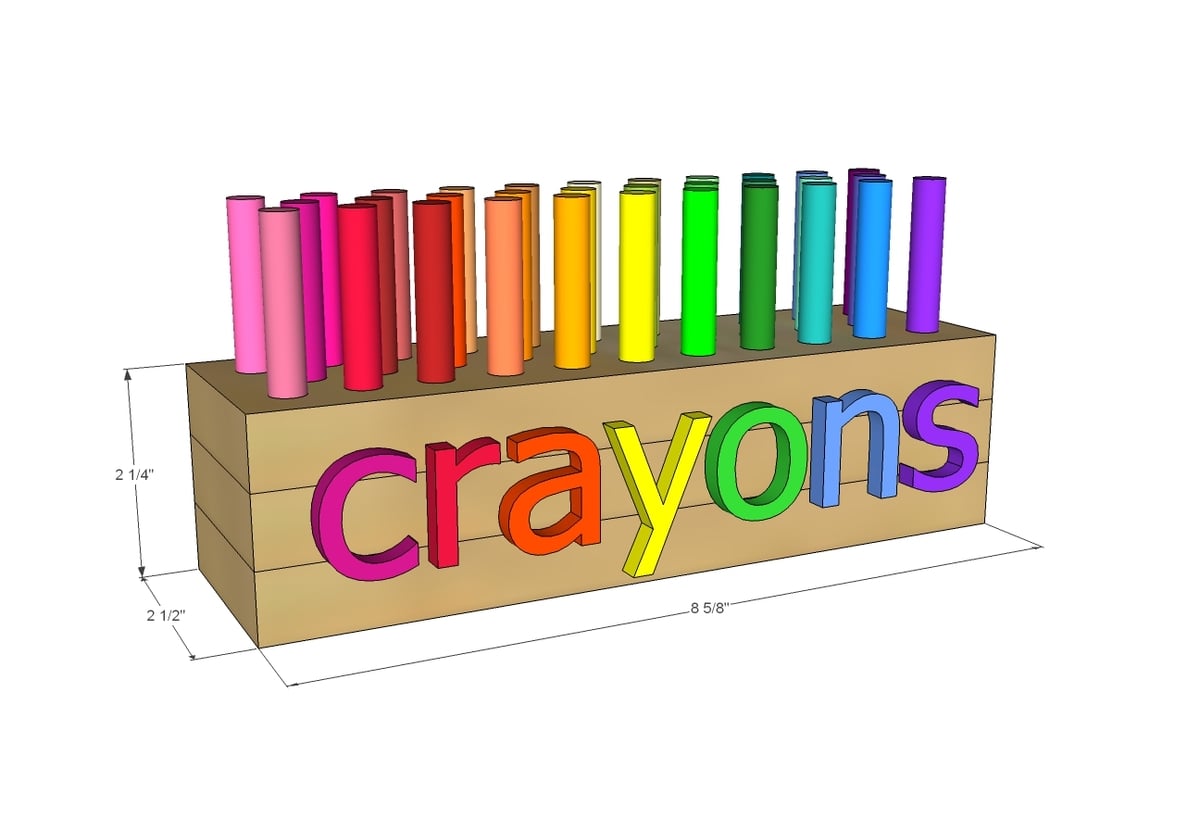
Dimensions
diy crayon holder
Dimensions shown above

Preparation

Shopping List

27" of 1x3 boards

Cut List

3 - 1x3 @ 8-5/8" long

Tools
Tape Measure
Speed Square
Pencil
Safety Glasses
Hearing Protection
Drill
Circular Saw
General Instructions

Please read through the entire plan and all comments before beginning this project. It is also advisable to review the Getting Started Section. Take all necessary precautions to build safely and smartly. Work on a clean level surface, free of imperfections or debris. Always use straight boards. Check for square after each step. Always predrill holes before attaching with screws. Use glue with finish nails for a stronger hold. Wipe excess glue off bare wood for stained projects, as dried glue will not take stain. Be safe, have fun, and ask for help if you need it. Good luck!

Instructions

Step 1

Take one of the 1x3 pieces and drill holes as shown in the above diagram, using a drill bit a little larger than the crayons. Drill all the way through.

NOTE: For markers or taller crayons/pencils - you may wish to drill through 2 layers of 1x3s instead of just one.

Step 2

Glue and clamp the first board to the second and third. Let dry. Sand outside edges smooth.

Step 3

Add crayons and lettering to front.

Step 4

For more instruction making a lap desk (perfect for travel) head on over and check out Jaime's building post.

Finishing Instructions
Preparation Instructions
Fill all holes with wood filler and let dry. Apply additional coats of wood filler as needed. When wood filler is completely dry, sand the project in the direction of the wood grain with 120 grit sandpaper. Vacuum sanded project to remove sanding residue. Remove all sanding residue on work surfaces as well. Wipe project clean with damp cloth.

It is always recommended to apply a test coat on a hidden area or scrap piece to ensure color evenness and adhesion. Use primer or wood conditioner as needed.

Comments

Seasonal And Holiday