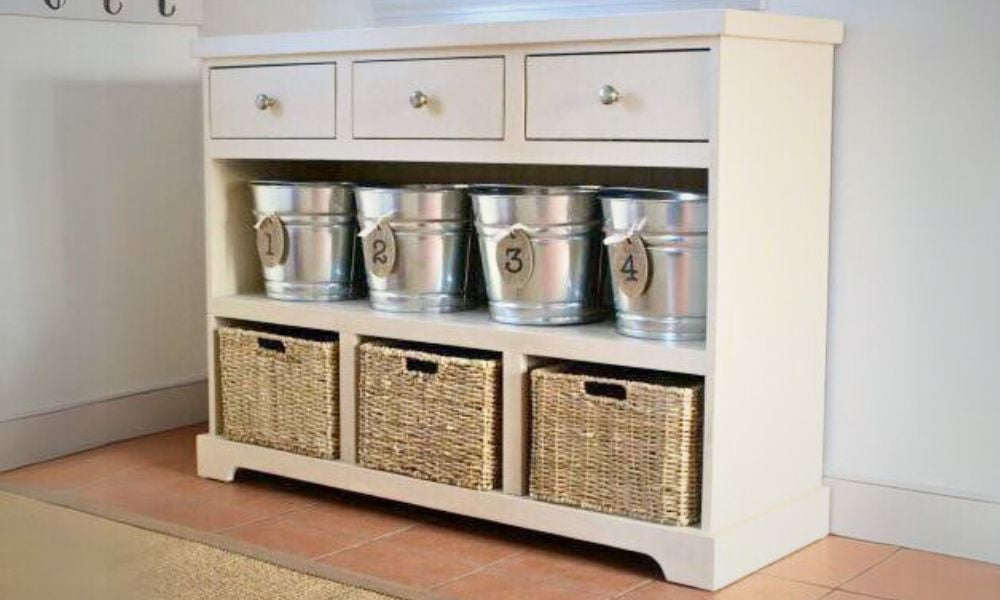
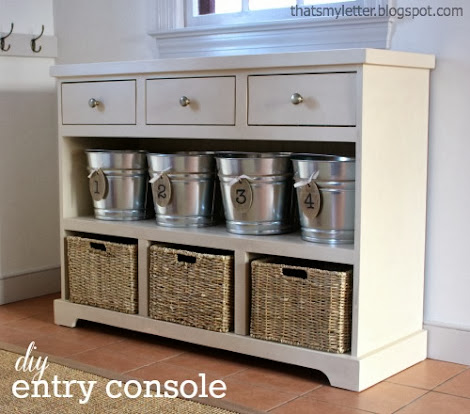
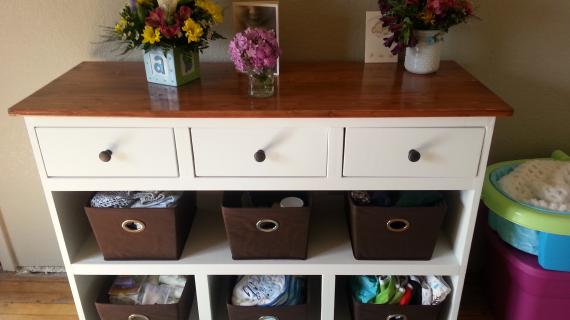
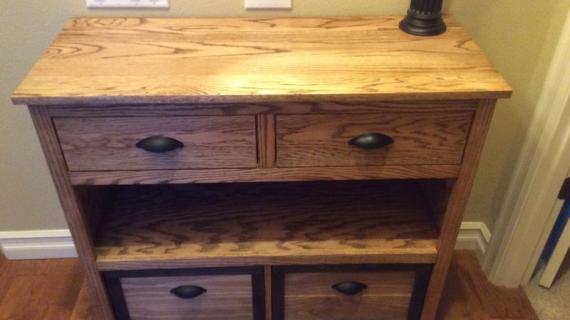
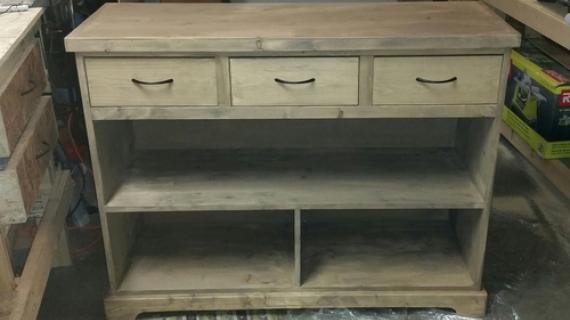
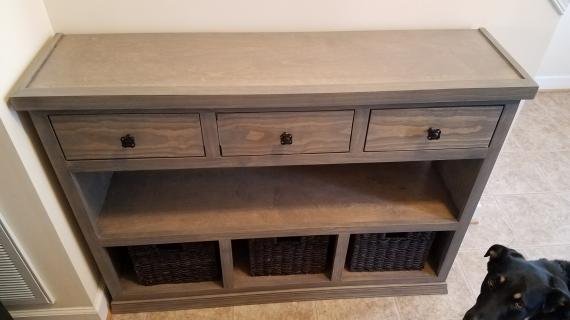
Build your own console table with great storage options! With drawers and baskets, the variety of storage options makes sorting easy. This is a free project plan with step by step directions, diagrams, and cut list from Ana-White.com
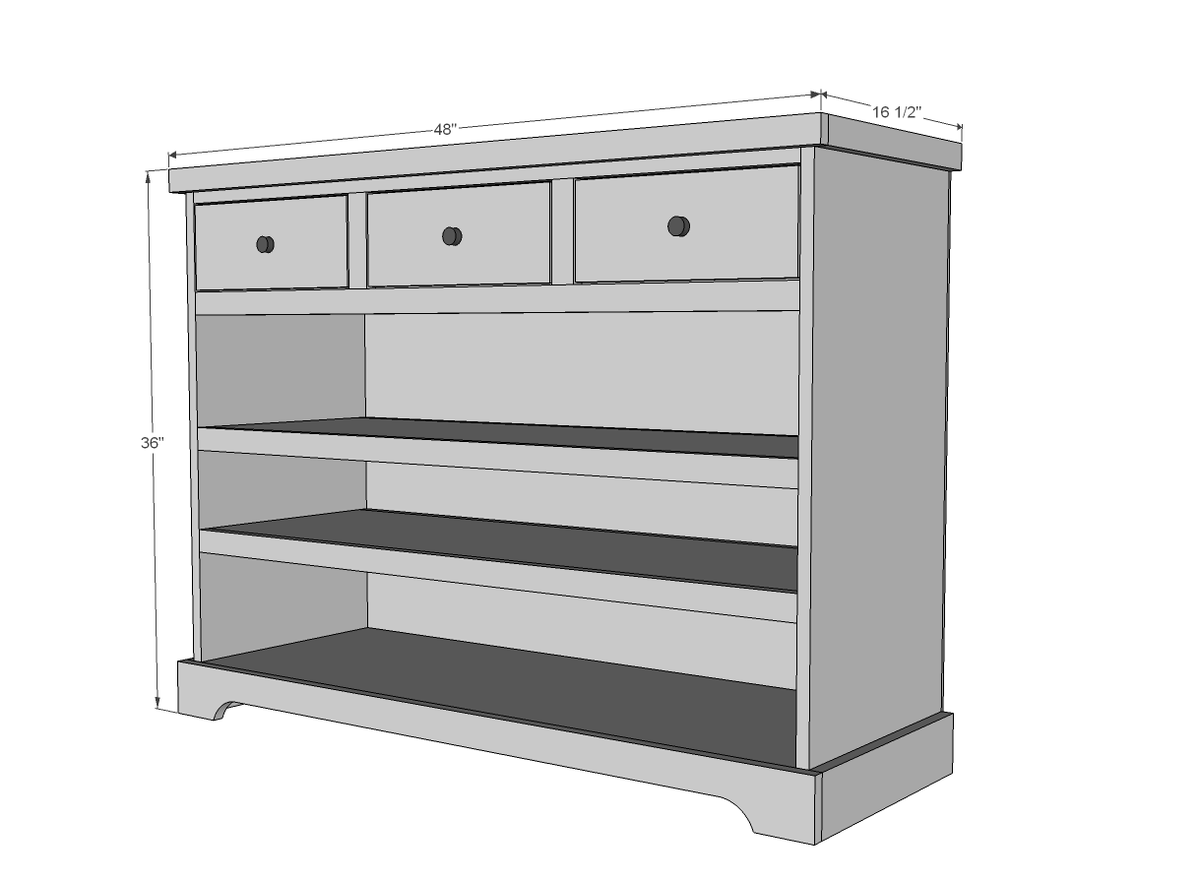
Preparation
- 1 sheet of 3/4” plywood cut into 2 strips 8 feet long x 15-3/4” wide, and remaining strip is 14-1/4” wide (for shelves)
- 1 sheet (4’x8’)
- 1/4” plywood or paneling for back
- 5 - 1x2 @ 8 feet long
- 4 - 1x4 @ 8 feet long
- 1 - 1x6 @ 4 feet long
- Edge banding on front edge of plywood
- 1-1/4” pocket hole screws
- 1-1/4” and 3/4” brad nails
- 3 - 13” Bottom center mount drawer slides (these slides are recommended)
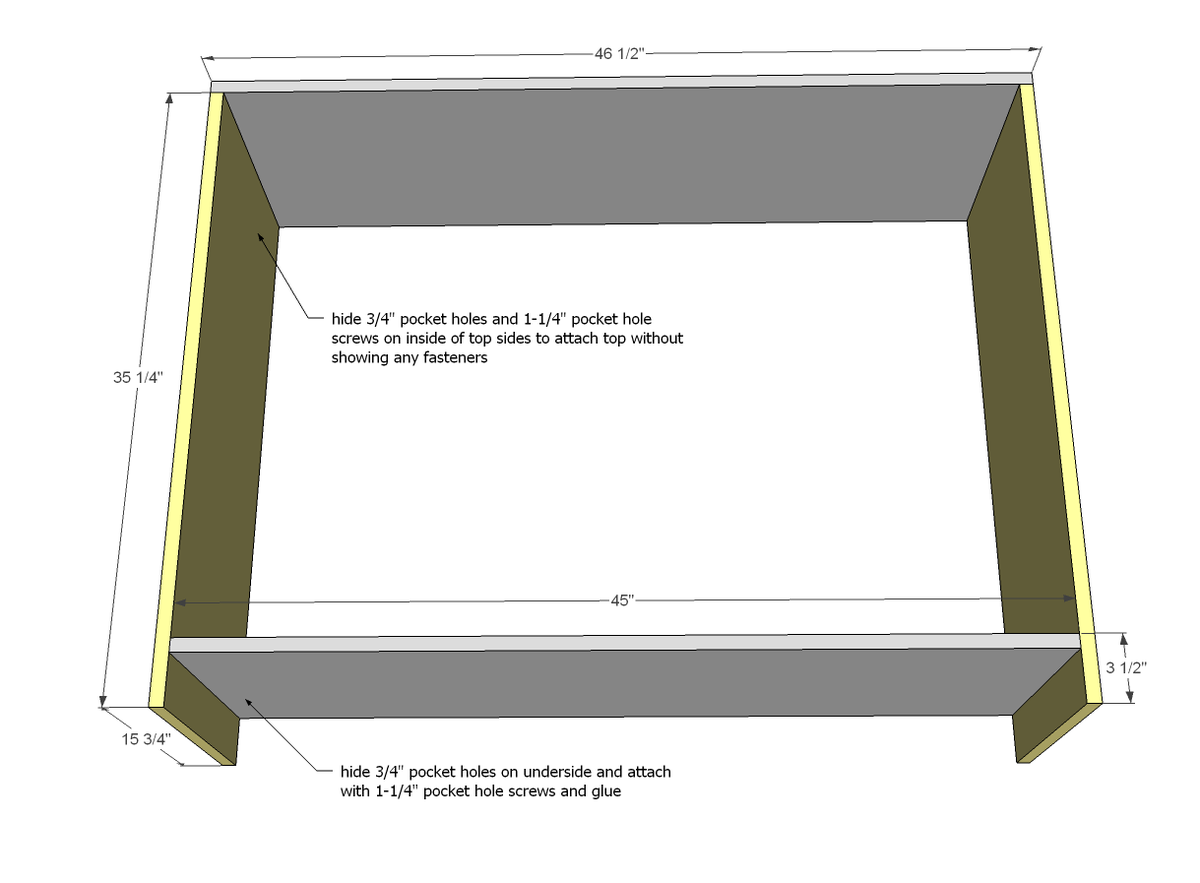
- 1 - 3/4” plywood @ 15-3/4” x 46-1/2” (top)
- 2 - 3/4” plywood @ 15-3/4” x 35-1/4” (sides)
- 1 - 3/4” plywood @ 15-3/4” x 45” (bottom)
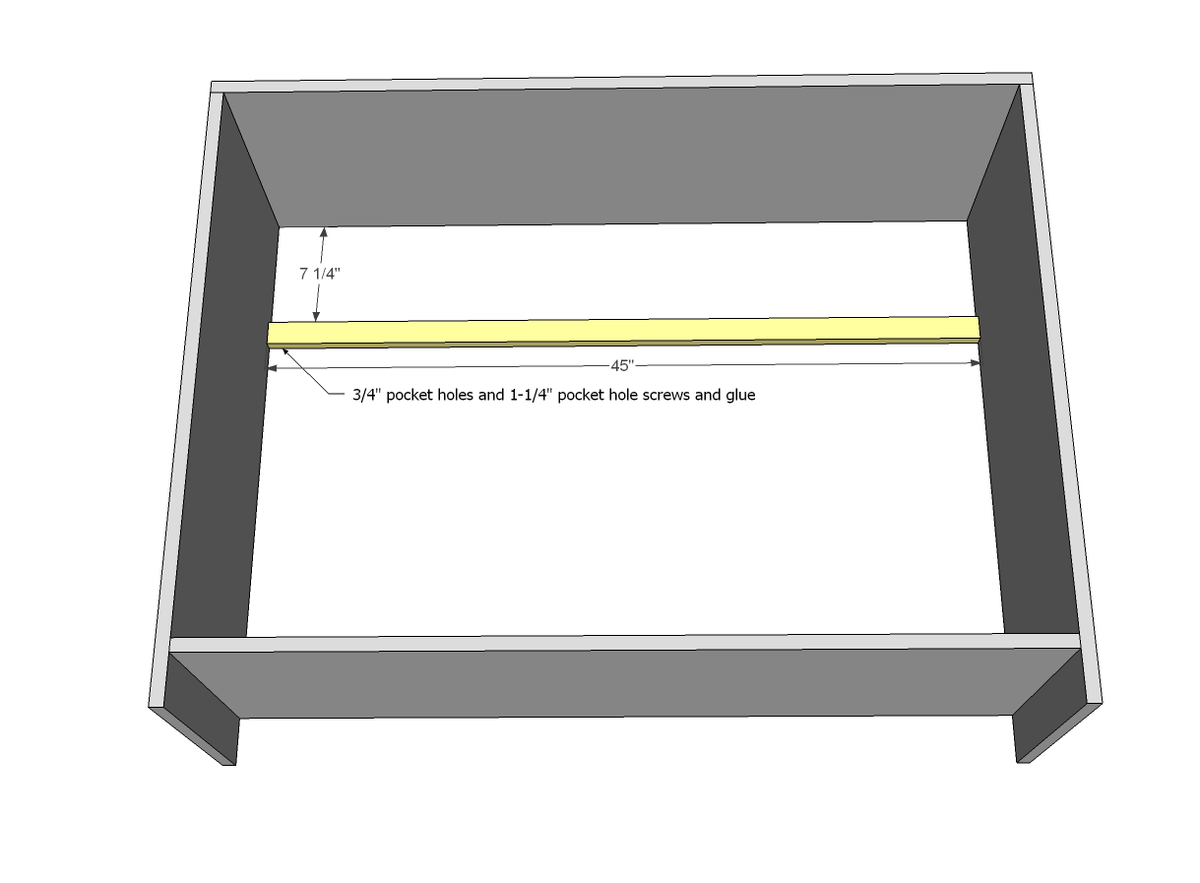
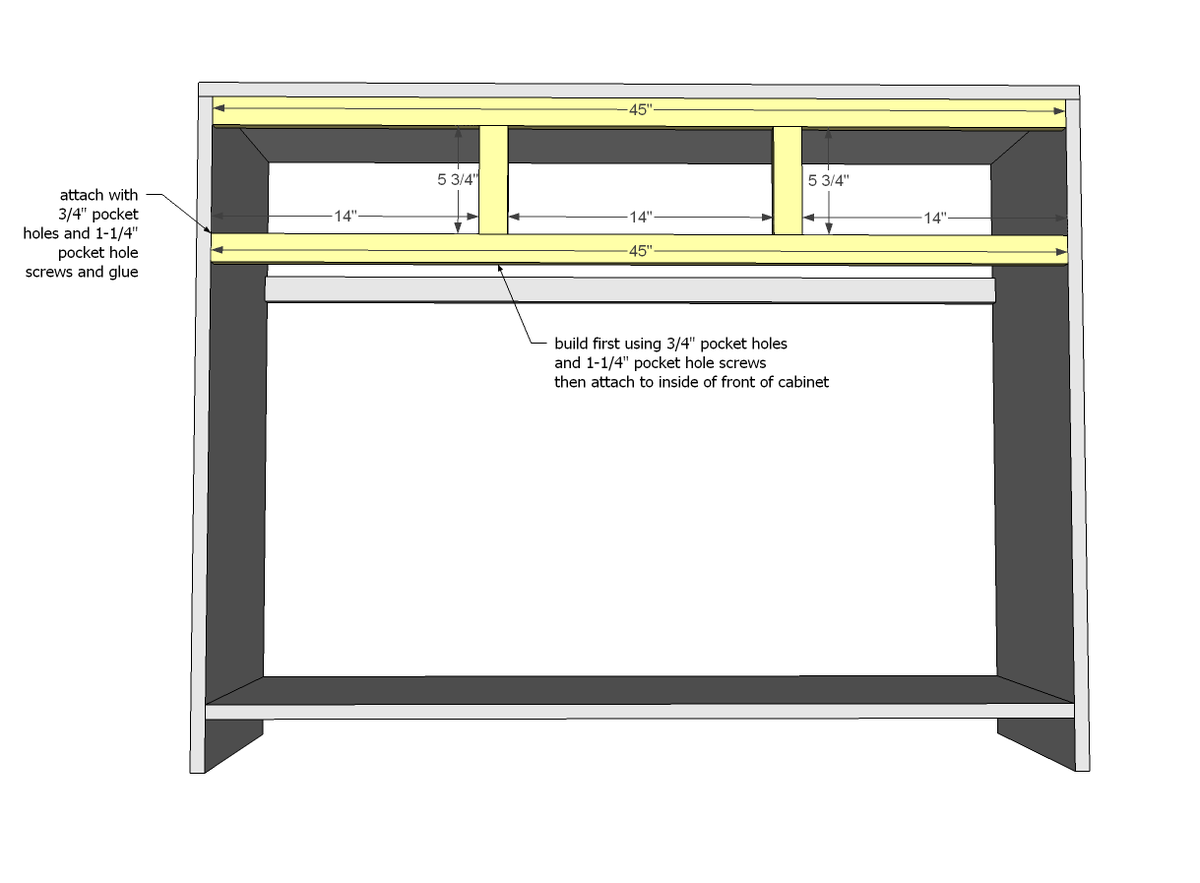
- 1 - 1x4 @ 45" (back support)
- 3 - 1x2 @ 45”
- 2 - 1x2 @ 5-3/4”
- 2 - 1x2 @ 15-3/4”
- 1 - 1x2 @ 48”
- 2 - 1x4 @ 15-3/4”
- 1 - 1x4 @ 48”
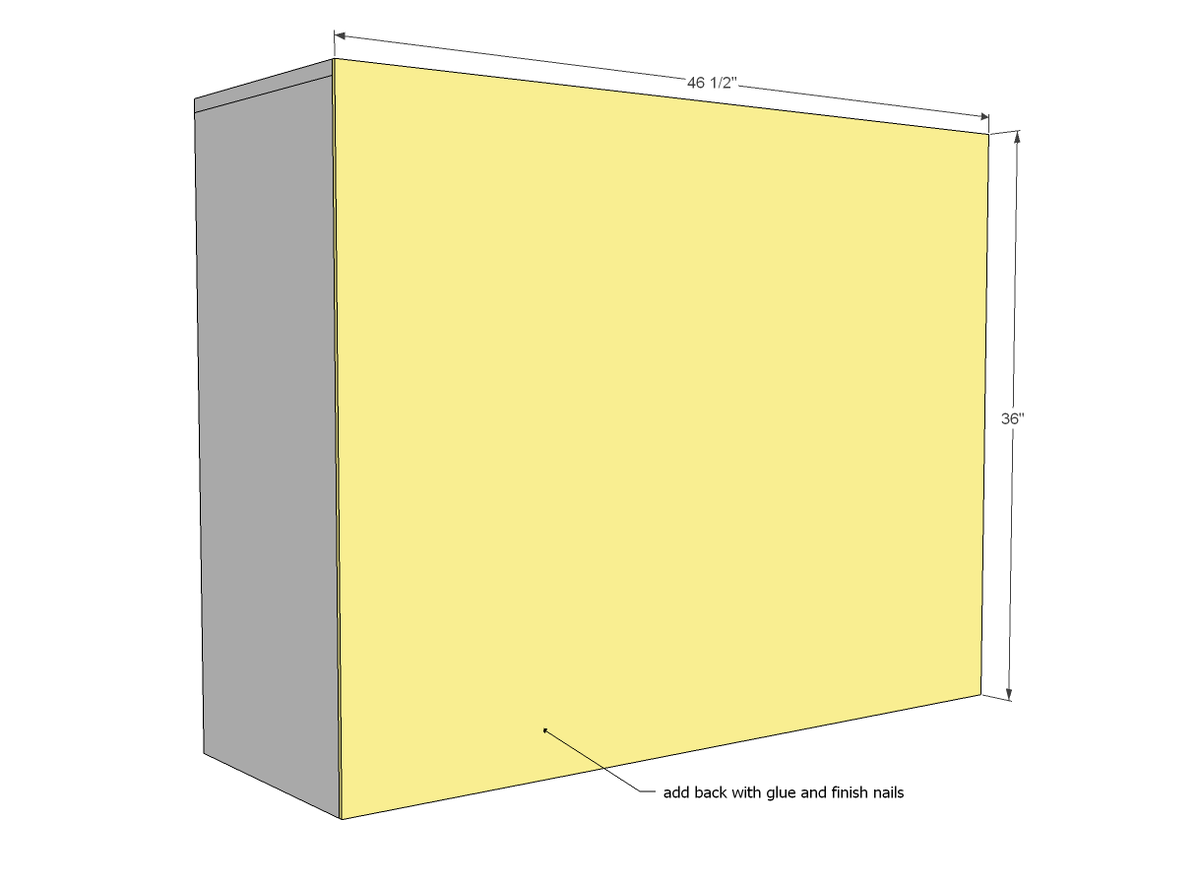
- 1 - 1/4” plywood @ 46-1/2” x 36”
DRAWER
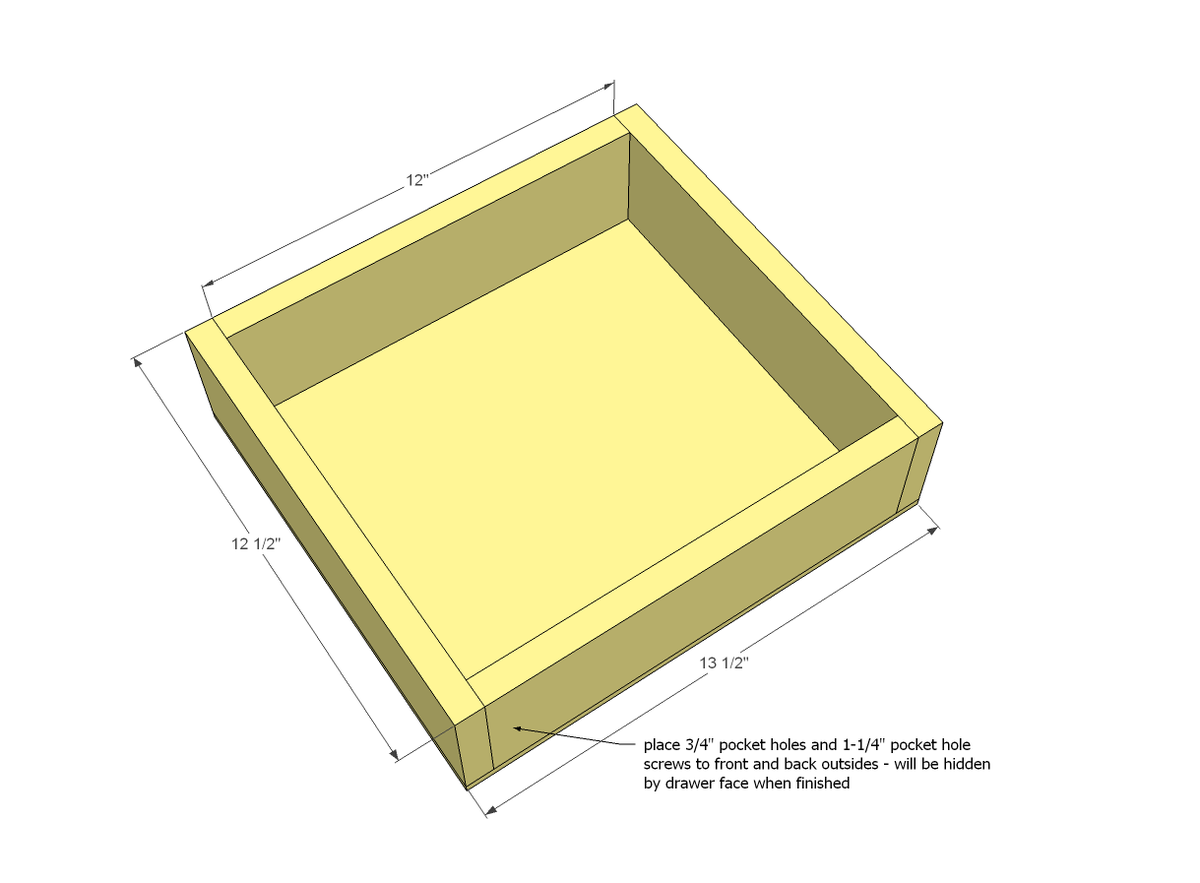
- 6 - 1x4 @ 12”
- 6 - 1x4 @ 12-1/2”
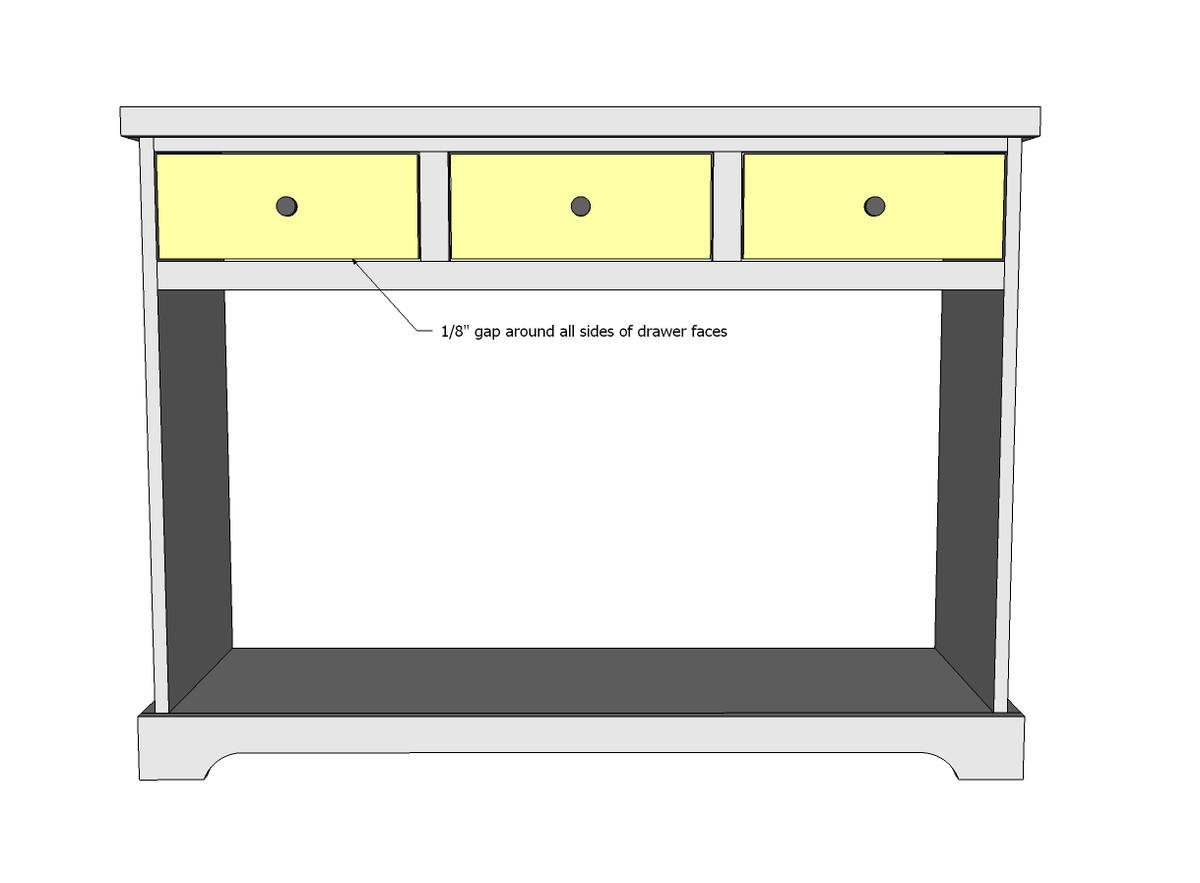
- 3 - 1x6 @ 13-3/4” - cut to fit
- 3 - 1/4" plywood @ 13 1/2" x 12 1/2"
SHELVES
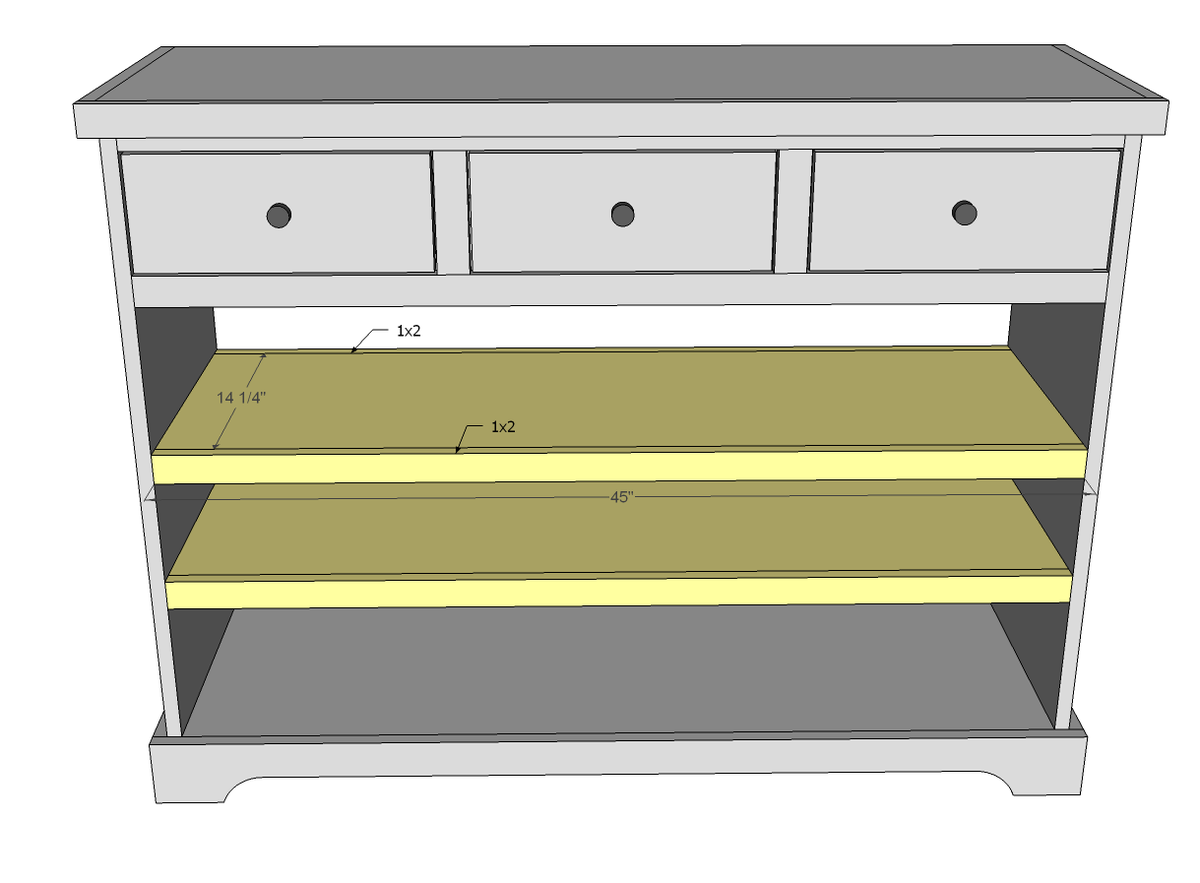
- 2 - 3/4” plywood @ 14-1/4” x 45” (cut 1/4” shorter if using shelf pins)
- 4 - 1x2 @ 45
Please read through the entire plan and all comments before beginning this project. It is also advisable to review the Getting Started Section. Take all necessary precautions to build safely and smartly. Work on a clean level surface, free of imperfections or debris. Always use straight boards. Check for square after each step. Always predrill holes before attaching with screws. Use glue with finish nails for a stronger hold. Wipe excess glue off bare wood for stained projects, as dried glue will not take stain. Be safe, have fun, and ask for help if you need it. Good luck!
Instructions
Step 1
Step 2
Step 4
Step 6
Step 7
For bottom center mount drawer slides, Jaime recommends adding the last remaining 1x2 on the inside of the front, as shown below, to give you something to attach drawer slides to.

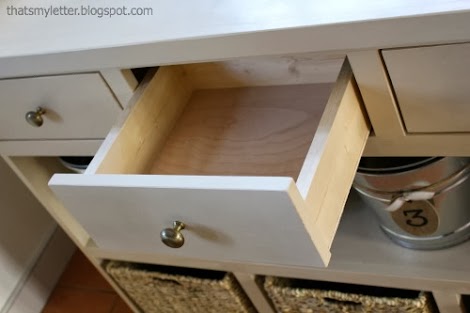
Install drawer slides and drawer, with front inset 3/4" to allow for the drawer face to be inset.
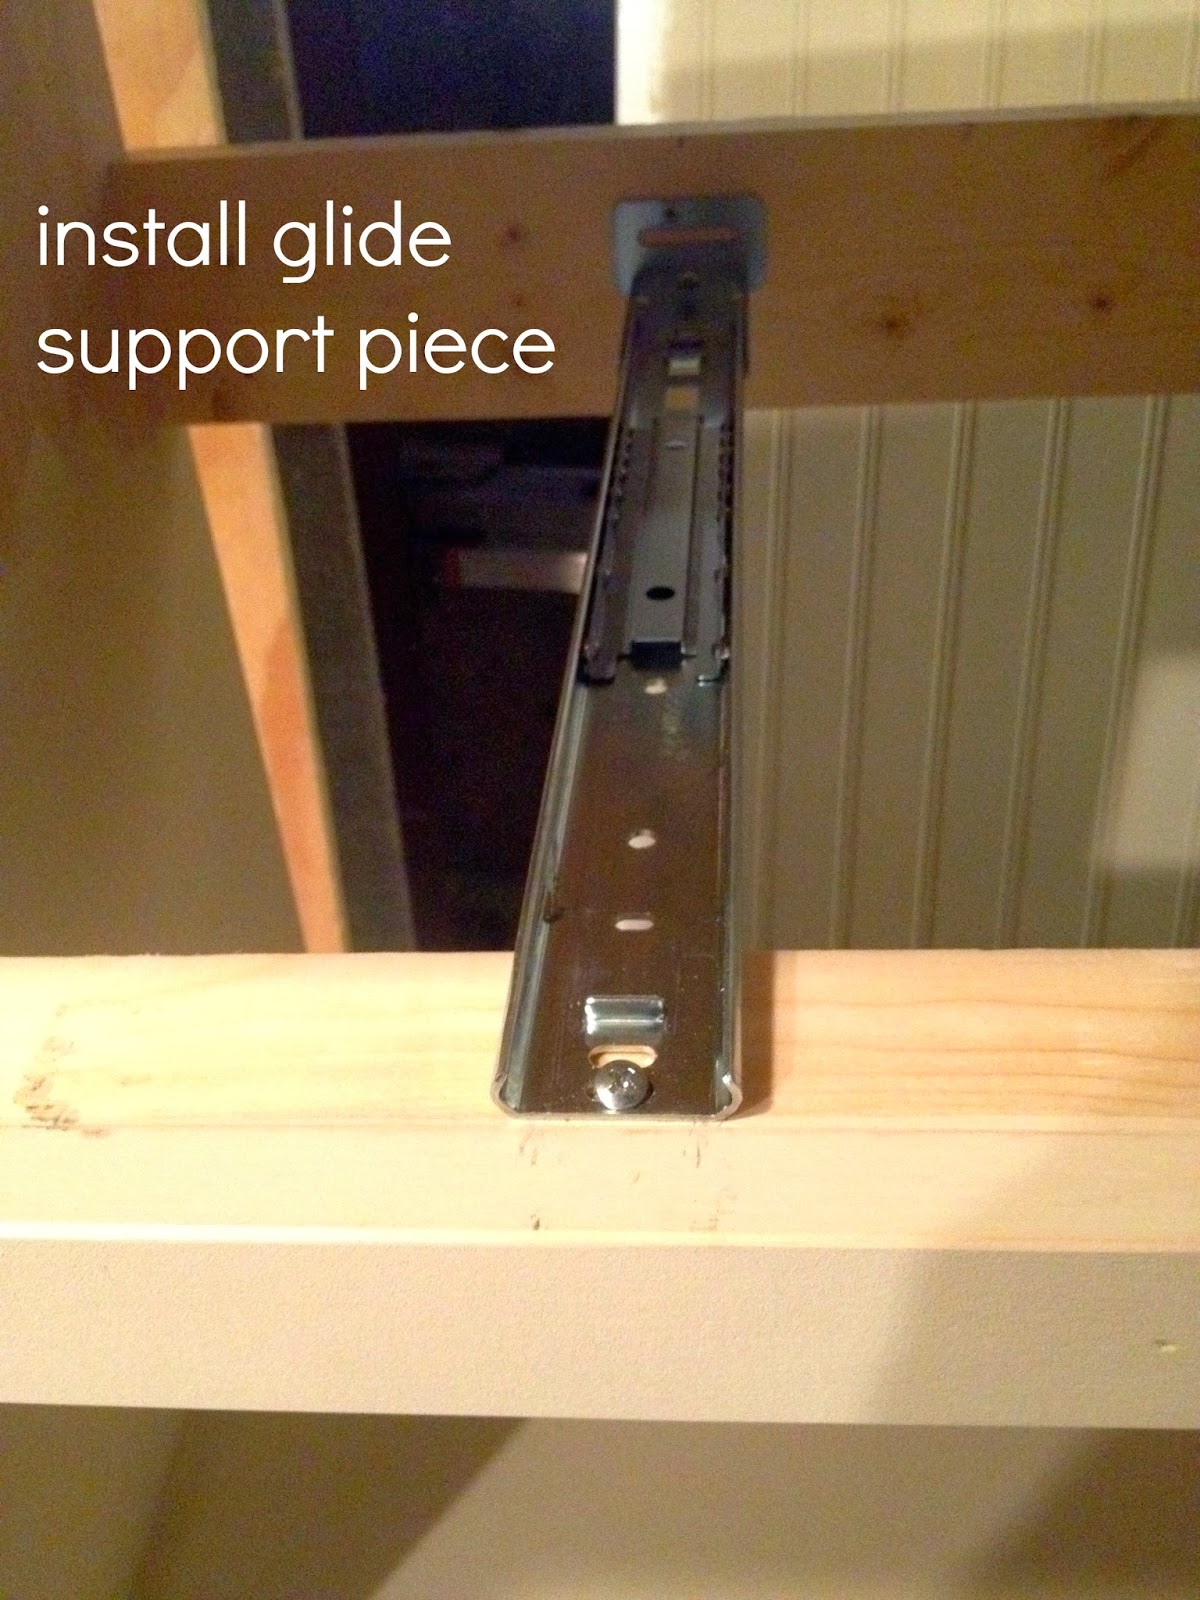
Jaime provides lots more details here on installing and adjusting bottom center mount drawer slides.
Step 10
Step 11
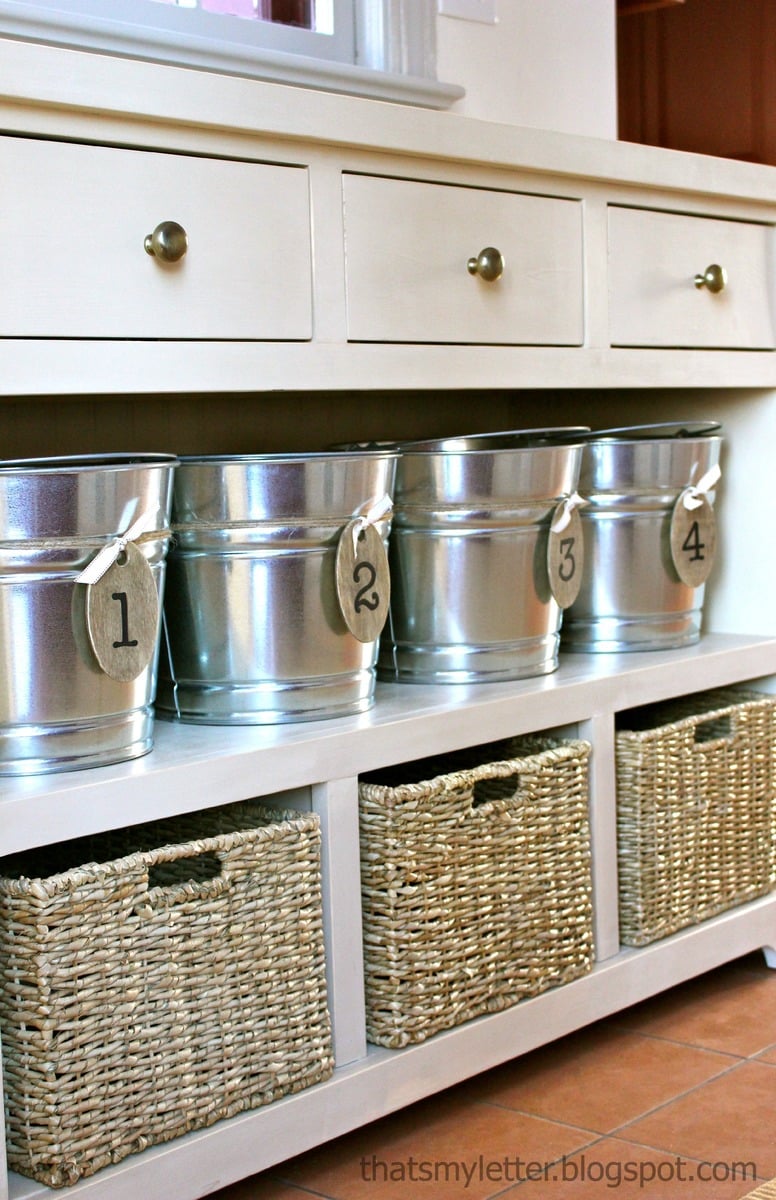
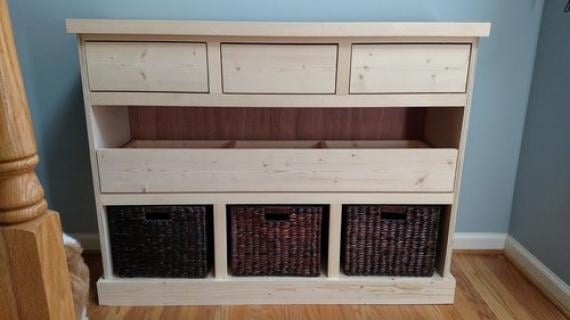
Jaime opted to frame out bottom with partitions to fit baskets - get more details here on how she did that.
It is always recommended to apply a test coat on a hidden area or scrap piece to ensure color evenness and adhesion. Use primer or wood conditioner as needed.







Comments
DecorSanity
Thu, 01/30/2014 - 12:40
Taller and Thinner....
...is a great option to have for an entry way table. It seems like all of the tables you find with storage are shorter and quite a bit deeper. The taller thinner ones just have four legs or maybe a shelf. This is a great option that combines ideal size for small spaces with storage. Love it, good job ladies!
Kero
Fri, 01/31/2014 - 09:32
Love this. I'm thinking I
Love this. I'm thinking I might move the drawers to the bottom and use it as a media console.
Sarnald
Sat, 03/01/2014 - 10:35
I love it, but want it to be a bit deeper
I am planning on building this to place my bearded dragon terrarium on top of. Rather than the 48" x 16 1/2" plan that is shown I need 48" x 24". I was wondering if anyone could help me with the cuts. I am new to building furniture but have general woodworking knowledge and ability. Any help would be greatly appreciated.
joeyhill07
Mon, 09/23/2019 - 20:20
Question
We can't find a 13" bottom center mount slide anywhere. Will a 14" suffice?