
This is almost as bad as the time that I admitted that I secretly like minivans ... (shh, don't tell, but seriously, automatic sliding doors, easy to put car seats in, plenty of room for friends ... you had me at hello low lift gate!).
I'm admitting, straight up, that I like laminate countertops. As an owner of a granite countertop, and a busy mom, here's why:
- Laminate is softer and more forgiving. The granite (and I imagine marble or tile or other hard surfaces) is so unforgiving. And when you are a busy mom like me, doing dishes while cooking dinner and helping your older kid out with homework all at the same time, the countertop always wins. That's why we've got three drinking glasses and no stoneware left.
- Laminate is easier to maintain and clean. No need to seal or use special cleaner on laminate - just a sponge, household cleaner and a quick wipe down! No polishing, no scrubbing grout lines, no regular sealing required!
- Laminate is durable. One of my friends keeps thinking she wants to redo her countertops, but resists because there's really nothing wrong with her laminate countertops except she doesn't like it, but can't justify destroying something that is still in great condition after 20 years. And it's true - laminate will last and last, through raising kids, hot pots and pans, and sadly enough, through design trends.
- Laminate has grown up. The new patterns and colors that you can get laminate in can be very timeless and now. Even though a laminate countertop could last from the 80s (or should I say 90s now? Are the 80s back in yet?), you can pick patterns that are very much 2014.
- Laminate is much more DIY friendly. We can DIY a full countertop in a kitchen with just a few hand power tools and materials you can buy at your local home improvement center.
- Laminate is much less expensive. Compared to marble or granite, laminate can by 1/10 the cost!
Grandma who likes to sew LOVES her laminate countertops that we DIYed for her last fall. So when it came time to pick the countertops for Unit A of the Momplex, we once again turned laminate.
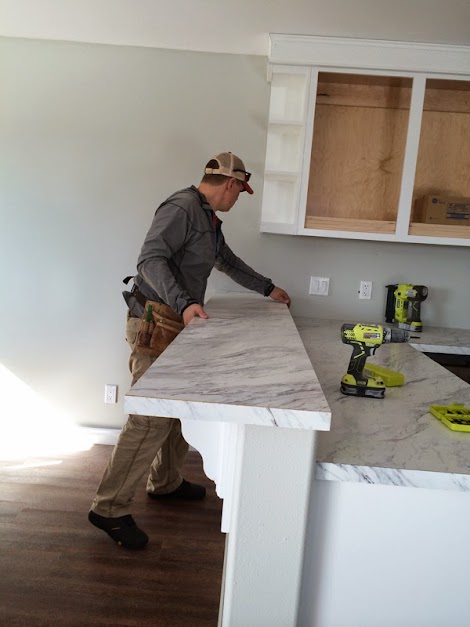
This time, we choose a large, marble pattern, and we LOVE how it turned out!!!
We were able to order the laminate (it arrived in 3 DAYS!!!) so that there's not a seam on any of the countertops.
Not. One. Seam.
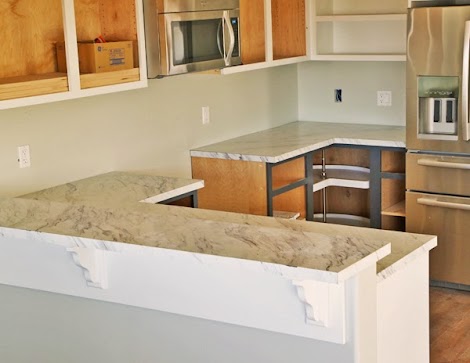
This entire countertop cost about $400 for us to DIY, and took us about 1 day to make. You can see our DIY Laminate countertop tutorial here.

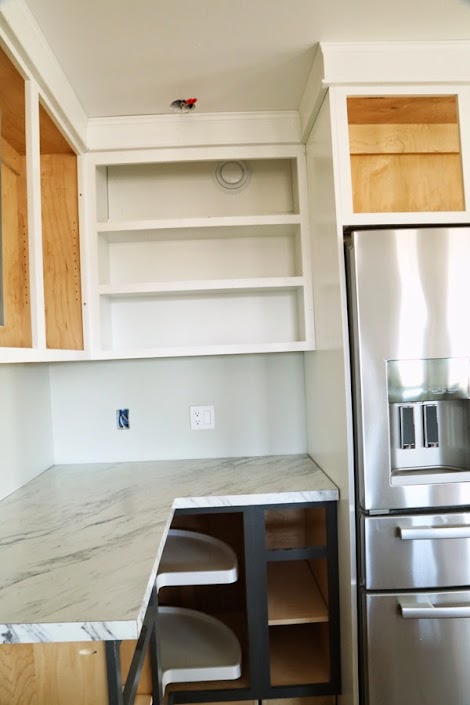
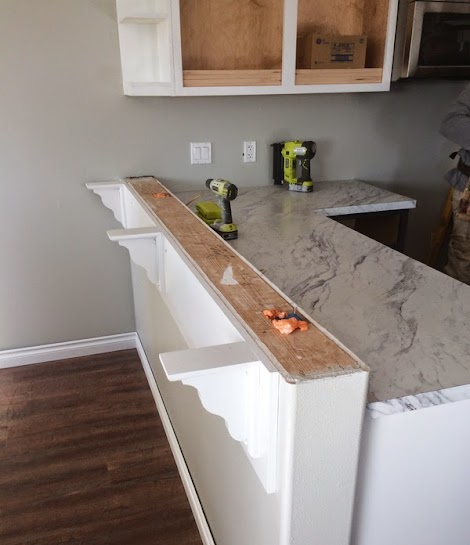
We kept things pretty similar to the kitchen on Unit B, but did decide to add a bar behind the sink. We love how it turned out!
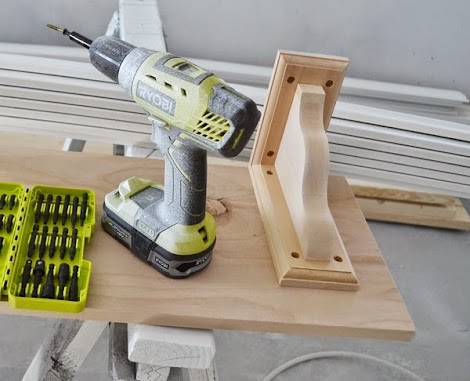
To support the bar top (and add a little bit of a decorative element) we purchased three corbels for $14 bucks a piece from The Home Depot.
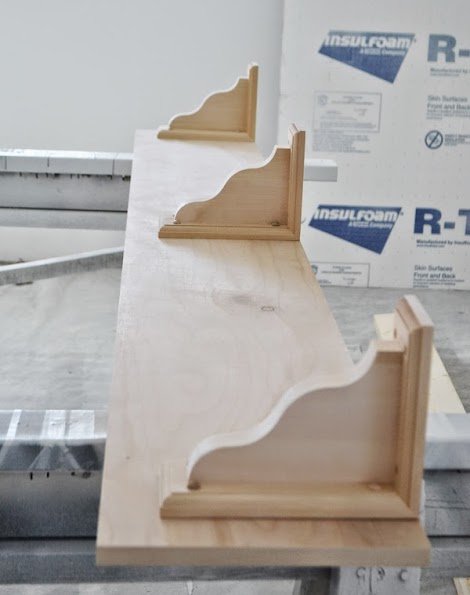
I attached them to a piece of hardwood plywood (it's PureBond Birch, also available at The Home Depot for about $50 for a full sheet). We opted to add the back plywood piece because it will help us tie our corbels into studs in the bar, and also gives the bar a more finished look.
We primed and painted the entire piece on sawhorses.
While the paint was drying, we had something else to take care of -

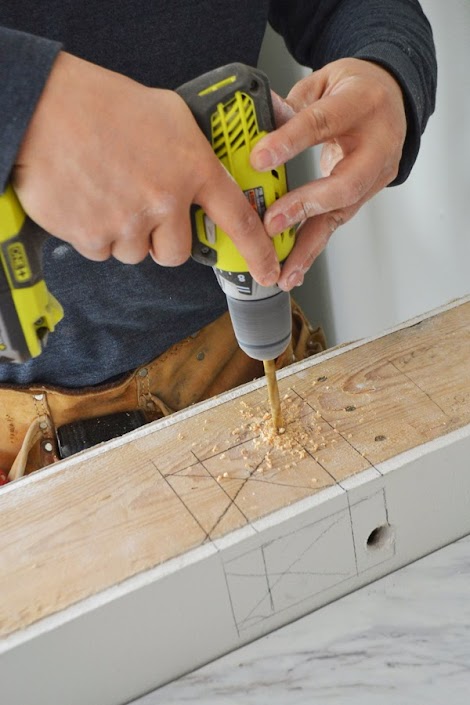
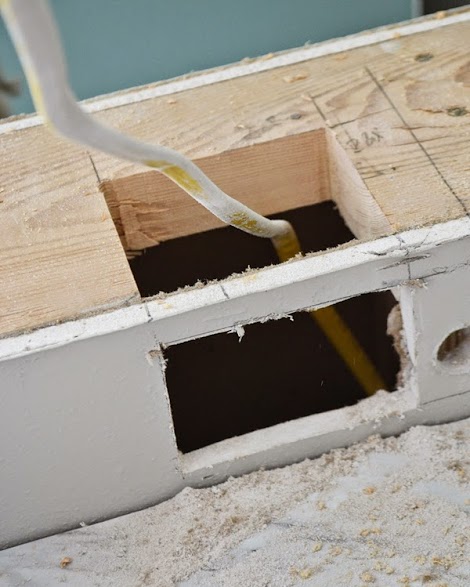
We had stubbed electrical wires out for in between the regular countertop and the bar height countertop for outlets. But when we added an inch to the floors by installing an in-floor heat system, this brought the lower base cabinets up 1". Now suddenly there's not room for an electrical box in that wall. So what to do?
Make room of course!

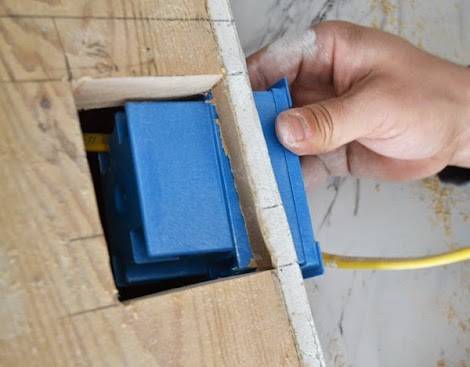
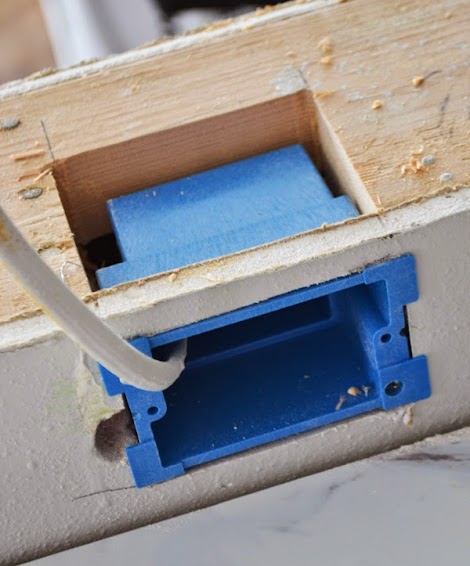
So now there's power outlets on either side of the sink (as opposed to an extension cord draped over the sink).
Once that little issue was taken care of, we can move on to actually installing the countertops.

Having the plywood behind the corbels lets us screw the plywood into the studs in the bar wall (and place the corbels anywhere the heck we want).
We attached the plywood to studs in the walls using 3" wood screws.
The corbels will support the countertop overhang, but I also love how the look.
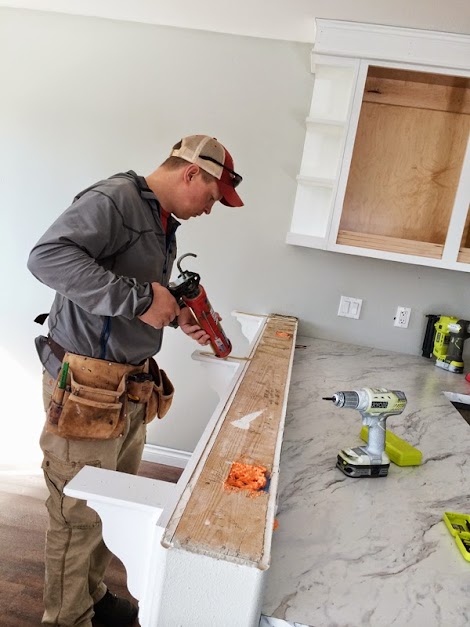
To attach the countertops, we applied glue to the tops of the corbels and bar wall.

Nothing like a guy who can haul a marble countertop around by himself!
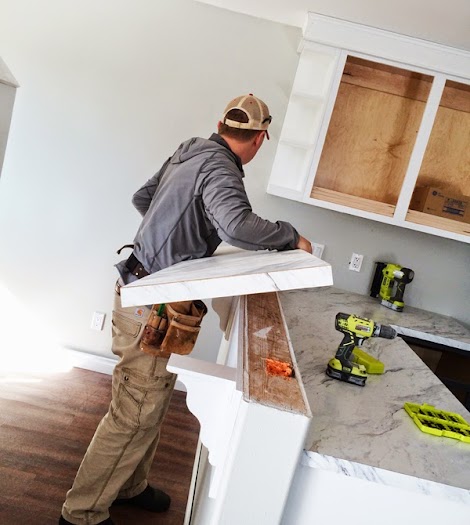
On Momplex Unit B, we actually had a channel made into the bottom of the countertop to slide it over the bar wall. But this time, we'll be able to screw through the corbel tops, so no need. We just put the countertop down,
Make sure it's in the right position,
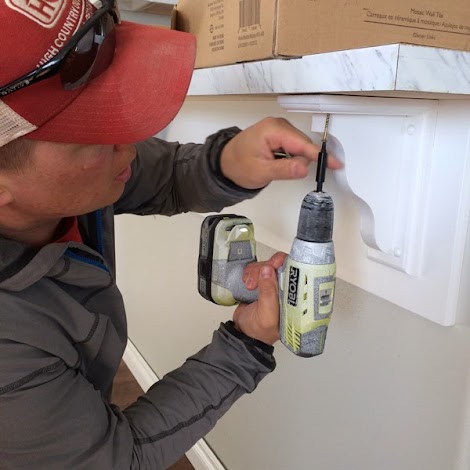
And screw through the corbels into the underside of the countertop.
And then it's time to find something heavy to hold the countertop down while the glue dries.
Hmmmmm ... what could we have on hand that is very heavy?
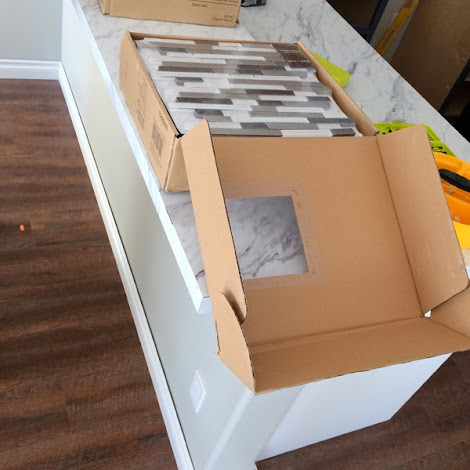
Backsplash tile of course!
For the rest of the countertops, we attached them as we did in Momplex Unit B - by screwing through the tops of the cabinets into the undersides of the countertop.
So what do you think? How does $400 on a durable and low maintenance countertop that looks like this sound?
Happy DIY-ing!
XO
Ana + Family
PS - Still skeptical? Check out my friend Kate from Centsational Girl's post on why she loves laminate here.
Comments
Guerrina
Wed, 04/16/2014 - 13:13
Laminate Lasts!
WendyW
Wed, 04/16/2014 - 15:58
Love my laminate!
spiceylg
Thu, 04/17/2014 - 08:21
Counter tops
Tekkboi
Mon, 02/23/2015 - 16:05
I think I found my new desktop!
I was just going to go with plain painted plywood for the table tops in my hobby/sewing room but Now I think I will follow your lead and do it up right, in marble laminate. Very classy!
Heatherdee
Mon, 03/09/2015 - 19:49
What about Linoleum?
We have a secret that we chose linoleum for our master bath over the ceramic tile we had in our last house. Every time I drop my iPhone I'm thankful that the soft linoleum saved it. When my babies were learning to sit and walk and spent a lot of time in the master bath while mommy showered I felt so comfortable that they wouldn't get hurt. Is tile prettier? Probably but linoleum is the right choice for this family. Perhaps vinyl tile in the future!
mikepattenson
Fri, 04/10/2015 - 10:50
I like what you did on this
I like what you did on this project. Simple but ended up nice... Keep up the good work!