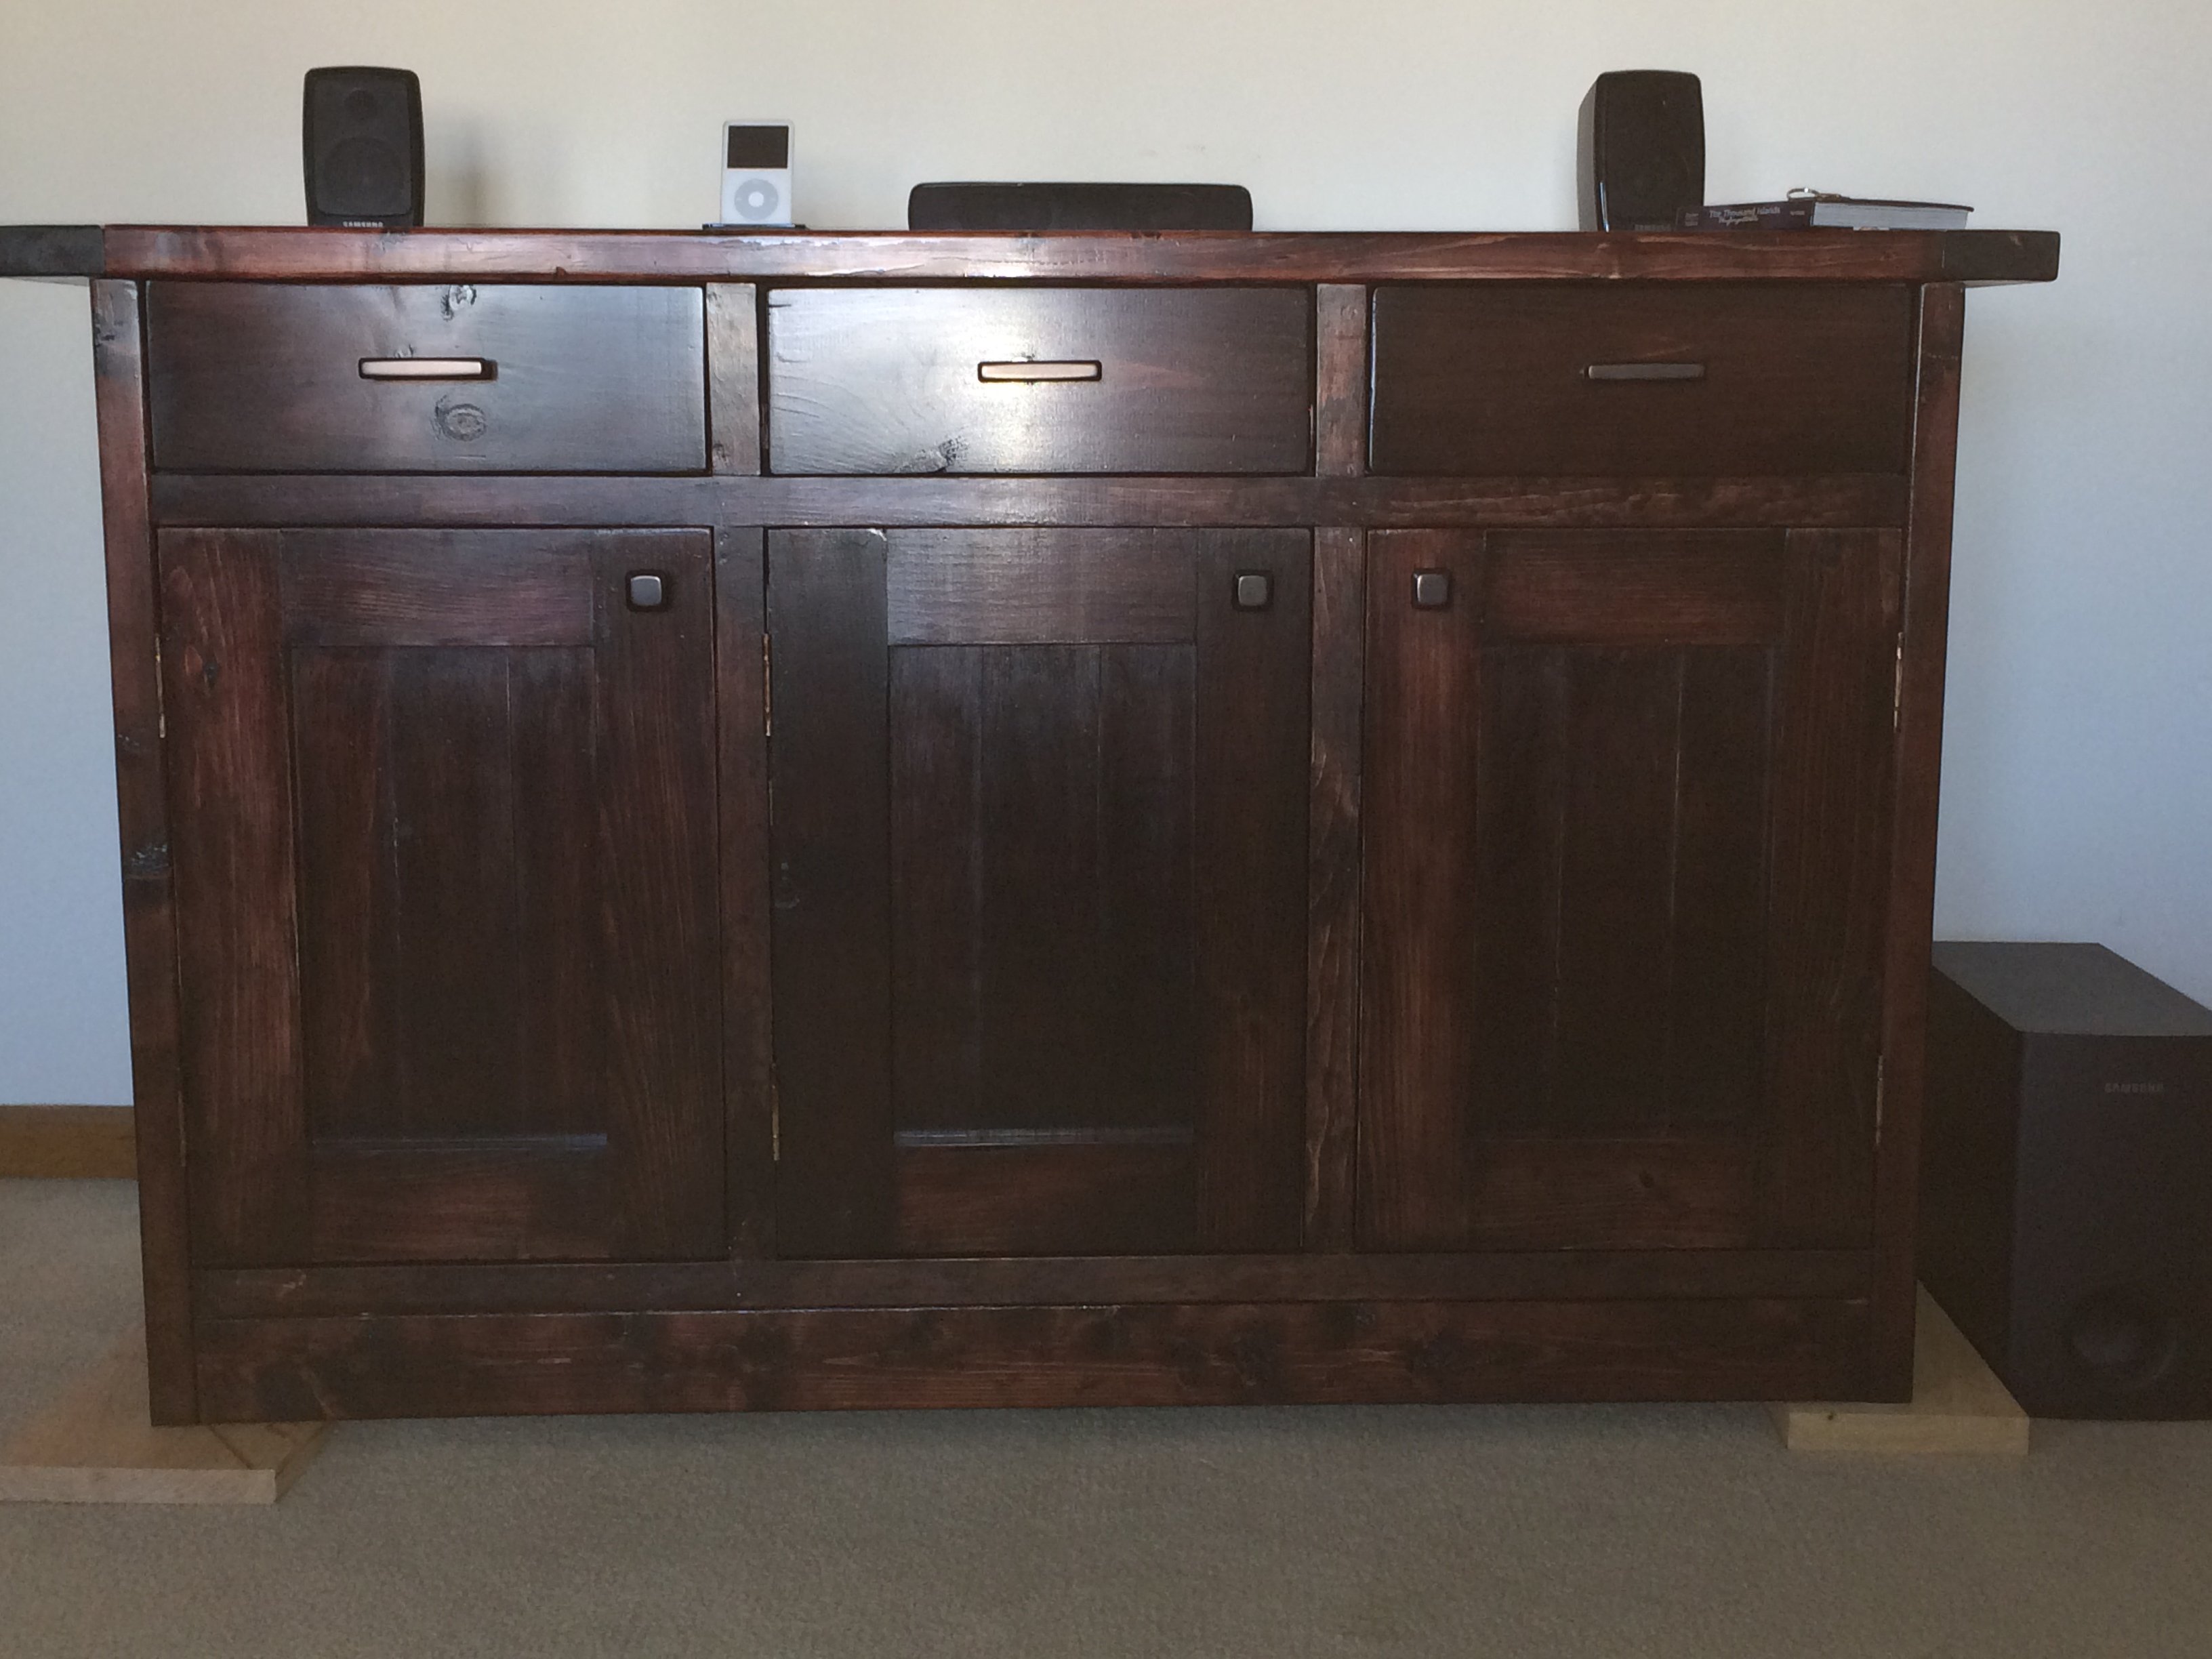
First of all , a big Thank you to Ana for her website and plans. This has become our favorite site since we discovered it a few weeks ago.It took us about a week to build this sideboard.
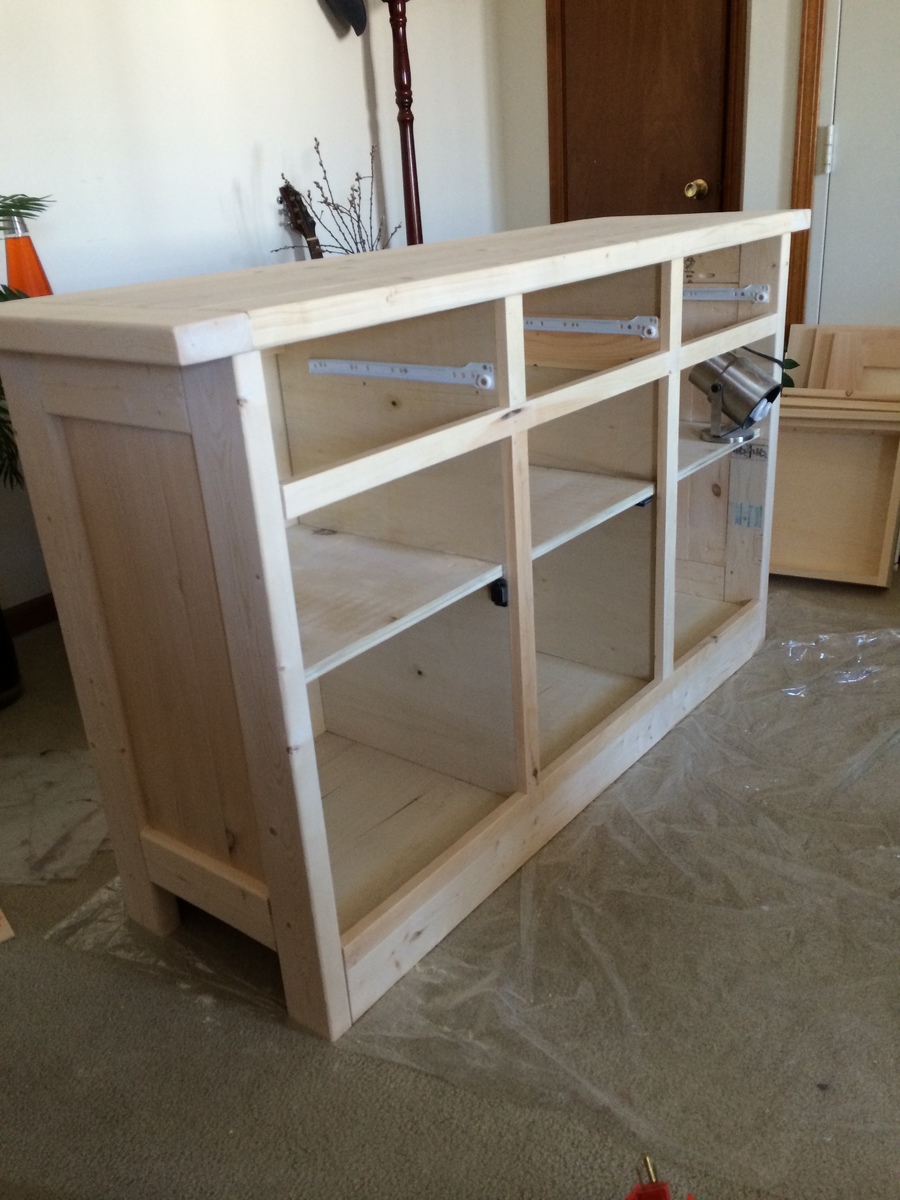
We had to modify the plans a little bit. We reduced the length from 84 inches to 60. It made us change all the sections, drawers etc. The width and height of the sideboard were kept the same as the plan.
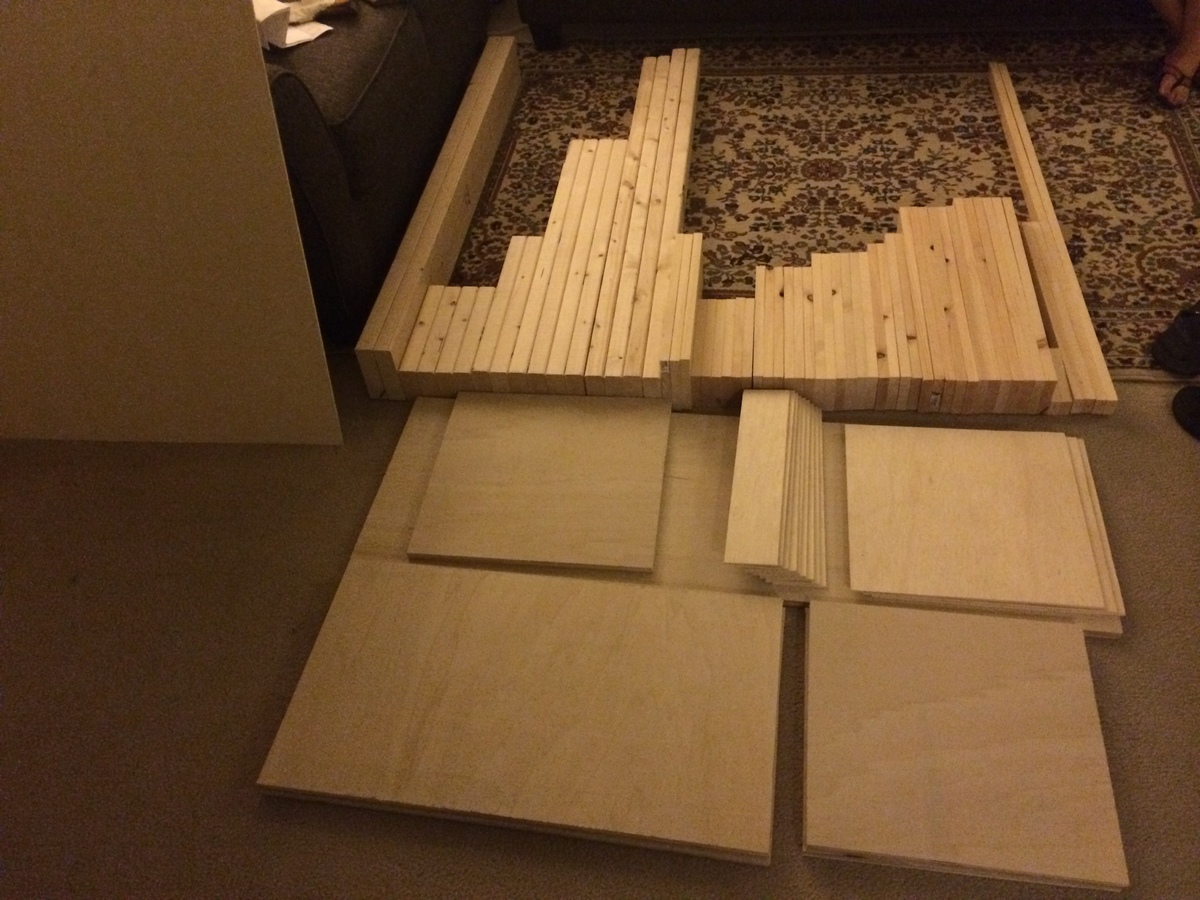
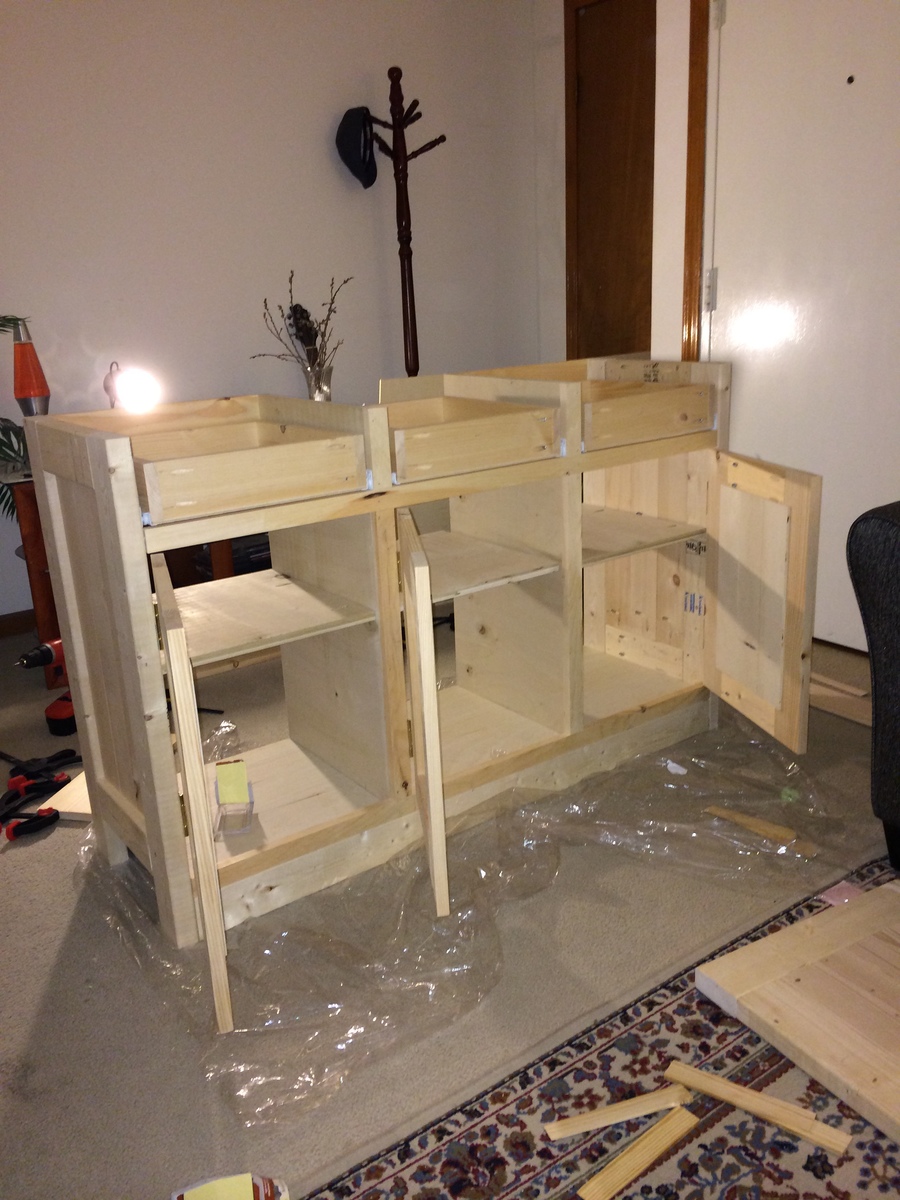
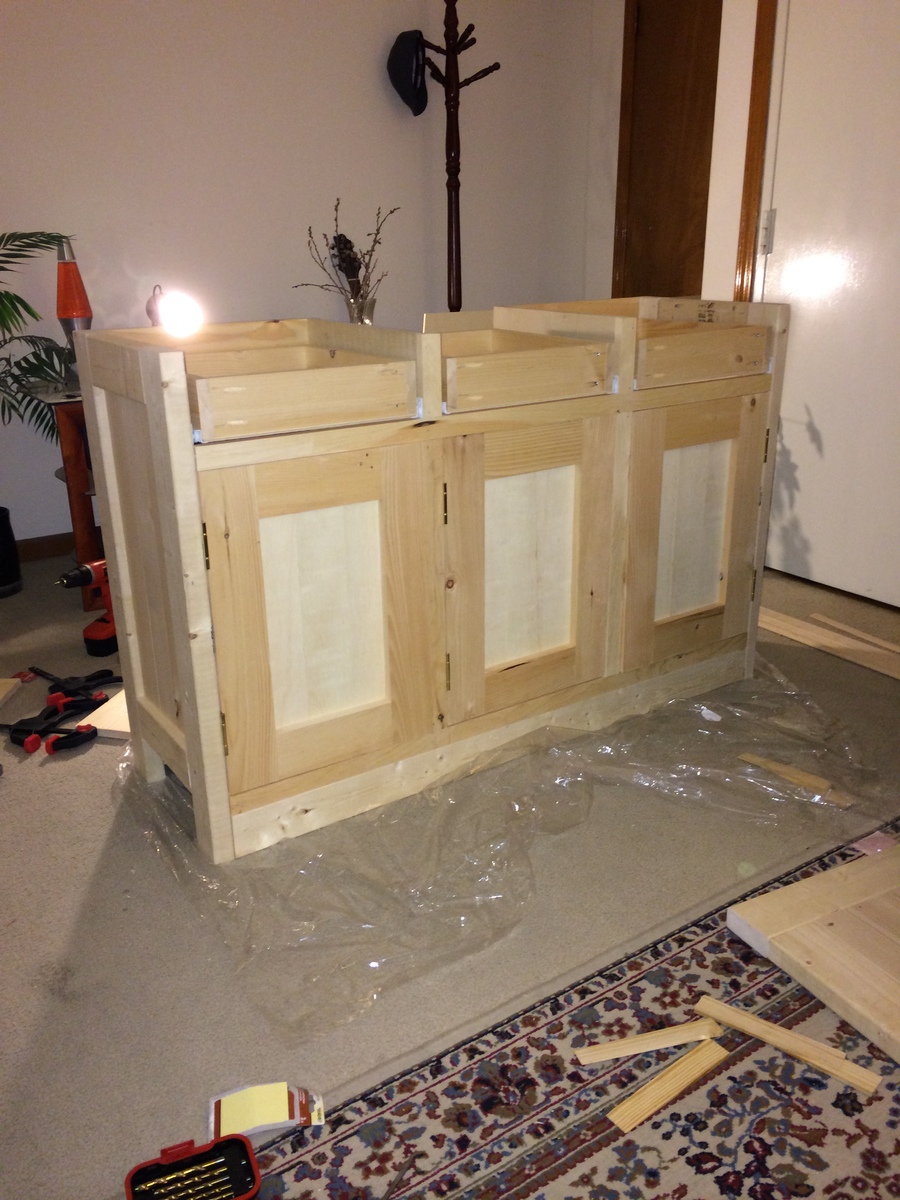
One good thing we did was to cut the pieces on a miter saw. I guess this is the most important part of the project(after cutting them to correct dimensions). If your pieces are cut square and accurate, half of the battle is won. During assembly, we focused on keeping the joints square (Thanks to many brag posts mentioning its importance.). After that it kept building on little by little. Every evening we would advance a little.
The drawers and the doors were made as per the dimension and fit OK. We got stuck on the hinge installation. We did not know how and did not want to cut mortises etc. After about an hour of browsing the web and videos we discovered non-mortise hinges and that hurdles was crossed also.
We used pine for 1x2, 1x4, 2x4,and 2x6s. for bases and shelves , we used 3/4" plywood as given in the plan. for door paneling and the back of the sideboard we used 1/4 plywood.
We used minwax prestain and minwax oil based Red Mahogany stain. We had to apply three coats of the stain to bring somewhat uniformity across the whole sideboard. For topcoat, we used oil based polyurethane.
Final thoughts: Do your homework well. Go though your plans to build a correct mental image. You will build a beautiful piece of furniture which will be better than your imagination and hold a different meaning. Cant wait to build another beautiful piece.
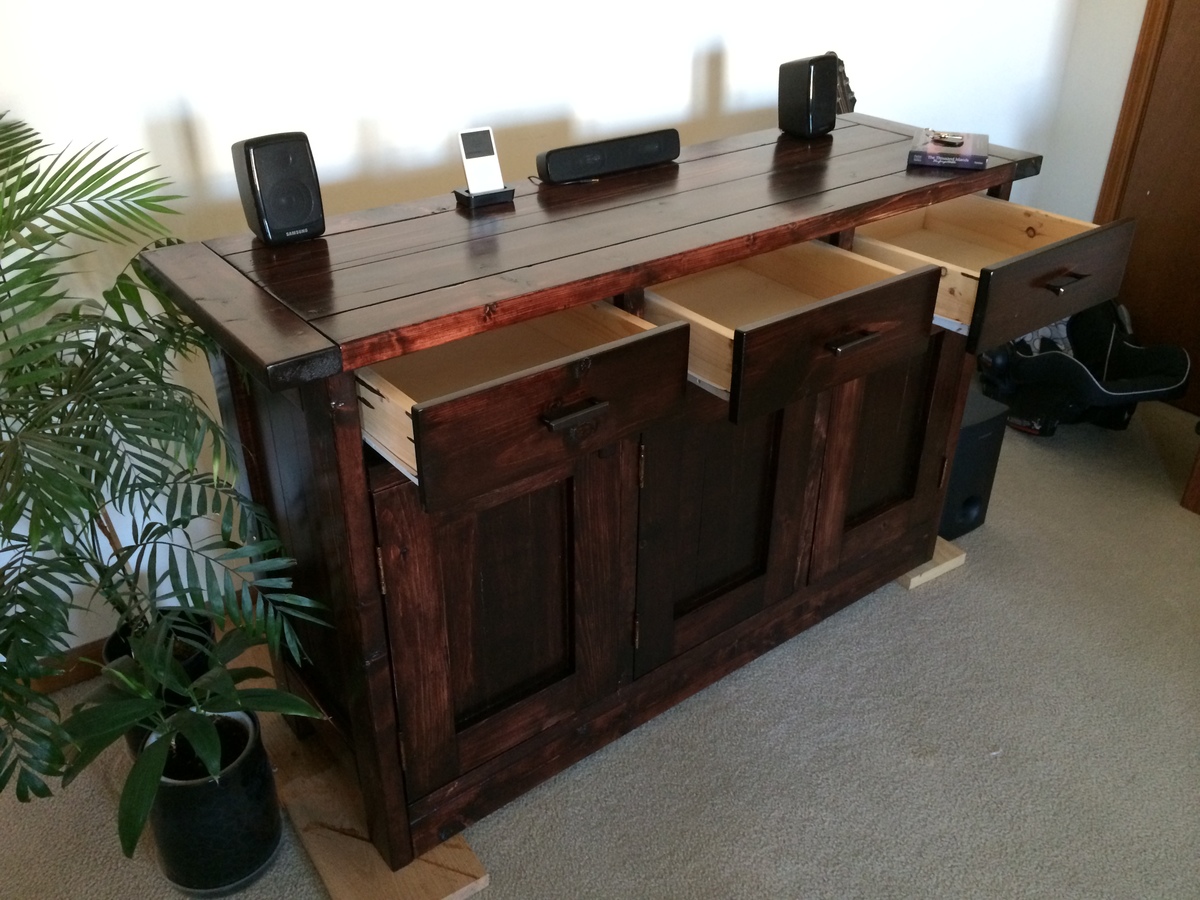
We used one coat of the pre-stain. While staining we noticed that the stain was absorbed in varying strengths at different sections because of variation in wood quality. We did three coats of the stain to make it somewhat uniform.
After staining we did two coats of oil based Polyurethane.
Comments
eperry01
Tue, 01/16/2018 - 16:03
Measurements
Would you mind sharing your cut plans?? My math is horrible!