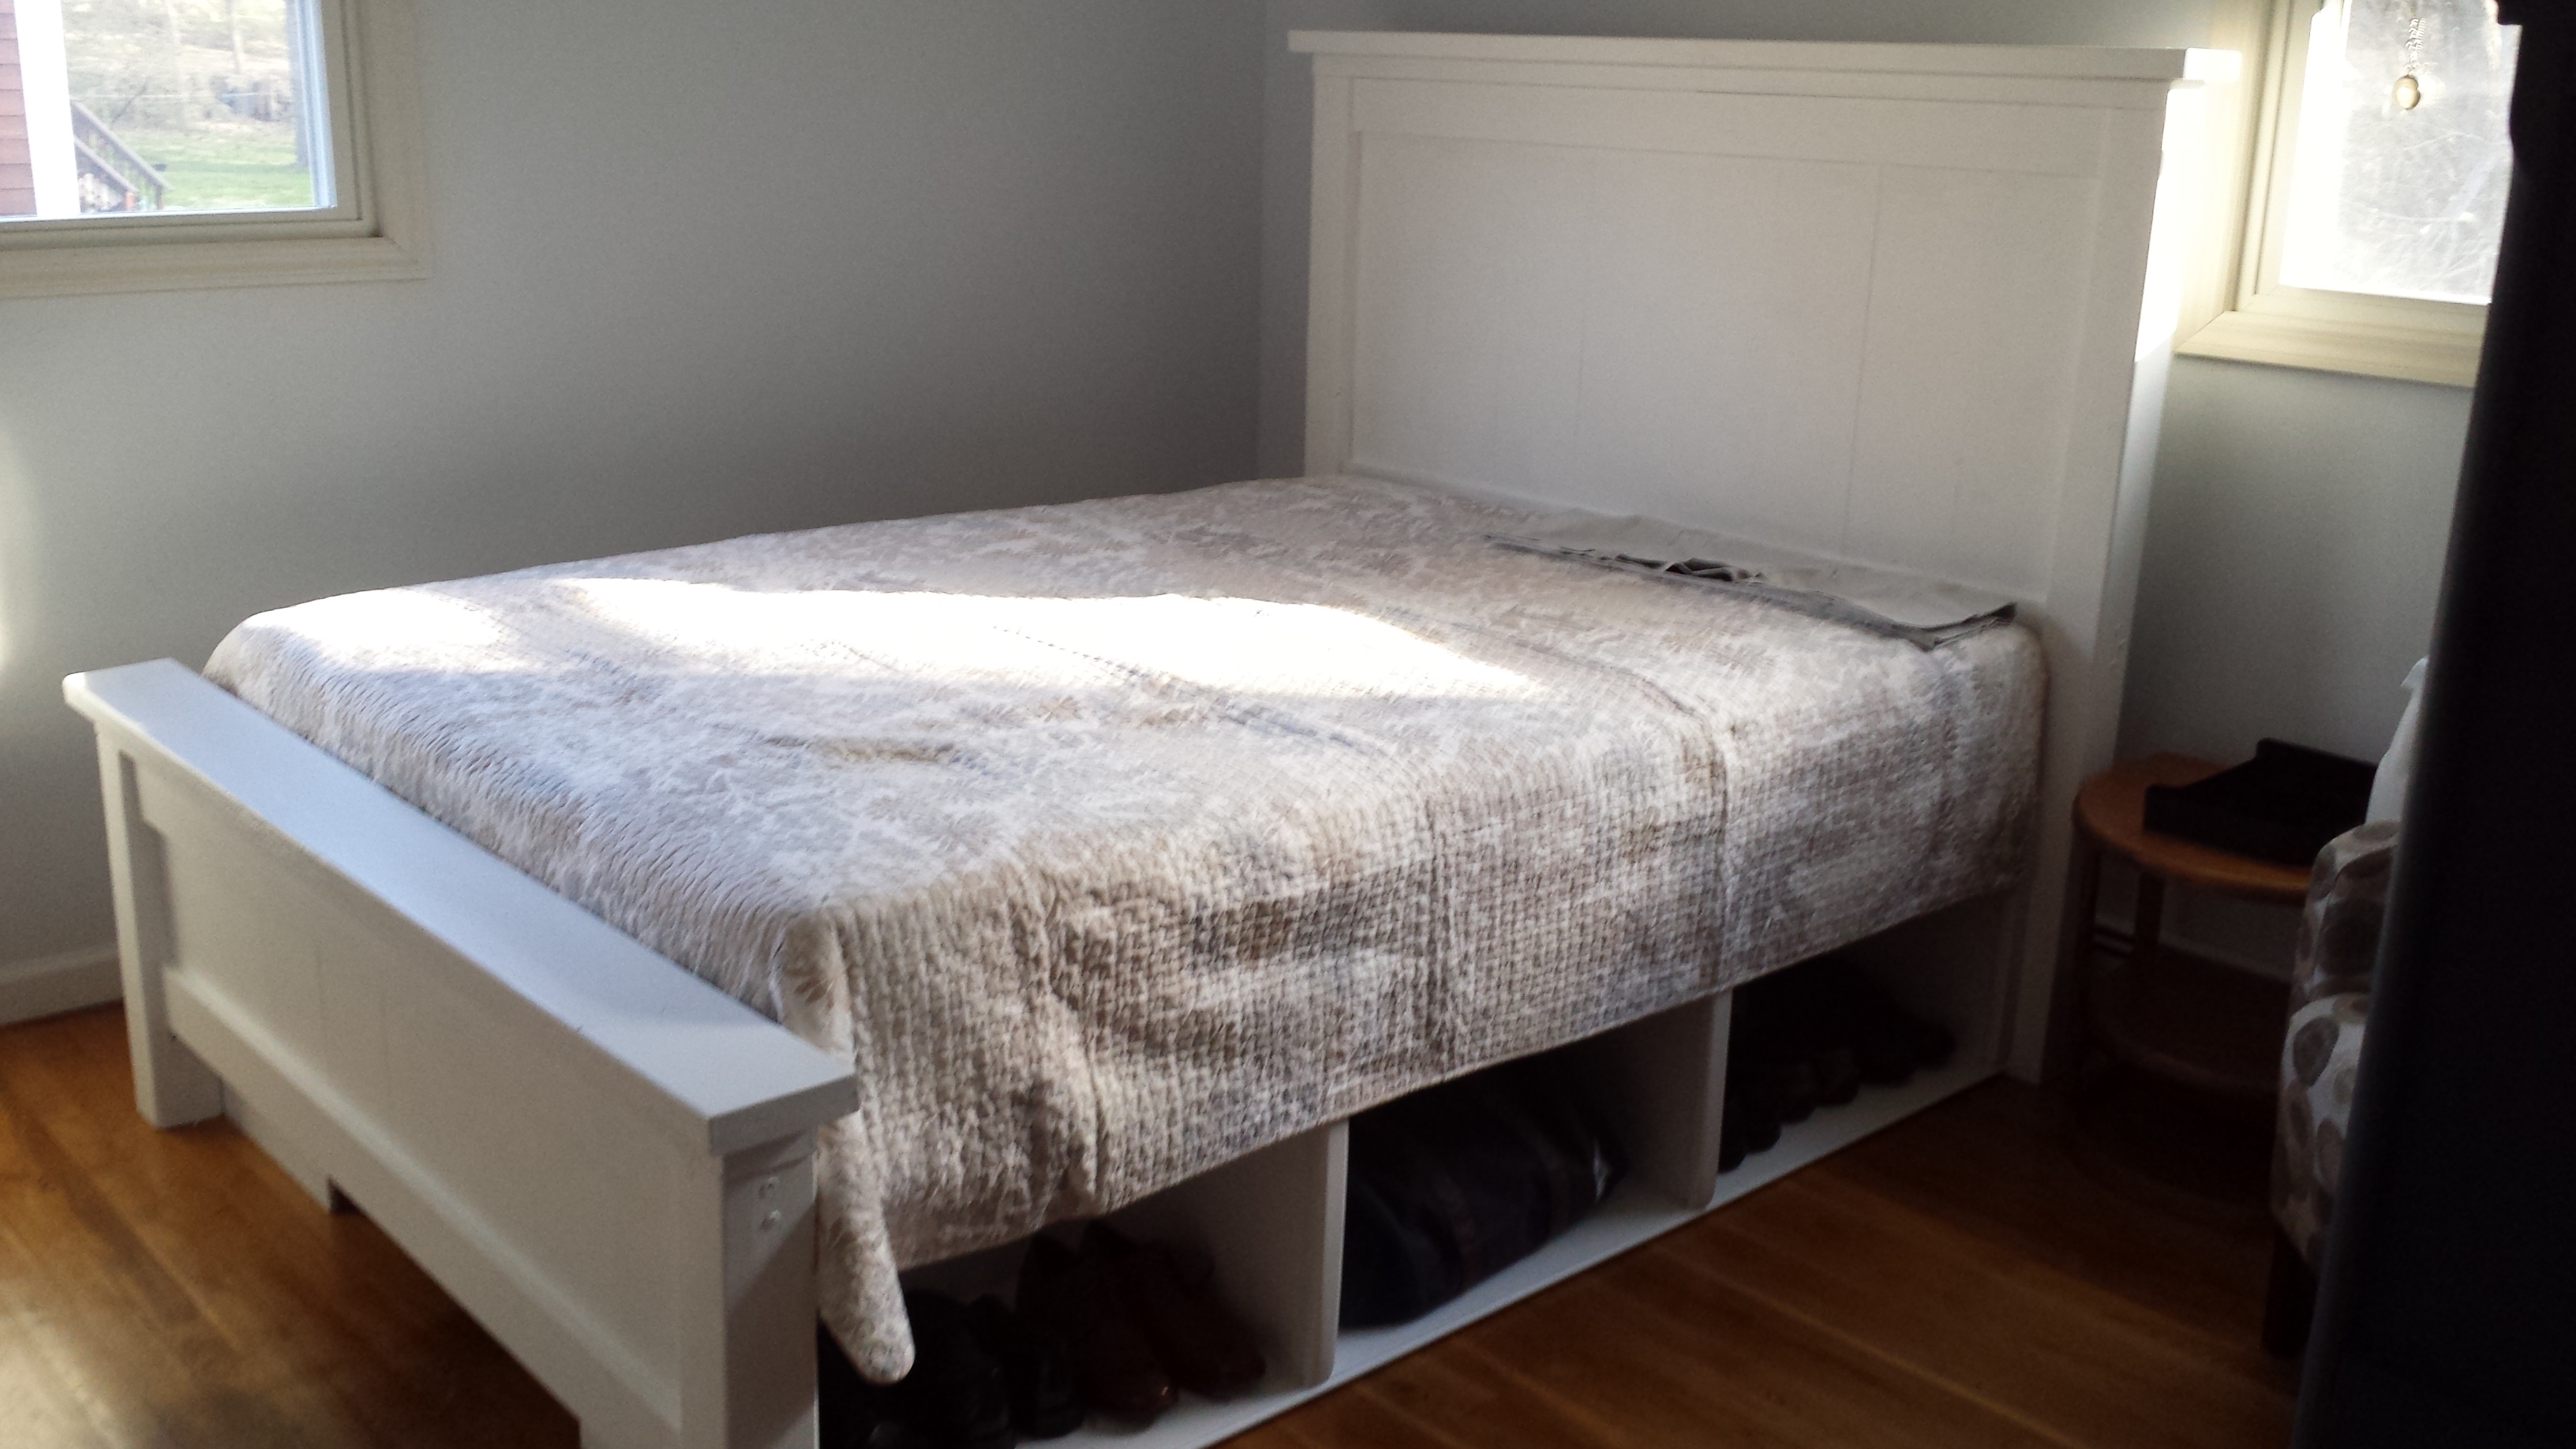
I began looking for creative ways to combine storage with a bed for our new guest room. My old office used to take up this room, we needed a Cat free guest room.
I have never really built anything. I figured why not start with something large to give me to confidence to try other projects. My rationale was; the bigger the project, the larger room for error without it being too noticeable. I assumed I would have some trial and error periods throughout this project. I was right.
I have a table saw I inherited from my grandfather. I quickly realized how many more tools were required to build a bed frame. I need a hobby so I bit the bullet. I purchased a brad nailer, circular saw and sander.
I decided to make this project during the spring time, I don't have a garage to work with so I was moving a lot of tools outside for cutting and sanding and then back into the basement for paint. It was a lengthy process and took me a good month with my free time (an hour or two every couple days) to get this project complete.
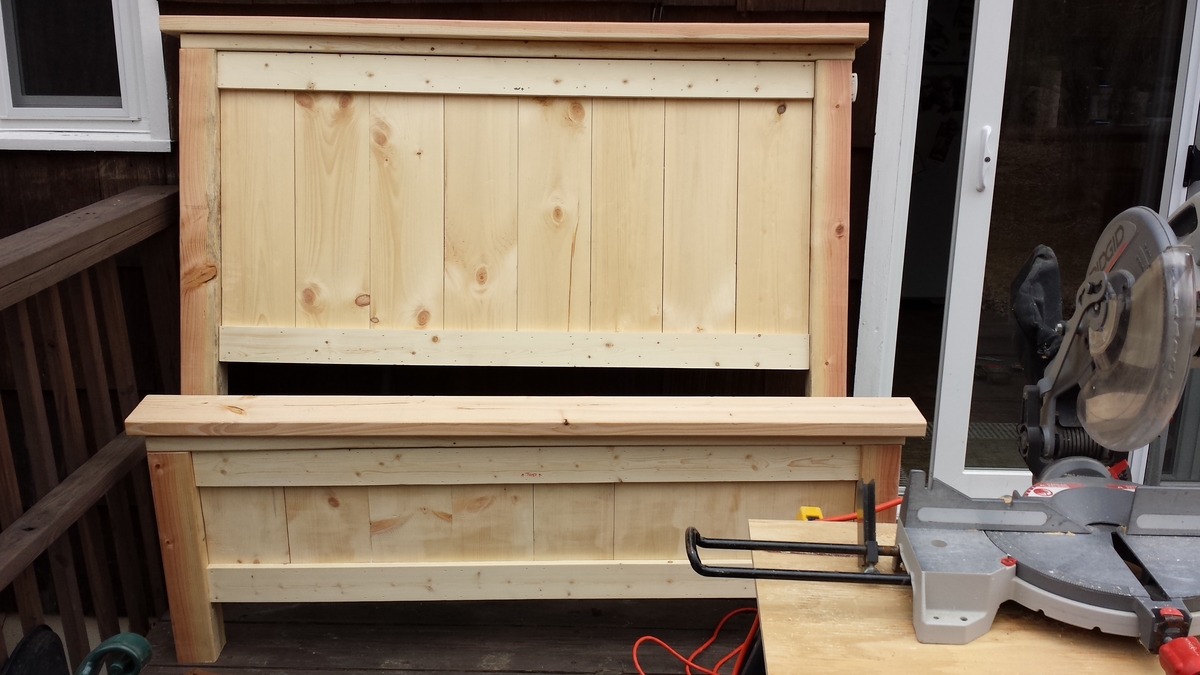
I followed the original Farmhouse Queen Plans and also a post from another helpful member BirdsandSoap which was labeled Farmhouse storage bed with hinged footboard.
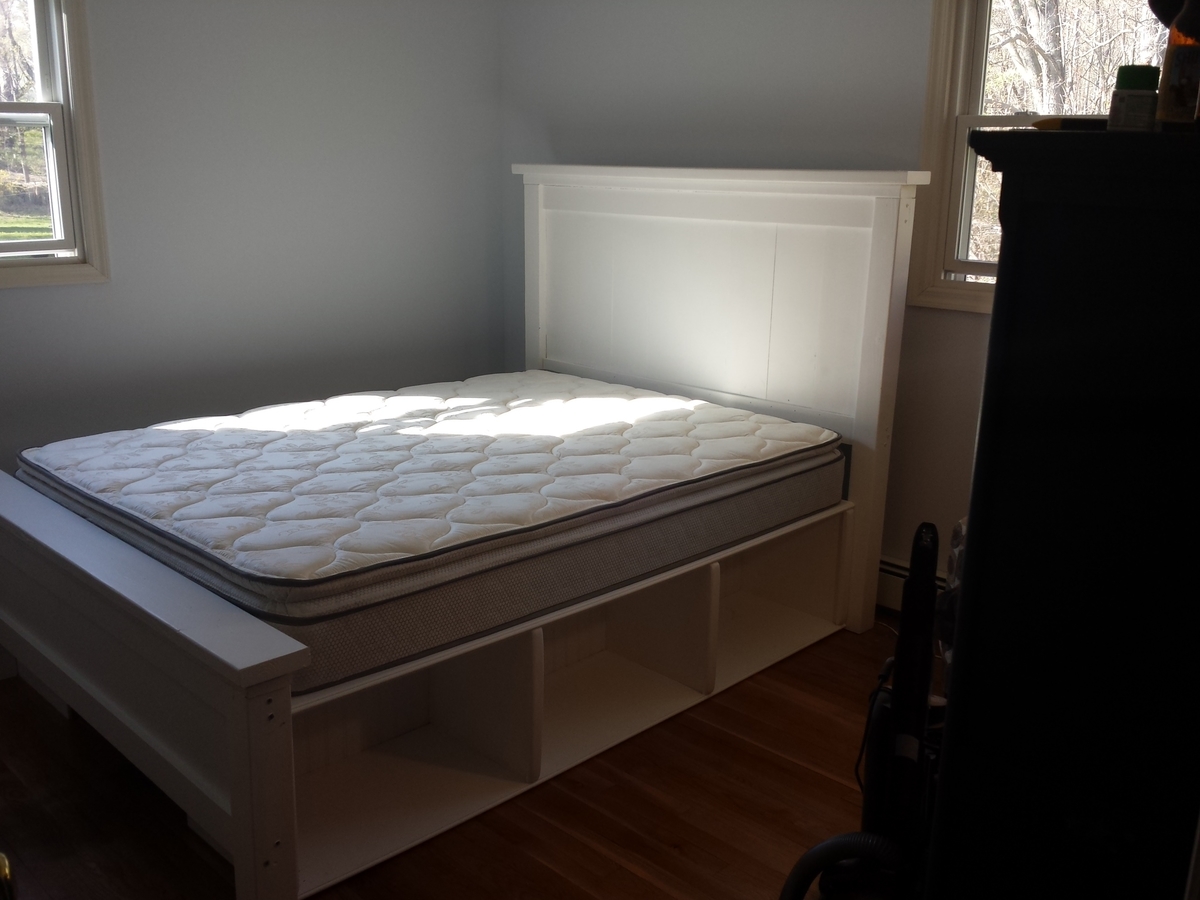
The boxes that rest on the floor were actually my biggest challenge. It was not easy cutting the plywood to size by yourself without the proper instruction. I figured it out and made it work. The main issue I found was when I put on the side panels and middle inserts, the wood was not completely level... again perhaps I should have been a little more patient and careful with my construction but I had no assistance so keeping everything exactly where I needed it to stay was difficult. You cannot tell in the photo but the box bows up a little on either end... maybe a quarter inch at most.
The headboard and footboard where a breeze. After my box issues, I made sure to pick out some of the best Pine wood I could find. I bracketed the headboard and footboard to the boxes with no issues.
The most time consuming part was the sanding and painting. My wife wanted it white, I would have probably preferred to have it stained. Either way, for my first project, I believe it came out well (enough).
I think for my second project I will pick something smaller in order to give my self a second shot at leveling and being a little more precise with my cuts.
Comments
birdsandsoap
Wed, 05/07/2014 - 22:14
Looks great, nice job! I'm
Looks great, nice job! I'm sure you are the only one who will ever notice the bowing!