
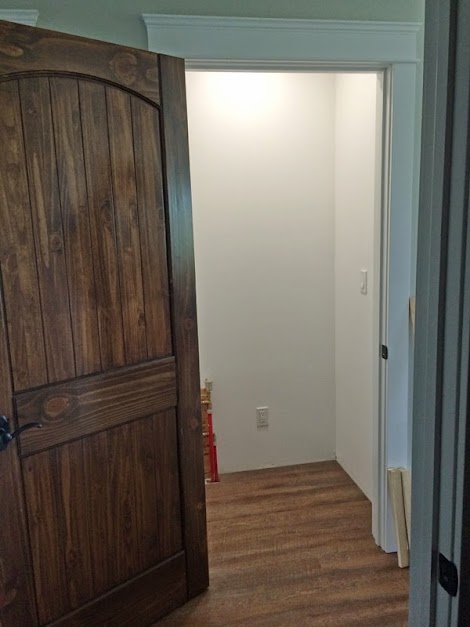
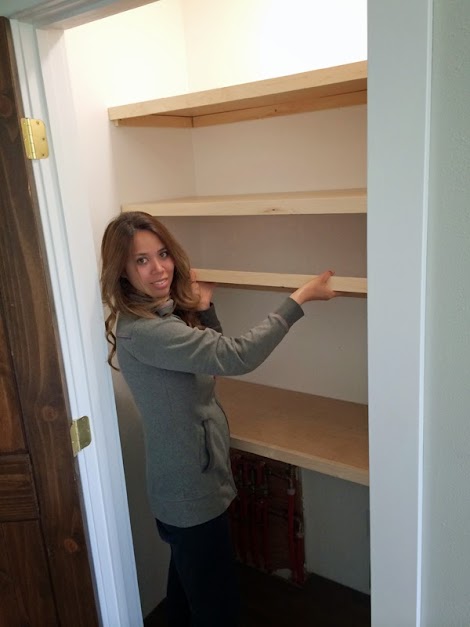
Inside this closet, it's just 4 feet wide and 2 feet deep. Nothing fancy.
I decided the most practical use of materials and space would be to add shelving 16" deep. I don't like too deep shelving, but you really need the 16" to store large boxes (up here in Alaska, bulk shopping is a must, so lots of big boxes will get stored inside this pantry).
This would leave a little bit of space to the front for a vacuum cleaner and some cleaning tools.
I decided to span the entire 4 feet width of the closet with shelving. But no shelving I make is going to sag, and 4 feet is good sized span. Especially considering the load these shelves might have.
I use the Sagulator by Wood Bin to calculate shelf spans -
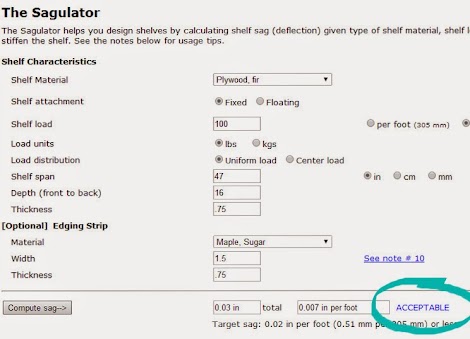
You just put in all your information, and it figures the shelf deflection.
A few things you can do to span longer distances are -
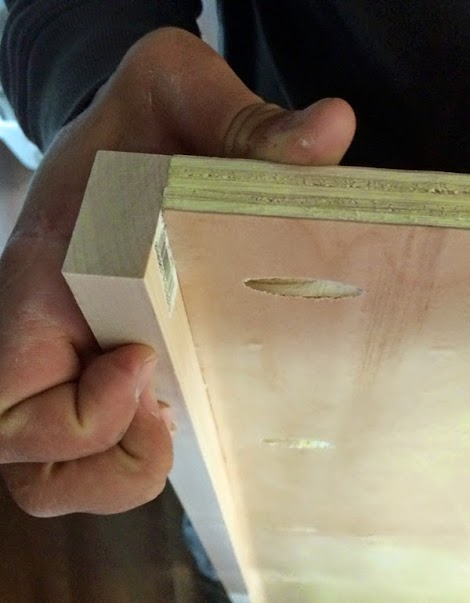
Adding a Front Edging Strip. We decided to add 1x2s to the front of our shelves to not just finish out the front edge of the plywood, but it strengthens the shelf too.

Adding Shelf Supports Under Shelves. I love what PB&JStories did to strengthen their shelves - just added shelving brackets underneath.
![]()
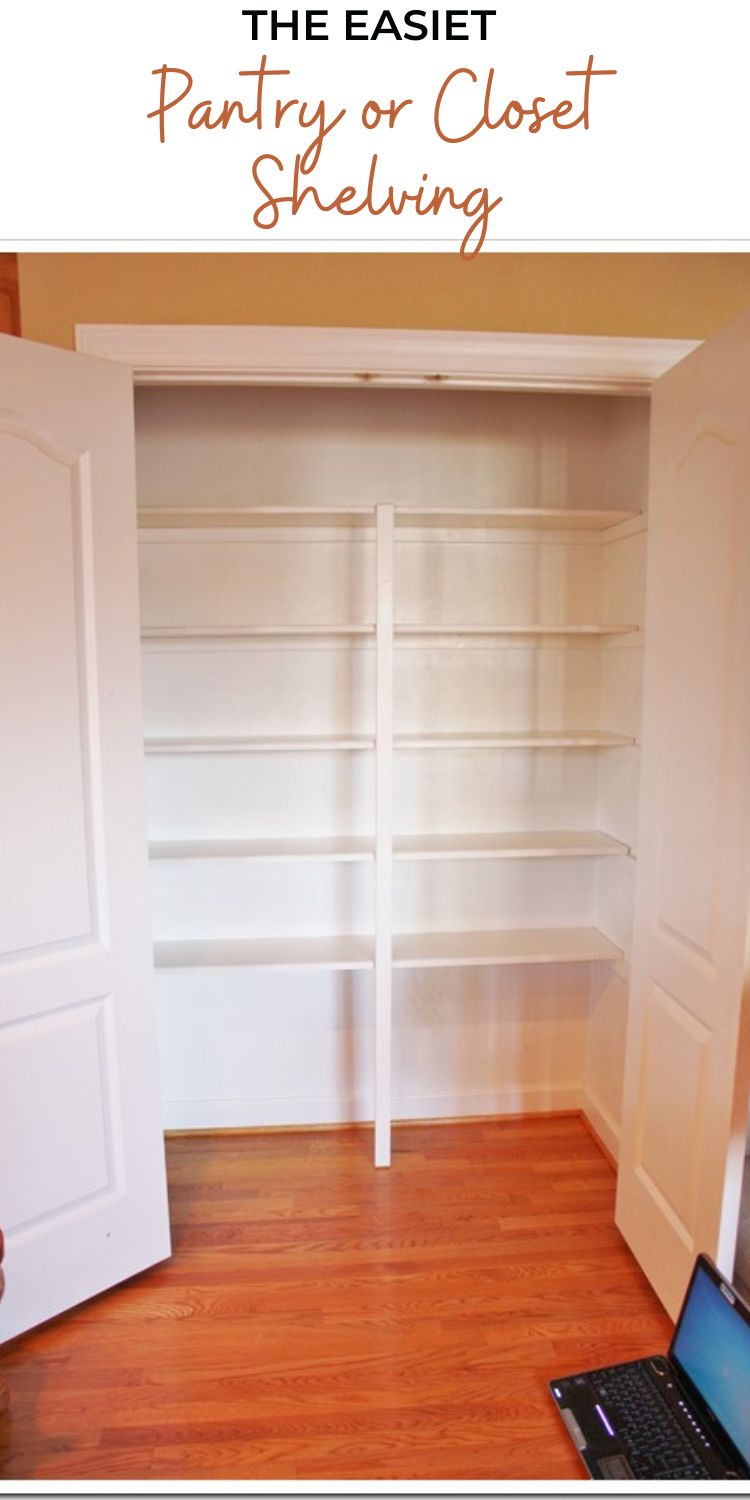
Front Legs. Transfer the weight of your shelving to the ground by adding "legs" to the front of your shelving. You can span entire walls this way - just add the legs as needed and support the shelves on the back and sides (as I do on this pantry). Image is from Sand and Sisal.
So back to building this pantry!
First, we built all of our shelves.
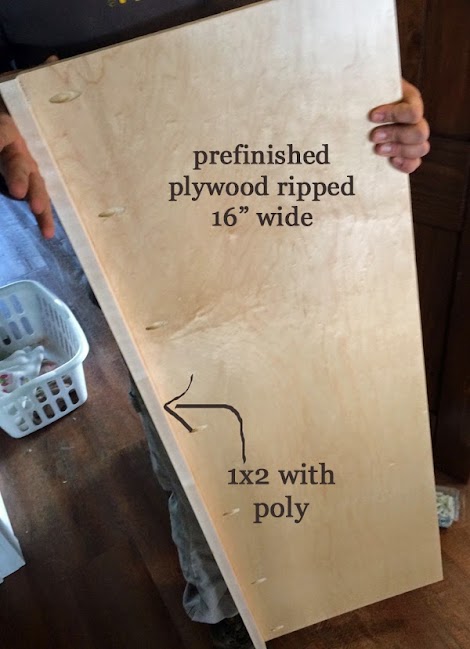
We used prefinished plywood but you could also just buy shelving that is already finished. We ripped the sheet of prefinished plywood into 15-3/4" widths to get three strips out of a full sheet. Then we cut those to size, and added the front edging strip.
We attached the front edging strip with pocket holes using our Kreg Jig.
So with the shelves done, it's time to get to work on the wall cleats inside the pantry.
One thing - assume nothing is square. Not the floor, not the walls, not anything. And if you don't install the shelves square, stuff might roll off the shelves.
So what we do is mark in one spot where we want the first shelf.
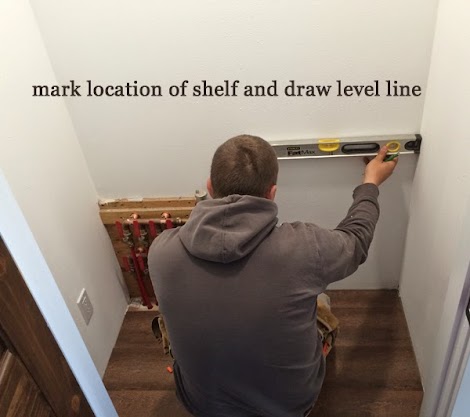
And then from that line, we can just use the level -
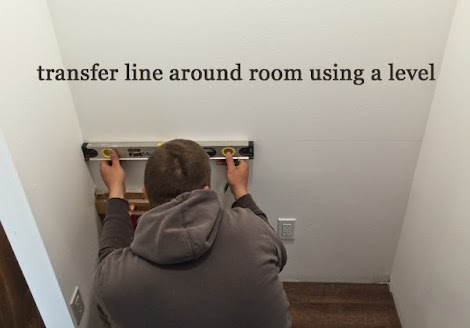
To transfer the line right around the room. Pretty easy stuff!

Once we have the level line, we can predrill holes to attach our wall cleats to the walls. We are using scrap prefinished plywood, but 1x2s or 1x3s would work great too.
When there is no stud where you need to attach the wall cleat, first, predrill a hole through the wall cleat and just a tiny bit into your drywall.
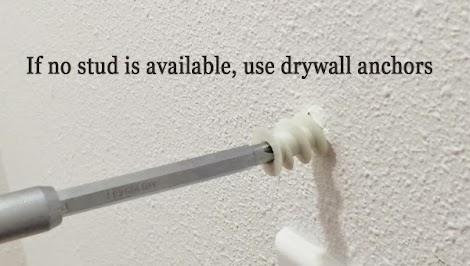
Then where you drilled into the drywall, insert a heavy duty wall anchor,
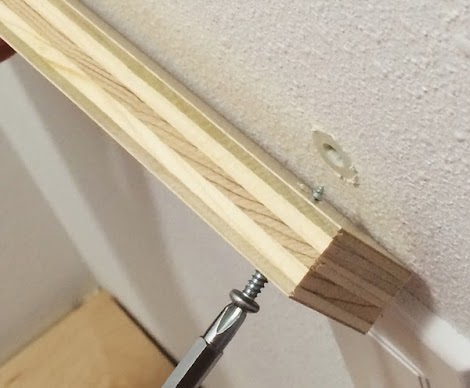
Then attach your cleats to the wall anchor.
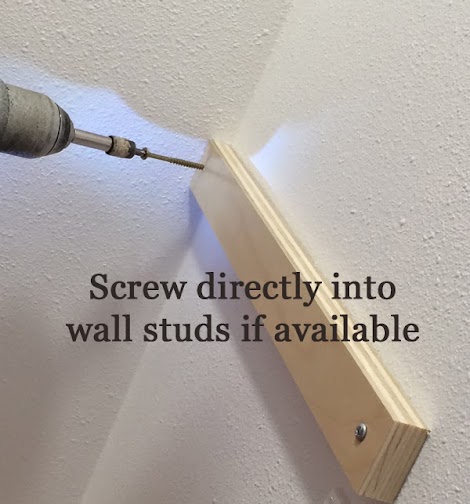
Of course, screwing directly into studs in walls is always best, just make sure your screws are long enough to go through your wall cleat, drywall, and then a couple of inches into your wall studs.
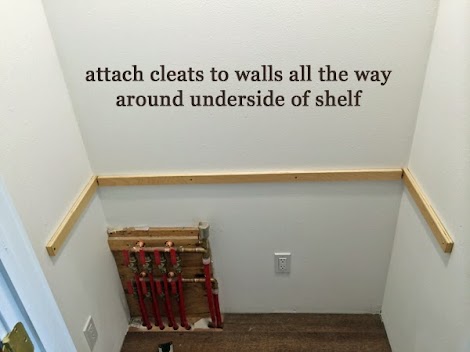
Surrounding your shelf with wall cleats will give it tons of strength, so we went all the way around the underside of the shelf.
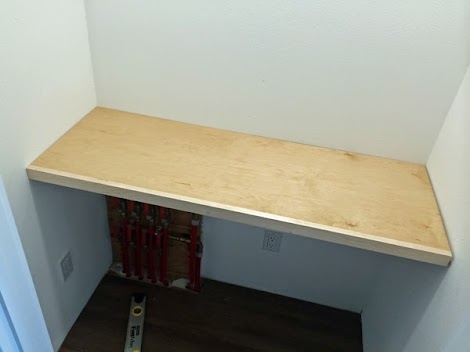
And then the shelf can just sit right on top of the wall cleats.
For added strength, you can attach the shelf to the wall cleats.
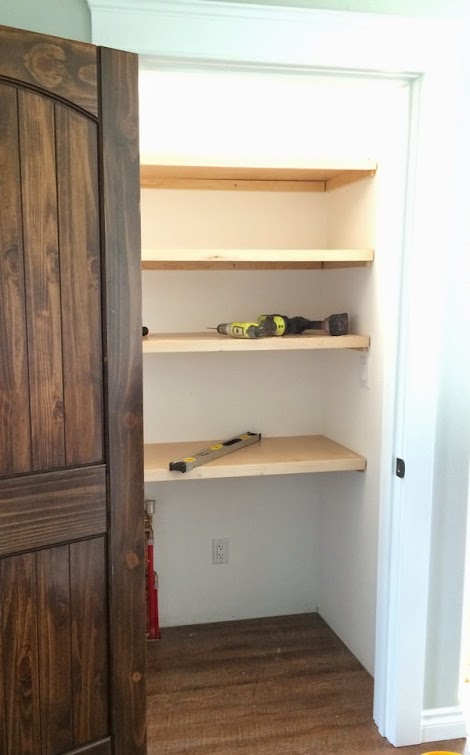
Once you get the first shelf in, and it's level, you can then measure or work off that shelf for all the other shelves. In other words, you don't need to draw level lines around all the upper shelves.
What we actually do is just cut a couple of blocks the height of the shelves (10" for the upper shelves) and use them to install our upper shelves.
The shelves were plenty sturdy without attaching to the wall cleats, so we ended up not screwing them down. Added bonus - easy to remove and wipe clean!
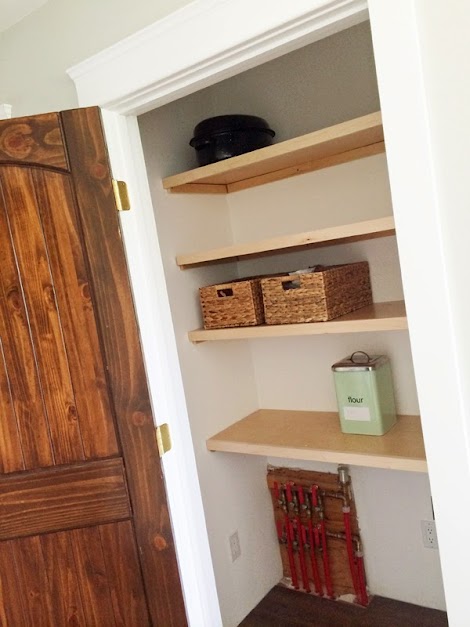
It's nothing fancy, but it doesn't sag, and will hold 100 pounds per shelf, and took us about 1 hour to build. We used up 2/3 of a sheet of prefinished plywood, and 2 - 1x2x8' boards and screws and drywall anchors - this pantry shelving only cost about $60 to make!
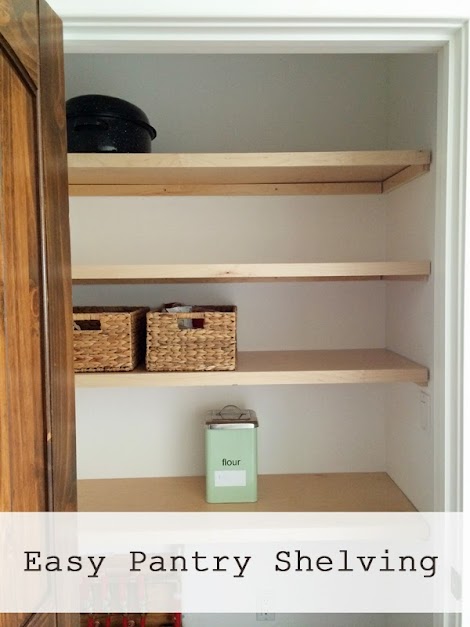
You already know the spendy part is going to be the baskets, bins, and pretty jars!

Or just a pretty door :)
Happy Building!
XO Ana + Family
Pin For Later!
Comments
Tsu Dho Nimh
Wed, 06/04/2014 - 11:18
Love the shelves!
kariusername
Wed, 06/04/2014 - 22:56
Super Storage solver spark!
Bonnie in Arkansas
Thu, 06/05/2014 - 05:52
GREAT Post!
John D
Sat, 07/26/2014 - 17:09
Where did you get that door
JoanneS
Sun, 07/27/2014 - 06:46
Pretty Door source
Jerl Hammack
Sun, 10/25/2020 - 15:27
R
R
BrianWinter22
Tue, 10/22/2024 - 23:21
If you want to make the…
If you want to make the easiest pantry or closet shelving, start by using adjustable wire shelves. They are simple to install, budget-friendly, and can be adjusted as your storage needs change. For those planning a remodel, it's best to work with professionals. A demolish company, like Las Vegas Demolition Co., can help clear out old spaces to make room for new, efficient shelving setups.