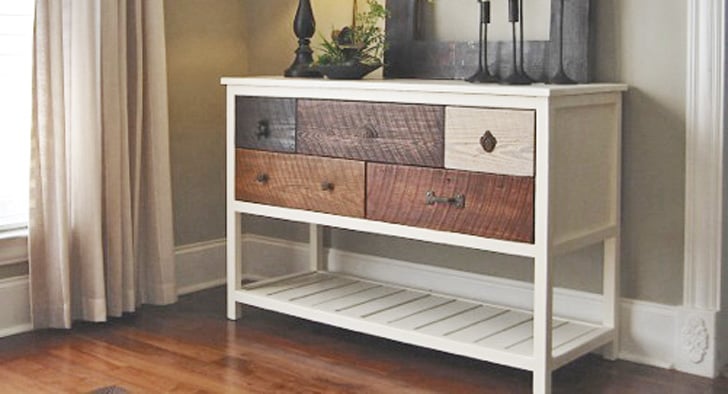
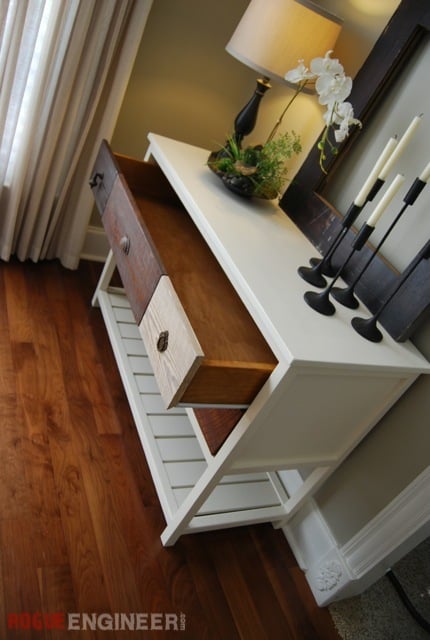
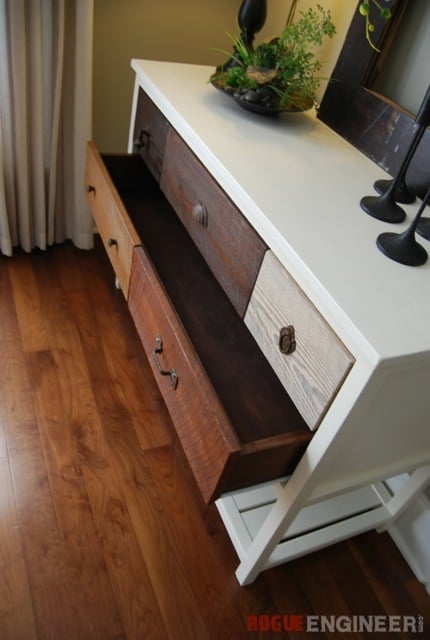
Free console plans with reclaimed wood drawer faces - DIY from ana-white.com
Dimensions
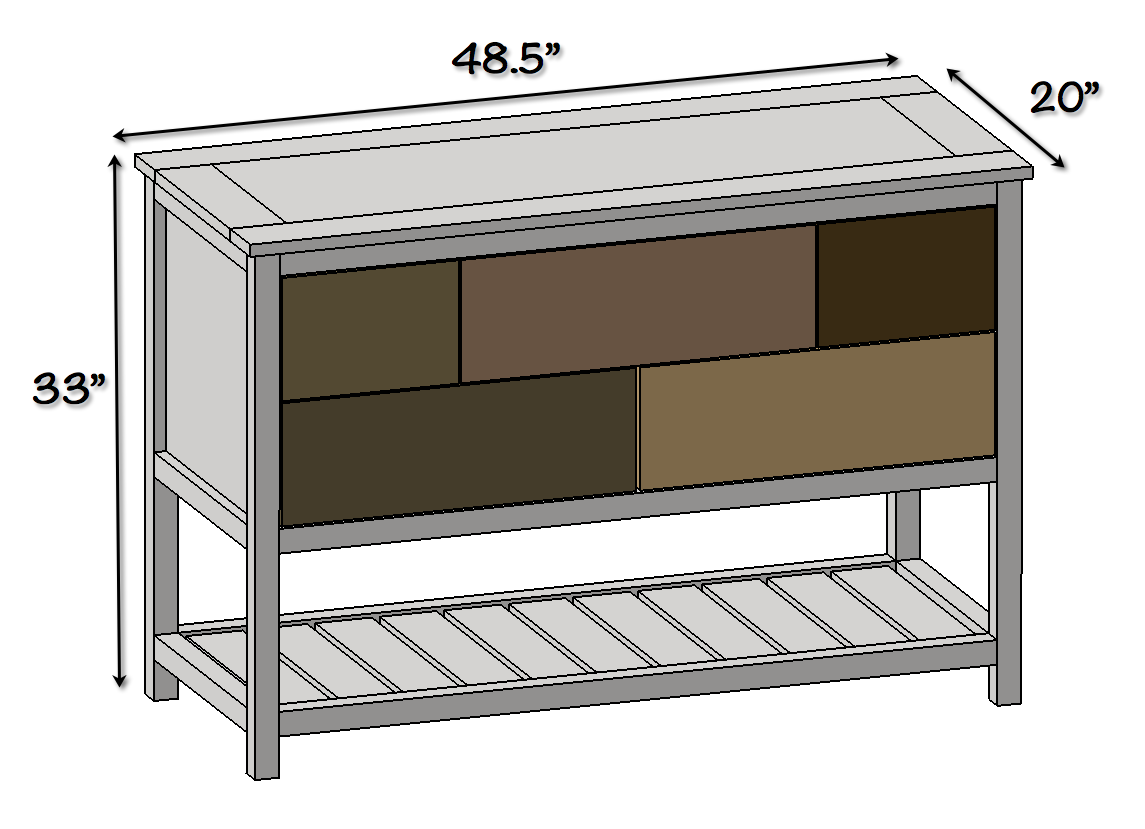
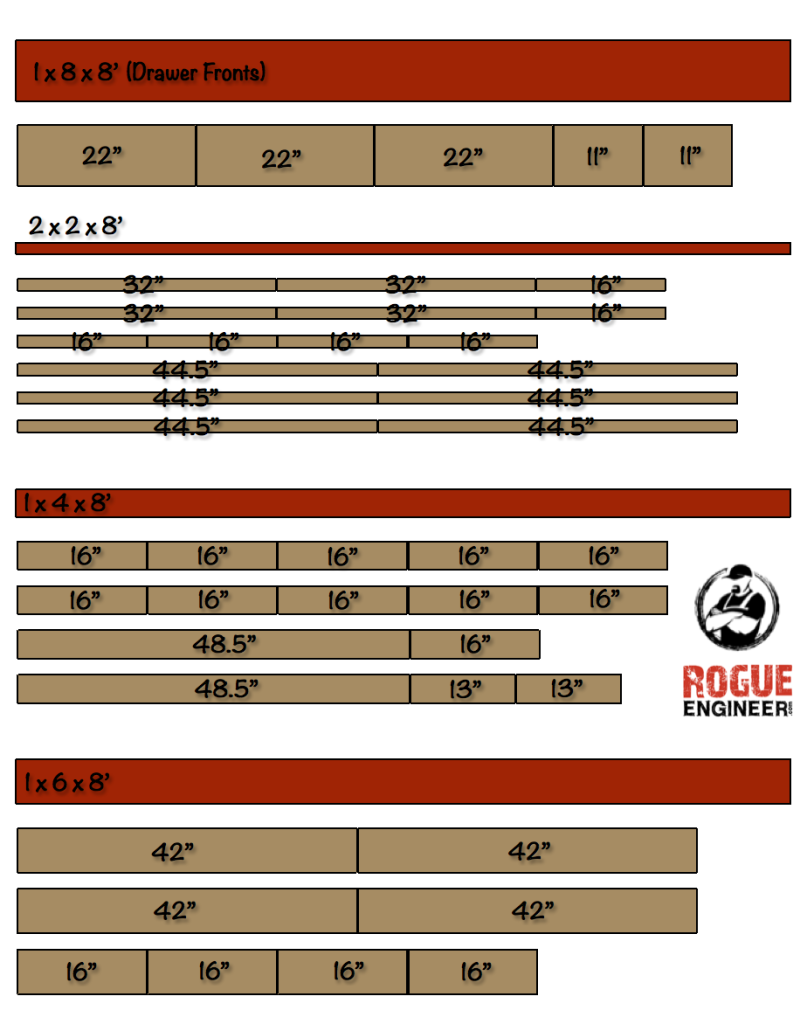
Dimensions shown above in diagram
Preparation
Shopping List
Tools Required:
- Level
- Square
- Pencil
- Level
- Eye Protection
- Hearing Protection
- Kreg K5 and/or R3 Pocket Hole Jig
- Clamp
- Drill
- Miter Saw
- Circular Saw and/or Table Saw
- Nailer
- Sander
Materials:
- 1x 1 x 8 x 8' (Drawer fronts; I used reclaimed wood)
- 6x 2 x 2 x 8'
- 4x 1 x 4 x 8'
- 3x 1 x 6 x 8'
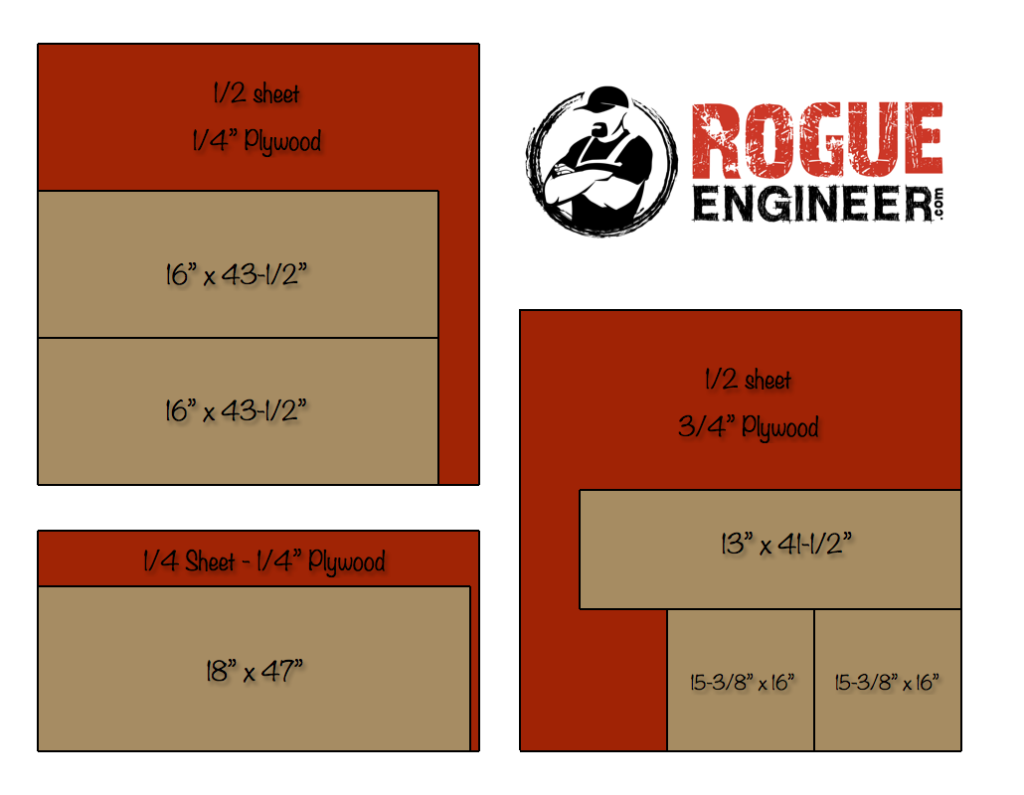
- 1/4" Plywood (4' x 4')
- 1/4" Plywood (2' x 4')
- 3/4" Plywood (4' x 4')
- 5x Vintage Drawer Hardware
- 2x Drawer Slides (Pair)
- 2" Pocket Hole Screws
- 1-1/4" Pocket Hole Screws
- 1-1/4" Brad Nails
- 2" Wood Screws
General Instructions
Please read through the entire plan and all comments before beginning this project. It is also advisable to review the Getting Started Section. Take all necessary precautions to build safely and smartly. Work on a clean level surface, free of imperfections or debris. Always use straight boards. Check for square after each step. Always predrill holes before attaching with screws. Use glue with finish nails for a stronger hold. Wipe excess glue off bare wood for stained projects, as dried glue will not take stain. Be safe, have fun, and ask for help if you need it. Good luck!
Instructions
Step 8
Finishing Instructions
Preparation Instructions
Fill all holes with wood filler and let dry. Apply additional coats of wood filler as needed. When wood filler is completely dry, sand the project in the direction of the wood grain with 120 grit sandpaper. Vacuum sanded project to remove sanding residue. Remove all sanding residue on work surfaces as well. Wipe project clean with damp cloth.
It is always recommended to apply a test coat on a hidden area or scrap piece to ensure color evenness and adhesion. Use primer or wood conditioner as needed.
It is always recommended to apply a test coat on a hidden area or scrap piece to ensure color evenness and adhesion. Use primer or wood conditioner as needed.
Finish Used
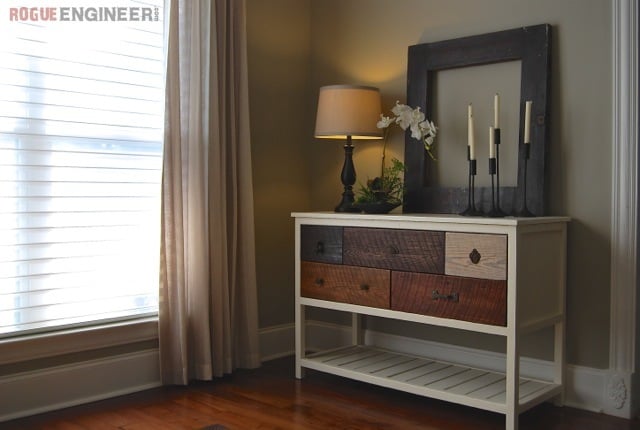
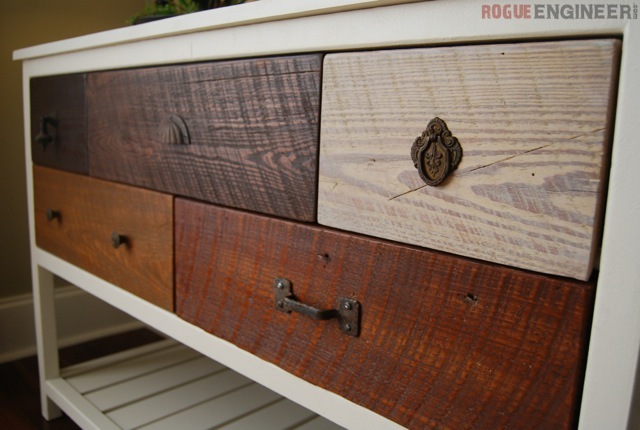
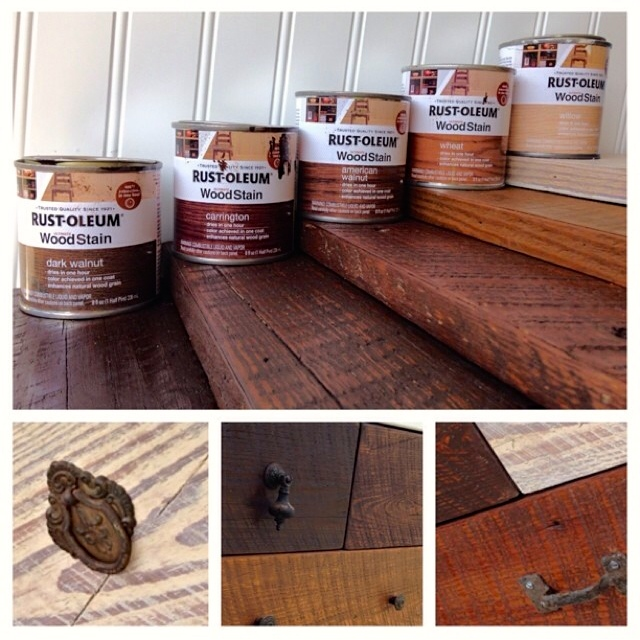
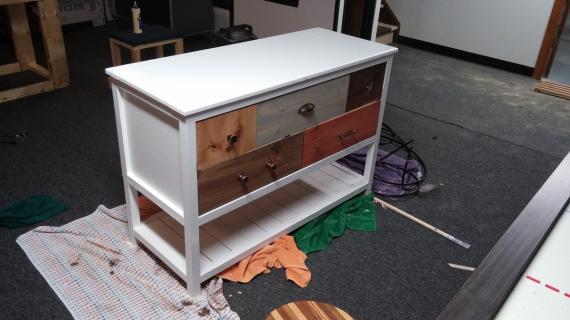
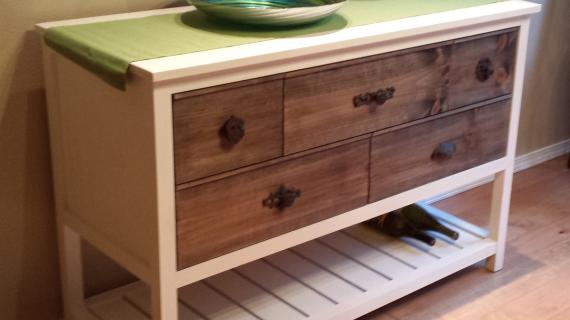
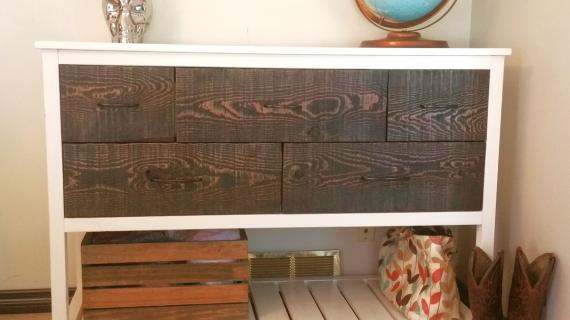
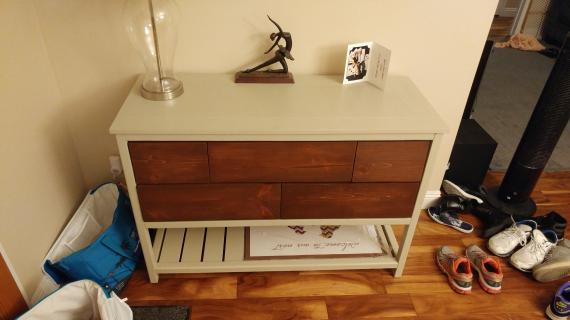
Listing from darkest to lightest stains we used Rust-Oleum Dark Walnut, Carrington, American Walnut, Wheat, and Willow. Then we sealed the entire table with a polycrylic.
Project Type
Seasonal And Holiday





Comments
cathryn
Tue, 06/17/2014 - 11:58
Great Plans!
I love the contrast of the fun drawer fronts and the simplicity of the rest of the piece. It would be easy to update this piece should you ever want to change up the look...and that would encourage me to make a more daring choices. Thanks for sharing the details of when you painted before assembling. Wanting a really professional paint finish has deterred me many times. I think I can try it now!
In reply to Great Plans! by cathryn
RogueEngineer
Tue, 06/17/2014 - 16:49
Thanks!
I never even though about that but you are so right! That would be easy to swap out drawer fronts if your ever wanted too. Thanks so much for the compliments!
joshmade
Sat, 06/21/2014 - 14:51
thanks
Thank you for these plans, I really enjoyed making this project.
In reply to thanks by joshmade
RogueEngineer
Sat, 06/21/2014 - 14:59
Let's see it
No problem! I would love to see how it turned out! Upload a brag here on Ana's site or a pic in my comments at http://rogueengineer.com/reclaimed-wood-console-table-plans/
RedRoof
Sun, 06/22/2014 - 08:46
What paint color?
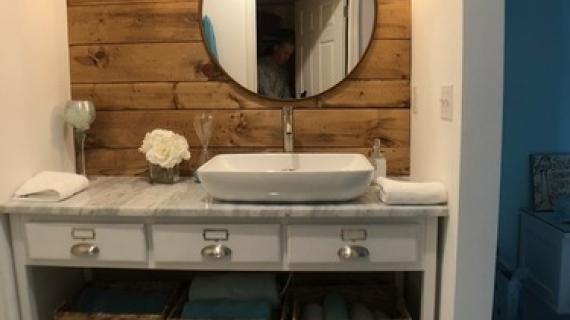
Beautiful table! I will be making this table to use as a vanity for our bathroom. Thank you for listing the stain colors! What is the brand/color of the paint you used?
THANK YOU for the plans!!!
Avian
RedRoof
Sun, 06/22/2014 - 08:46
What paint color?
Beautiful table! I will be making this table to use as a vanity for our bathroom. Thank you for listing the stain colors! What is the brand/color of the paint you used?
THANK YOU for the plans!!!
Avian
In reply to What paint color? by RedRoof
RogueEngineer
Sun, 06/22/2014 - 11:52
Paint color
Awesome! What a great idea. Best of luck an I can't wait to see how it turns out so be sure to post a brag here on Ana's site and/or a pic in the comments at: http://rogueengineer.com/reclaimed-wood-console-table-plans/
The paint color of the table base is called Northern Cliffs by Benjamin Moore. I'm sure you could take one of the following color codes to Home Depot and have them mix it up for you:
RGB: 187, 182, 168
Hex: #bbb6a8
S_Rupert
Sat, 12/27/2014 - 14:02
Convert the Drawers to Doors?
I have FaLLEN in LOVe with this hutch. I have two toddlers that will slam these drawers with glee. Any way this could be converted with two doors and one shelf inside? Please help Rogue Engineer! :)
melondiy
Wed, 07/15/2015 - 18:50
how to find reclaimed wood
Hi, I live in central New Jersey. I like your dresser face plates very much, they have so much character. I was wondering, how do I go about finding reclaimed wood ? please advise thank you. Melon
Tsu Dho Nimh
Thu, 07/16/2015 - 08:01
Finding wood to reclaim
Look for people who are tearing down an old fence, deck or even removing old sheds. You can also use wood from shipping pallets. Check Craigslist in your area, under FREE or "materials"
It's also possible to make any slightly rough-cut boards look like you reclaimed them from grandpa's barn by stain color choices and distressing them. Search Google for "how to make new wood look old" and dozens of how-to's will show up.
hawkingbrandy
Tue, 05/28/2019 - 06:21
OK
OK