
So I was inspired by the Ana-While posted Farmhouse Table a few months back.. Honestly I was a little concerned about building such a large piece as my first project but I decided to invest into some common pine lumber to give it a shot. I could have bought better woodworking stock, but I was concerned I was going to mess it up anyway so I chose to stick with Home Depot / Lowes grade stock to keep the cost down.
I made a few changes from the published design:
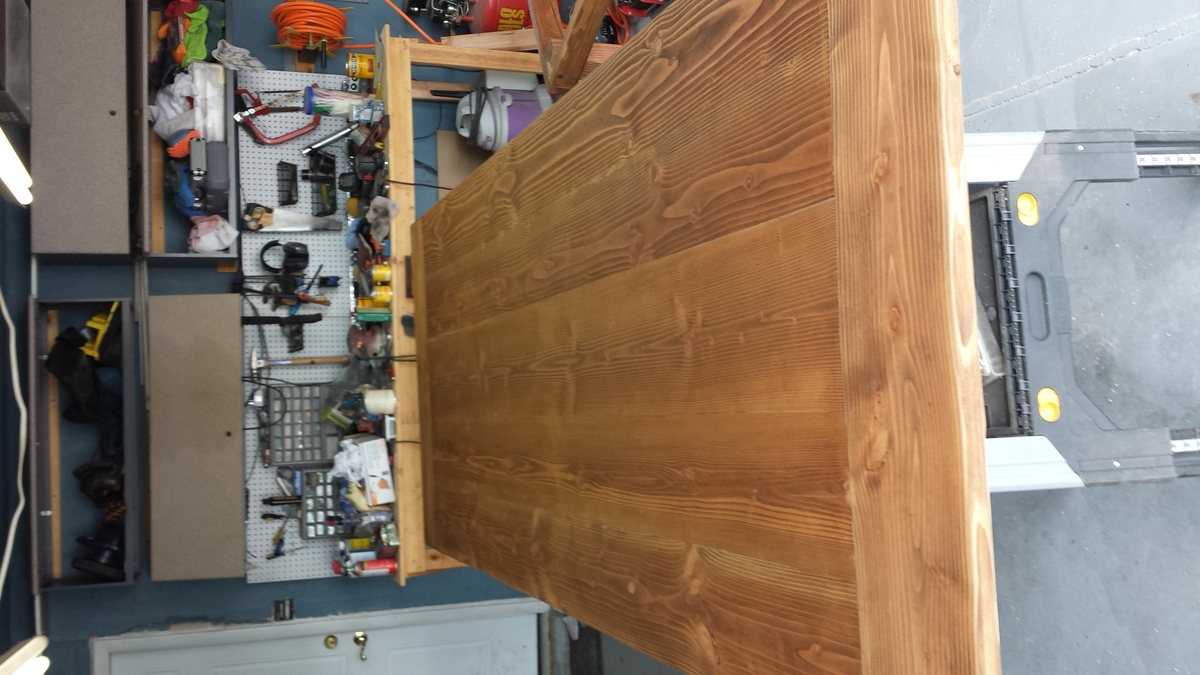
I wanted a very large table for entertaining during the holidays. I extended the design to about 10 feet long by almost 4 feet wide.
I also am not a big fan of the seams that are left between the boards when doing butt joints using common lumber. It was a bit of work, but I trimmed off about 1/4" of material from the side of each board to make their corners square instead of the normal slightly rounded profile. With enough planing and sanding, I was able to get a reasonably tight seam with just normal garage tools.
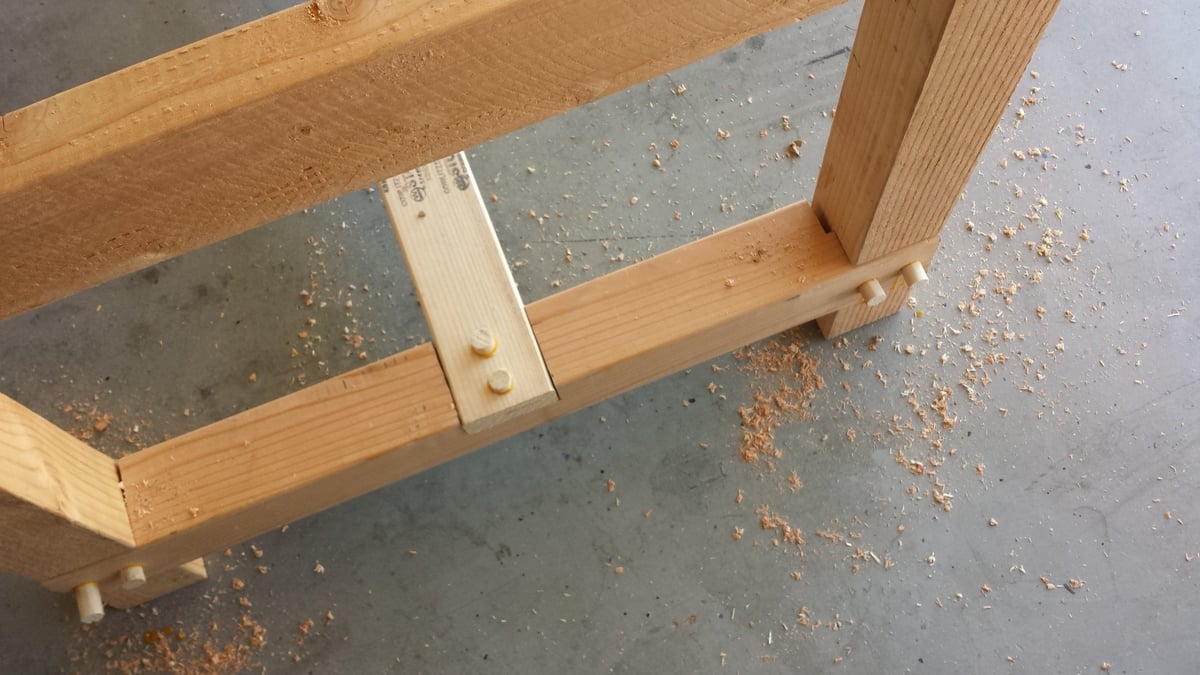
The third design element I added was pre-drilling each of the exposed screws with a 3/4" bit about 1" deep and filling those holes with a wooden dowel. This dresses up any screws used and in my mine makes the table look a bit more traditional. Im sure some people would say just use the dowel to secure the joints, but I just wasnt that brave for an inexperienced builder.
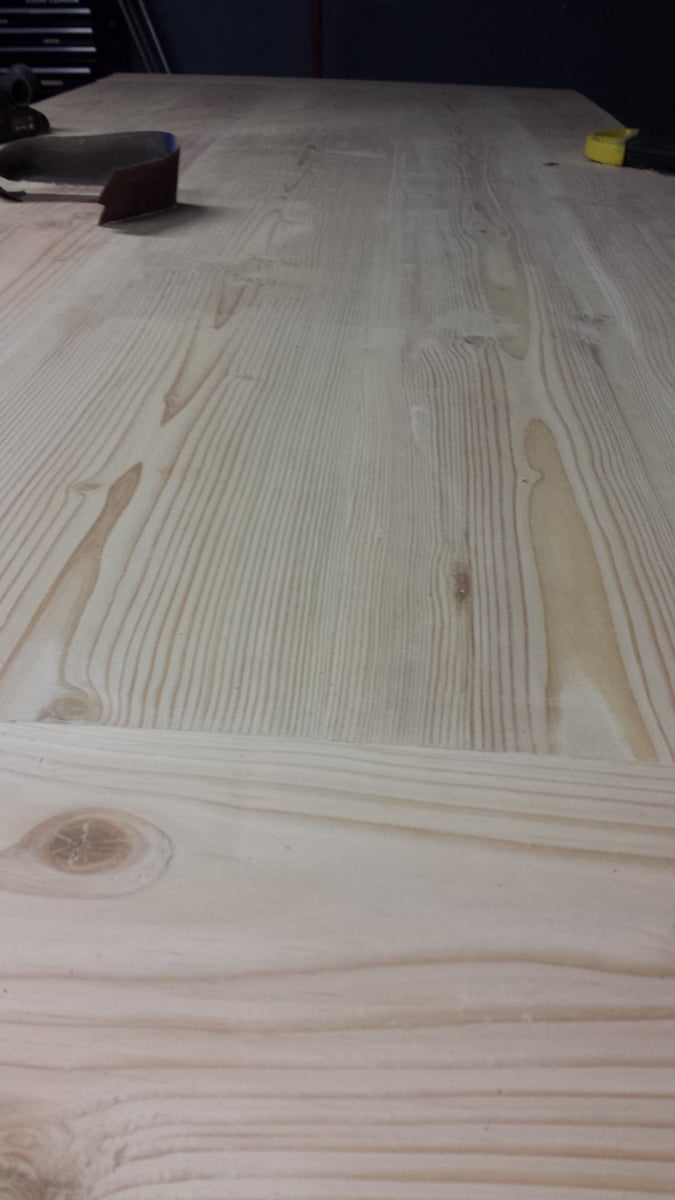
The finish was intentionally left uneven. THere are raises and small grooves in the surface that I sanded down with 80 grit, but then only lightly went over with 150 and 220. The effect I was looking for was a surface that looked hand sawn / worked but that was still smooth to the touch and not 'dangerous' to use daily. There are some visible sanding and planing marks, but they are all soft and smooth, and help add depth and character in my opinion.
More pics available on my public facebook album: https://www.facebook.com/media/set/?set=a.10152583224649571.1073741829…
Supplies cost about $300 for lumber and finish materials.
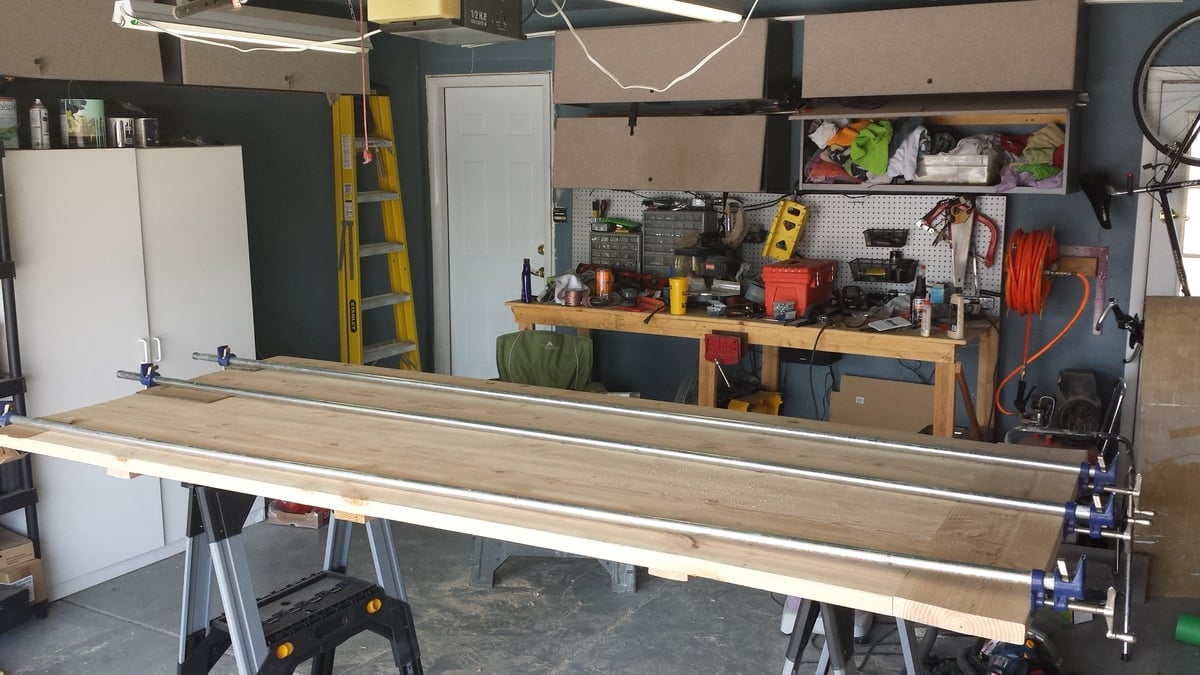
The face is made from 4 2x10's and 1 2x12 in the middle.
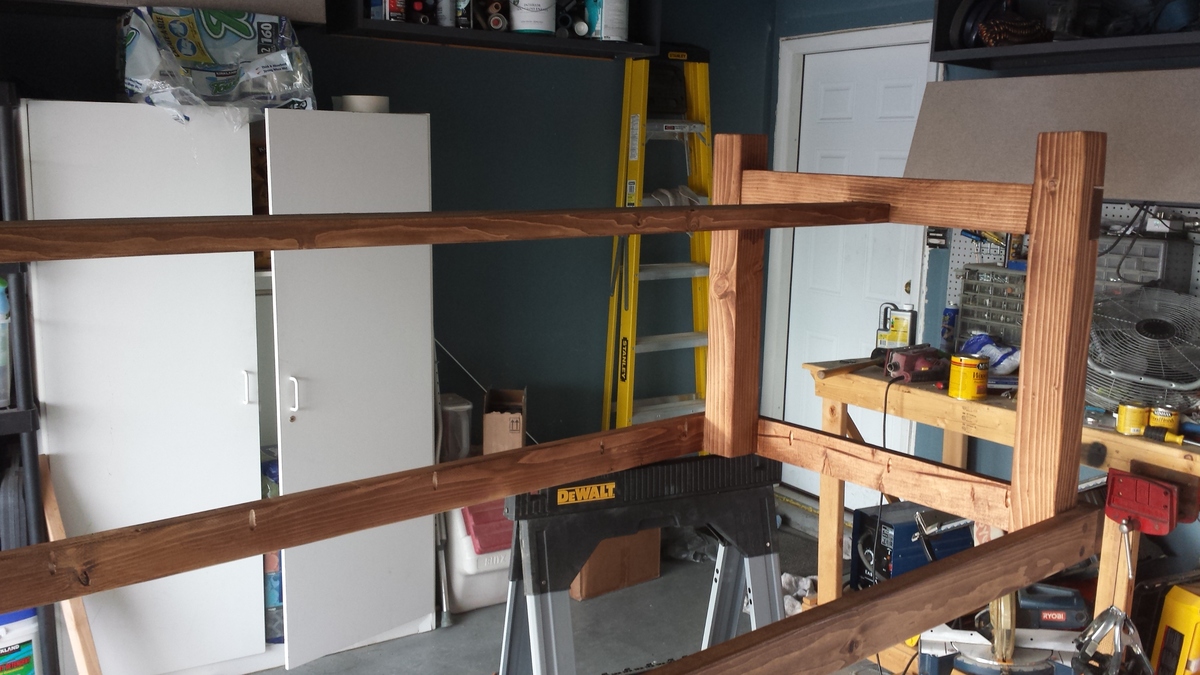
The legs are 4x4, all other pieces are 2x4.
Tools needed to finish the table this way:
Circular saw
Table saw (to trim edges if you want tight seams)
Kreg Jig (essential for pocket holes!)
Very big clamps! I did not have these and spent $90 or so on the 3
Hand saw
Chisel
Drill
Sander (or a LOT of patience!)
Planer (I used a cheap power planer to help level out the cheap big box lumber and to even out the joints)
STRONG sawhorses. I broke a set of 600# rated horses re-positioning the face. A 10ft table face is very heavy! get help!
Finishing the table this way took a long time. Im going to guess 60 - 80 hours went into it. A ton of time is used getting the joining work right. The rest of it goes together pretty quickly.
Comments
booksnotbombs
Wed, 07/23/2014 - 08:10
Beautiful! I love the smooth
Beautiful! I love the smooth seams. You can tell you spent a long time on it.
Dania
Wed, 07/23/2014 - 12:30
You give me courage!!
Love it! and is just your firts project!!! Wooooowww Im just getting the tools to start my own projects and by seeing this I feel so encouraged. Thanks for sharing :)
kterrell
Thu, 07/24/2014 - 07:00
Thanks
Thanks for the comments guys, glad you like it