Hello everybody, this is Jen. I'm so excited to share with you a new beginner project that is fun, simple and inexpensive to make!
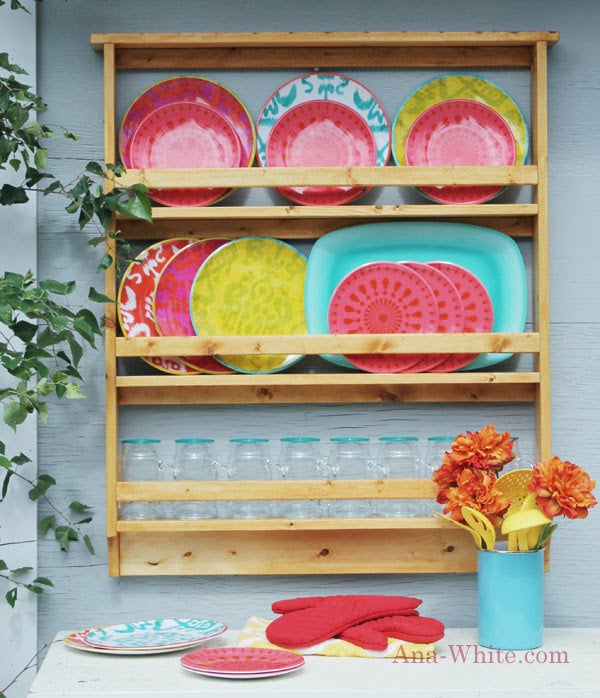
What do you do with your outdoor dishes? I thought it would be fun to make a plate rack to hang outdoors to store outdoor dishes for the summer grilling season. That way I can enjoy their pretty patterns when not in use, and when needed, guest can easily access the dishes.
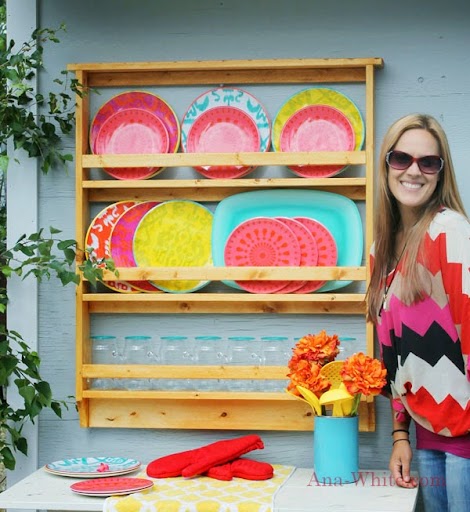
All within easy reach of hungry guests! And now I don't need to empty out a cupboard inside to store outdoor dishes in!
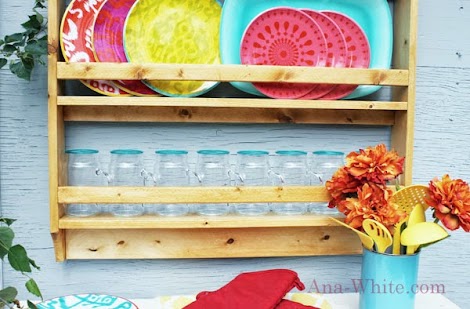
And did I say pretty? The plates, mugs and platter (it's a beautiful ombre color) is from Target and were very reasonable priced.
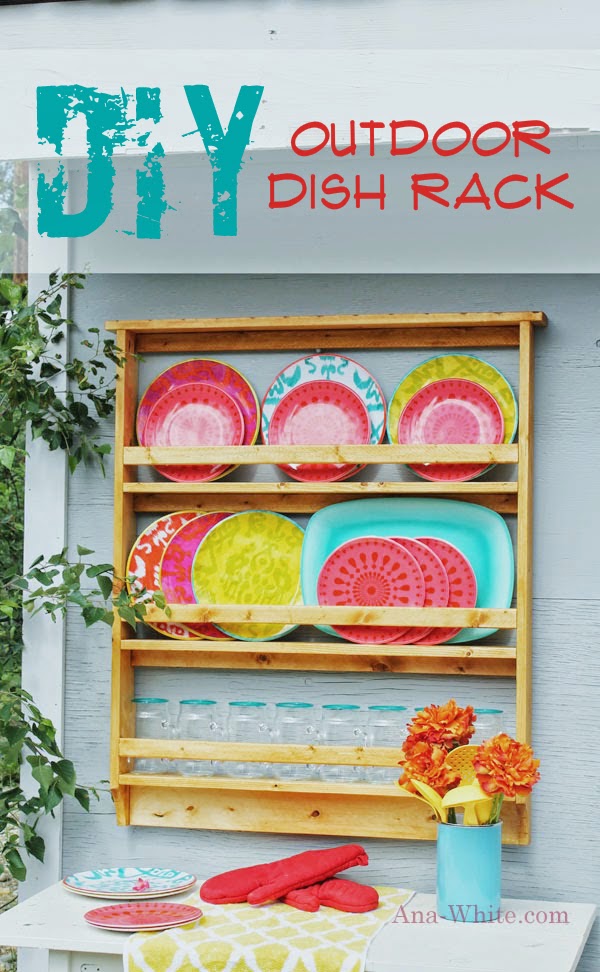
Speaking or reasonably priced - I made this entire plate rack out of less than $20 in boards!!!

This plate rack was simple and the final result beautiful. That's what it's all about.
I started by cutting all of my boards. For the boards of the same dimension that required multiple cuts, I set my handy guide on the saw, which made it even faster and easier.
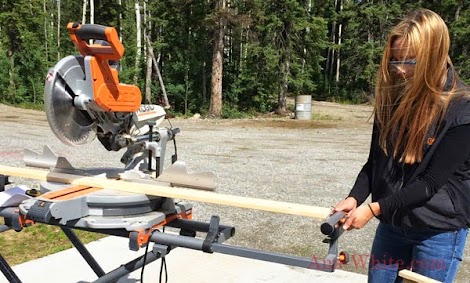
Just set the saw guide on the stand,
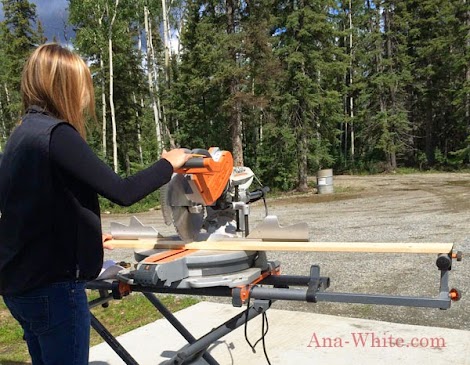
Slide the board down so it meets the guide and cut. Repeat. No measuring required!
After I had all of my cuts I worked on the curved cut out on the bottom edge. I got to use the jig saw again and have to say, it gets easier each time.
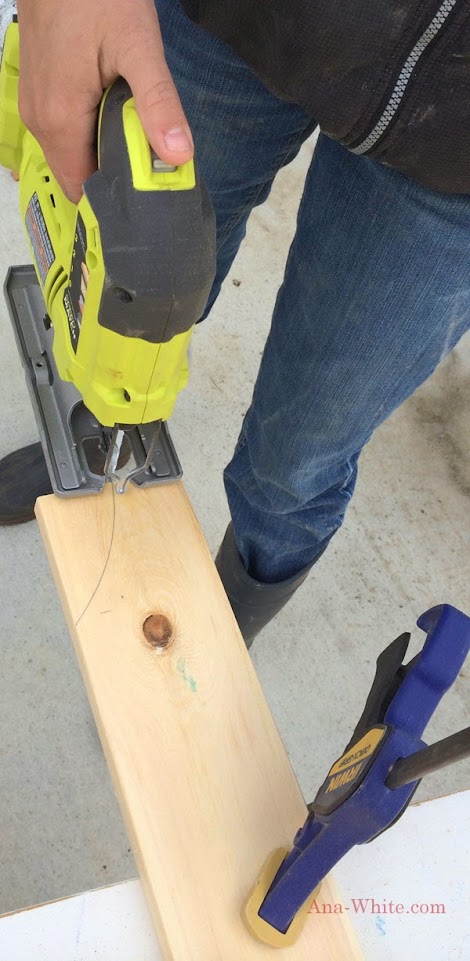
Practice makes perfect, well almost perfect. Definitely an improvement at least!

Once I had both cuts done, I clamped the two boards together and sanded them.

And then marked the insides of the boards for shelf placement. NOTE: You can place your shelves anywhere you like or even add or remove shelves to fit your dishes.
Now it was time for assembly. Ana had her new Kreg Jig Foreman (you should have seen the look on her face when she first used it!), I got to use it too!!!
It was pretty slick, I gotta say. I haven't had much experience with the Kreg Jig, but this thing made it go so smooth.

You just place your board where you want the pocket hole drilled face down,

And pull the clamp down, and voila! pocket hole is drilled!!!
Once all boards were predrilled, I began attaching them with Pocket Hole Screws and wood glue. I started from the top attaching the shelves.

Once I had the 3 shelves attached. I added the under support and the front support.
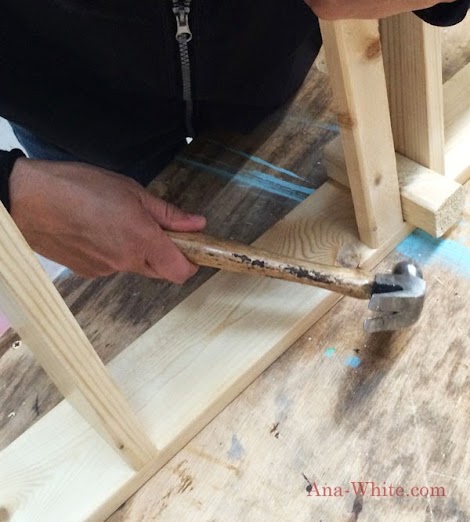
Since it's 1-1/2" gap between the shelf and the rail, I just place a few 2x2 blocks (that are 1-1/2" x 1-1/2") as spacers. The rails are also pocket holed on from the back side.
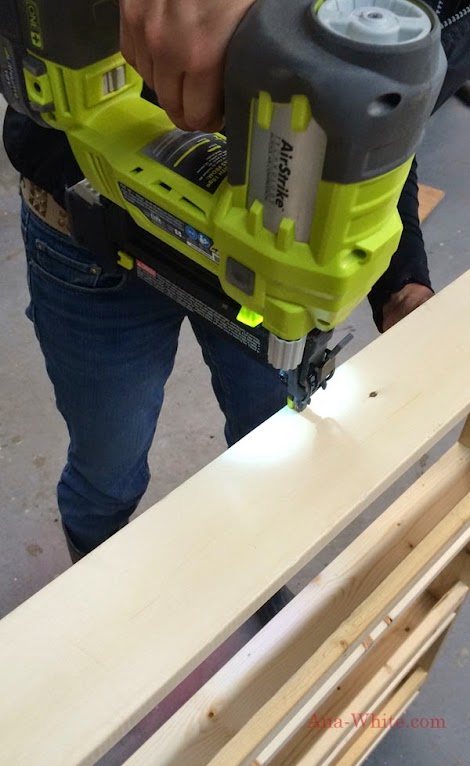
All that was left to do was glue and nail the top board to cap it off.
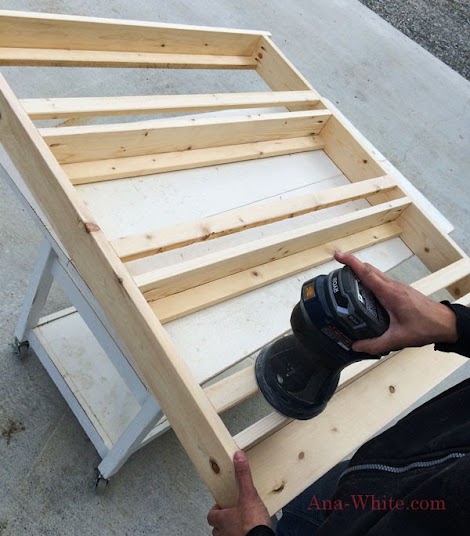
Now I just have sanding and staining left!
I used RustOleum Summer Oak Ultimate Wood Stain.
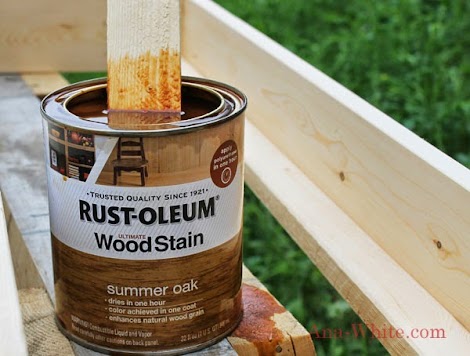
I applied with a foam brush,

And after about 7 minutes or so took a rag and wiped off all excess stain.

It turned out beautifully, and more importantly, simple and inexpensive! If out in the elements, also add an outdoor top coat to protect your finish.
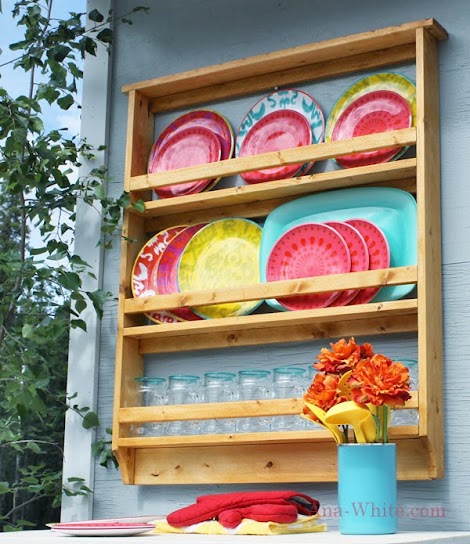
I decided not to add hooks at the bottom, but you could for mugs too! (NOTE: The Target Mugs were a little tight on the bottom shelf - maybe leave the rail off the bottom shelf if you are using these mugs)

Another project done!
Have fun displaying your favorite dinnerware indoors or out on this super simple and stylish plate rack!
Thanks so much!
Jen
