

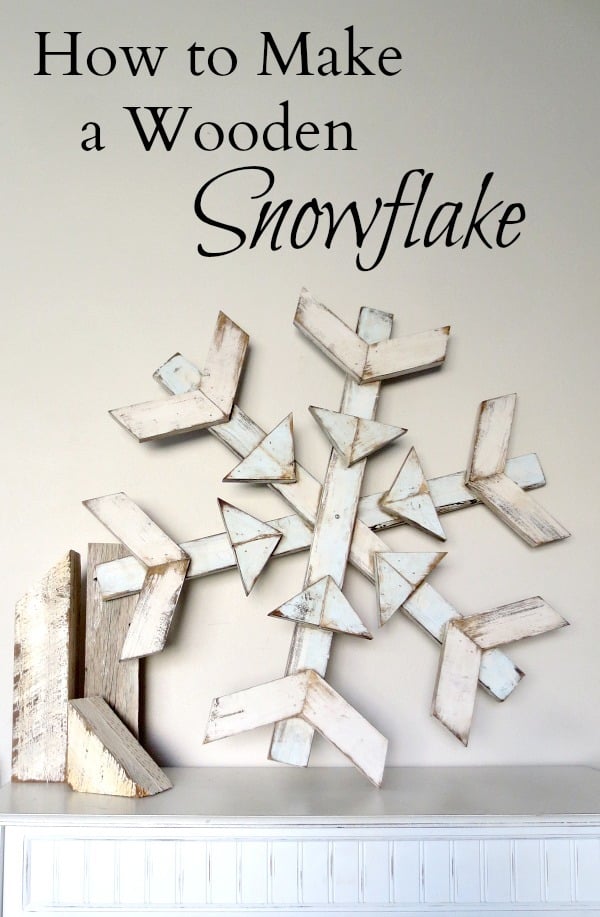
Wooden Snowflake Tutorial
I’m a sucker for snowflakes. There, I said it.
To me, they are a perfect example of artistic use of symmetry, and the only version of mathematics that doesn’t make my head start hurting. (Typing the word “mathematics” just made my head start hurting.)
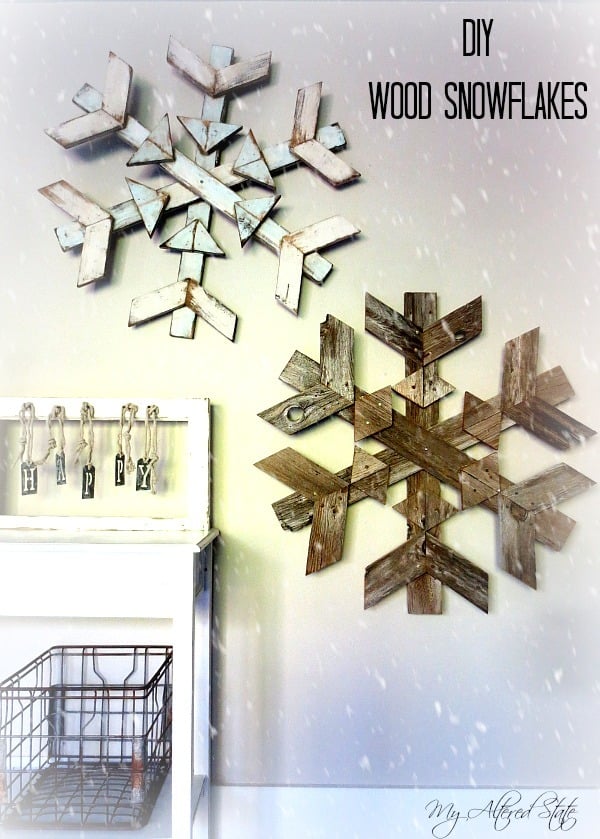
Last winter, I shared a tutorial on how to build large, Reclaimed Wood Snowflake.
This time around, I came up with a slightly modified version.
For this tutorial, I used wood with a lower sliver potential rating,
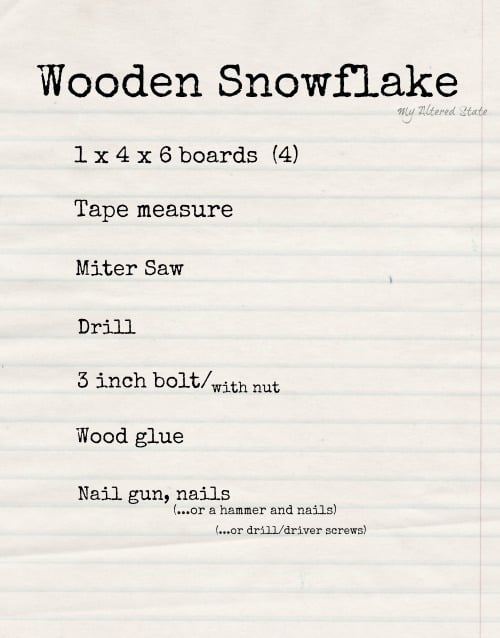
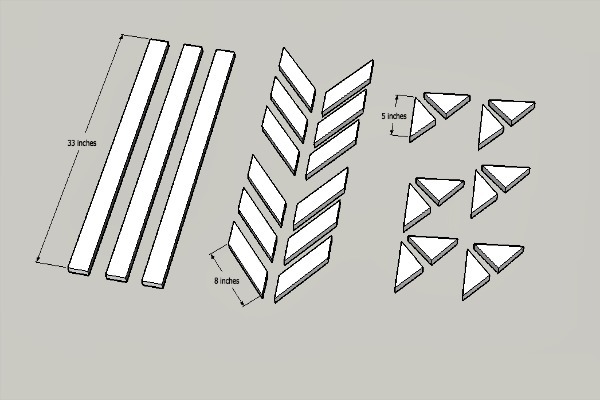
Wooden snowflakes are made up of:
3 arms @ 33 inches long
12 V pieces (which equal 6 “V’s”) @ 6 to 8 inches long, at a 30° angle
12 triangles (which equal 6 bigger triangles), also at a 30° angle
*The smaller the snowflake, the shorter the V pieces will need to be. For example, If you made a snowflake with arms that are 25 inches long instead of 33 inches, the V pieces would need to be shorter or else they would overlap each other when you put it together.
Instructions
Step 1

Attach the Vs with screws or nails on the 3 arms
Step 2

Attach the triangles with screws or nails on the 3 arms
Step 3

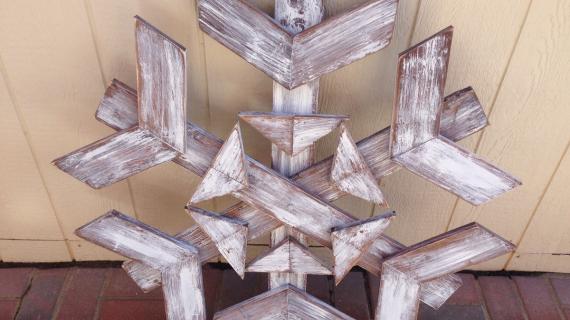
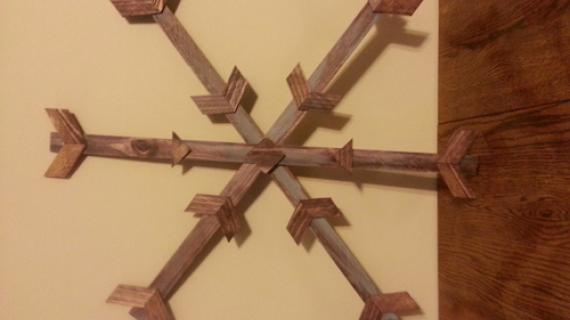
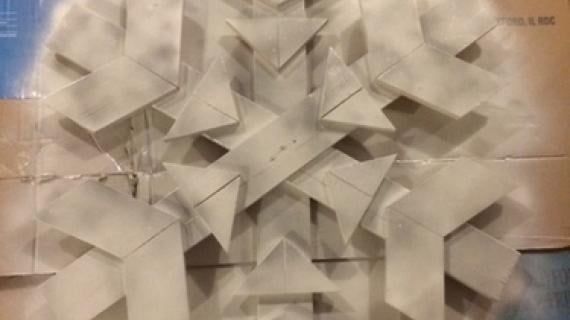
Stack the assembled arms as shown in the diagram.
Step 4

Drill the center hole and secure with a bolt to keep the arms from twisting.
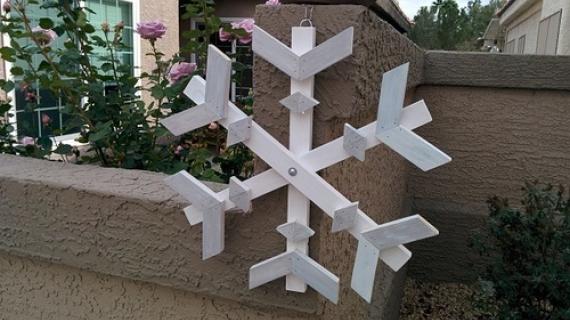
Add some hardware to the back of one of the arms to hang.
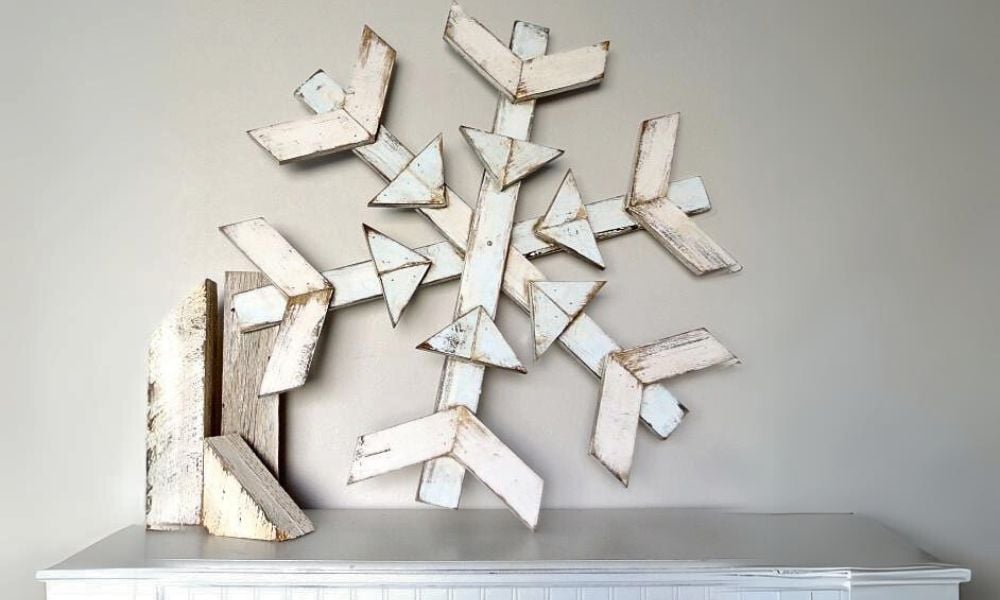
The completed snowflake should look like this.
Watch the video of the snowflake tutorial.
Comments
MikeO
Sun, 12/13/2020 - 11:26
What's the paint/stain…
What's the paint/stain finish you used? Love the colors
C56sera
Sun, 11/20/2022 - 08:09
Snowflake video
the snowflake link is not working. Takes me to a welding site.