So we got our loft floor beams up, are you ready for the next step?

One of the big reasons I wanted to add a timberframe to our cabin was I loved the wood ceilings with beams supporting tongue and groove.
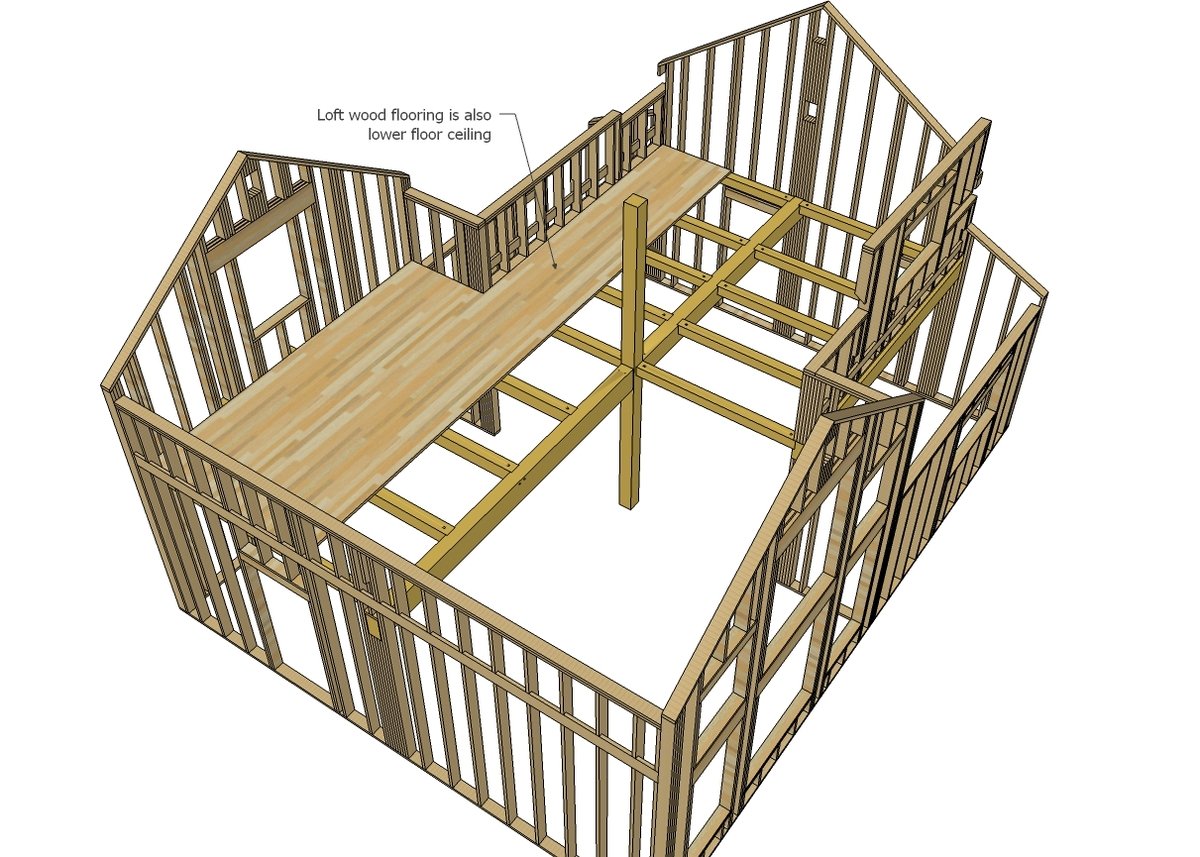
And the really cool thing is the upper floor flooring is also the lower floor ceiling. We will be using 1-1/2" thick locally grown and milled Alaska white spruce for the loft flooring, and as we put it down, it will also be the finished ceiling for the lower floor.
But the next step is not putting the flooring down.
There's two big drawbacks to doing a floor/ceiling system like this. The first is there is no insulation from noise, so rowdy kids running around upstairs is very audible downstairs. Not a big issue in this cabin where the entire upstairs loft is open anyways, but something to possibly consider when building a home with more enclosed and formal spaces.
The second big issue is utilities and lighting. In a normal, framed floor system, utilities can just be hidden between the joists. But on this ceiling, everything is exposed. You can box things in, but you will loose your authentic wood ceiling when you do.
Since we don't have a bathroom upstairs and no ventilation or heat systems to conceal in this cabin, the big challenge is electrical. Specifically the downstairs ceiling lights.
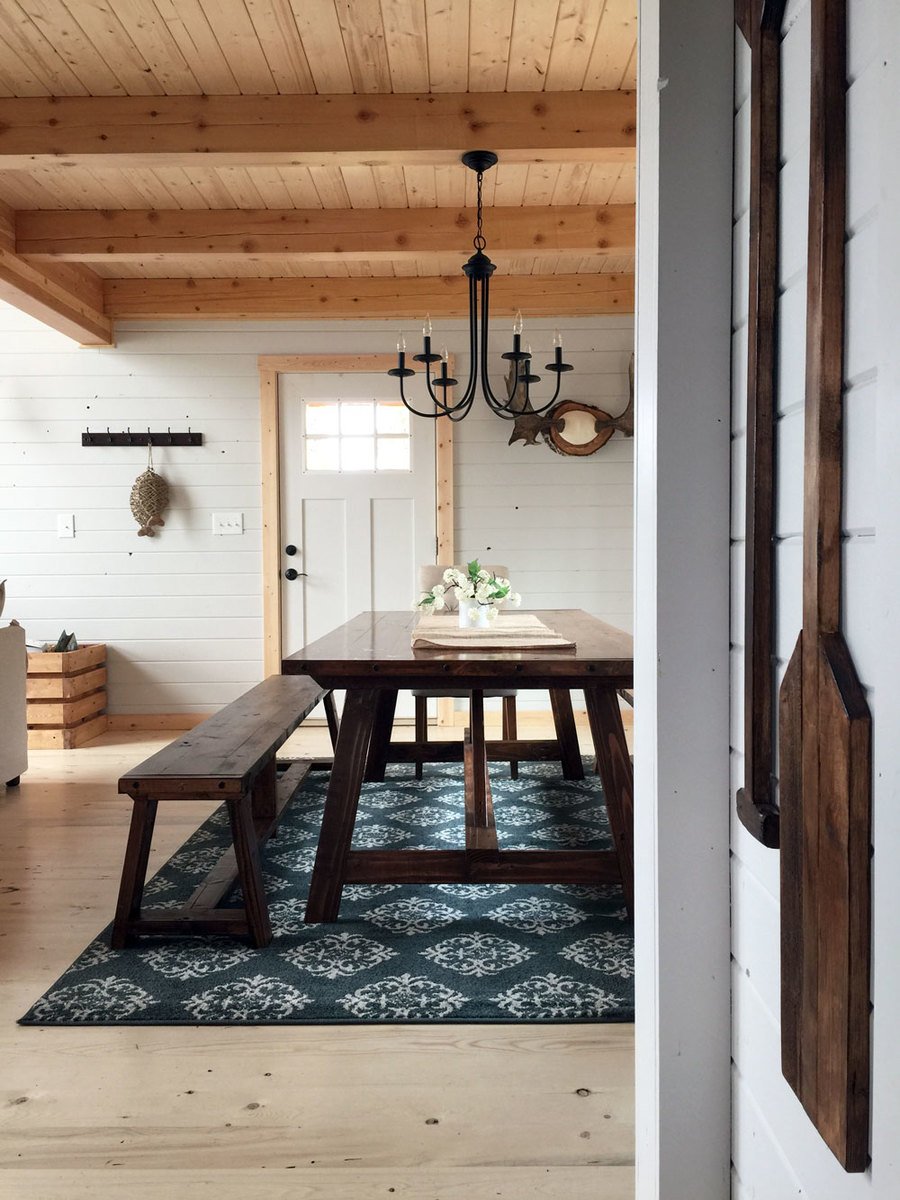
In this cabin, I plan to do most of the lighting in the walls. I did not want to clutter the ceiling with lights hanging everywhere, distracting from the beautiful timber work that we hand cut -

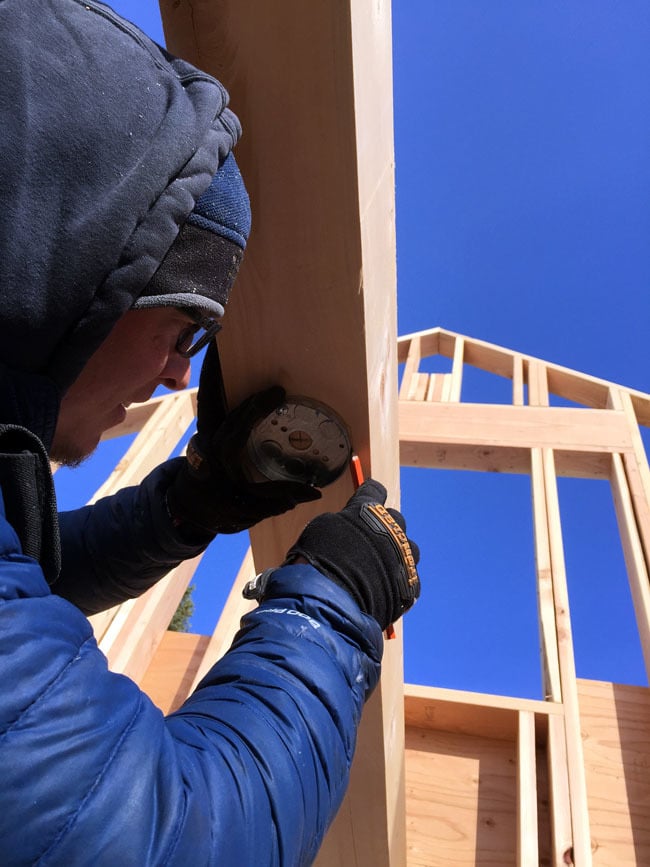
But there were certain spots, like the dining room, that you just have to have a hanging ceiling light. I used a couple of sawhorses (plans here) to create the shape and size of a dining table to figure where the light needs to go. This isn't one of those times where you can make a mistake. We are about to cut right into that beam, and there's no going back. A mistake means getting a new beam.

Once I figured out where the light should go in the beam above the table, we traced out shallow ceiling boxes.

Then we set our router to match the depth of the shallow ceiling box.
So now for the hole for the wire -

Through the beam, we drilled a hole.

Then we hand routered out the box. Hand routering is hard enough - try upside down, with sawdust flying, while standing on sawhorses.

The box fits inside the beam perfectly.
But now what about up top? How do we hide the wire?

Up top, we used the router to cut a channel on the tops of the beams, that will take the wire from the light location to a wall.

Gravity may have been on our side here, but crawling along a beam using a router to cut a channel out is not easy. I had to fight for each and every ceiling light installed in this cabin.

Once all the channels were cut, we have to thread the wire through now, because once we finish the loft floor, there's no going back.

The wires get stuffed in the channels,

And then stapled down. Note to self - don't nail the floor through the wire.
Every single light placed in the ceiling created a significant amount of very hard work.
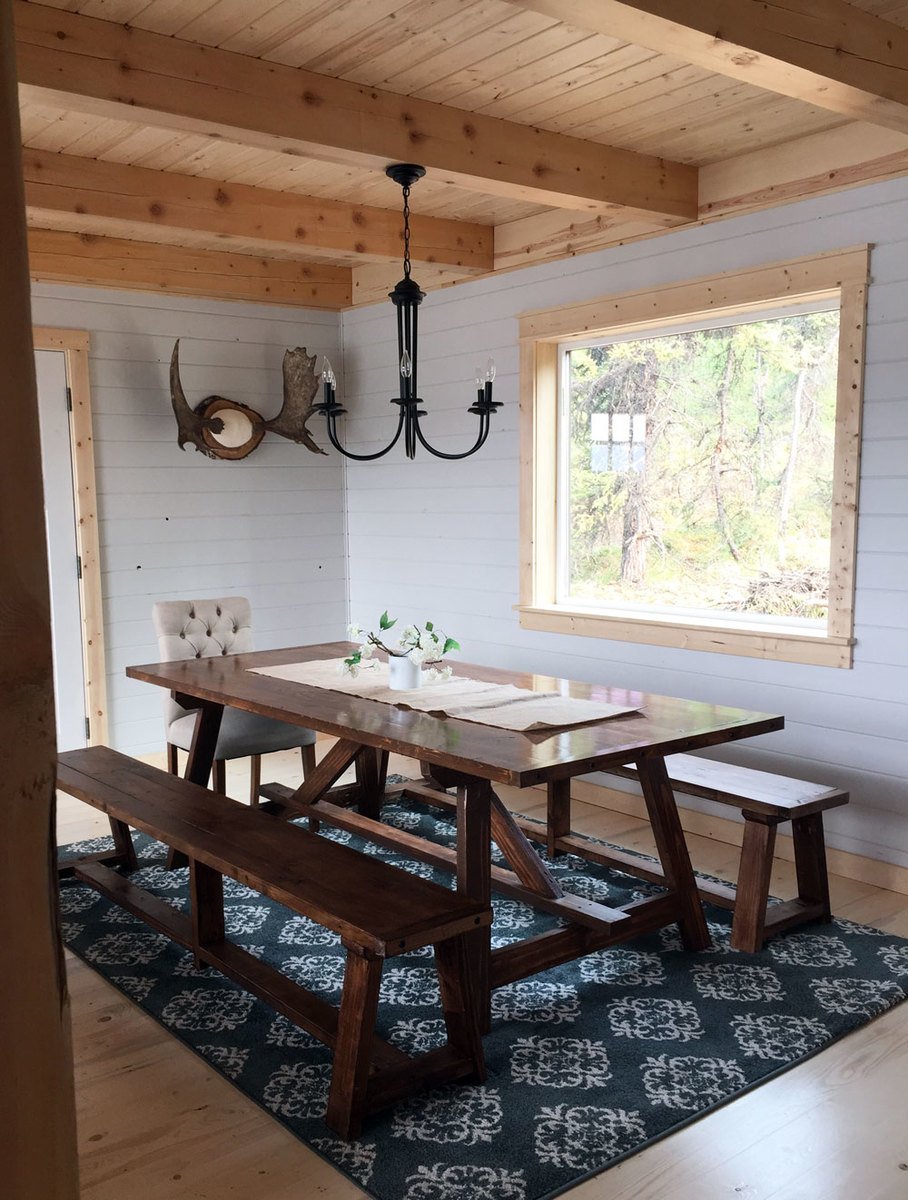
But so worth it!
I'll have to get all these furniture plans to you soon!
XO Ana + Crew
Comments
1988ashlo
Mon, 11/11/2019 - 11:45
House flooring
What kind of flooring did you choose for your house? Where did you get it, at Lowes? Can you send me the info please? Thank you so much! God bless!