
What is the scariest part of working on a project???
If you are new to building, you'll probably say cutting.
But if you've got a project or two under your <tool> belt, my guess is you'll say painting or staining.
Painting or staining isn't necessarily difficult or expensive. The reason it is so scary is painting or staining can have the biggest impact on your project. It can take something drab and make it amazing, or take something amazing and make you want to give up and start all over again from scratch.
On a small project, if you hate the finish, you can just do a little sanding and a little refinishing - or add another coat of stain.
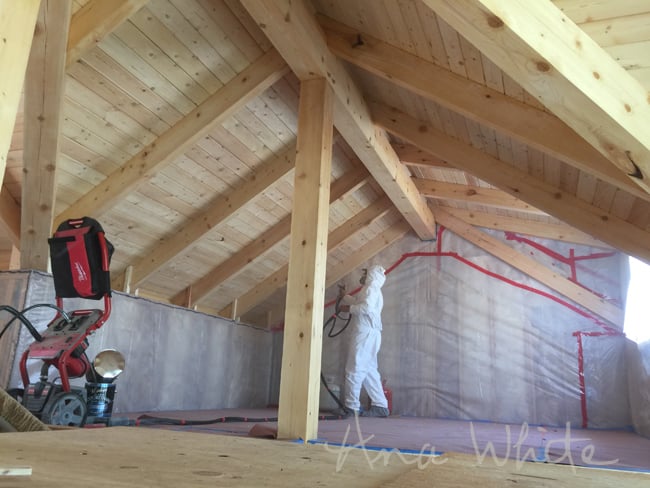
But what if your project looks like this?
After we finished up insulating our cabin and adding the vapor barrier, we realized that not only had we sealed the cabin up -

But we had taped off the entire cabin, except for the woodwork for finishing. The windows were covered, all the doorways, the walls.
Just ask anyone who has ever taped off a home to paint - this is an opportunity you don't let go.
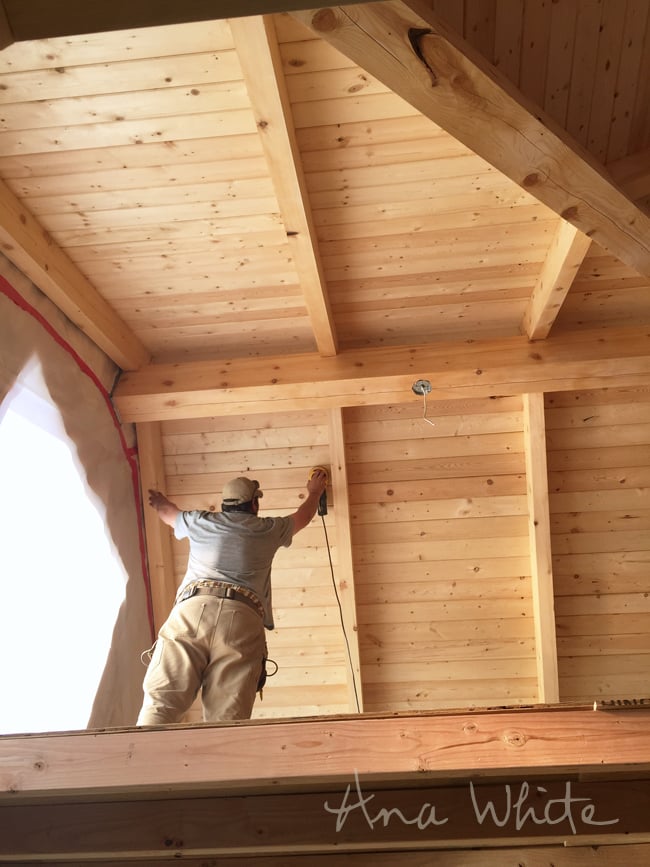
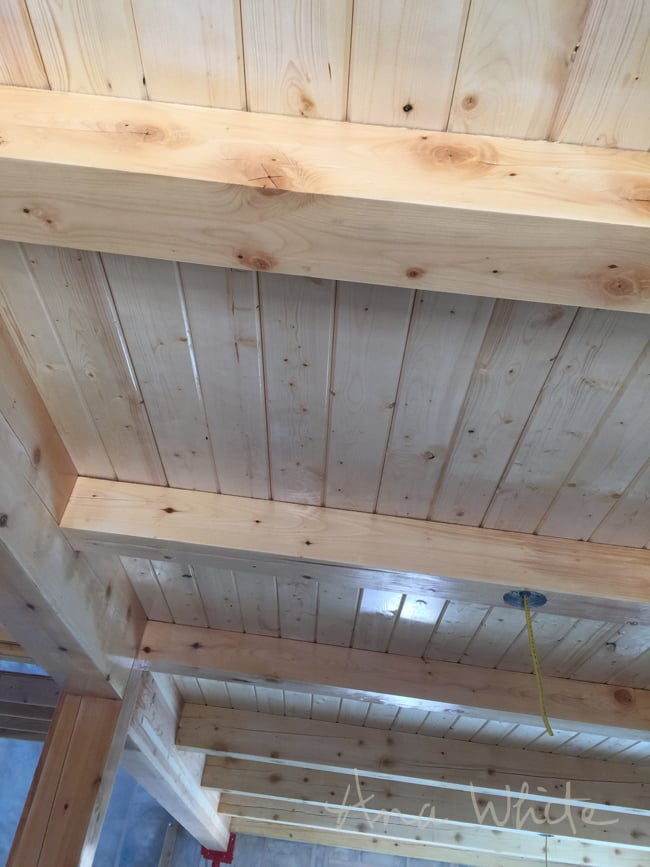
We sanded all the beams and rough spots in the tongue and groove in preparation for finishing. Remind me to sand the beams while they are on the sawhorses next time, please.
The original design plan for the cabin interior woodwork was to stain the beams and exposed wood tongue and groove a medium neutrel brown. But after much debate, we decided that staining wood, working overhead and getting in tight spots - even with a sprayer - would be next to impossible to get an even, consistent stain color. Especially since we had spot sanded - any stain would exposed sanding scars that I promise you exist when you are sanding overhead on a ladder.
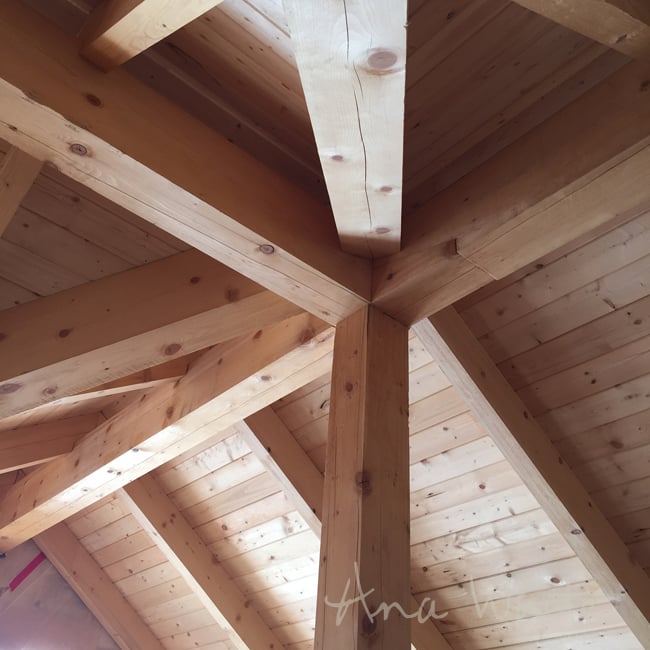
That, and I'd kinda fallen in love with the natural wood, loving the light neutrel color of our locally grown and harvested Alaska spruce.
So we decided to go natural, and just protect the wood ceilings.
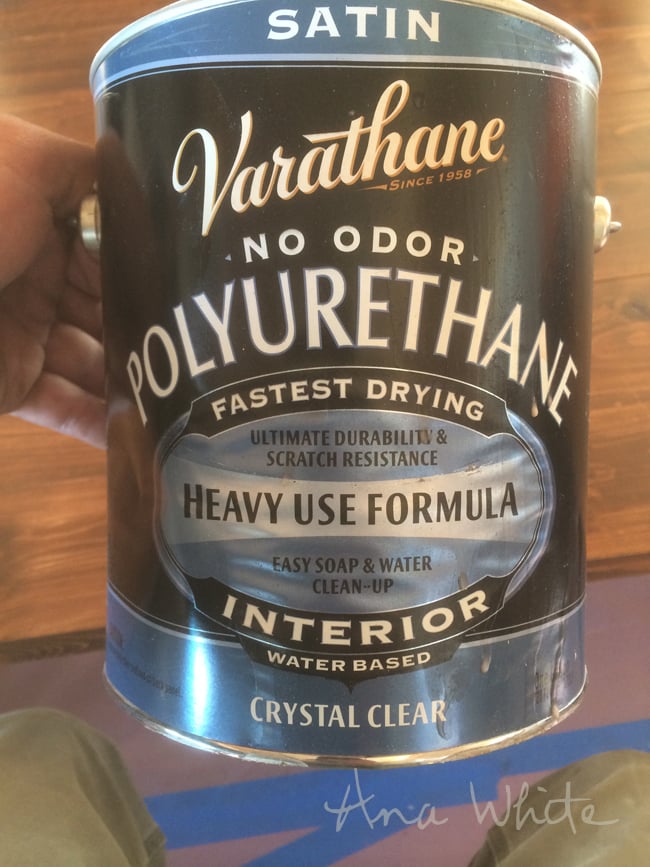
I've used alot of different clear coats over the years. Most all do the job, but this one - Varathane Crystal Clear - is the one that yellows the least.
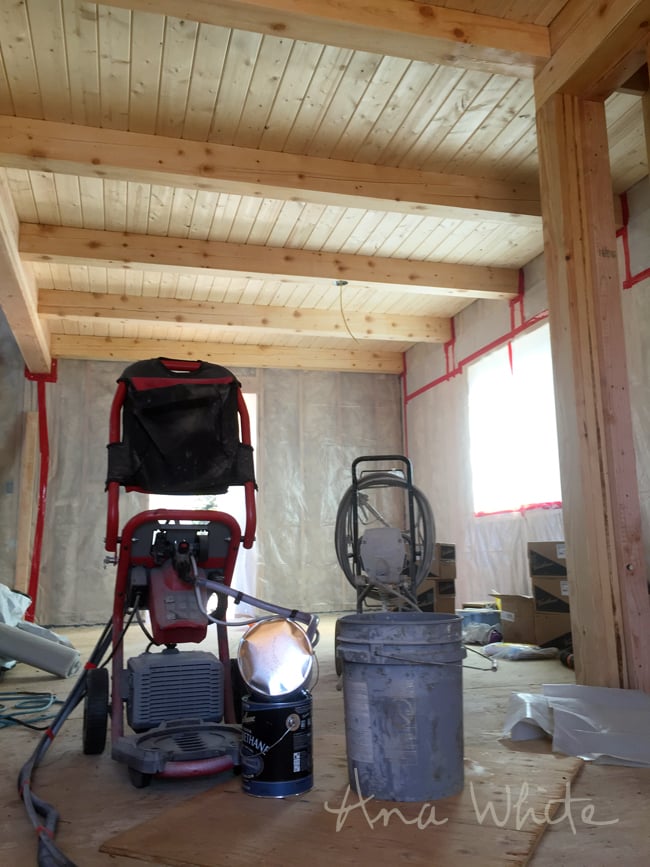
We set up our paint sprayer in the middle of the cabin,
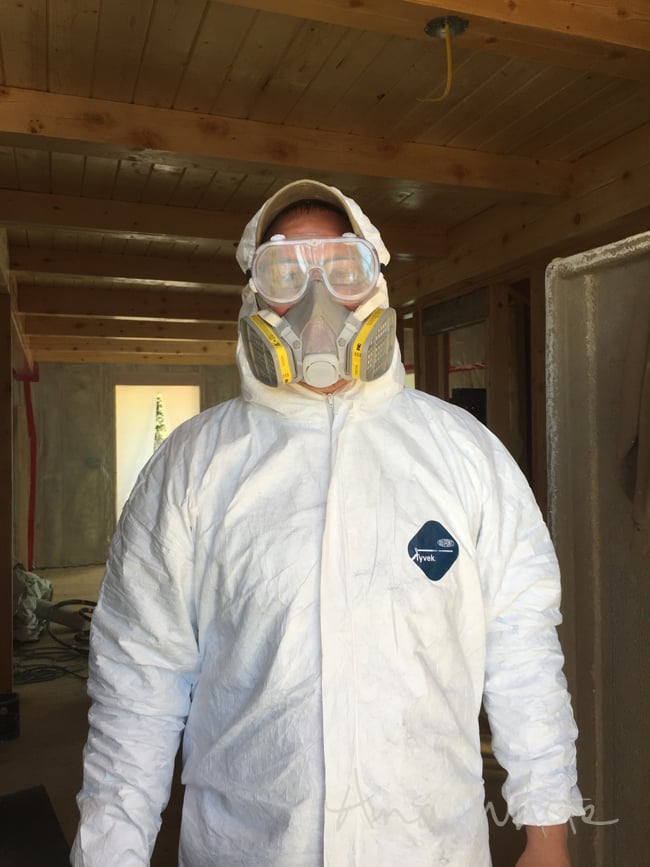
This guy suited up, smiled for the camera, and kicked us all outside to work on siding -
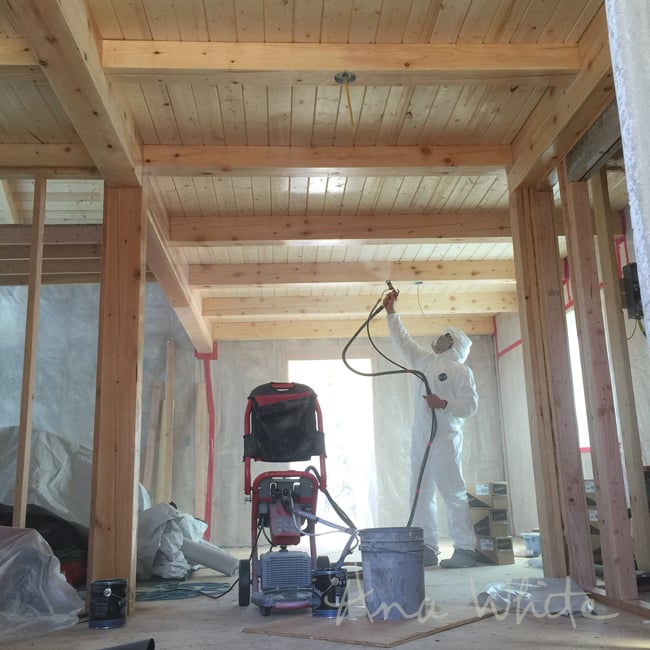
And sprayed,
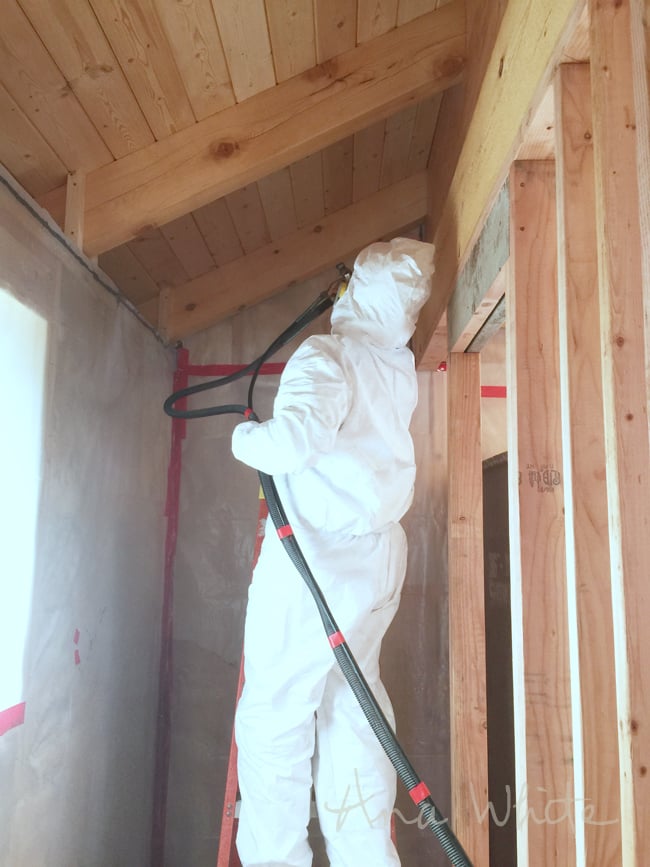
And sprayed,
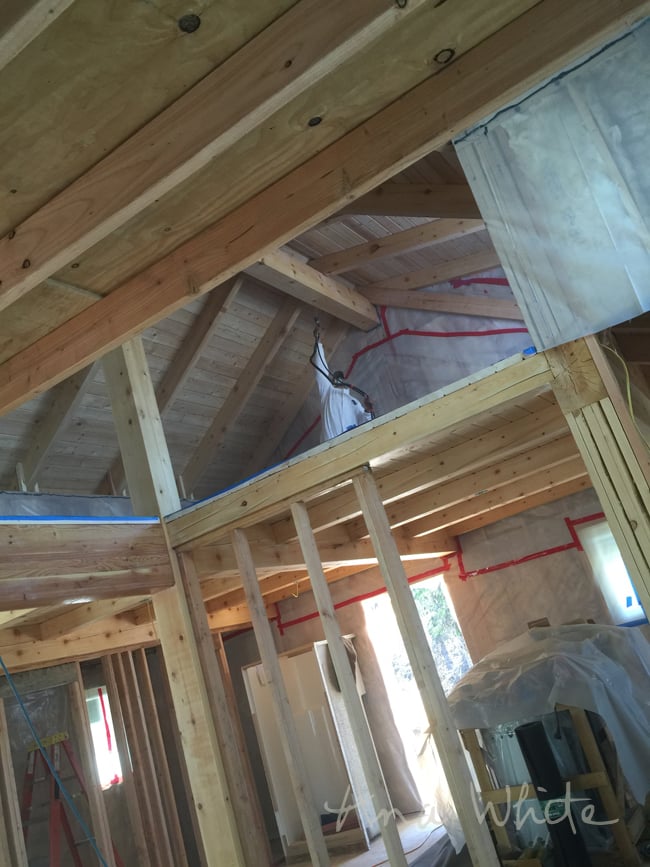
Then moved upstairs, and sprayed and sprayed -
After six hours of spraying, three coats of clear coat later -
It was done!
This would have been a huge task by brush, cutting all the beams in. But using the vapor barrier as a drop cloth and spraying - we saved hours and hours of hard work, and were able to reach into tight spots, up to 18 feet overhead - easily and quickly and consistently.
So here's the before and afters -
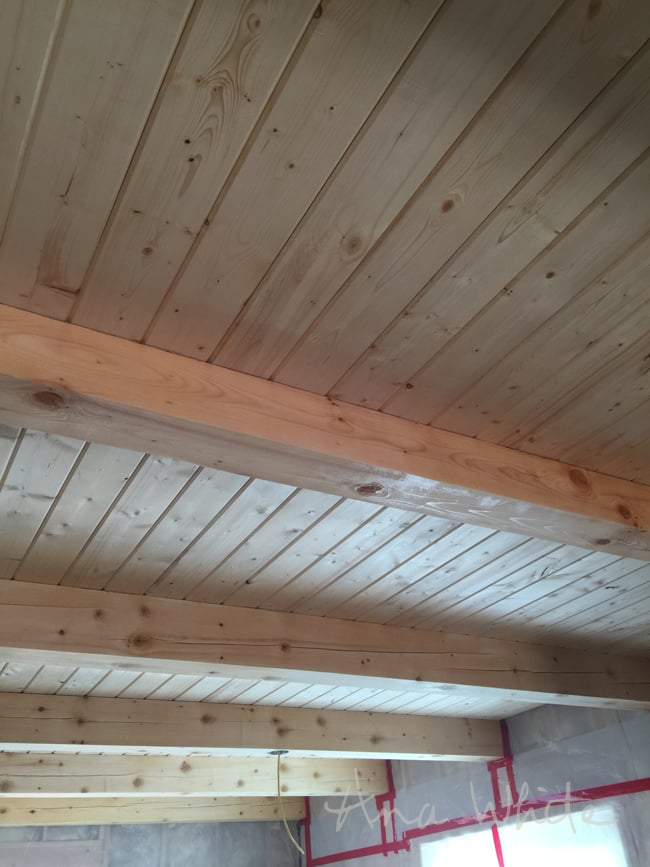

This is one of those times when you celebrate that they look exactly the same. Thank you Varathane for making a truly Crystal Clear Polyurethane!
So happy with how this turned out!!!!
No more holding our breath hoping it turns out good on this finish ... because the spraying is done!
Sorry for the corny pun.
Have a great one!
XO Ana + Crew
Comments
handmadewithash
Wed, 08/26/2015 - 22:18
is that Varathane really no
is that Varathane really no oder?
Sharon Sloan
Fri, 08/28/2015 - 03:02
Awestruck
I'm new to your site, and awestruck by the things you've inspired me to try (I'm a DIYer, but never before a woodworker). However, this is like the topper on a wedding cake: absolutely stunning ceiling and I'm deep in envy! I just can't say "Wow" enough...
In reply to Awestruck by Sharon Sloan
Ana White
Fri, 08/28/2015 - 11:30
Hi, we're thrilled that you
Hi, we're thrilled that you found us! Can't wait to see what you build
first.