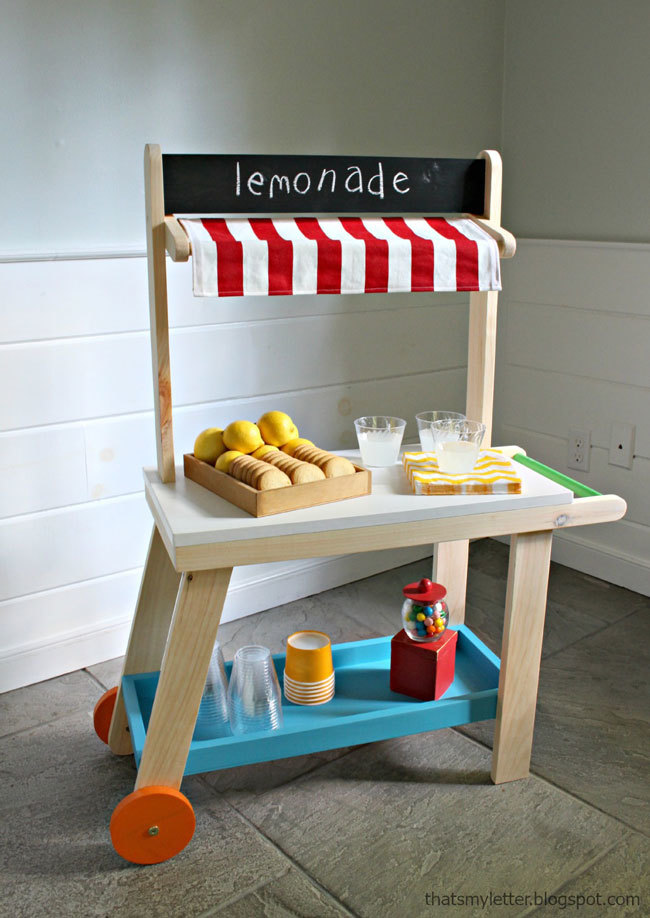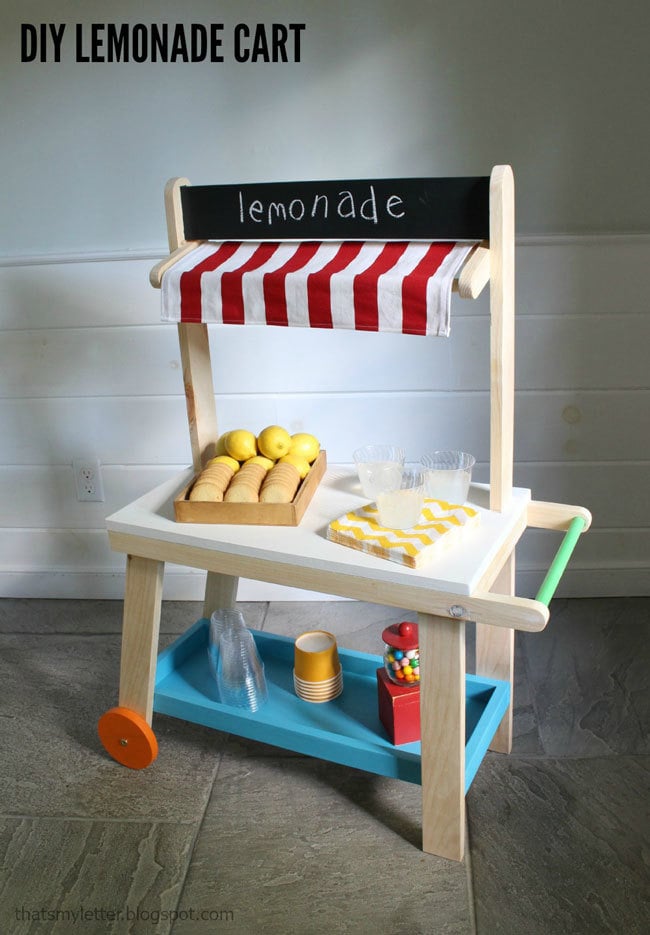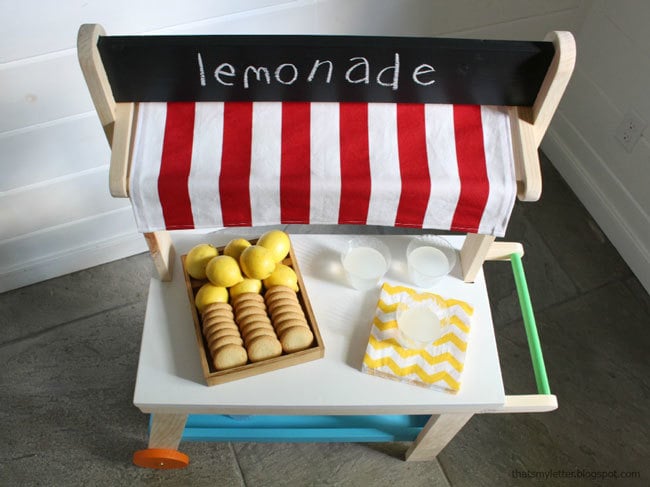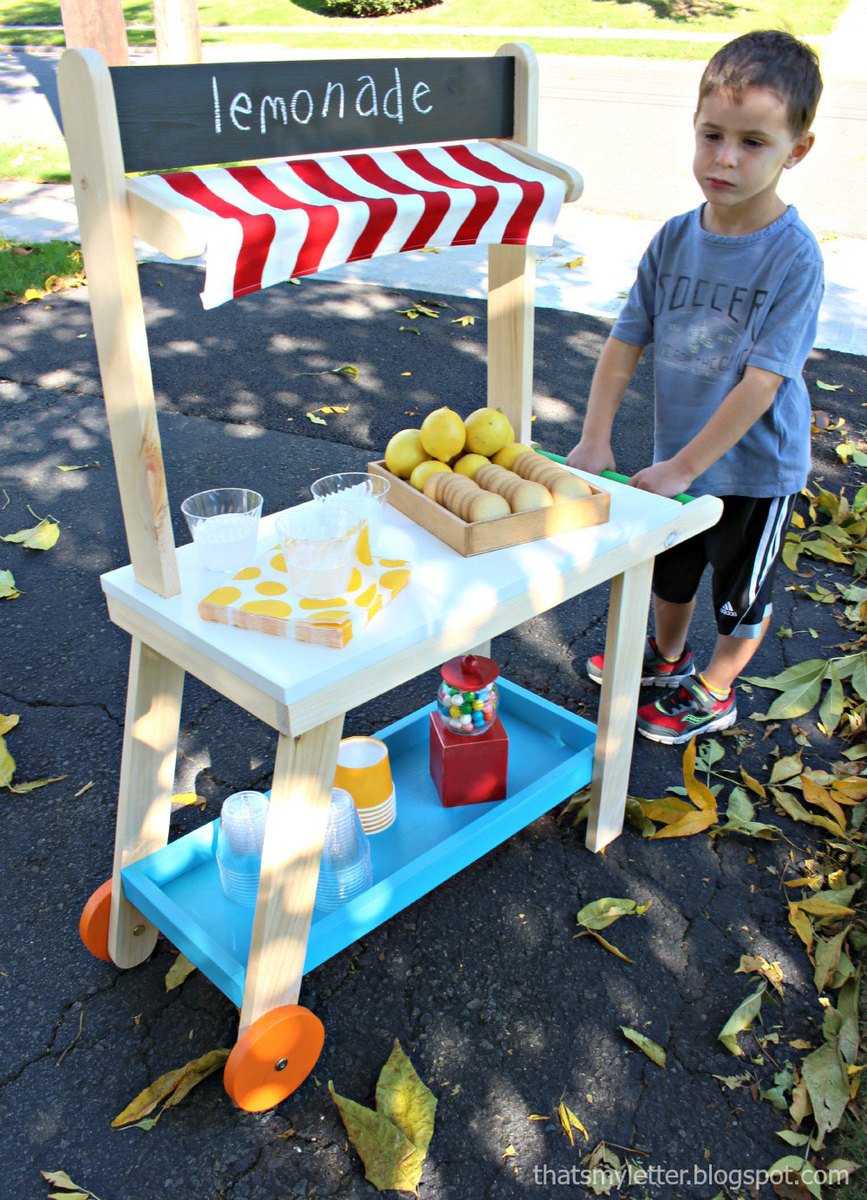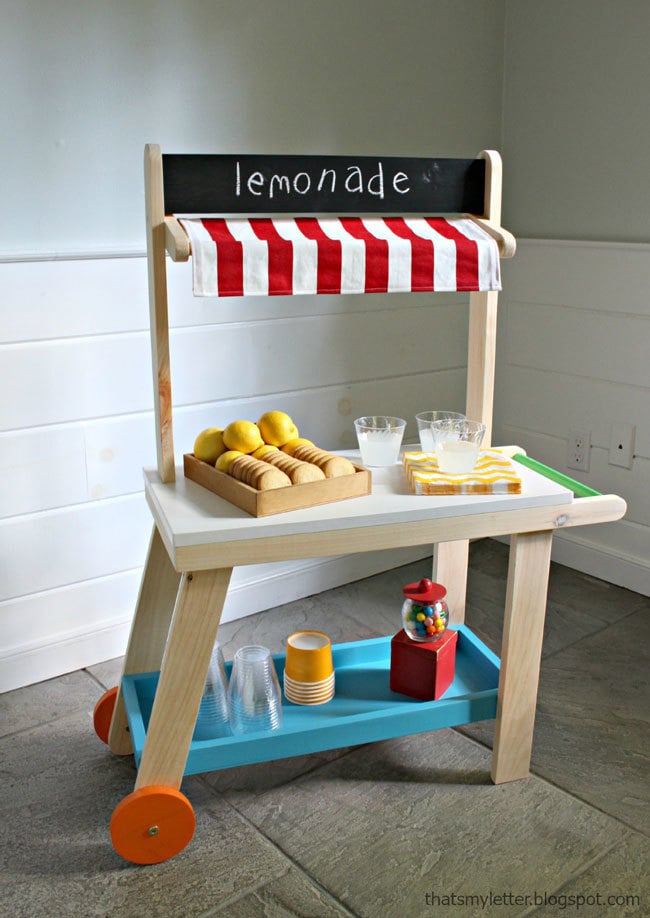
Make this adorable diy lemonade cart! Can also be used as a play cart bakery or popcorn stand! Free plans by ANA-WHITE.com
Preparation
2 – 1x2 @ 8 feet long
5 feet of 3/4" wood dowel
1 – 1x12 @ 2 feet long
1 – 1x3 @ 12 feet long
1 – 1/4" plywood @ 25-3/4” x 8-1/4”
1 – 1x4 @ 21”
2 – 2” bolts with washers and nuts for attaching the wheels
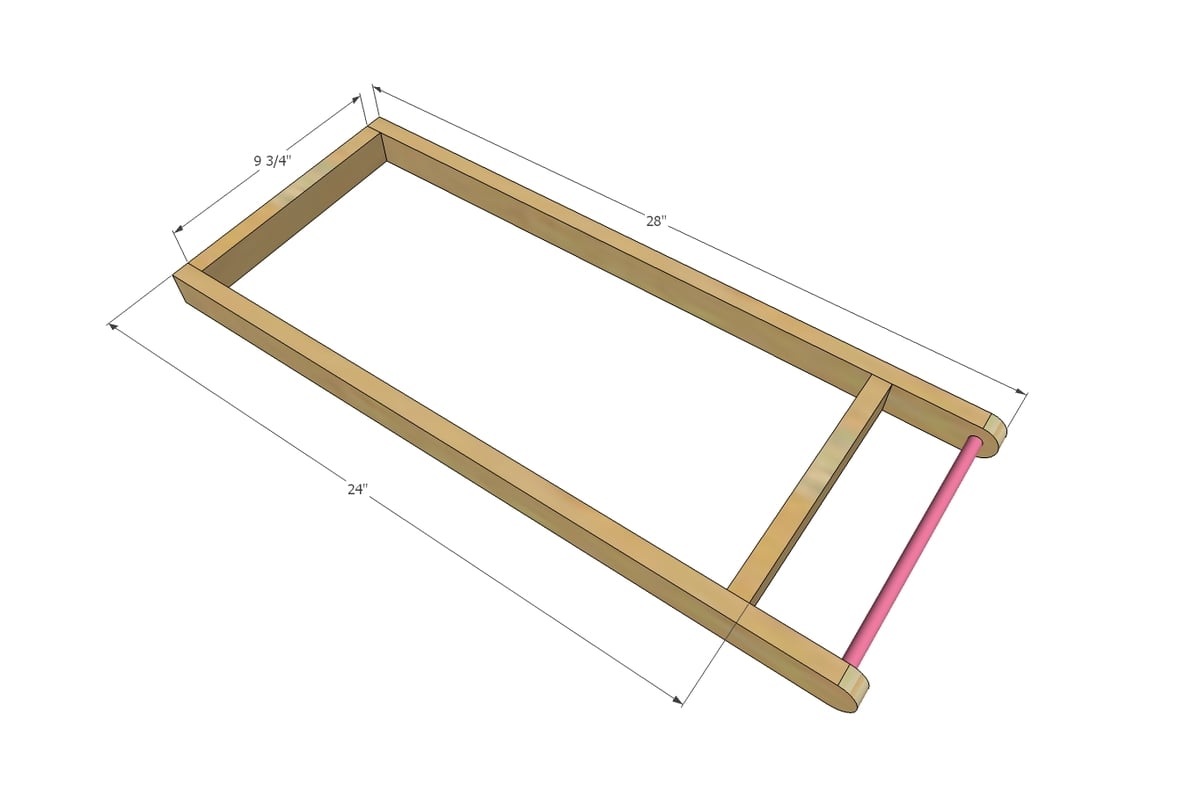
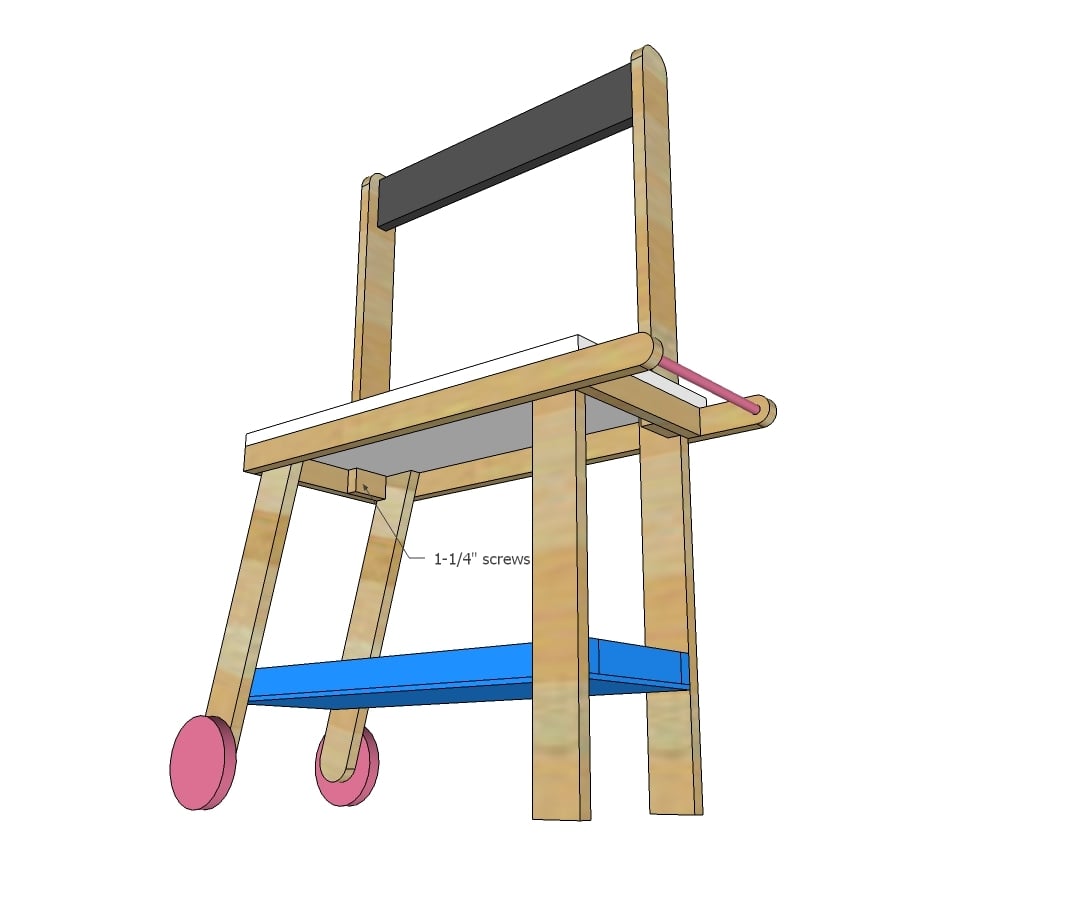
2 – 1x2 @ 28” - countertop front and back support
2 – 1x2 @ 9-3/4” - countertop side support
1 – 3/4” dowel @ 9-3/4” - handle
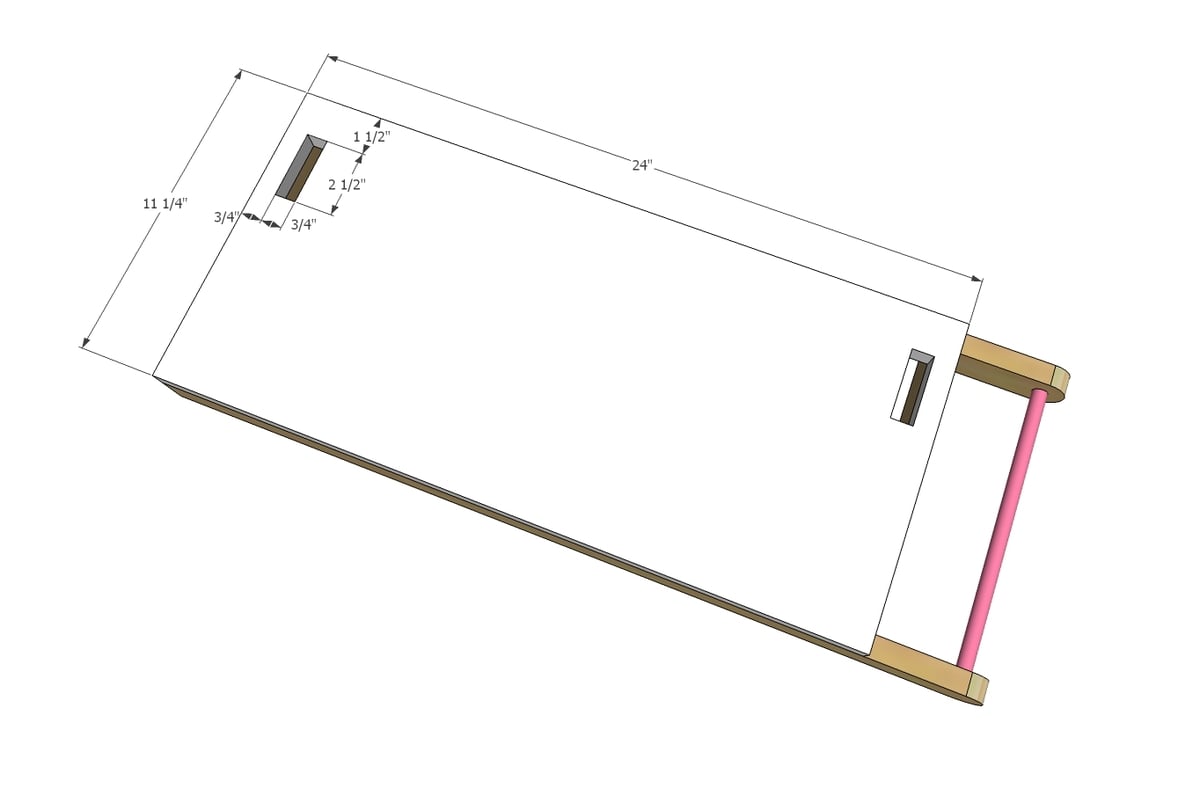
1 – 1x12 or 3/4” plywood @ 11-1/4” x 24” - Countertop
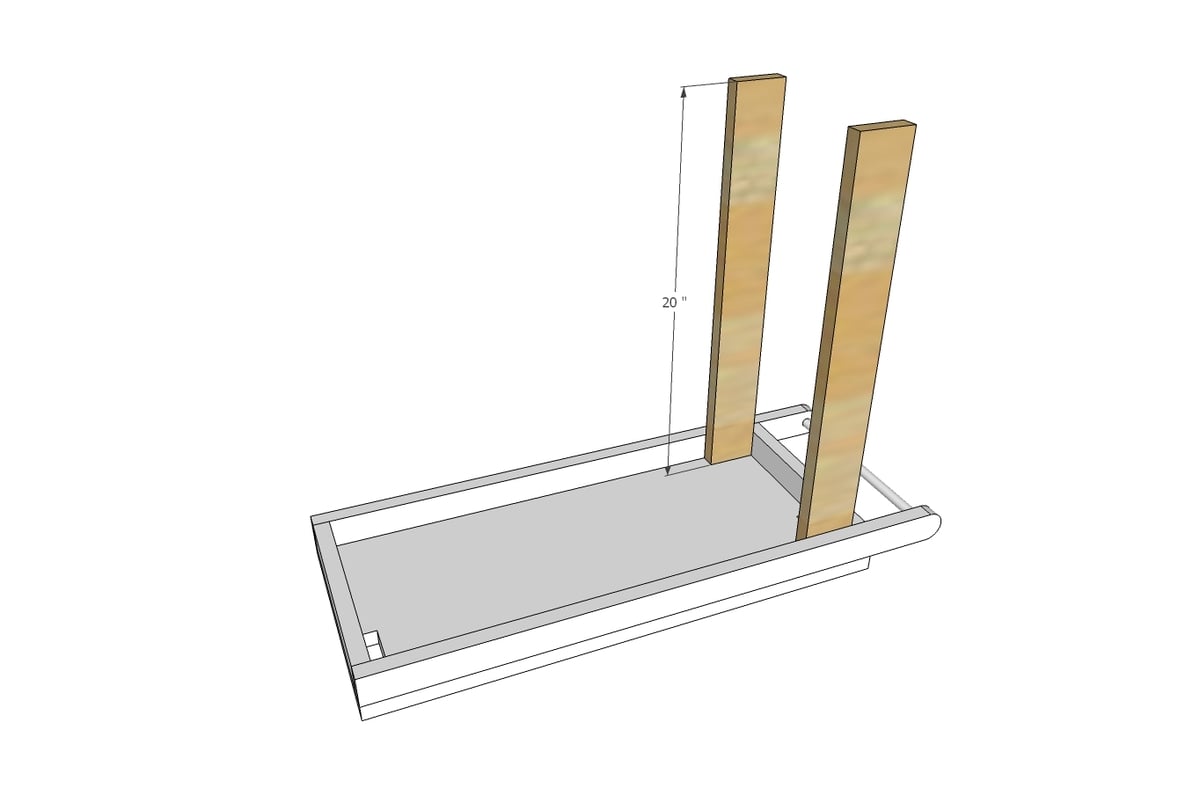
2 – 1x3 @ 20” - front legs
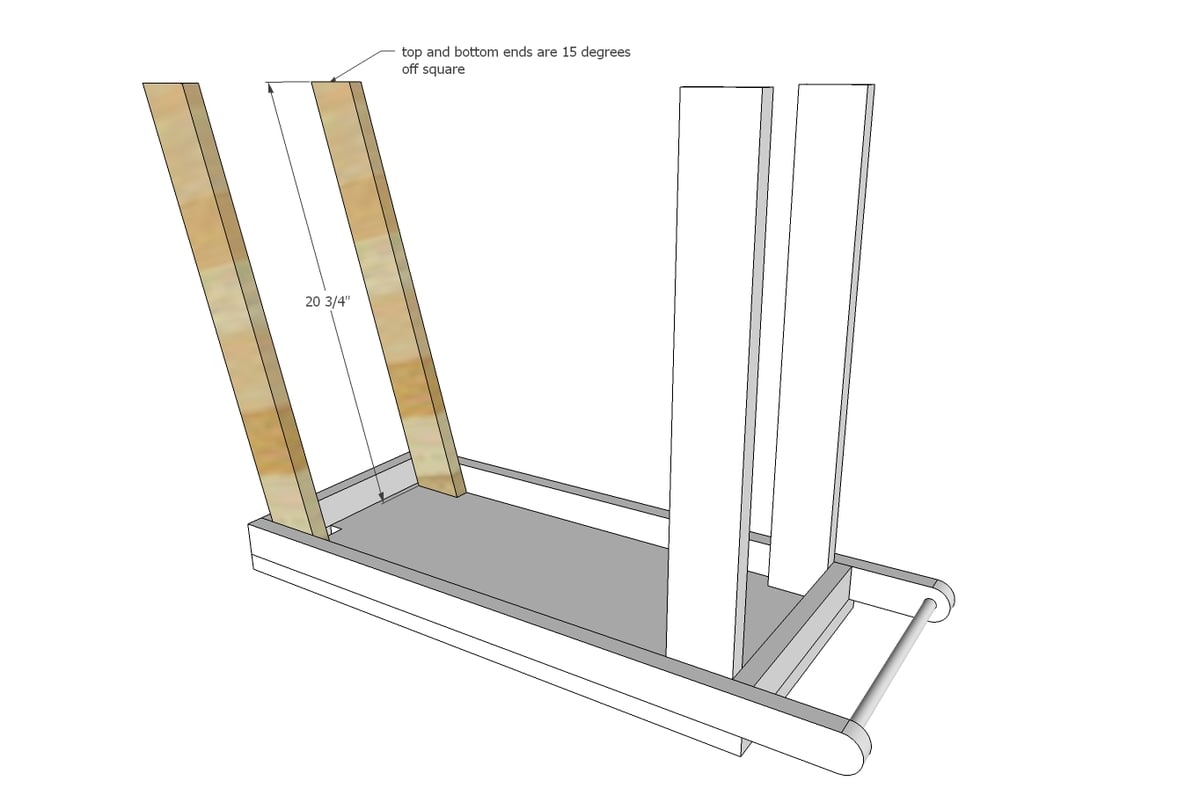
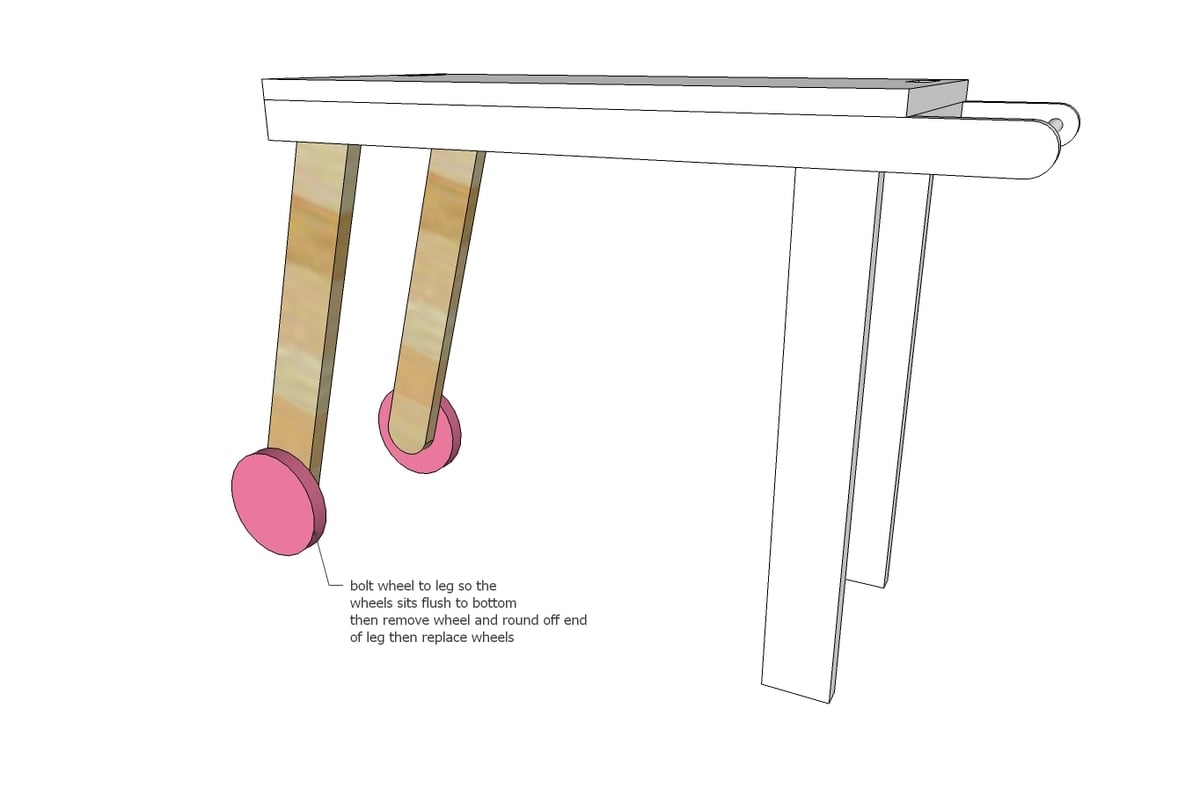
2 – 1x3 @ 20-3/4” long point to short point measurement, both ends cut at 15 degrees parallel – back legs 2 – 5” wheels (can be cut from wood or store bought 5” rounds)
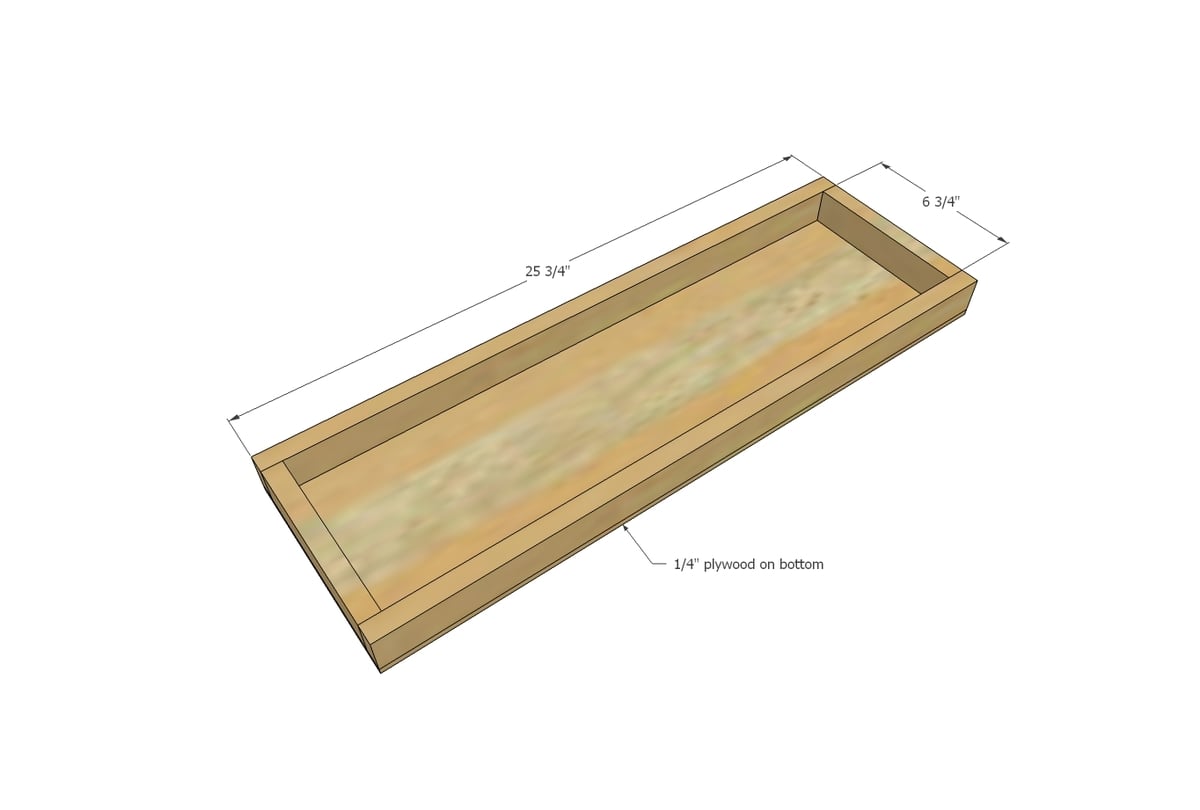
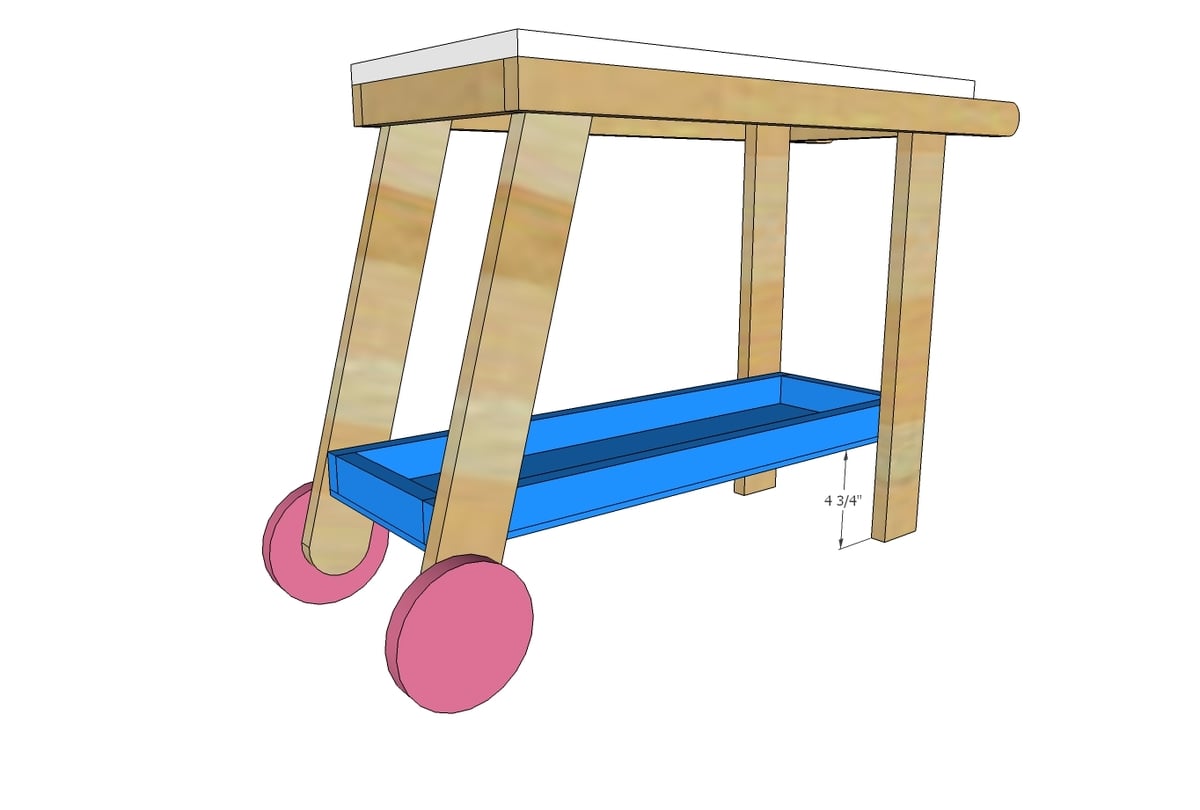
2 – 1x2 @ 25-3/4” - tray sides
2 – 1x2 @ 6-3/4” – tray ends
1 – 1/4” plywood 25-3/4” x 8-1/4” – tray bottom
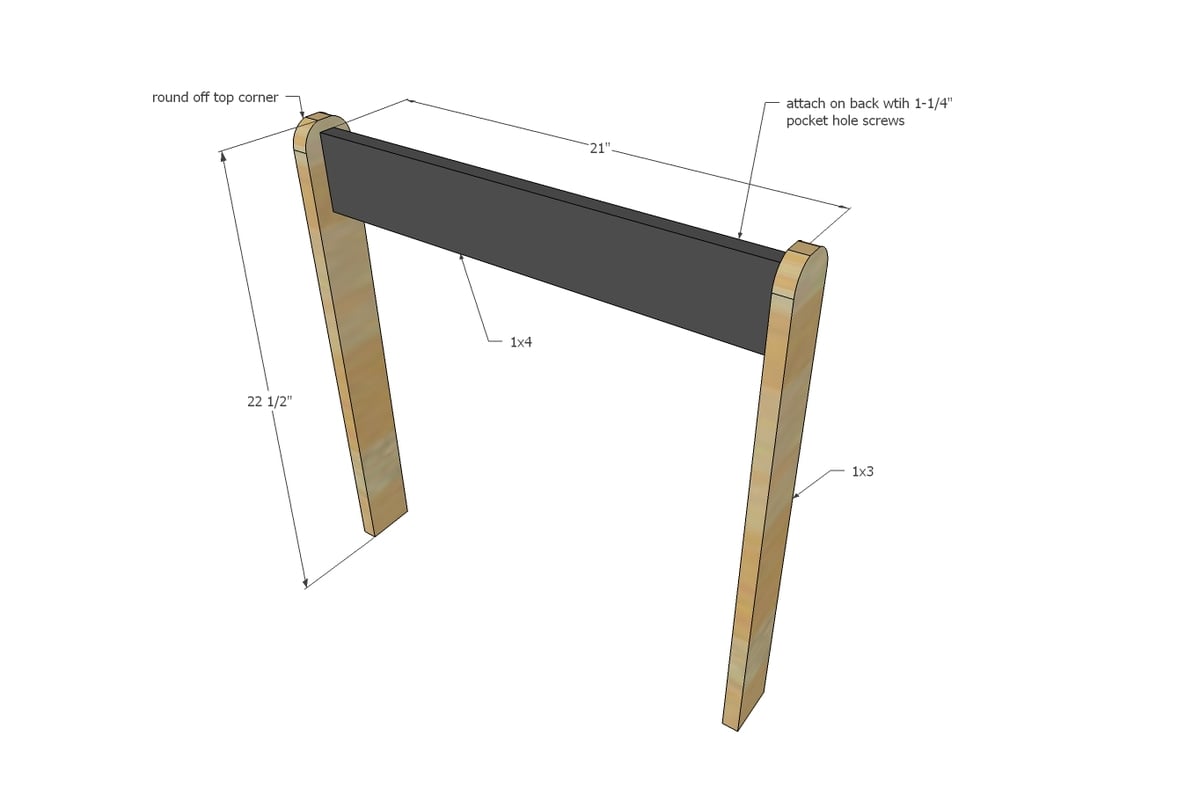
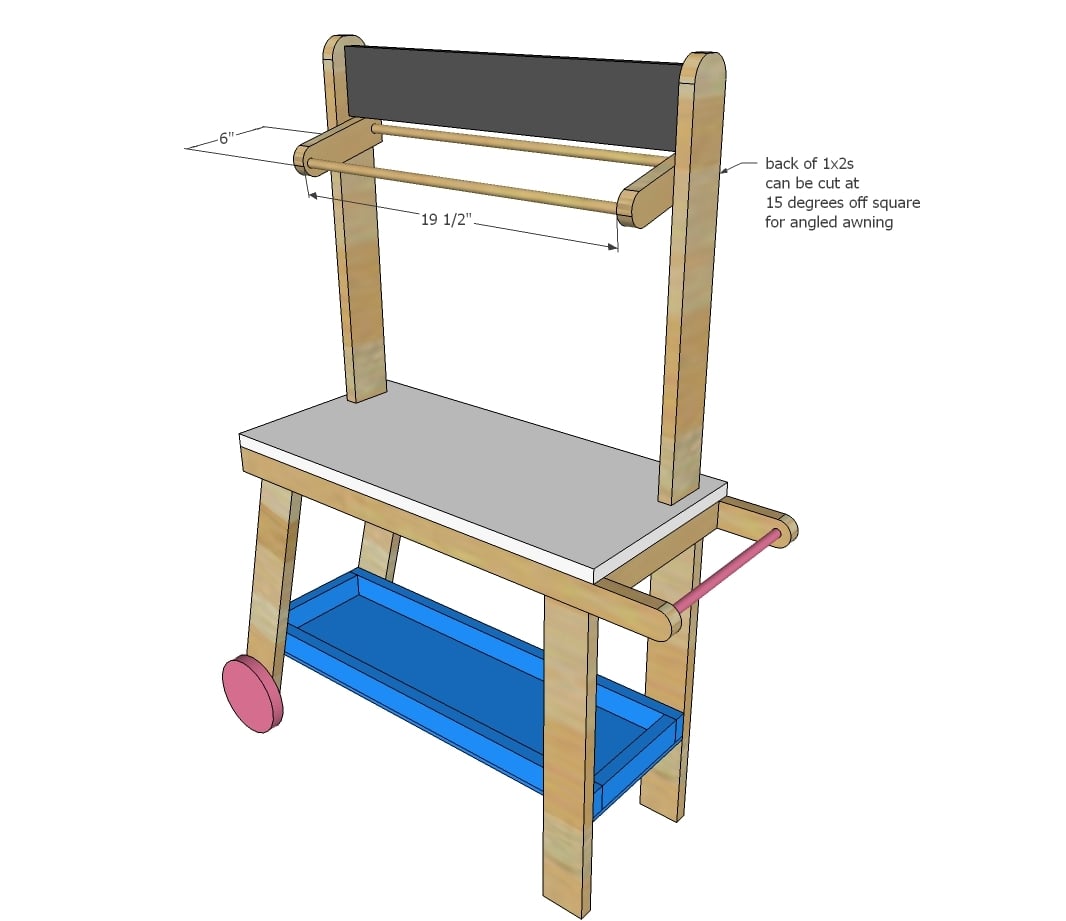
2 – 1x3 @ 22-1/2” – awning legs
1 – 1x4 @ 21” – awning sign
2 – 1x2 @ 6” – awning sides – back end can be cut at 15 degrees off square for an angled awning
2 – 3/4” dowels @ 19-1/2”
Please read through the entire plan and all comments before beginning this project. It is also advisable to review the Getting Started Section. Take all necessary precautions to build safely and smartly. Work on a clean level surface, free of imperfections or debris. Always use straight boards. Check for square after each step. Always predrill holes before attaching with screws. Use glue with finish nails for a stronger hold. Wipe excess glue off bare wood for stained projects, as dried glue will not take stain. Be safe, have fun, and ask for help if you need it. Good luck!
Instructions
Step 1
Step 2
Mark out notch outs in 1x12. Drill holes bigger than your jigsaw blade to start the holes. Then carefully cut out with a jigsaw. I know this is extra work to embed the awning in the tabletop, but with little kids, I wanted ot make sure the awning is secure and won't topple over in time.
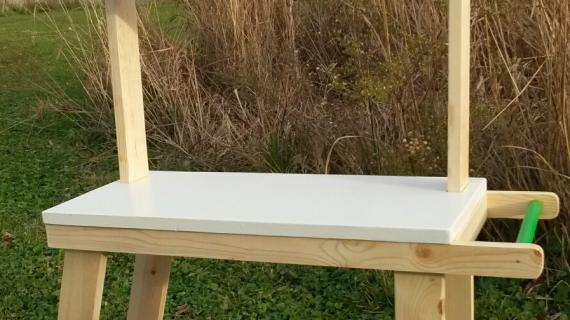
Make sure the cutouts will fit a 1x3 board through, but snug. Then attach the 1x12 to the top of the 1x2 frame with glue and nails at least 1-1/4" long.
Step 3
Step 6
Step 7
Step 8
Step 10
If you'd like to add the awning, I recommend building it separately and then attaching. Jaime provides a tutorial for sewing the awning here.
It is always recommended to apply a test coat on a hidden area or scrap piece to ensure color evenness and adhesion. Use primer or wood conditioner as needed.


