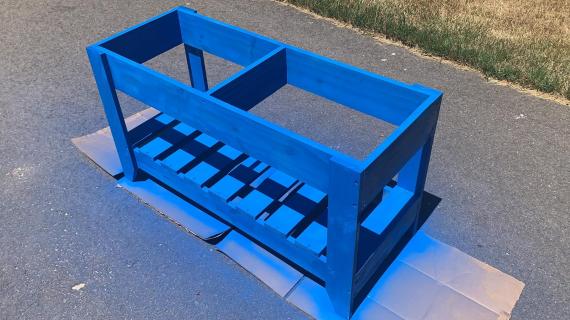
Sand and Water Play Table

The free plans on this website are made possible with advertising and affiliate links.  Thank you for helping us keep plans free.


Difficulty
Beginner Projects
| Print this plan

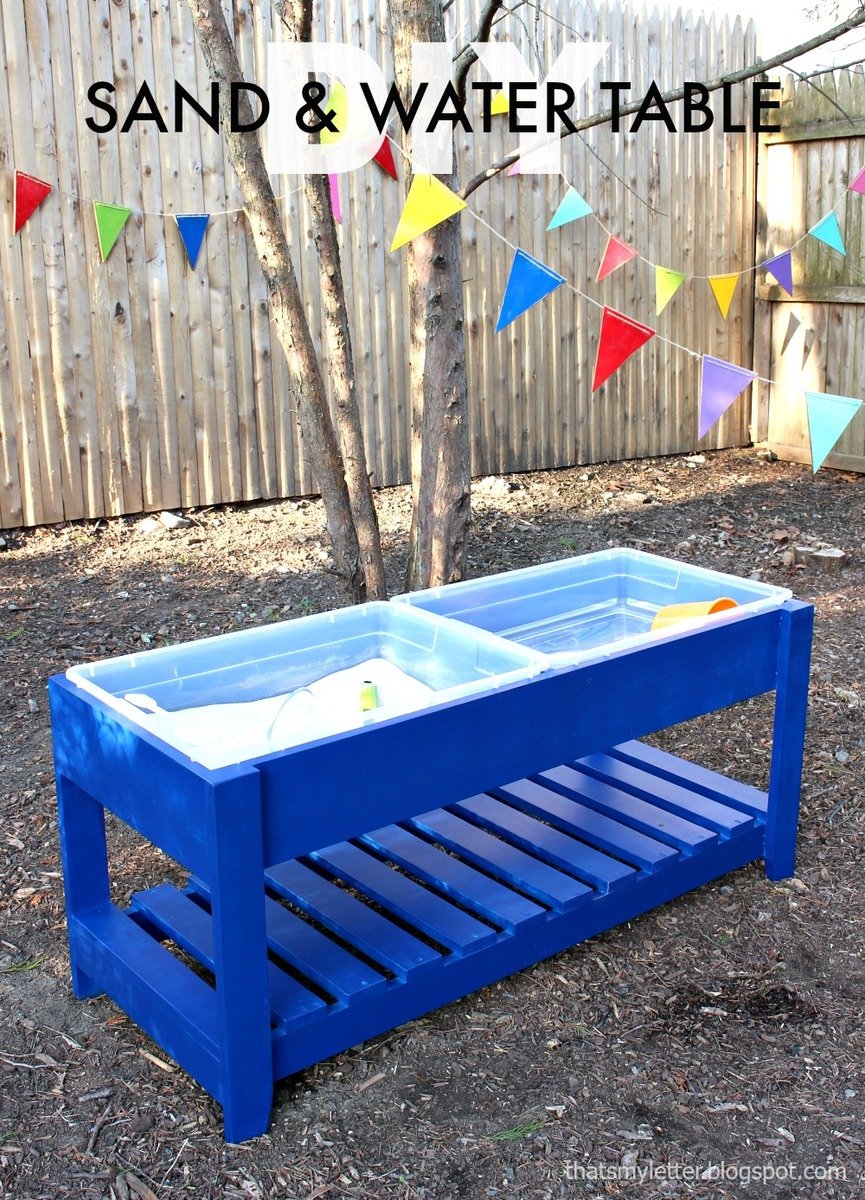
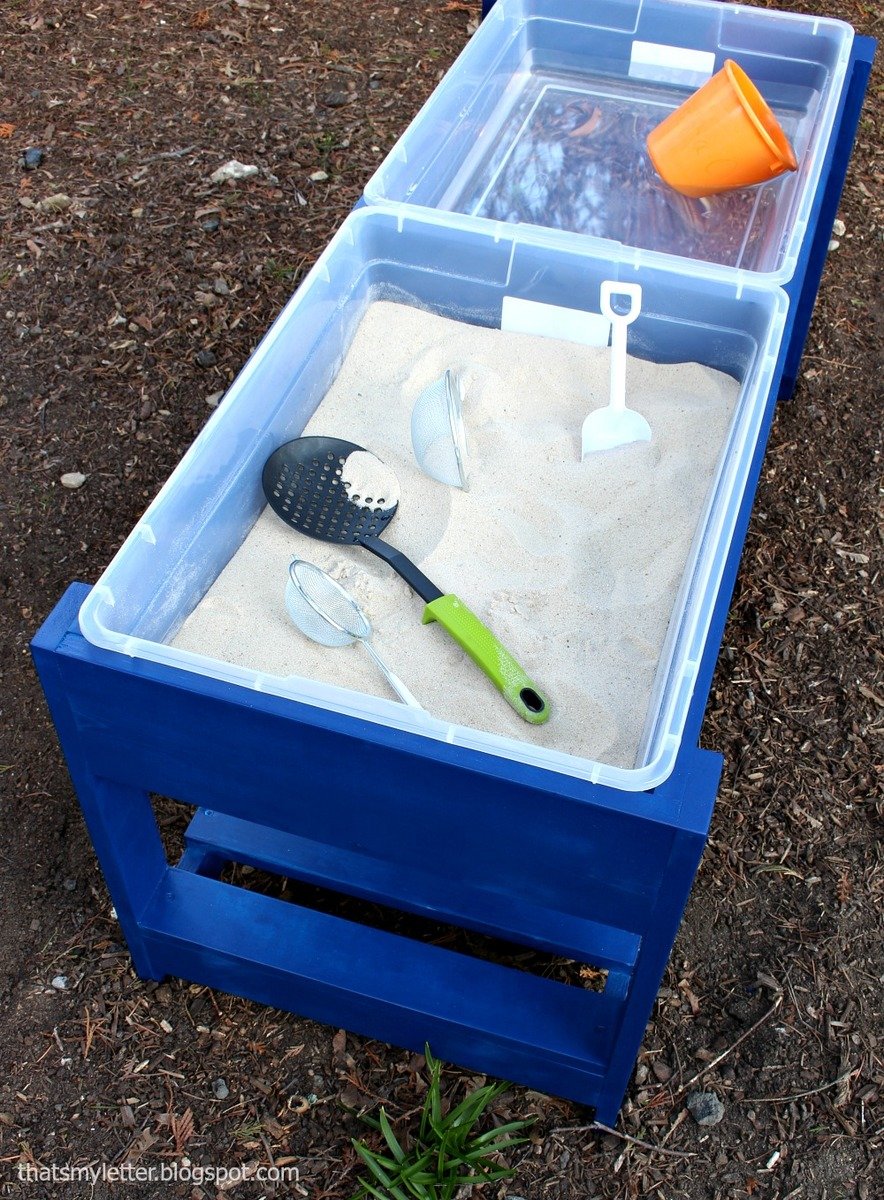
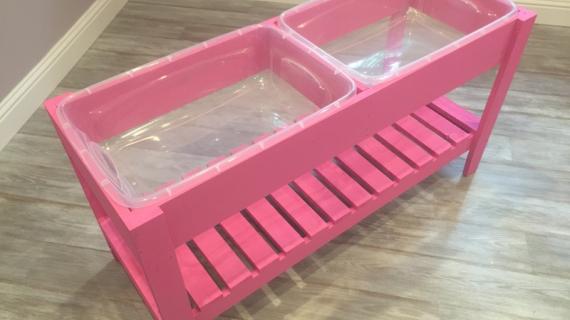
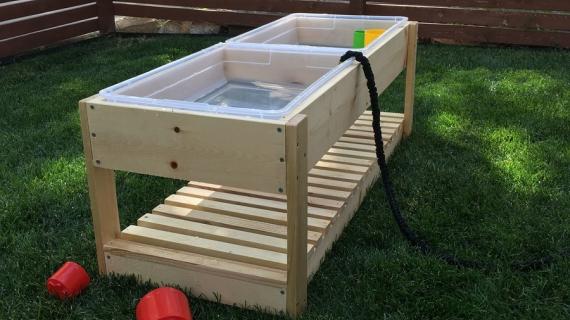
Build your own sand and water play table. Uses $6 storage bins for tubs. Free easy plans by ana-white.com

Hi everyone, hope you had an great weekend. Spring is coming early for us this year in Alaska. How about you? Are you starting to think about outdoor living?

As you know, Jaime from That's My Letter and I had so much fun doing the Handbuilt Holiday series last winter that we decided to keep sharing with you a project a month through the rest of the year. Because handmade gifts make beautiful birthday presents too!

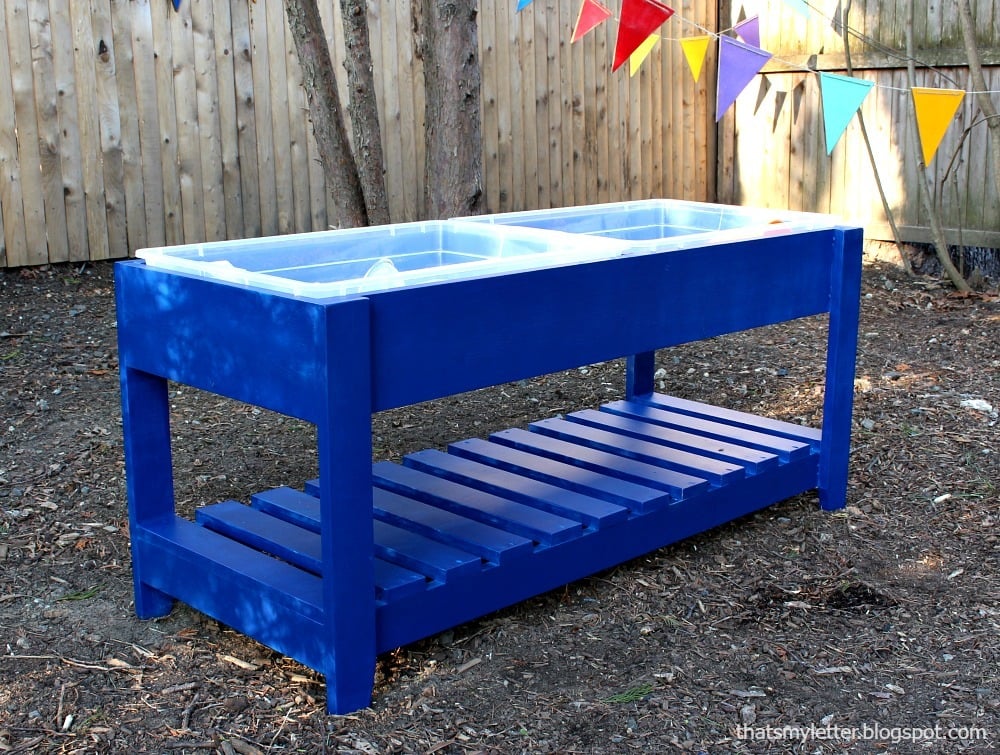
This month's Handbuilt Holiday free plan is a sand and water table!  

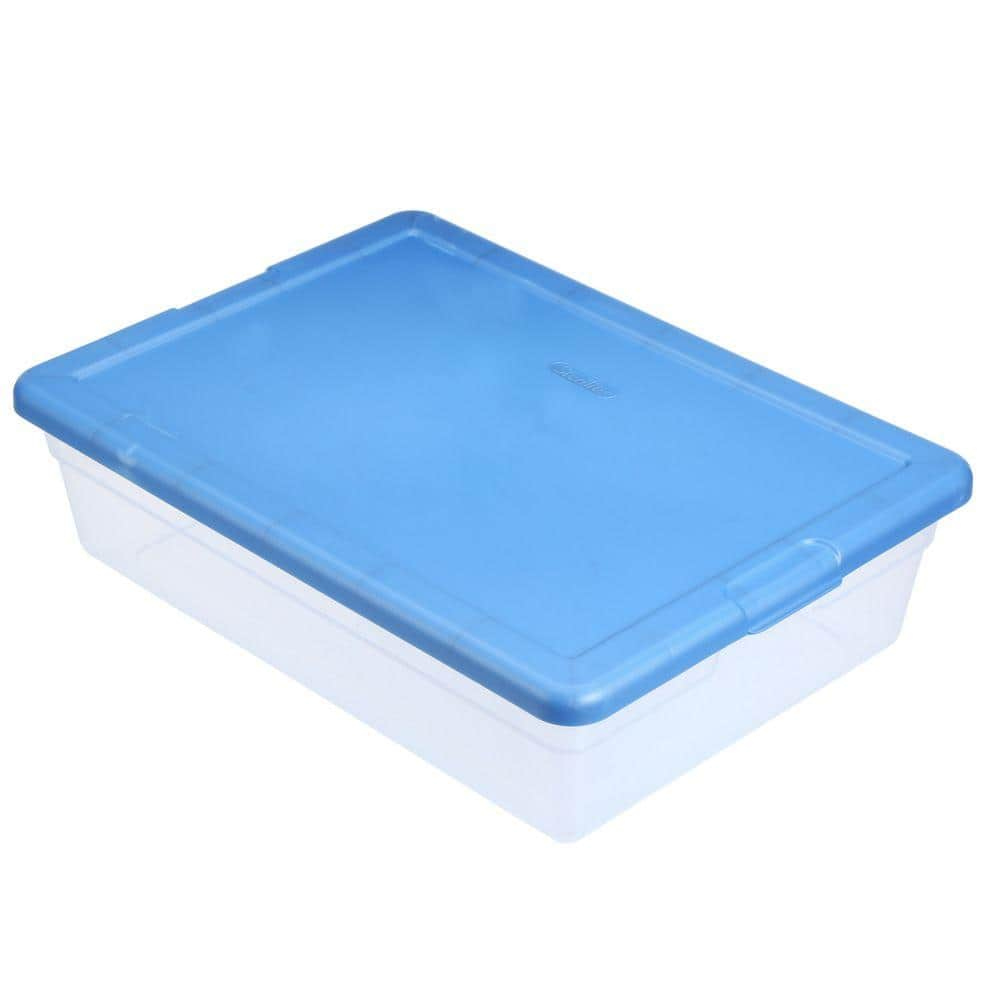
It's designed around these $6 tubs that you can grab at the Home Depot, and built using off the shelf 1x3s and 1x6s.  

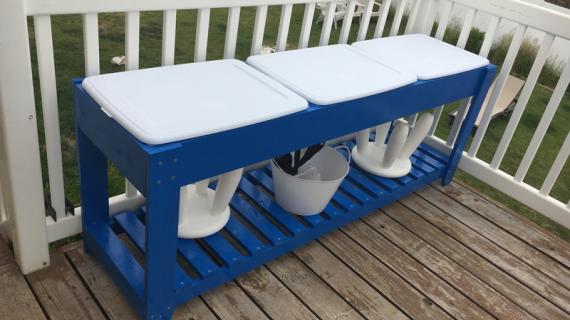
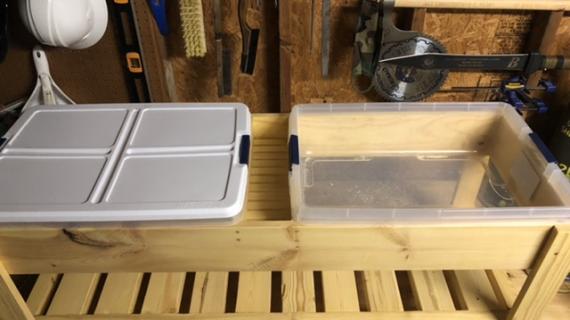
We added the shelf on the bottom to store toys, acessories, and the lids of course.

Know a little one who might love this?  We've got you covered with the free plans below (if this is the homepage, make sure you click READ MORE below).

But before you grab the plans, go check out Jaime's build post for tons more photos and build steps.

Have a great day!

Ana


CLICK HERE FOR MORE PHOTOS AND BUILD STEPS


Dimensions
Dimensions sized for tubs in shopping list.

Preparation

Shopping List

2 - plastic tubs (we used these, if using different tubs, make sure you adjust the plans)

5 - 1x3 @ 8 feet long

1 - 1x6 @ 12 feet long (can cut into 4' and 8' pieces for transport - be careful to place cuts to get all the pieces out of the board)

Recommend screws for attaching if used outdoors without rain cover (wood will swell when it gets wet, and this will push nails out over time.  Use #8 exterior rated self tapping screws, 2" and 1-1/4" length.  May need to predrill though the 1x3 boards as they do tend to split out.

Cut List

2 - 1x6 @ 43-1/4" - top sides 1 - 1x6 @ 15" - top divider 2 - 1x6 @ 16-1/2" - top ends 2 - 1x3 @ 43-1/4" - shelf sides 2- 1x3 @ 16-1/2" - shelf ends 4 - 1x3 @ 24" - legs 12 - 1x3 @ 16-1/2" - shelf slats

Tools
Tape Measure
Speed Square
Pencil
Safety Glasses
Hearing Protection
Drill
Miter Saw
Power Sander

Instructions

Step 1

Build the top frame out of the 2x6 boards. Use exterior glue at joints and 2" screws.

Step 2

Build shelf frame same as upper frame.

Step 3

Place lower frame on level work surface, face down. Attach legs at all four corners. Then position lower frame in place and attach to legs. Use 1-1/4" screws and wood glue.

Step 4

Attach bottom slats to shelf with 1-1/4" screws and glue.