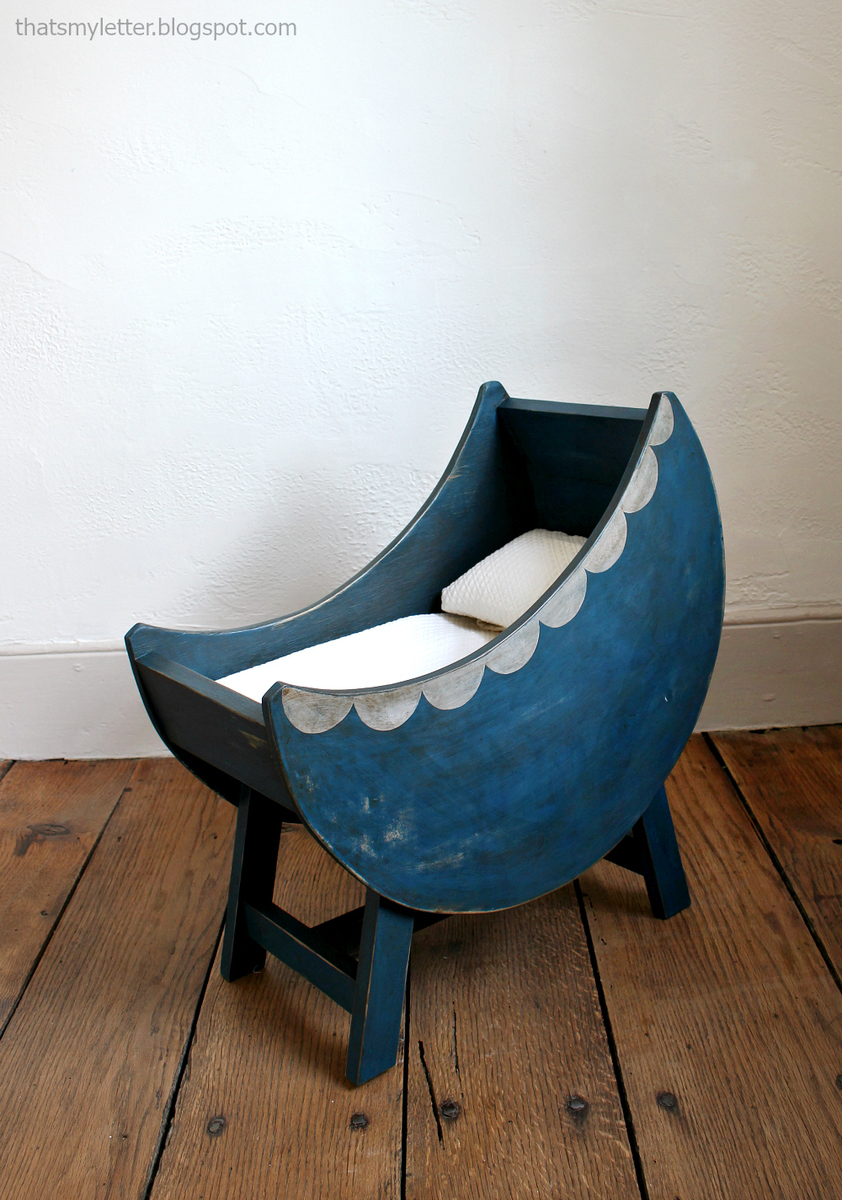
Baby Doll Furniture Moon Bassinet

The free plans on this website are made possible with advertising and affiliate links.  Thank you for helping us keep plans free.


Difficulty
Beginner Projects
| Print this plan

Free plans to build a baby doll furniture moon bassinet.  Easy tutorial by ana-white.com
Isn't Jaime from That's My Letter so talented?!?!  It is such a great honor to work with her for the fourth year in a row to bring you free, new Handbuilt Holiday gift plans every Friday in the weeks leading up to Christmas morning.

With three, yes, THREE, house builds going on at the same time right now, without working with Jaime, these plans would never be possible.  So please do visit her, follow her, and thank her for making all this possible completely free to you.
 

Baby Doll Furniture - Moon Shaped Bassinet

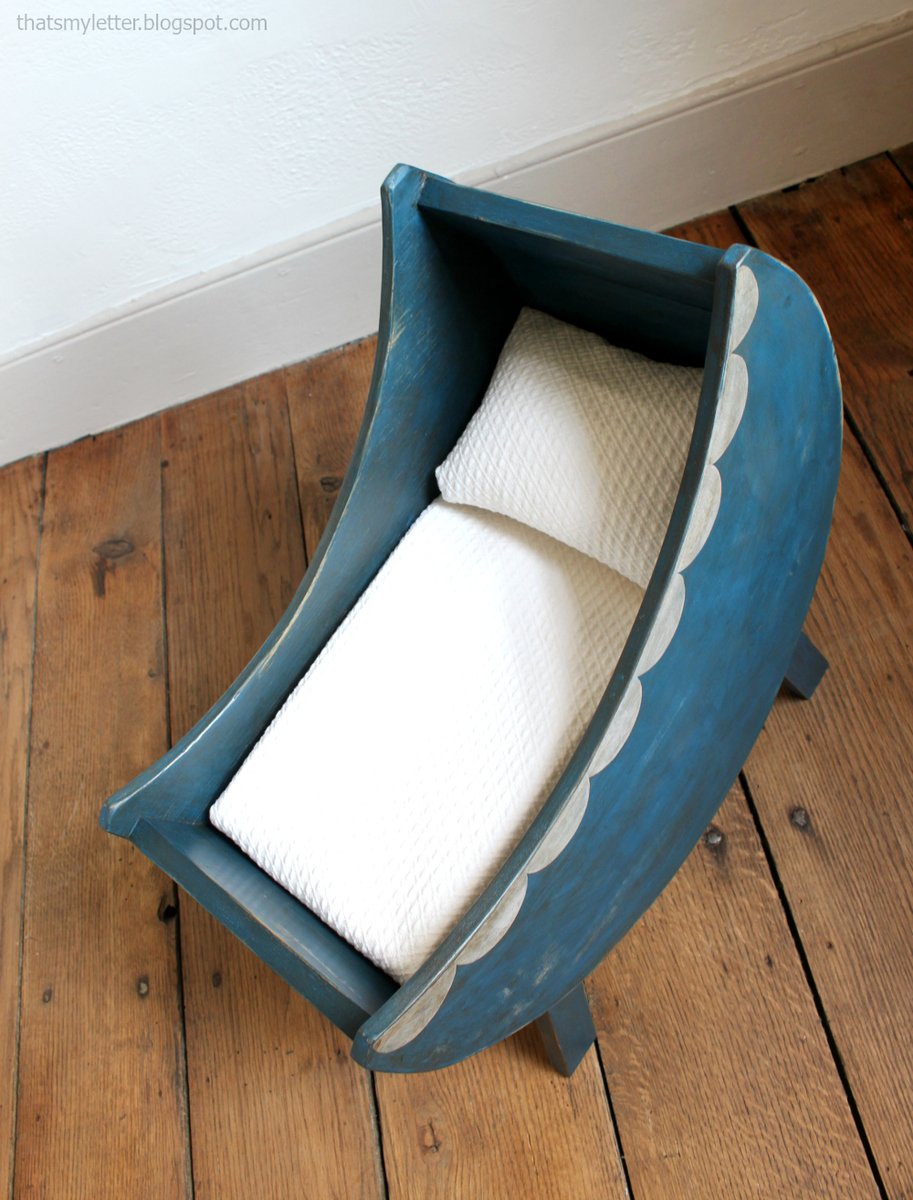
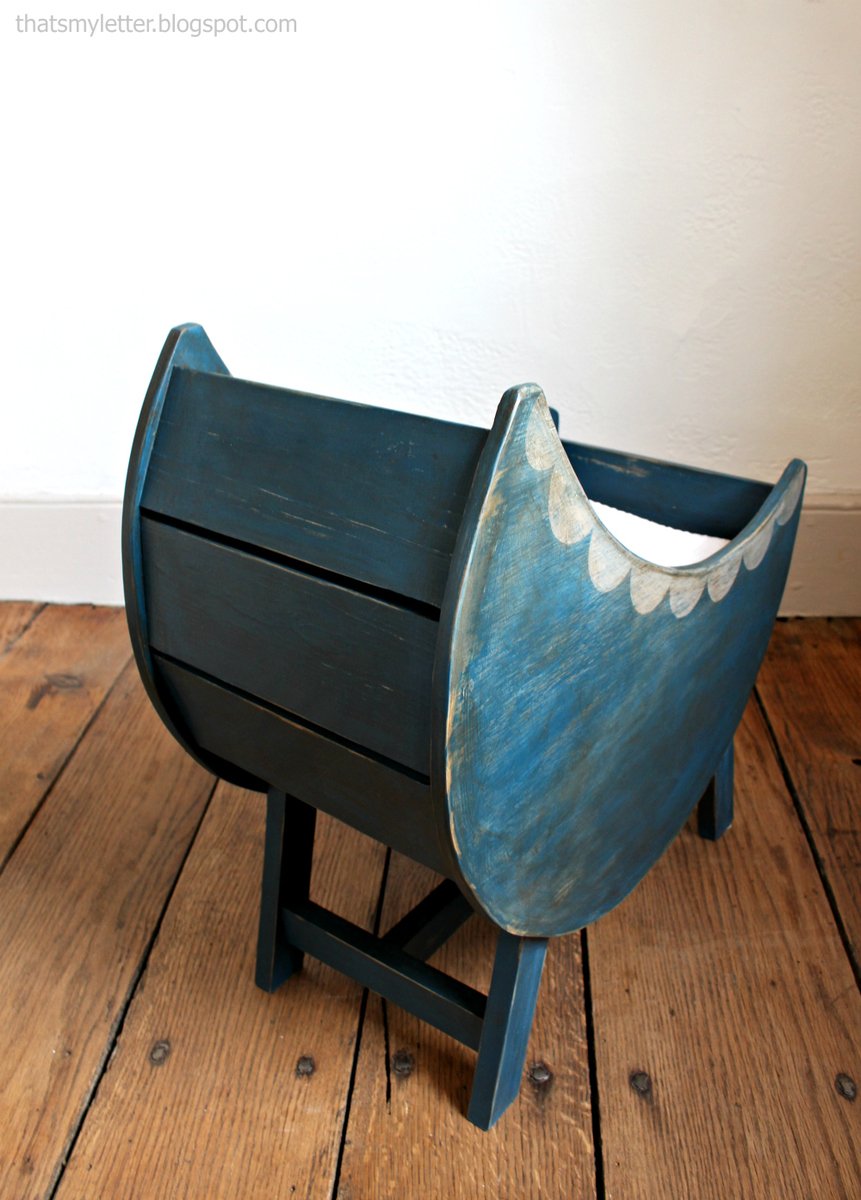
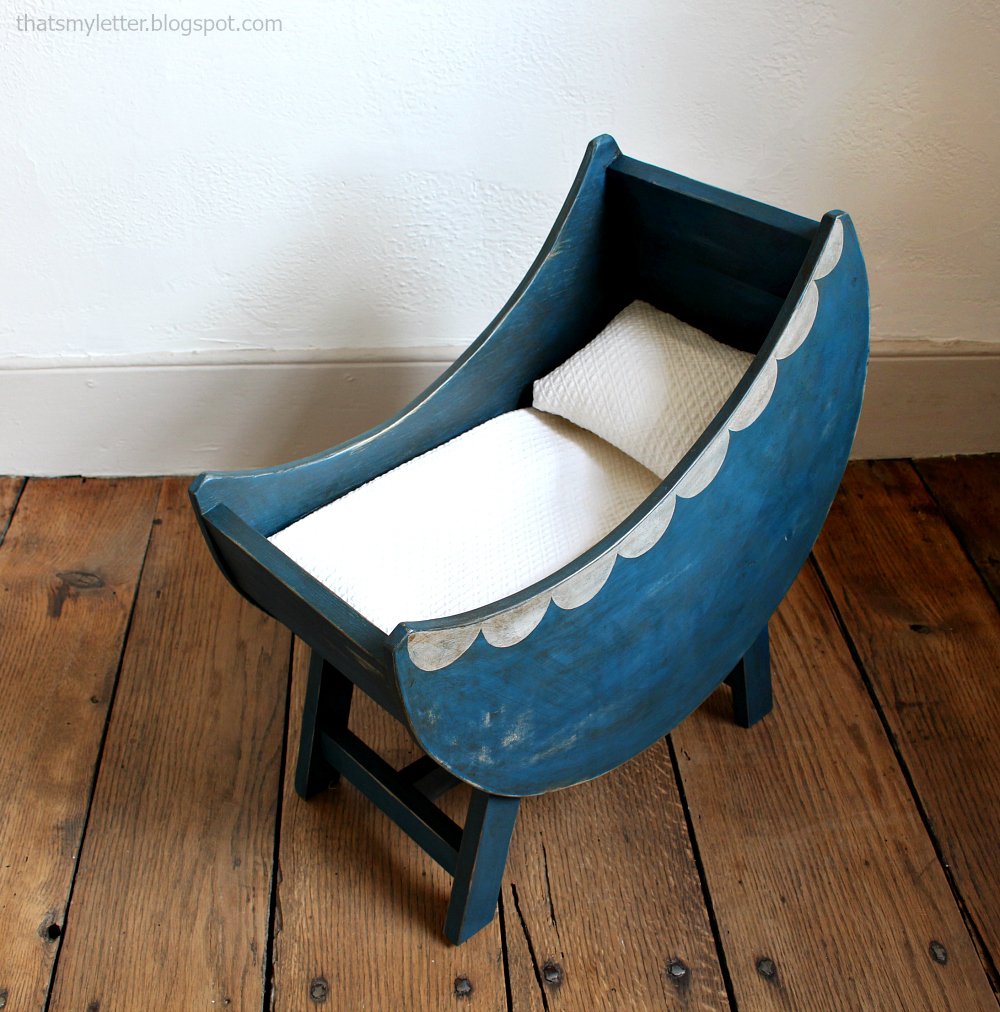
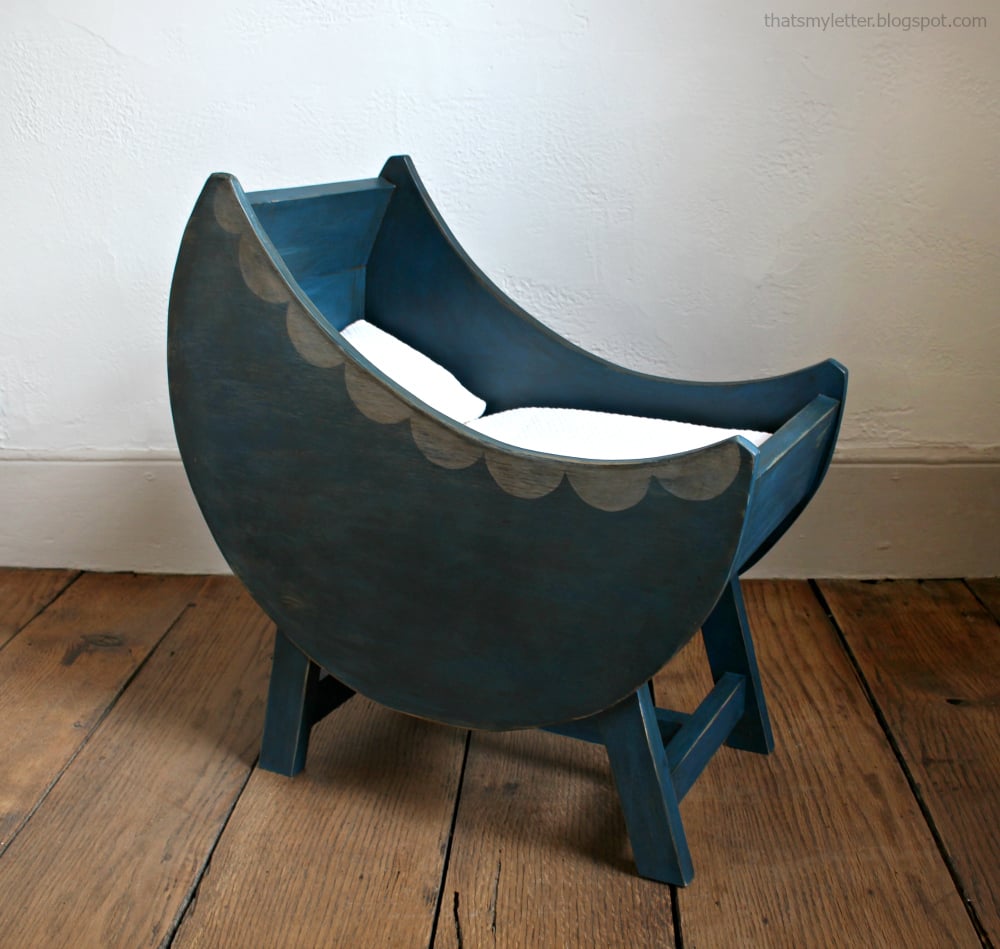
This week's project is a piece of baby doll furniture, a moon shaped bassinet!  It's just darling - the perfect addition to your little one's collection of baby doll toys!

My little girl would have loved this little baby doll crib, perfect for her baby dolls!  And it would be a darling addition to a child's room.

The distressed furniture paint finish is so beautiful!  Jaime used a chalk paint with antique finish to get this look - you can check out her tutorial here, as well as more pictures and build details.


GO VISIT JAMIE NOW FOR MORE PHOTOS AND DISTRESSED FURNITURE PAINT TUTORIAL


Enjoy your weekend, make something!

Ana

Dimensions
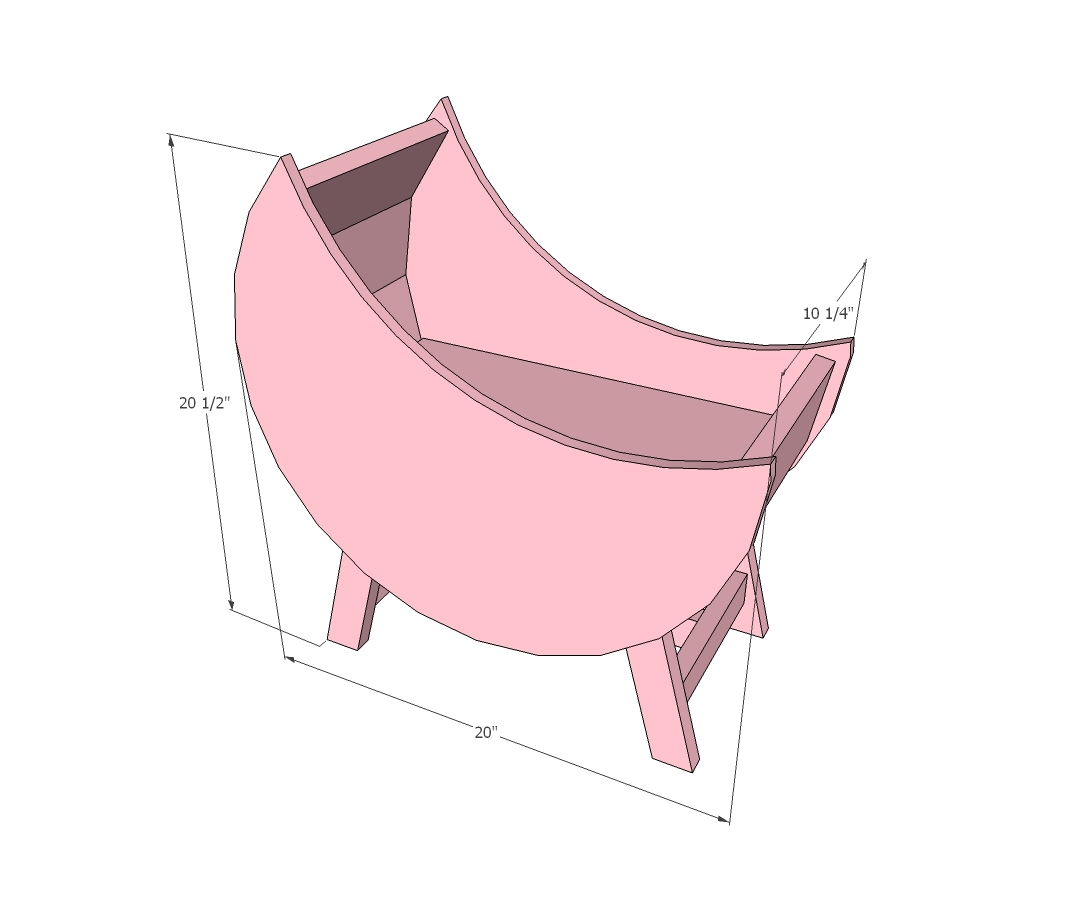
Baby Doll Furniture Moon Bassinet dimensions shown here, suitable for 16-1/2" or smaller baby dolls

Preparation

Shopping List

I - 24” x 48” piece of ½” thick plywood or similar

1 – 1x2 @ 8 feet long

1 – 1x10 @ 16-1/2” – can also use ¾” plywood

1 – 1x4 @ 4 feet long

Cut List

2 – ½” plywood @ 20” x 20”

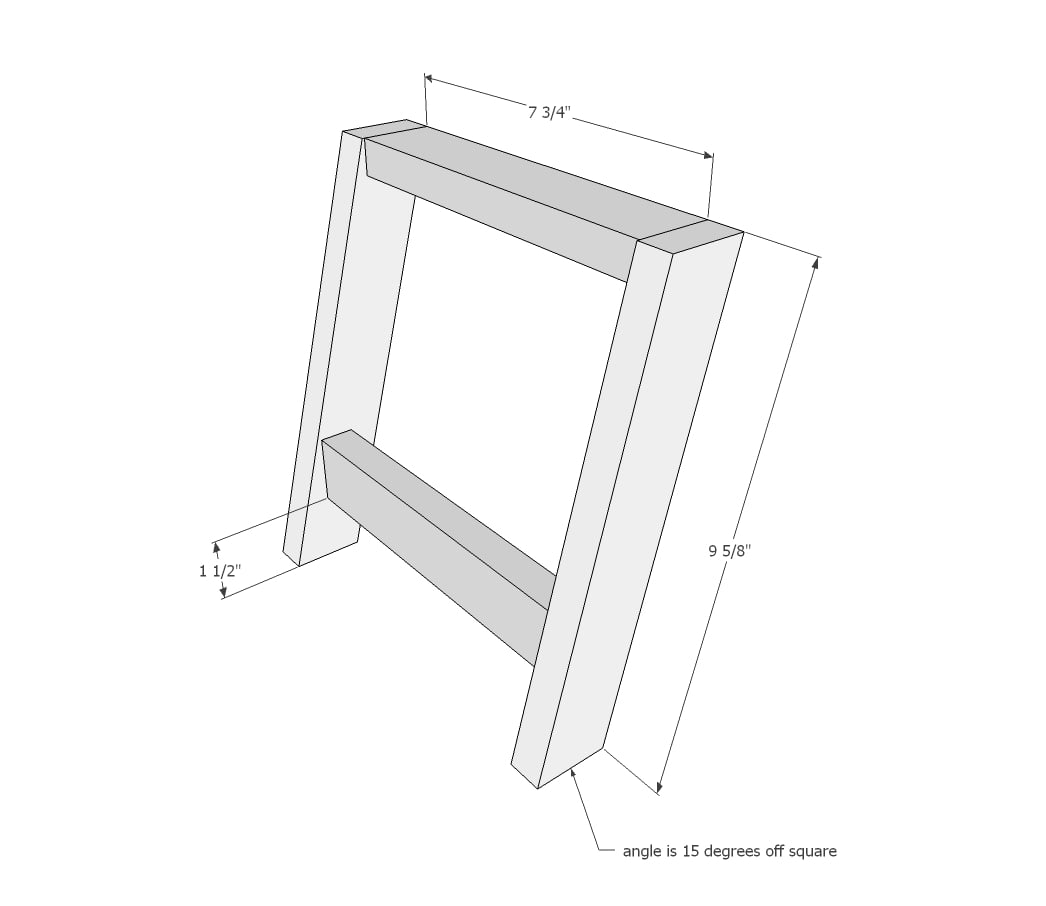
4 – 1x2 @ 9-5/8” long point to short point, both ends cut at 15 degrees off square, ends are parallel

4 – 1x2 @ 7-3/4”

1 – 1x2 @ 13”

1 – 1x10 @16-1/2”

4 – 1x4 @ 9-1/4”

Tools
Pencil
Safety Glasses
Hearing Protection
Drill
Jigsaw
Miter Saw
Power Sander
Drill Bit Set

Instructions

Step 1

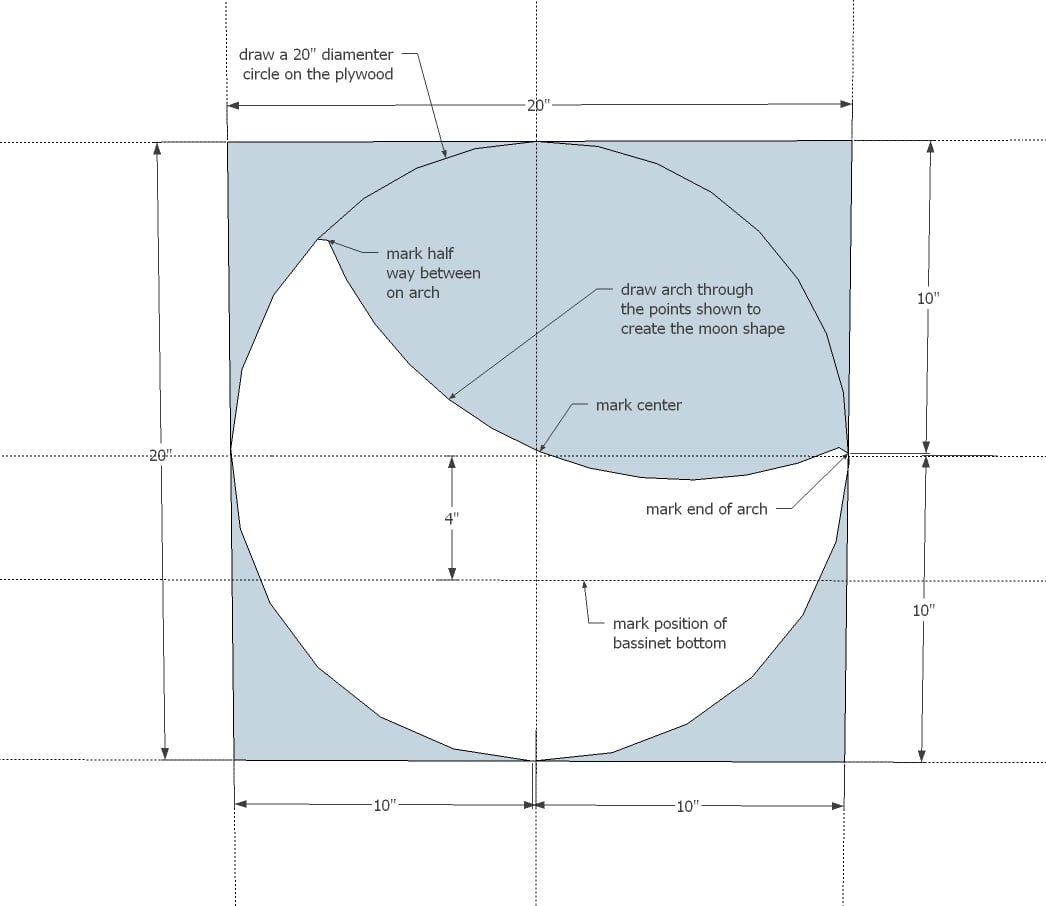
Mark out the moon shape on 1/2" plywood pieces as shown in the pattern.  Cut out carefully with a jigsaw.  Also cut the sharp ends of the moon shape off square to prevent sharp edges.  Clamp the two moon shaped sides together and sand outside edges until smooth using a coarse sandpaper, working down to a medium sandpaper, until smooth.

It is very important to have the line drawn 4" from center as this will help you evenly place the moon shapes on the baby doll crib base.

Step 2

Now build the leg sets - you can use either pocket holes or simply 2" long self tapping screws (I like the Spax brand because the don't split wood, so you don't have to predrill and they come in small packs).

Step 3

Tie the two together with the center stretcher.

Step 4

Attach the base of the baby doll crib to the 1x10 board.  

Step 5

Step 6

Finally, work from the base of the baby doll crib upward, attaching the 1x4s to the moon shaped sides with 2" screws and wood glue.  

Finishing Instructions
Finish Used
For more details on this antique distressed furniture chalk paint faux finish, visit Jaime from That's My Letter.