Simple Open Top Wood Toy Box

The free plans on this website are made possible with advertising and affiliate links.  Thank you for helping us keep plans free.


open top toy box plans easy to build
Difficulty
Starter Projects
| Print this plan

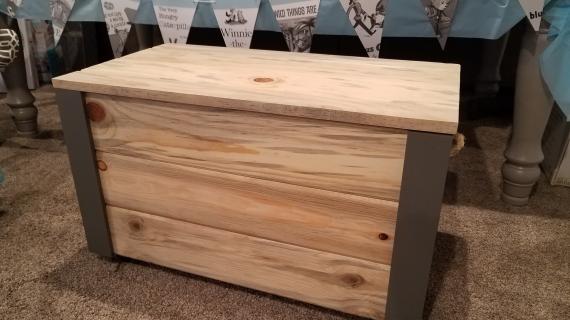
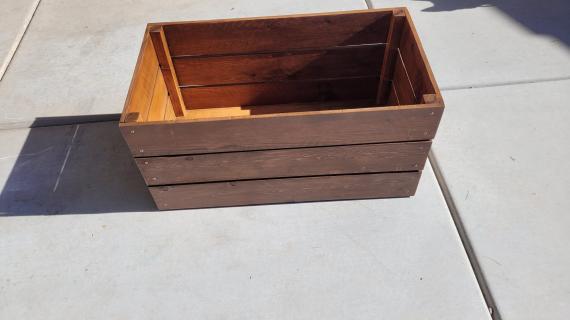
Build a wood toy box in no time with these free plans from Ana-White.com   Use cedar fence pickets to save money, or use 1x6 boards for a beautiful wood finish. Add casters to roll it away, customize with any paint or stain, add handles - make it your own!

This is a free step by step woodworking plan with detailed diagrams, shopping and cut lists from Ana-White.com

Simple Open Top Wood Toy Box Plans

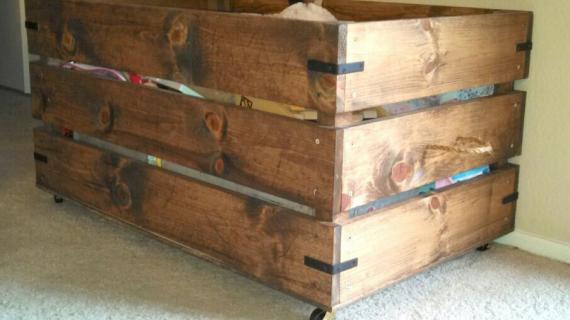
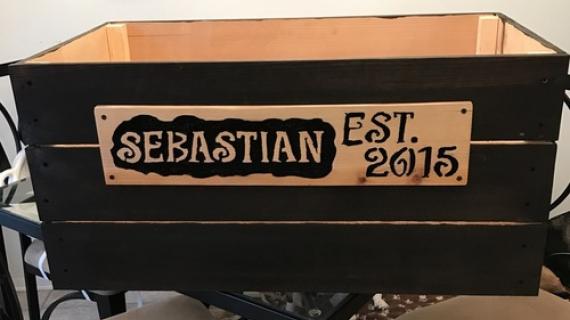
PHOTO SUBMITTED BY KASSIDY_D 

Pin for Later!

Simple Open Top Wood Toy Box

Dimensions
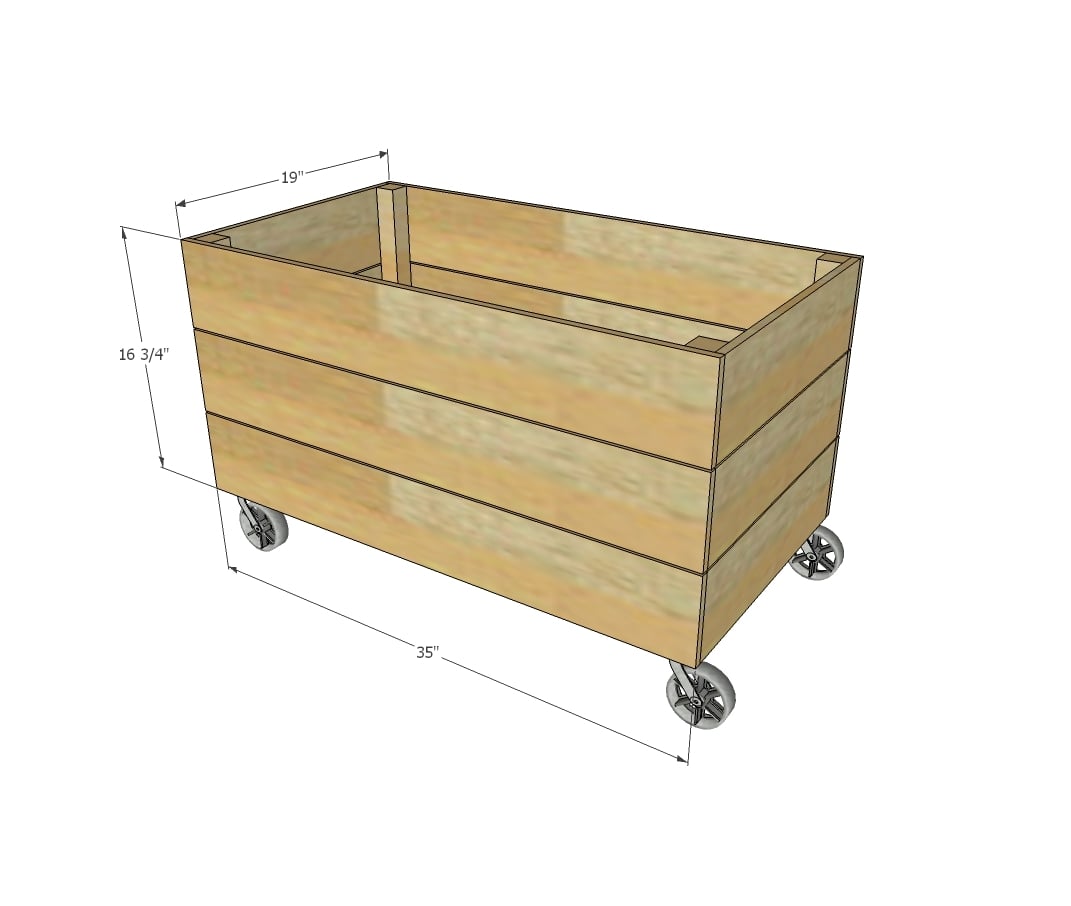
toy box dimensions
Dimensions for this wooden toy box shown above, overall size is optimized for using cedar fence pickets with minimal waste

Preparation

Shopping List
  • 1 - 1/2" plywood @ 34" x 18"
  • 1 - 2x2 @ 6 feet long
  • 5 - cedar fence pickets, not dog eared or 5 - 1x6x8 feet long
  • 4 - non marking caster wheels with screws 1/2" long for attaching - make sure the screws have a big enough head for the caster wheels or purchase washers as well

If using the cedar fence pickets, make sure you sand the boards well to avoid any possible splinters. Wear a respirator or mask while sanding the cedar.

Common Materials
1 1/2 inch screws
2 inch screws
120 grit sandpaper
Cut List
  • 1 - 1/2" plywood @ 34" x 18"
  • 4 - 2x2 @ 16-1/4" long
  • 6 - cedar fence pickets or 1x6 @  18" 
  • 6 - cedar fence pickets or 1x6 @ about 35" - measure and cut to fit
Cutting Instructions

Cut the plywood panel with a circular saw, with the plywood elevated up on scrap wood pieces, fully supported on both sides of the blade.  The plywood should not fall after the wood is cut if properly supported.

Cut the remaining wood pieces with a circular saw or chop saw/miter saw.

Tools
Tape Measure
Speed Square
Pencil
Safety Glasses
Hearing Protection
Drill
Circular Saw
Power Sander
General Instructions

If using cedar fence pickets, sand well before assembly.

Instructions

Step 1

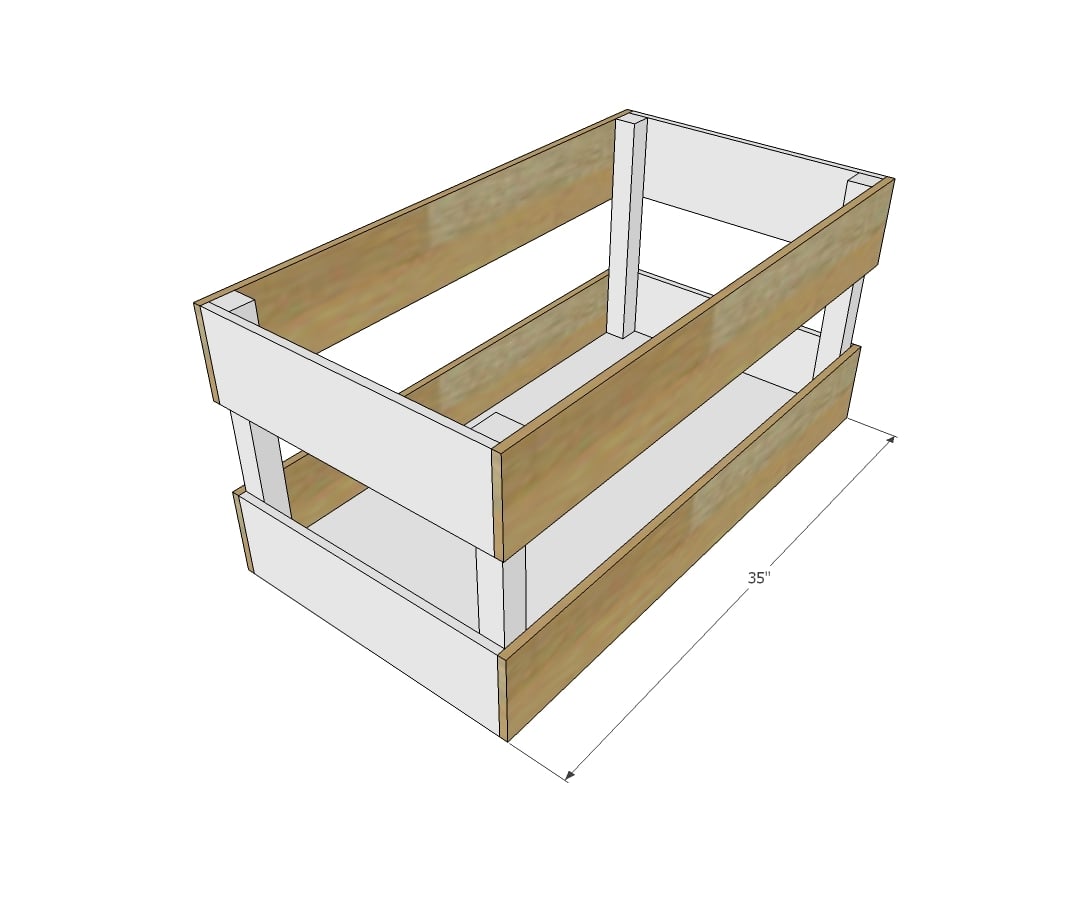
Attach legs to base with 2" wood screws and wood glue from underside.  You will only need one screw per leg.

Step 2

Attach end cedar fence pickets to legs with 1-1/2" screws, two per end of each fence picket for a total of four screws per fence picket.  Make sure the 2x2 legs are square with the fence pickets as you attach, especially the top fence picket.

Step 3

Repeat these steps for the side fence pickets.

Step 4

Center remaining fence pickets in middle, even gap on both sides, and attach with 1-1/2" screws, two per end of each fence picket.

Step 5

Attach caster wheels to the base with the caster wheel screws.