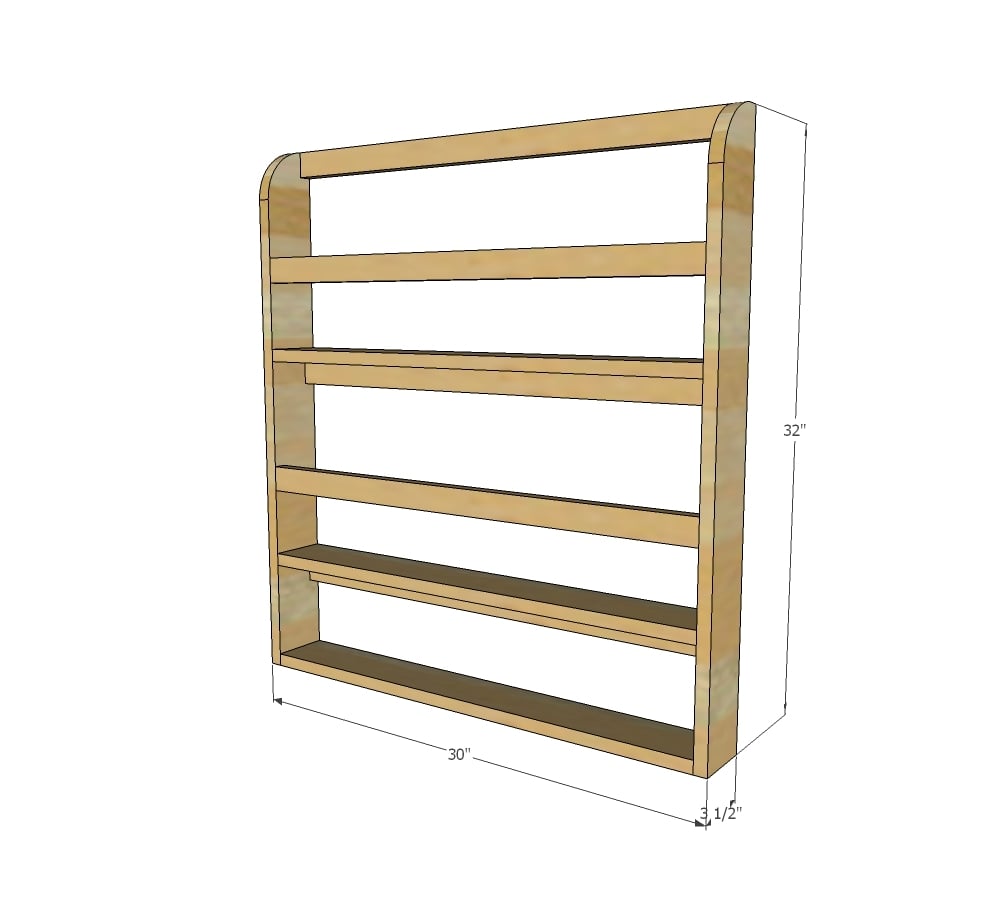
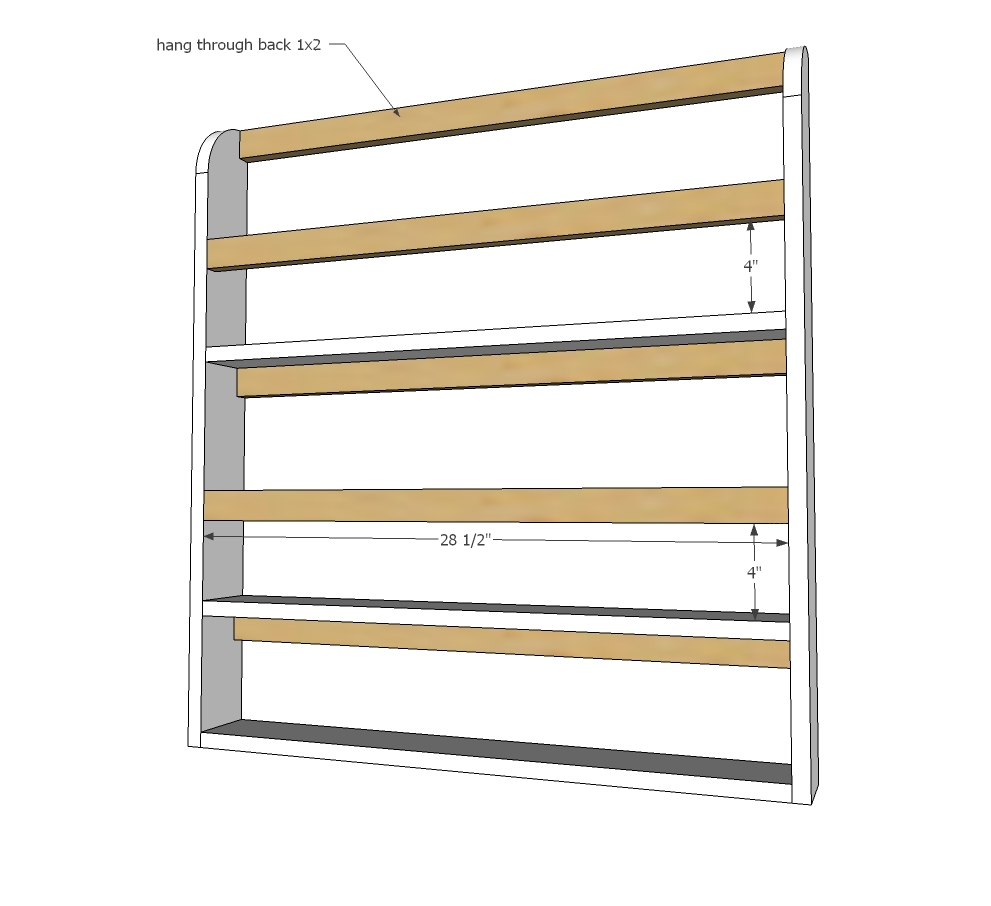
Plate racks are the bomb.
I've been a huge fan of them for many years.
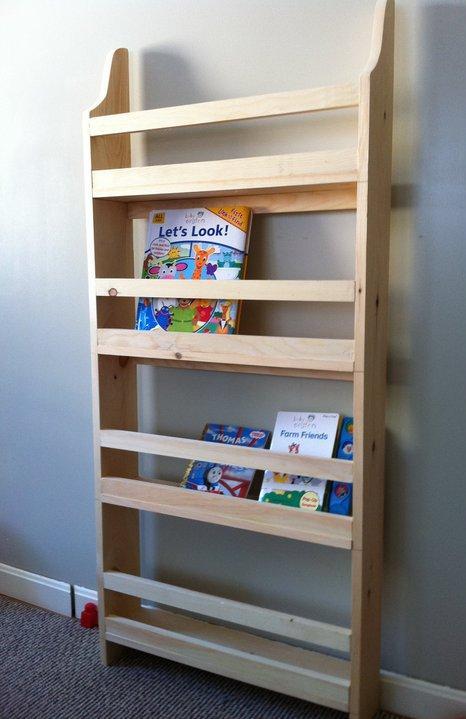
Wooden plate racks work perfect for books,
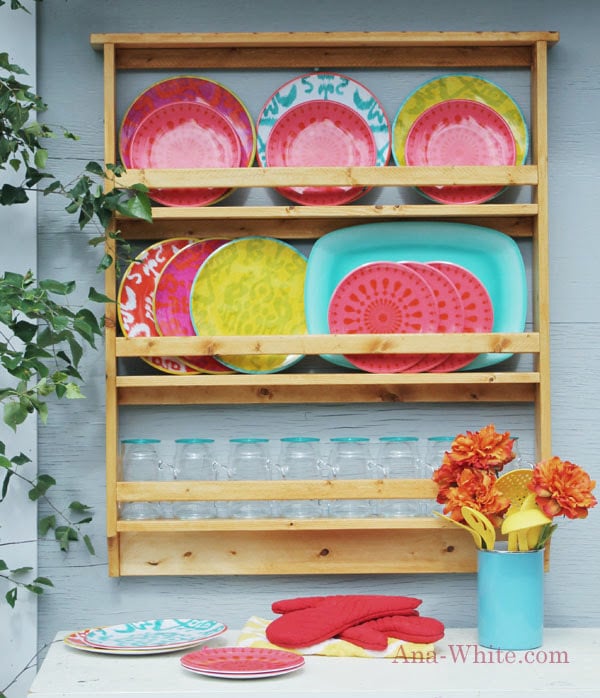
For outdoor dishes on the deck or patio,
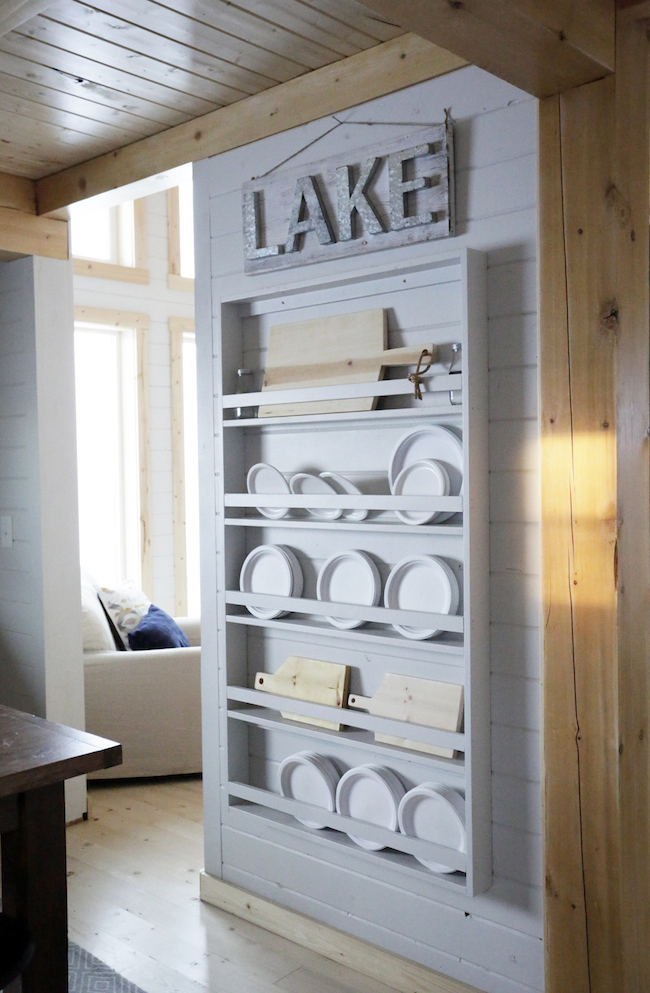
I'm such a huge fan of wooden plate racks, I went full wall length in our cabin. Looks beautiful, less expensive than art work, and even makes these paper plates look fancy.
On the last tiny house I did for a client, there was a blank wall space and no dish storage. So of course, I had to bust out ... you guessed it ... another wooden plate rack!

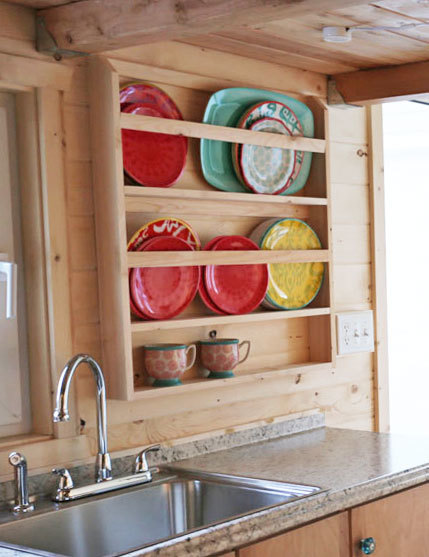
I really loved this one! The cup shelf is perfect for cups, and I placed the rails a little higher on the plates, and it worked great for making the plates accessible, but easy to put in place.
This wooden plate rack cost me about $15 dollars in materials and took me about 45 minutes from start to finish.
For the finish, the client wanted an au natural wood look, "as close as you can get to raw wood". There is only one clear top coat that is truly clear that I know of -

Varathane Poly in Crystal Clear. You can barely tell when the top coat is applied - no yellowing, no wet wood look - the wood still looks raw, but is protected with a durable finish. It is very easy to apply, easy to clean up. Use it, it is great!
A few of you asked for the plans, so wanted to do that for you today. All you'll need is some 1x4s and 1x2s, a saw and either drill or nailer to put this together. Since you end up attaching it to the wall, it is very sturdy even when just nailed together.
Enjoy the free plans following, please do share if you build.
XO Ana

