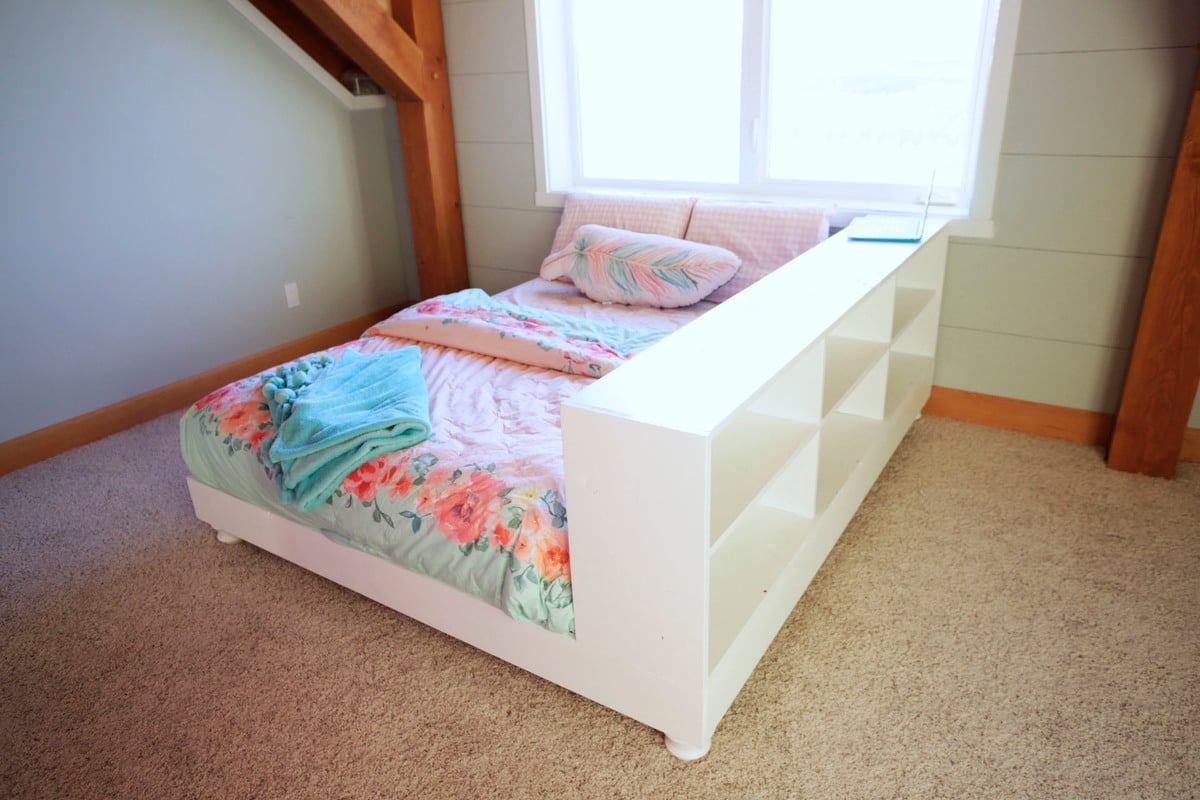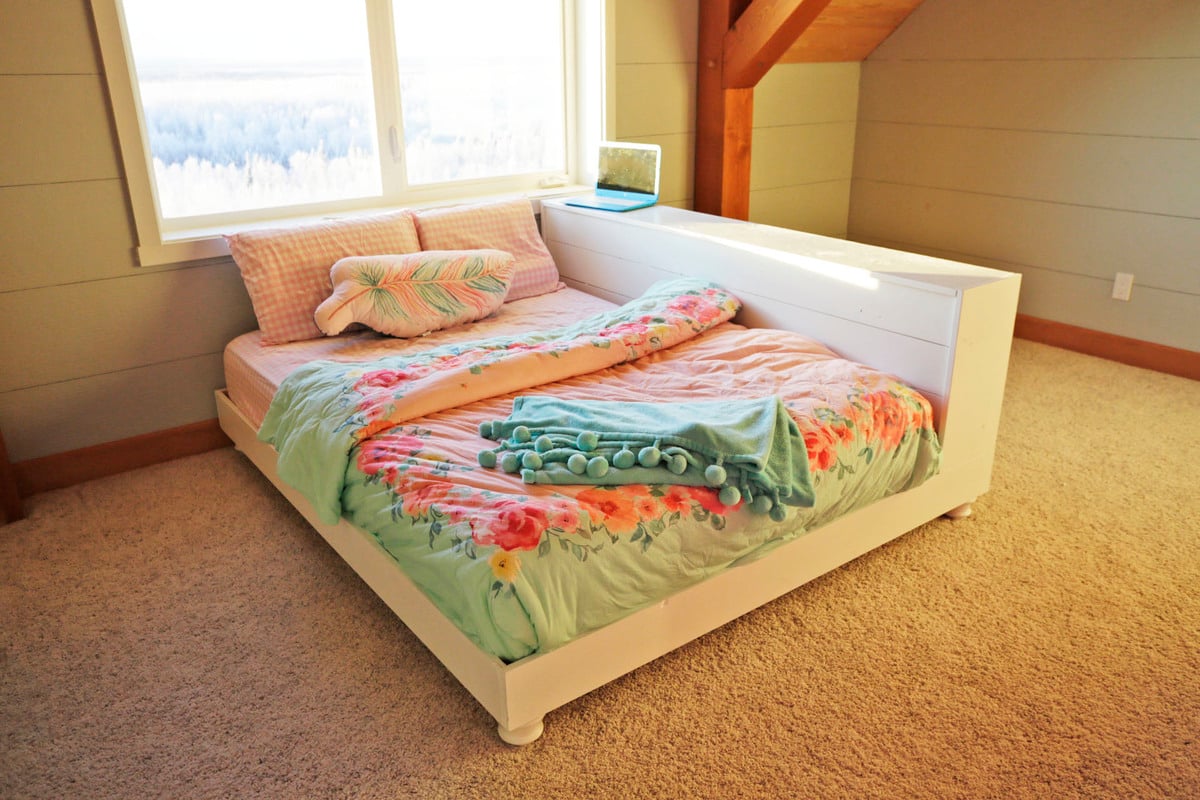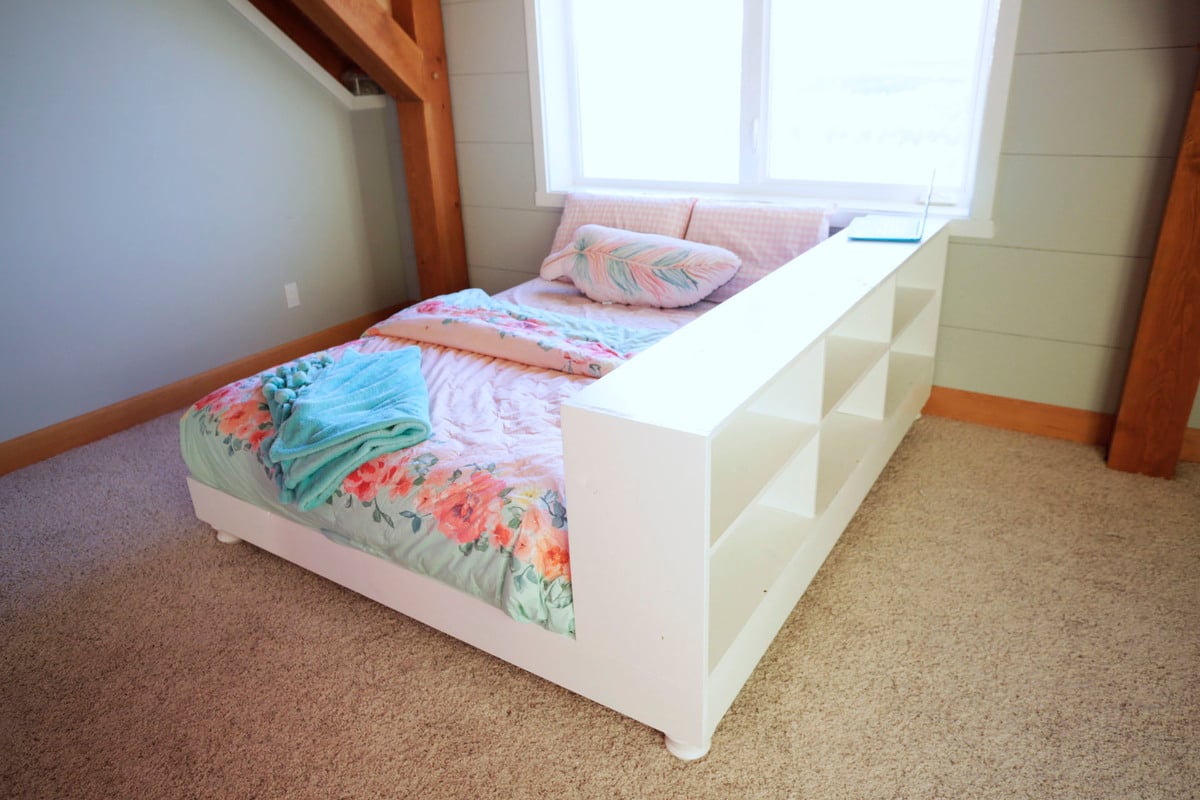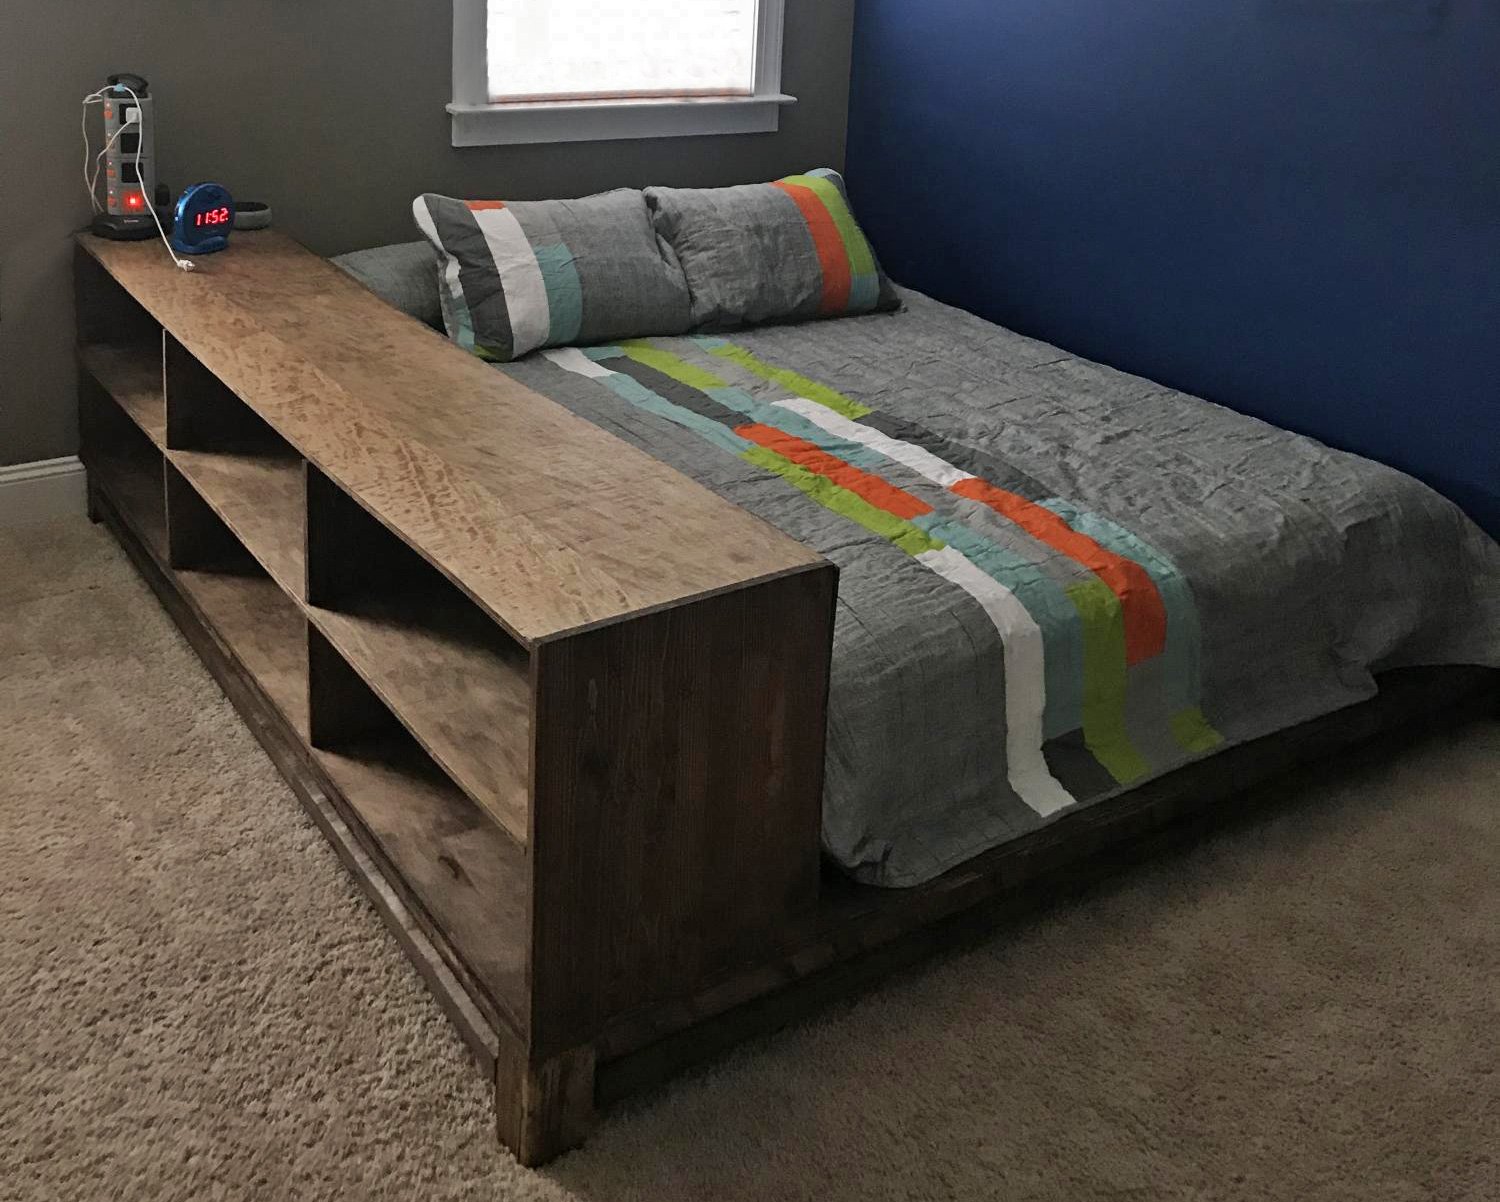
Free plans to build your own bed with a side storage shelf divider all in one! This bed helps create additional storage, creates room division, acts as a nightstand or display shelf, and a sideboard. The plans include step by step diagrams, shopping and cut list - everything you need to build your own platform bed with side storage shelf!

Preparation
Shopping List is for Full Size Mattress
- 2 – 1x6 @ 12 feet long – cut bed trim pieces from these
- 3 – 1x6 @ 8 feet long – cut planked pieces from these
- 1 – 1x3 @ 8 feet long
- 2 – 1x12 @ 8 feet long
- 1 – 1x10 @ 10 feet long
- 7 – 2x4 @ 8 feet long
- 4 – 4”-6” tall furniture feet or caster wheels
- 3” self tapping wood screws (about 50)
- 1-1/4” brad nails
- Wood glue
- 2” self tapping wood screws (about 25)
- Scrap wood or plywood for platform (1 sheet of 1⁄2” will be enough)
Cut List is for Full Size Mattress
- 2 – 2x4 @ 64-1/2” – Inner Frame Ends
- 2 – 2x4 @ 14-1/4” – Inner Frame Center Supports 5 – 2x4 @ 72” – Inner Frame Joists, Sides
- 1 – 2x4 @ 26” – Storage Support Piece
- 2 – 1x6 @ 75” – cut to fit – Outer Frame
- 2 – 1x6 @ 66” – cut to fit – Outer Frame
- 2 – 1x12 @ 75” – Storage Top, Bottoms
- 2 – 1x12 @ 20-1/2” – Storage Sides
- 2 – 1x10 @ 19” – Storage Dividers
- 3 – 1x10 @ 24-1/2” – Storage Shelves
- 3 – 1x6 @ 75” – Storage Planked Back
- 1 – 1x3 @ 75” – Storage Planked Back Filler Piece
Instructions
Step 1
Using 3” self tapping wood screws, build the inner frame with 2x4 pieces. Check to make sure inner frame is square by taking diagonals of opposite outside corners and adjusting until diagonals match.
Step 2
Add additional joist to inner frame. Attach with 3” self tapping wood screws.
Step 3
Measure and cut the side trim, one each from 12’ long 1x6 boards. Apply glue to 2x4 and use 1- 1/4” brad nails to attach to inner frame. Leave a 1-1/2” gap on top.
Step 4
Repeat step 3 to for ends of outer frame.
Step 5
Attach storage support to top of inner bed frame as shown using 3” self tapping wood screws. This completes the platform.
Step 6
Cut 1x12 pieces and attach at corners. You can use 1-1/4” brad nails and glue to build, or optionally 2” self tapping wood screws or 1-1/4” pocket hole screws.
Step 7
Cut 1x10 dividers and place inside 1x12s. Inset 3⁄4” and attach with 1-1/4” nails and glue using a square as a guide.
Step 8
Cut two blocks 9-1/4” long (preferably from 1x10 material but other material will work). Place inside project and use as a guide for setting height of shelves. Attach two outer shelves with glue and 1- 1/4” brad nails. For middle shelf you will need to toenail from front of shelf, nailing at an angle into the vertical dividers.
Step 9
On side or project with 1-1/4” difference between outer frame and shelves/dividers, mark location of all 1x10 boards on inside lip of 1x12. You’ll use these marks as a guide to nail back pieces on. Set 1x6s and 1x3 in back to make sure they fit. Remove boards and apply glue to all 1x10 edges. Apply glue to end and top edge of first 1x6. Set in place and nail to 1x10s. Then nail through outside 1x12s into side and top edges of 1x6. Repeat steps until all planking is complete.
Step 10
We choose to finish the platform and storage piece separately, then assemble in room (since the bed is quite large and will be difficult to move inside rooms or up/down stairwells. To assemble, use 2” self tapping screws to screw through storage base into frame. Screw also into 26” long 2x4 on mattress side.
Step 11
Install furniture feet or caster wheels to manufacturer’s recommendations.
Step 12
If additional support is desired, 2x4s center legs can be added. Just measure and cut, and attach with 3” self tapping wood screws. At least one center leg is recommended.
Step 13
For the platform base, we like to use up scrap material. If you are using new plywood, cut one piece 75” x 48” and screw to bed, leaving gap on storage side, with 2” screws. Then cut three plywood pieces 6” x 25” and attach in remaining openings.
If using plywood, you may wish to drill ventilation holes in plywood to allow mattress to breathe.


