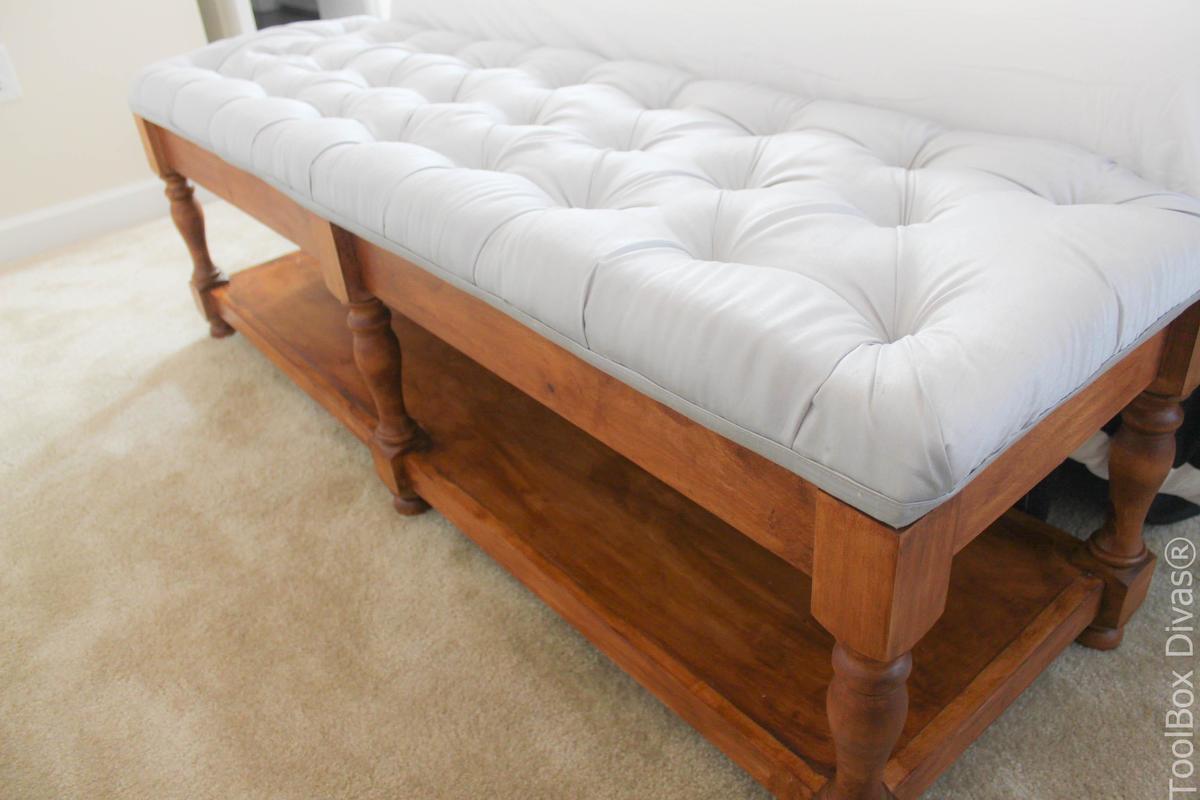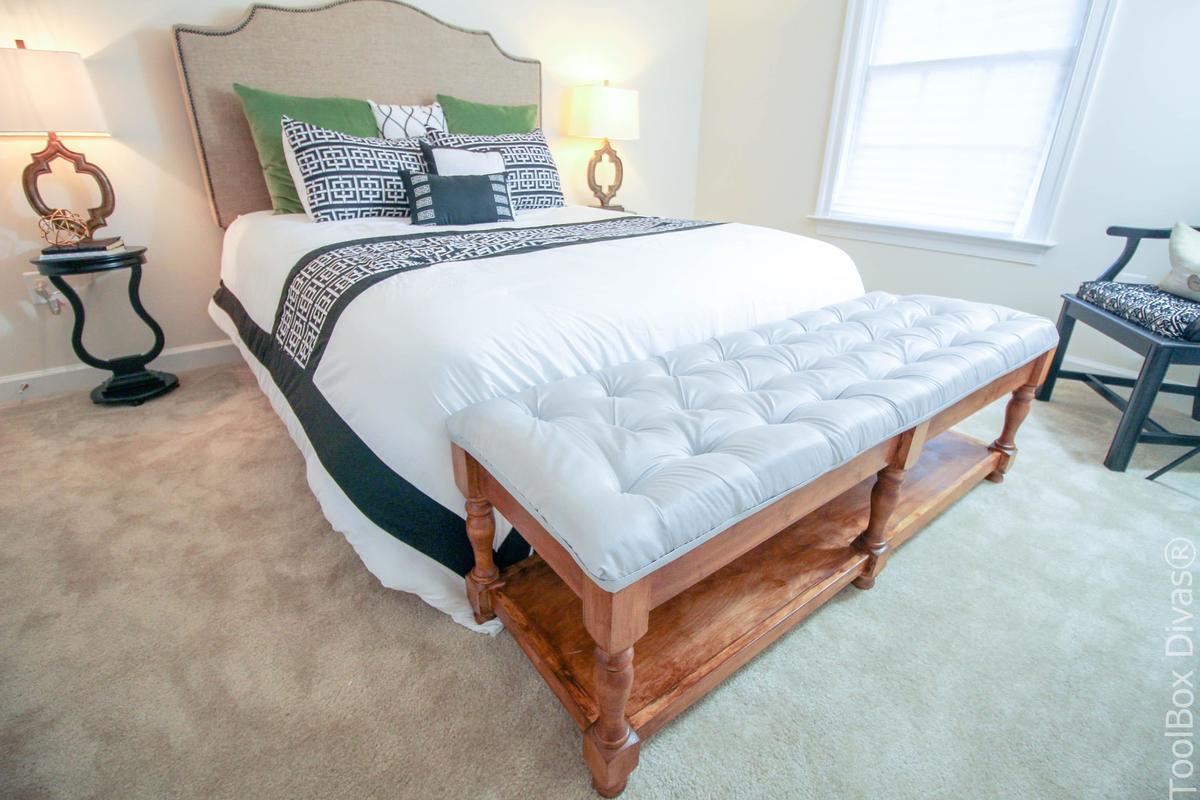
I have been dreaming of getting a tufted bench that I could place at the foot of my bed for years now. The only problem it was always ridiculously priced out of my range. Home decorations may just might be the most expensive part of home ownership, Hahaha. Inspired by all of the fabulous plans provided by Ana White I set out to develop plans of my own using the principles I learned in her book The Handbuilt Home. This is one of my favorite DIY projects to date. Here’s how I did it.
STEP 1. CUT THE PIECES TO SIZE.
For this, I actually did a lot of the cutting as I went along. To be perfectly honest, I wasn’t entirely sure I had measured the bottom shelf and storage areas correctly. To reduce the likelihood of mismeasurements, I measured liked 3 to 4 times before cutting every piece.

STEP 2. ATTACH THE LEDGES TO THE UPPER AND LOWER RAILS OR APRONS.
I used square wooden dowels for the ledges because I didn’t have to worry about ensuring that the boards were straight. Also I didn’t want to go through and make a ton of repetitive cuts on my circular saw or miter. You can easily use scrap wood for the ledges as long as its straight and creates a flat even surface for the boards to rest on. I didn’t cut the ledge the entire length of the rails. It’s just important that there is enough support to hold the plywood base in place as you secure it to the rails or aprons to the legs.
Click here for more details and the complete Free plans and Cut list.


