Wood Crate Dresser

The free plans on this website are made possible with advertising and affiliate links.  Thank you for helping us keep plans free.


diy dresser for crates
Difficulty
Intermediate
| Print this plan

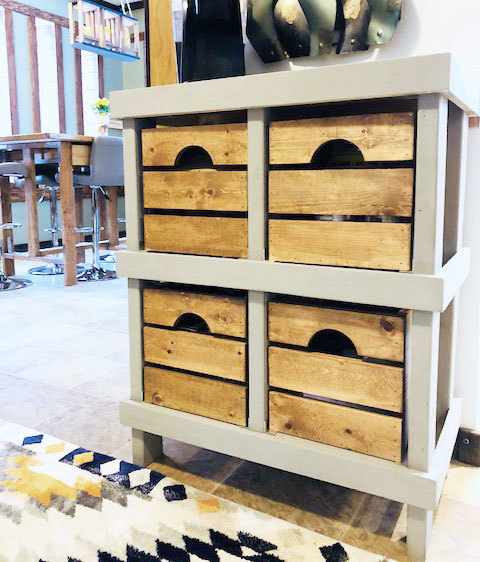
Build your own cabinet for holding crates - this plan includes the tutorial for building the frame and the crates.  Free step by step plans include shopping list, cut list, full diagrams and lots of photos.  By Ana-White.com
diy dresser for crates

Do you love storing things in wood crates?  Well that makes two of us!

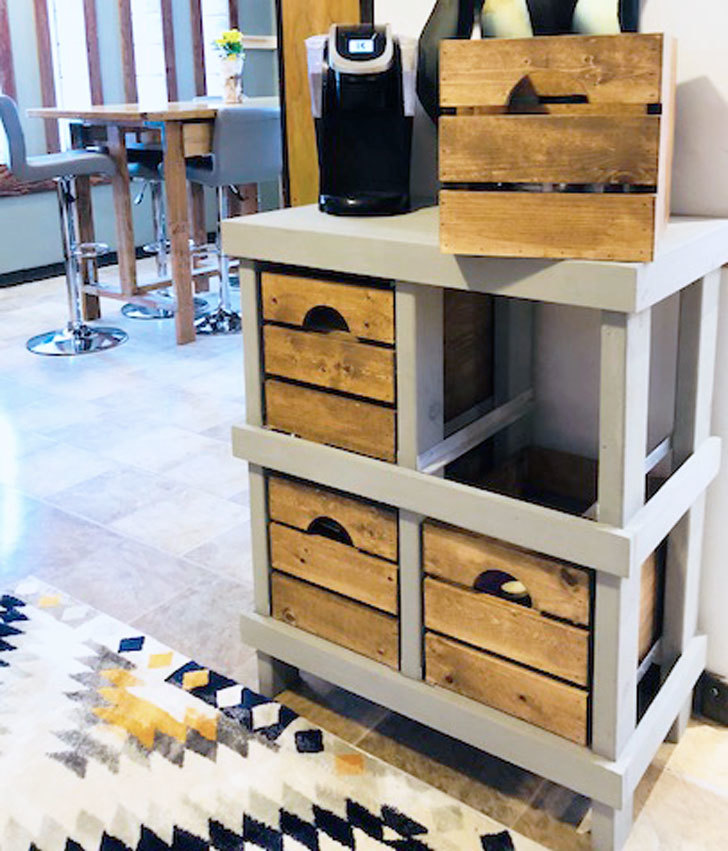
Or three - my friend Jen (who is also our amazing video editor) wanted to create a mini coffee bar station with crate storage in her home.  We got our heads together and came up with this!

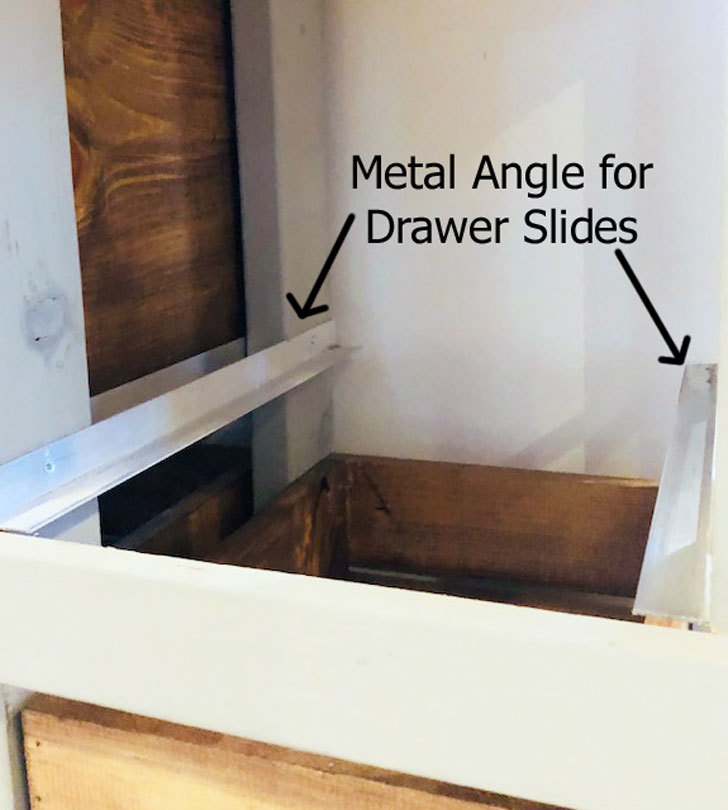
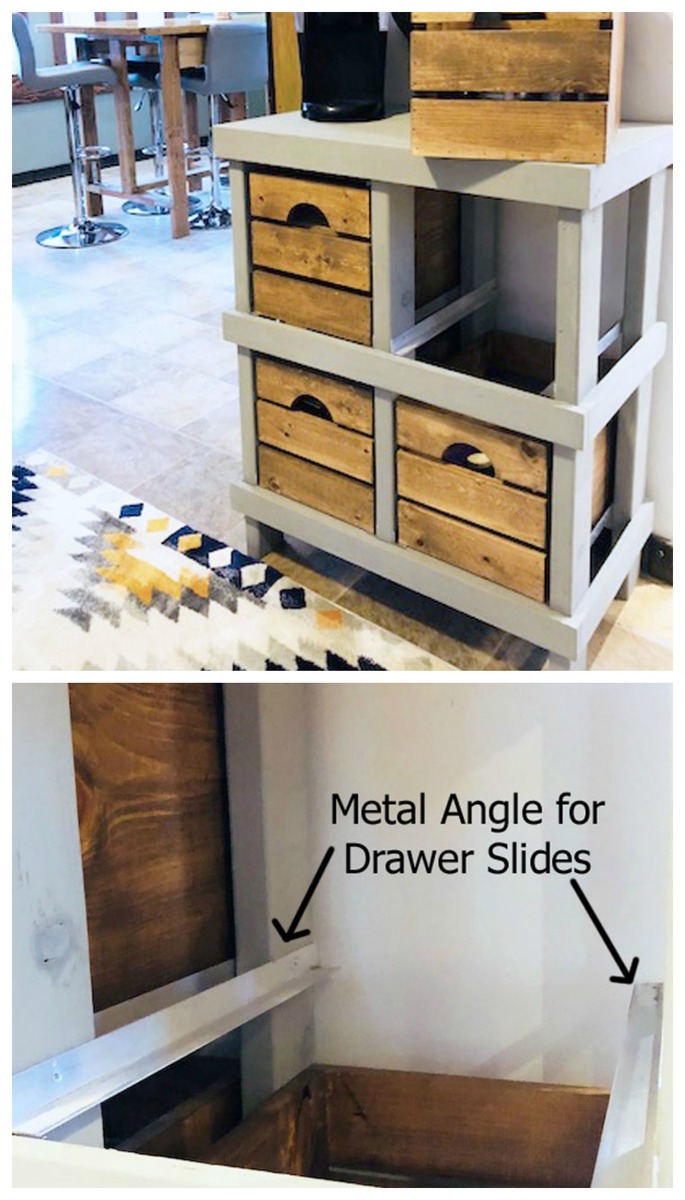
The crates are all removeable - They rest on inexpensive easy to work with metal angle!

So much cheaper and easier than drawer slides!

You can size the frame to fit your crates - or build your own like we did!  The free plans are following.

Enjoy!

Ana

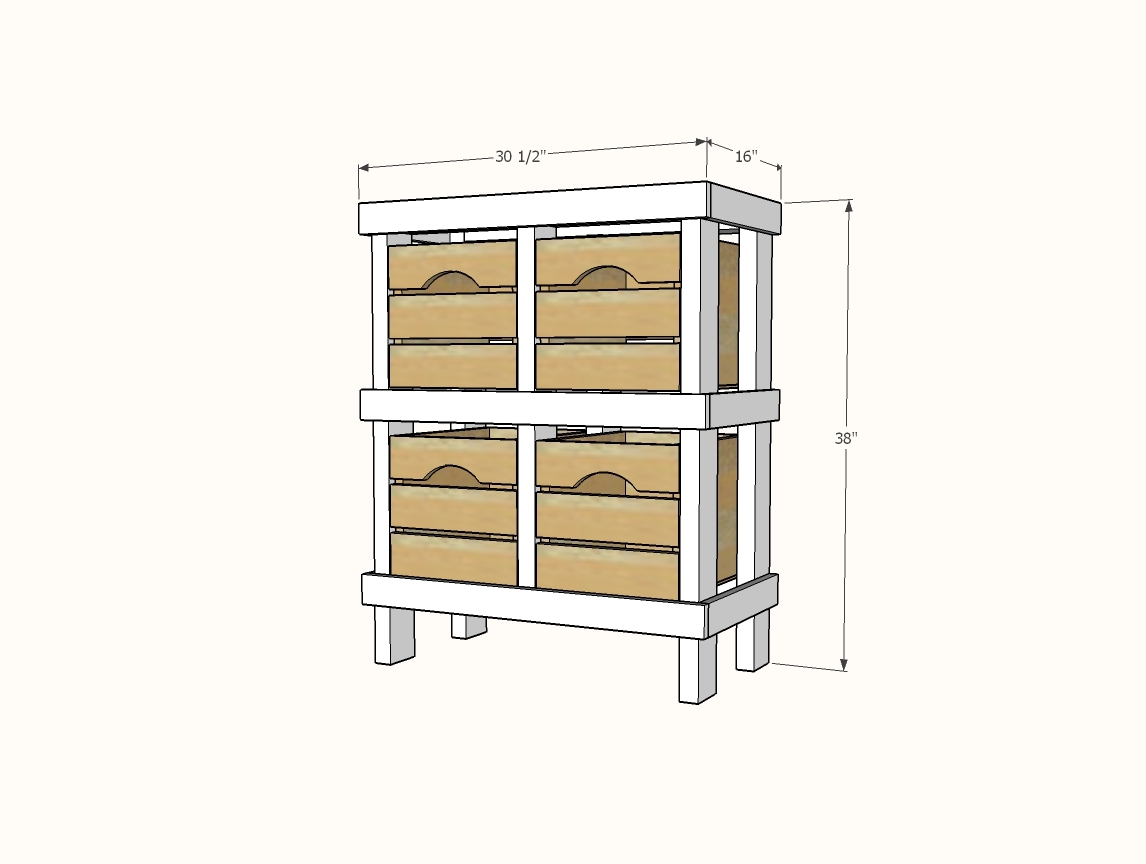
Dimensions
diy dresser for crates
Dimensions shown above

Preparation

Shopping List

4 - 2x4 @ 8 feet long

3 - 1x3 @ 8 feet long

3 - 1x4 @ 8 feet long

1 - 1x12 @ 10 feet long (can also use 3/4" plywood if you have leftovers from the top piece)

1 - 3/4" plywood, at least 15-1/4" x 29"

1 - 1/4" plywood panel, at least 14" x 48"

12 feet of metal angle, 1/16" thick, at least 3/4" x 3/4" - we used this from Home Depot

16" - 1" Screws for attaching metal angle  - we used these from Home Depot

24 - 2-1/2" self tapping wood screws - we used these from Home Depot

Cut List

RACK

4 - 2x4 @ 37-1/4" - legs

4 - 2x4 @ 26" - top/bottom of frames

2 - 2x4 @ 28-1/4" - center divider 

1 - 3/4" plywood @ 15-1/4" x 29" 

6 - 1x3 @ 15-1/4" - sides

3 - 1x3 @ 30-1/2"

8 - aluminum metal angle @ 15-1/4" long

CRATES AS SHOWN - finished size 11-3/4" wide x 15-1/4" deep x 11-1/2" tall

**MAKE SURE YOU MEASURE OPENINGS TO ENSURE THE CRATES FIT INSIDE THE METAL ANGLE BEFORE BUILDING**

There are many different ways to build crates.  These ones ended up being a little on the heavy side.  You can lighten things up by using 1/2" plywood for the slats on the front and back.

4 - 1/4" plywood @ 11-3/4" x 13-3/4"

8 - 1x12 @ 13-3/4"

24 - 1x4 @ 11-3/4" - crate fronts/backs 

Tools
Tape Measure
Pencil
Safety Glasses
Hearing Protection
Drill
Circular Saw
Jigsaw
Miter Saw
Brad Nailer
Power Sander

Instructions

Step 1

Build two of the frames with the 2x4s, screw together with 2-1/2" self tapping wood screws.

Step 2

Attach top with 1-1/4" brad nails and wood glue.

Step 3

Attach side supports with 1-1/4" brad nails and wood glue.

Step 4

Attach front trim with 1-1/4" brad nails and wood glue.

Step 5

Cut the metal angle using a jigsaw.

Drill holes and attach to insides of the cabinet.

No metal angle?  You can also use 2x2s for the crates to sit on top of the 2x2s.

Step 6

Attach 1/4" plywood to bottom of 1x12 with wood glue and brad nails.

Step 7

Add 1x4s to top and bottom with wood glue and brad nails.

Cut optional handle with jigsaw.

Step 8

Add center 1x4 with wood glue and brad nails.