Jun
16
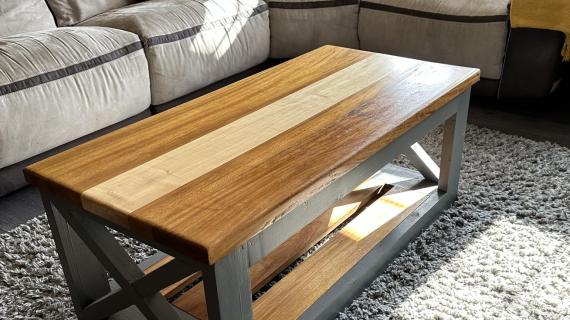
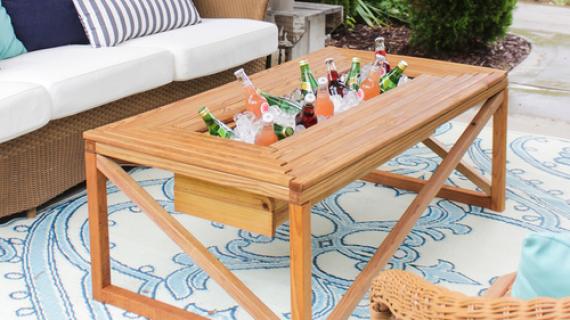
Outdoor Coffee Table with Beverage Cooler
DIY Coffee Table with Beverage Cooler Featuring Build Something and Shades of Blue Interiors
DIY Coffee Table with Beverage Cooler Featuring Build Something and Shades of Blue Interiors
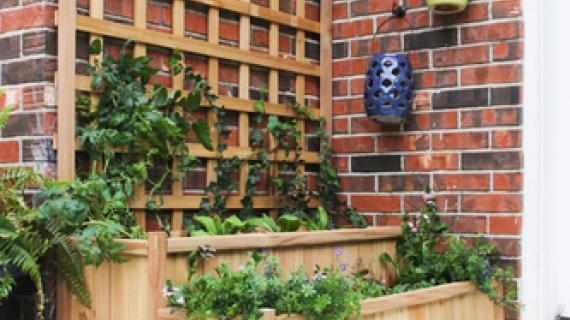
DIY Planter with Trellis by Shades of Blue Interiors